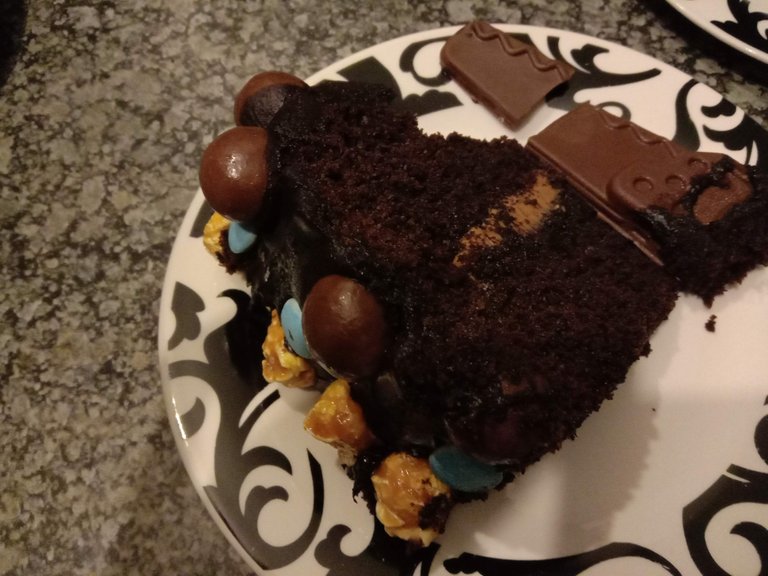
@MerenLudick 's Insane Minecraft Cake (AKA The best Chocolate cake I have EVER made)
It's the staple of every birthday party and the dream of every chocoholic: the ultimate dark, soft, moist, decadent and rich chocolate cake. So why is it so hard to find a recipe that actually gives you these results (never mind what it says on the box or the menu)?
Hint: please don't do box cake unless it's your last resort🙈🙈
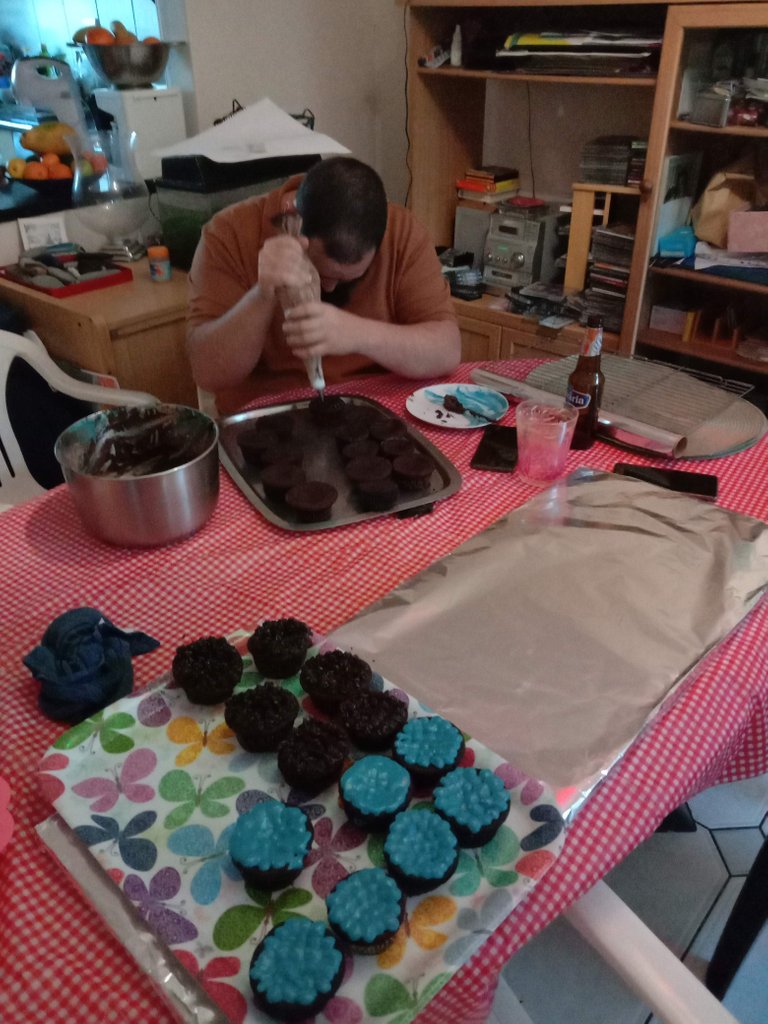
@ZakLudick earning his privilege to eat all the broken ones 🤣
I can't tell you how many birthday parties I've been to or how many slices of cake I've eaten in a restaurant, but I can tell you that there's nothing sadder than dry and boring chocolate cake.

The beautiful Unicorn Cake and it's owner, my Niece, Aliyah 💕
Lucky me, I'm slightly bonkers and I spent many many years in the hospitality trade (which is probably why I'm bonkers), so I've picked up a few incredible recipes along the way. This one is very special and comes straight from the chef's mouth, so to speak.
This is the base recipe I use for ALL my chocolate cake creations, including cupcakes, so PAY ATTENTION. We're going to come back to this one many many times. Although I might tweak a thing here and there, this is the recipe for disaster..... for your diet anyway 🤣🤣🤣🤣🤣🤣!!!
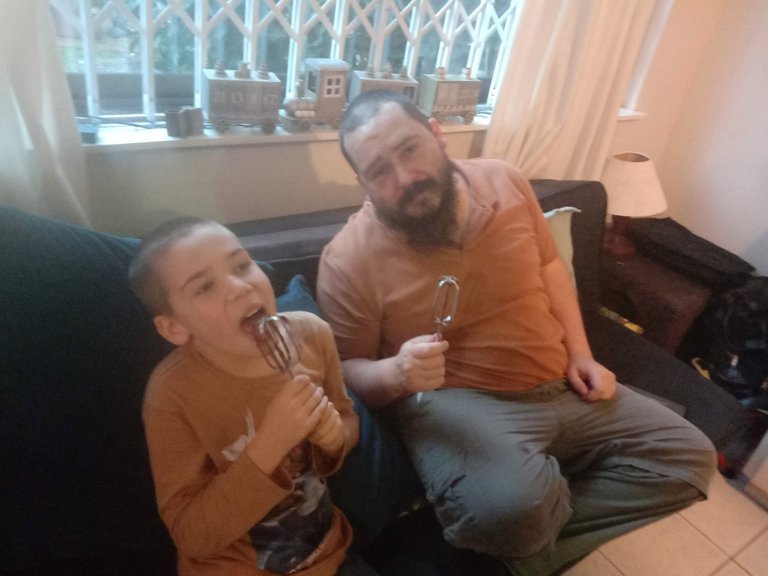
@ZakLudick and @MerenLudick enjoying the good stuff
The Cake:
Preheat the oven to 180 degrees celcius.
Tools:
- You'll need a cake board or plate to put your cake onto (should be slightly bigger than your cake tin)
- 2 x 27cm non stick springform cake tins
- Spray and Cook
- Baking paper
- A Cake Mixer (doesn't have to be fancy. Even a simple hand
held one is fine - Several wooden spoons (especially if you have children that
keep stealing them to lick). - A spatula for icing
- 3 large mixing bowls: two for the cake another one for the icing
- Cooling racks x 2
Ingredients
hints
Prep your cake tins by generously spraying them with the spray and cook AND lining them with baking paper. Use scissors to cut the paper to line your tins accurately- place the baking paper shiny side of the baking paper facing inward: towards your cake
Use two separate bowls, one for dry and one for wet. This way you'll prevent yourself from forgetting to cream the butter and sugar and eggs before adding the dry stuff, which leads to this:
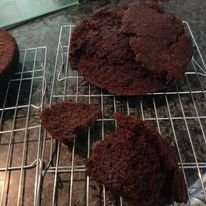
SAD CAKE
Wet ingredients:
- 125g Soft Butter
- 1/2 Cup Castor Sugar
- 1/3 Cup Icing Sugar
- 2 Eggs, lightly beaten
- 1 Teaspoon Vanilla Essence
- 1/4 Cup Sunflower Oil
- 80g Jam (I like to use strawberry, but any jam is fine. For
American readers, this is preserve or jelly) - 250ml milk
Dry Ingredients
- 1 and a 1/4 cup Self Raising Flour
- 1/2 cup of cocoa
- 1 Teaspoon Bicarbonate of soda
- 1 Teaspoon baking powder
Method:
- Cream Butter and sugar until light and fluffy
- Mix egg, oil and vanilla and add in small amounts to the bowl
- Add jam
- In a separate bowl, sift together the dry ingredients
- Mix wet and dry ingredients together now and lastly add in milk.
Once evenly mixed (not lumpy but be careful not to overmix otherwise your cake wont rise) pour the mixture into your prepared cake tins and place as centred as possible in the oven. Bake for 40 minutes.
Use a timer. Especially if you're going to put your feet up with a glass of wine for a bit

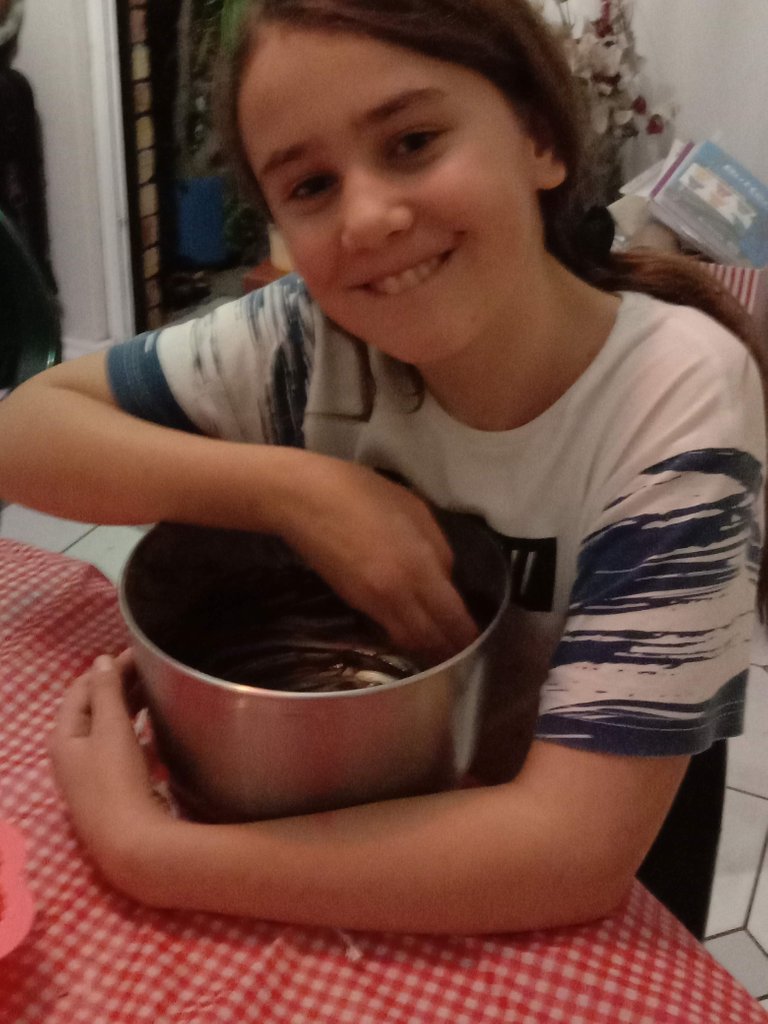
Licking bowls is an absolute must. If you don't let someone do this (AKA @AimeLudick, your cake will taste terrible. It's a tough job 🤣🤣🤣
Remove your cake tins from the oven (please use oven mittens lest your hands become like mine) and test that they're baked through by poking right through the middle with a thin stick like a skewer. If it comes out clean, it's done.
Let them cool in the tin for a bit (like an hour) before turning out onto the cooling racks
You cannot ice warm cake. Wait for them to cool completely before you build your cake sandwich
The Icing:
When you are ready to ice, get your cake board ready. and place the first layer down.
Ingredients:
- 100g soft Butter
- 1 tub Cream Cheese
- 1 and 1/2 cups of Icing Sugar
- 150g Cocoa Powder
- Dash of Milk
Method:
There isn't really one. Just stick it all in a bowl and mix till its all smooth and moussey looking.
Spread a good layer of icing on top of your 1st cake layer and then place the other cake layer on top.
Use your spatula or a flat butter knife to spread the icing over the surface of the remainder of the cake. To make it extra smooth, you can keep a mug of warm water near by. Periodically dip your icing implement into it to rinse off excess icing between strokes to achieve a professional-ish and smooth finish.
And Taadaa!!! You have made cake. You can really go wild and top with whatever tickles your fancy! Don't eat it all by yourself, you will die, but please, do enjoy it!!
Damn yea it is! :D
Okay, I admit, I am pretty useless in the kitchen, but this looks absolutely delicious, so much so that I am willing to risk myself trying it sometime. Definitely going to bookmark this one.
Listen hun, my baking was shite to start too. I still make hilarious flops. Like everything, you just need to give it a go! You won't regret it. It's practically flop proof!
Your content has been voted as a part of Encouragement program. Keep up the good work!
Use Ecency daily to boost your growth on platform!
Support Ecency
Vote for new Proposal
Delegate HP and earn more
Bookmarked!
This looks so rich and moist I'm almost licking my screen 😂
Can't wait to try out the recipe!
Please do! And take pictures and tag me when you post them. You won't regret giving this one a go!