Today, I'm excited to present you with a delightful recipe for crafting your very own homemade pita bread. This versatile bread is a perfect canvas for an array of fillings, making it a delightful addition to any meal. Let's dive into the process!
For this pita bread creation, gather the following ingredients:
3200 ml of warmed water
1 teaspoon of salt
350 grams of wheat flour
2 tablespoons of vegetable oil
To commence, let's prepare the dough. In a mixing bowl, blend the hot water with salt until the salt dissolves. Gradually incorporate the wheat flour while stirring continuously. As the mixture thickens, transition to kneading the dough.
With your hands, knead the dough until it attains a soft, pliable texture, usually taking about 1-2 minutes. The dough should be pleasantly workable, neither sticking to your hands nor the surface.
Following the kneading, place the dough in a bag and allow it to rest for 20 minutes. This rest period permits the gluten in the dough to relax, simplifying the rolling-out process later on.
After the rest, knead the dough briefly and divide it into eight equal pieces, roughly 70 grams each. Shape these into round balls and safeguard them under the bag to prevent drying. Allow the dough balls to rest for an additional 10 minutes.
Now, we venture into rolling out the dough. Dust your surface with flour to evade sticking and tearing. Take a dough ball, rolling it into a circular shape with a diameter of about 15-16 cm. Aim for a perfect roundness and ensure flour is used as needed to maintain a smooth process.
With the dough appropriately rolled, heat a skillet over medium-high heat. Place the pita bread on the heated skillet, frying until it achieves a golden brown hue. Flip and repeat the process for the other side. On the third flip, witness the magic as the pita bread puffs up—truly a sight to behold!
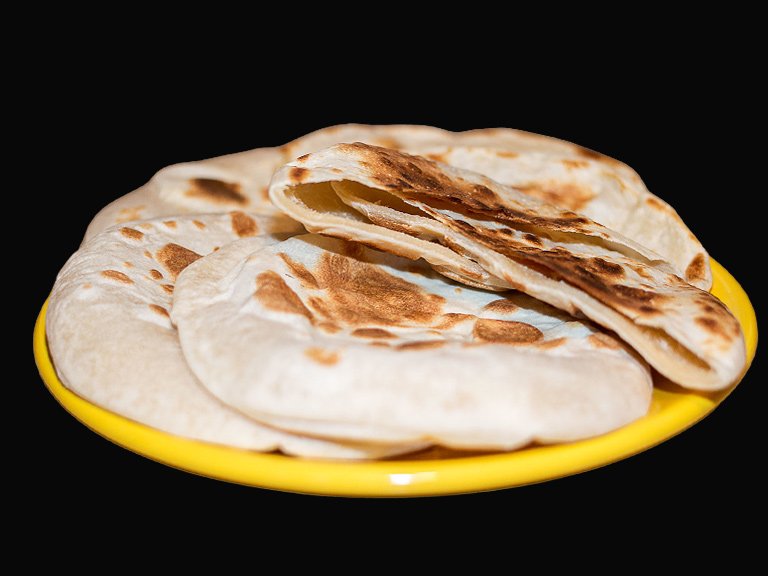
Following the final flip, the pita bread may deflate slightly, which is entirely normal. Cook for an additional 20-30 seconds based on your desired taste. The outcome: a delectable thin pita bread with a pocket inside.
Now, the enjoyable part—stuffing the pita bread. Fill it with your preferred ingredients, be it veggies, meats, or spreads. This pocket offers endless possibilities for creativity. Be mindful during the rolling process to prevent any damages or holes in the bread, ensuring a proper puff.
Voilà! You've crafted homemade pita bread—delicious, engaging, and ready to accommodate your culinary fantasies. It's a fantastic choice for a swift lunch, a light dinner, or a convenient on-the-go snack. Experiment with your fillings and savor the remarkable flavors this versatile bread unveils.
I trust you've relished this recipe and will give it a whirl. Stay tuned for more delightful recipes headed your way soon. Until then, happy culinary adventures!