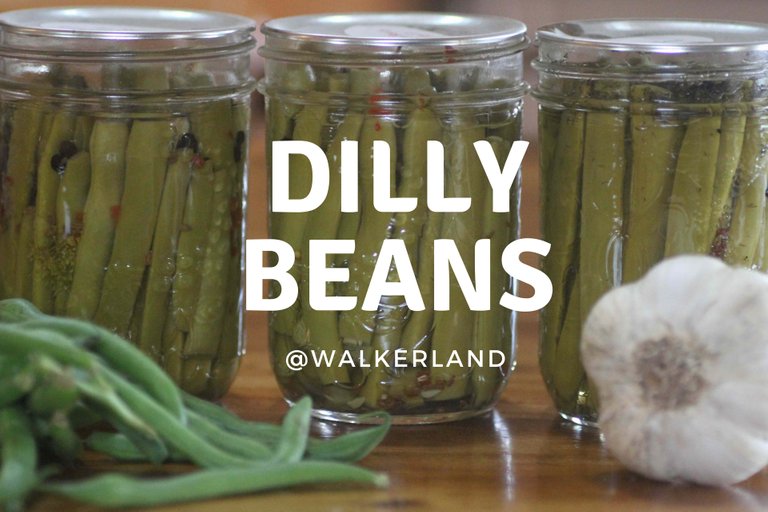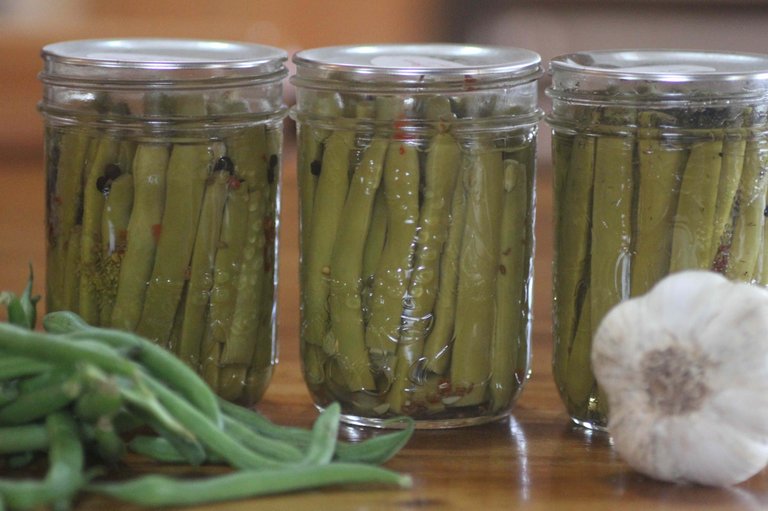
Dilly beans are a popular pantry staple around here. A few jars are also inevitably smuggled home by guests so we make a lot of dilly beans!
These beans are tangy and crisp. You can make them spicy or extra dilly - or both! Serve them as a side with sandwiches and hamburgers or chop them up and add them to salads or wraps for a crispy zing. These beans cost around $4.99 for 500ml at the store. It's well worth planting some of your own beans this spring so that you can indulge to your hearts content in this easy and satisfying recipe.
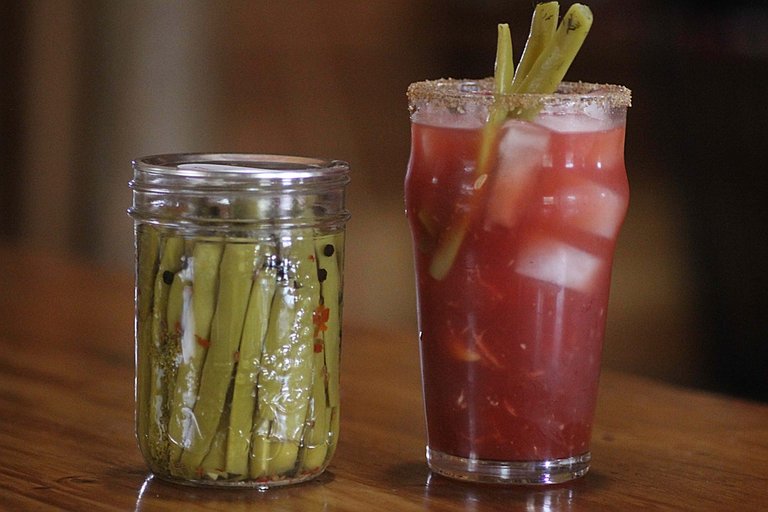
They are also the perfect garnish for @xwalkran's famous "Ultimate Caesar Cocktail". His Caesar and my Dilly Beans fit perfectly together like two nutty beans in a cabin.
We decided to have a little bit of fun on this rainy day and post his (@xwalkran) and her (@walkerland) recipes. You can find his Ultimate Caesar Cocktail recipe here!

Dilly Bean Recipe
Ingredients
3 pounds of fresh green beans
4 cups pure white vinegar (5% Acetic Acid)
4 cups water
1/3 cup pure sea salt or pickling salt (salt must not have anti caking agents)
1/4 cup sugar
6 cloves of garlic (one per jar)
12 pepper corns (two per jar)
6 sprigs of fresh dill weed (one per jar)
1/4 tsp red pepper flakes (per jar - optional)
1/8 tsp dill Seed (per jar - optional)
Supplies
Waterbath or steam canner or large/tall pot
6 Wide mouth mason jars, screw tops and lids
Butter knife / chopstick
Sharp knife
Ladle

Directions
Select young beans. Beans are ready to be pick when the pods are well formed and rounded and snap easily when you bend them in half. When the skins of the beans get tough they are a lot harder to work with and are better off being kept for dried beans.
Wash and trim the green beans evenly. Cut the ends off so they fit in the jars.
Mix your brine in a pan (vinegar, water, salt, sugar). You will want it hot but not boiling. Taste and adjust the brine according to your taste.
Clean and prepare your work area and wash your jars in hot soapy water and rinse well. Get your canner ready to go.
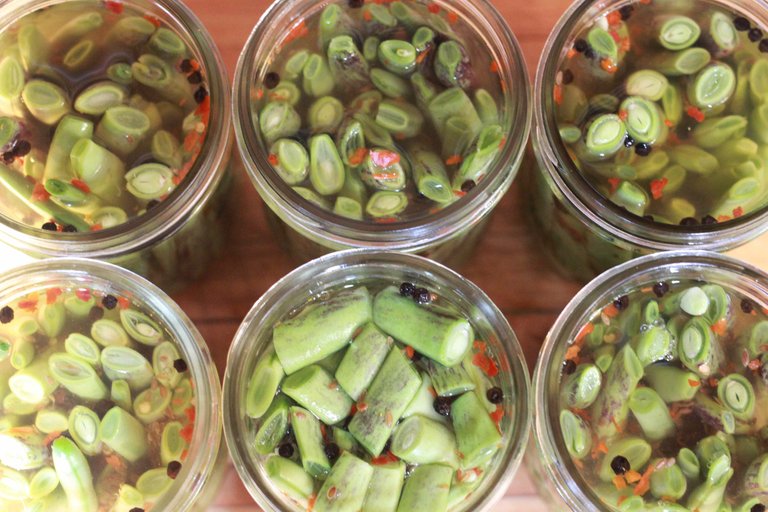
Add the garlic, dill and pepper flakes to each jar. Pack the green beans tightly into the jars leaving 1/2" headspace. The head space is the neck or threaded area on the jar. They will shrink a bit so do your best to pack them in really tightly.

Slowly ladle the hot liquid into the jars. Let the liquid seep into the jar and top up as needed. Remove air bubbles using a thin utensil such as a chopstick. You might need to top up the brine a little bit once you have removed all air pockets. Wipe the jars and rims and put the lid and tighten the rings. Set them in your canner.
Follow the instructions that come with your particular jars and canner. If you are using the steam or water bath method process for 10 minutes, turn off the heat and carefully remove the lid. Steam can cause burns so use caution. Let the jars cool for 10 minutes and then using a jar lifter carefully lift them and place them on a cutting board or towel to cool completely.
Once the jars have cooled for 24 hours, check their seal. You should hear the occasional pinging sound as they are cooling that gives you an auditory confirmation that your jars have sealed. If you look at the lid of the jar, you should notice that there is a small bump in the lids. This bump depresses as the jars seal “sucking it down”. All of the lids should be sucked down. If you press on the center of the lid and that bump pops up, they are not sealed properly. If you should have an issue with a jar not sealing, refrigerate it and eat within a few weeks.
Remove the metal rings and wipe the lids and jars with a damp clean cloth. Store the jars without the rings in a cool dark place.
It's best to wait for at LEAST two weeks before you eat them since the flavors will develop over time. We actually think you should wait several months for the best flavour - the longer you wait - the better they become.
Building a greener, more beautiful world one seed at a time.
Homesteading | Gardening | Frugal Living | Preserving Food| From Scratch Cooking|
You can also find me at: walkerland.ca | Facebook
Photo copyright: @walkerland


Such a great idea! I love young beans;) Usually I put it to salad or with a meat on side ;)
Thanks a bunch! I trolled all over the internet last year looking for a GOOD recipe. I tried three and all were mediocre at best. This seems to be more my flavour, i look forward to trying it in the fall!
Don't be afraid to increase the seasoning a bit if you really want super spicy or even more intense dill! I experimented quite a bit before I got them to taste just how we like it!
I can't help myself but play around with things when it comes to recipes! Thanks!
Oh boy Oh boy Oh boy! Thank you for sharing this @walkerland. We had a friend who made these and we loved them. Unfortunately, we moved before getting the recipe. Bookmarking so after I get some beans harvested, I can make this!
It was fun to work together on our posts today! I think more people should give it a try.
I've not made these because I am the only one in my family that likes dill. In reading the ingredients (I am assuming it was 4 CUPS of white vinegar) I was wondering why white and not apple cider vinegar. Just because I have a lot of apple cider vinegar and not much white around here...
You can use ACV instead.
Does it change the flavor much?
It won't be much different in flavour.
I had to resteem this, we will be giving it a try come harvest time.
Thank you! I hope you get a chance to make them! :)
I need to try this recipe! We love dill around here. The problem might be letting them sit for a few months to get "happy".
I know what you mean. We are terrible at waiting. They do get better with age but they are still tasty when young! :)
Happy Sunday! This comment is to inform you that your article has been linked and featured in the most recent Weekly Homesteading Newsletter! Thanks and have a great day!
Thank you so much @kiaraantonoviche! :)