When I was a student, I was extremely poor. I would often have to live off on a few dollars a day for food. I wasn’t very interested in cooking in those days and I was more interested in going for drinks with friends and if I ever found myself with money I would often buy pizza. I loved pizza so much (and still do) but I often felt like it was overpriced. A food pizza back then would cost at least $10-15 and the prices seem to rise day by day. Going out for a pizza with friends is a costly experience and this is what pushed me to learn how to make pizza. Over years and years of trial and error I feel that I have perfected a recipe and technique to make good pizza for very little money.

Step #1: Get a pizza stone
Buying a pizza stone is pretty much the most expensive part of this, but if you love pizza as much as I do it will fast pay for itself. You can get them in most super markets or Walmart etc. Once you buy a pizza stone you have the option to season it. If you choose to do so, simply wipe clean your pizza stone with a damp towel and let dry on the counter. Then lightly coat the surface of the pizza stone with some vegetable oil using a paper towel. Bake the stone at 350F for about an hour and let it slowly cool in the oven. Do not preheat the oven when baking with a pizza stone because introducing the stone to sudden high temperature will cause it to crack.
Step #2: Making the dough
If you already have a seasoned pizza stone you can skip to this step. Making dough for pizza is very simple but I feel that most people I know who try to make pizza mess it up on their first go then never try again. They make it out like I’m some sort of a wizard because my pizza dough always turns out just how I like it. I tell them, practice makes perfect! If at first your dough isn’t great, change up your methods and try to make it better. I find the biggest problem newbies have is their dough ends up sticking to their stone. This is because their dough is too wet. Here’s how to make the perfect cheap dough:
Find a bowl and add one table spoon of dry yeast and one table spoon of sugar.
Follow the yeast instructions on how to activate the yeast.
Tip: For one tablespoon of yeast I add 1 cup of warm water. If you have a microwave, I usually find putting the cup of water in the microwave at high heat for 20 seconds is usually hot enough. This takes a bit of trial and error but it can make your dough making consistent if you use your microwave for heating the water. Consistency is the key to making great pizza every time!
I let my yeast activate for 20 – 30 mins. You can tell if it has worked because you will have lots of big bubbles and a yeasty smell will come from the mix.
Next, add 1 table spoon of vegetable oil and half a tablespoon of table salt and mix it into the mixture.
Now, add just over 2 level cups of flour. I use all-purpose flour as I always have it in my house and we are trying to make this as cheap as we can.
Here comes the fun part! Mixing the dough. I use a fork to mix the dough at first. I don’t like to put my hands in until I have made the dough clumpy and into fairly big lumps. This step may require you to add a little bit more flour but never add too much. Once I have the dough clumping I use my fist to flatten the dough in the bowl. Once I have the dough flattened and its not sticky to the touch I pick it up. I use both my hands to form the dough into a ball shape, and I manipulate the dough as to expose the center of the ball to the outside. This is because the inside of the ball is always moister than the outside. It is important to do this because we want the dough to not to be sticky. This will prevent it sticking to your stone. Adding flour to achieve this is key to making great pizza and this is the part that takes lots of practice. If you can perfect this part you are a pizza wizard! You will be able to amaze your friends and family with your skills and you will never buy another overpriced pizza ever again. After you are happy with your dough ball let it sit for about 30 mins. I have heard people saying that you have to cover it with a wet cloth and all sorts of other nonsense. I never do . I use this time to make sure I have put away most of my ingredients and clean up the kitchen.
After 30 minutes, it’s time to make the pizza base on the stone. For a thick crust pizza use the whole dough ball or for thin crust use half of the ball. I am a thin crust addict so I usually end up making 2 pizzas with this recipe. Take your stone, and add a little bit of flour to the stone spreading it around. Slap the dough ball in the middle of the stone and make it as round as you can. Push your fist down on the dough ball like you are punching it and start to make the ball flatter. Once you have flattened it, pick up the ball and flip it over. Again, with your fist, flatten the dough again. Continue spreading the dough as thin as you can and adding sprinklings of flour to the dough to keep it from being sticky. The dough should be dry to the touch! If your dough is flakey and falling apart. This is because you added too much flour.
Keep repeating this process of flattening and flipping the dough, using your finger tips to spread out the dough as much as you can until you have a good sized pizza. Remember, we are making a cheap easy pizza here! You aren’t Papa John! So don’t be scared if your base ends up looking a little bit rustic. Just make sure its not sticking to the stone and if it is, use flour to make it less sticky.
Once you have a pizza base on your stone and you’re happy with it, use a fork to poke holes all over it. This is important as it aides in the cooking process. Next, add your pizza sauce. I find using salsa is a cheap and healthier alternative to expensive pizza sauces that often come in a can and are harder to store, but ill let you use whatever you find is the best.
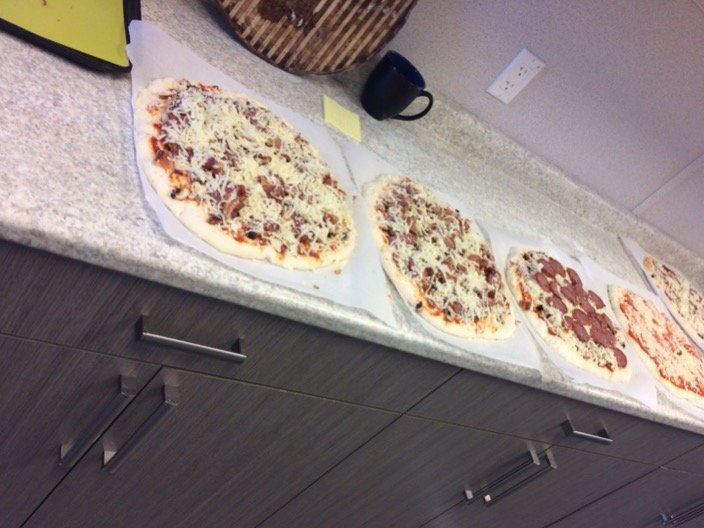
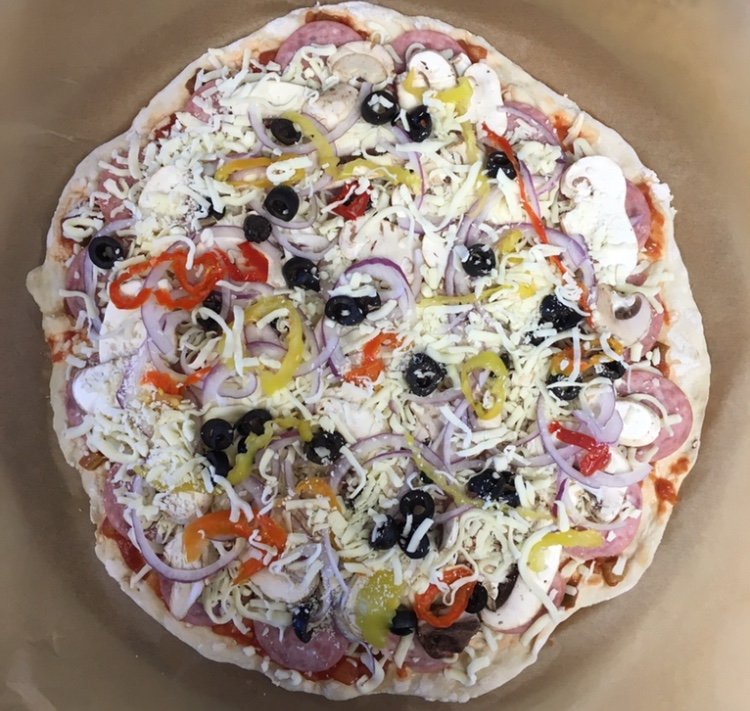
Now we have a pizza base with sauce all over it, it’s time to put the toppings on. My only advice to you with this is make sure you drain any toppings you put on there that have moisture in them. Toppings like peppers and tomatoes have a lot of moisture in them and can make your pizza soggy and hinder the cooking process. Start off with a small amount of toppings until you get better with your topping skills and remember, there is such a thing as too much cheese!!!
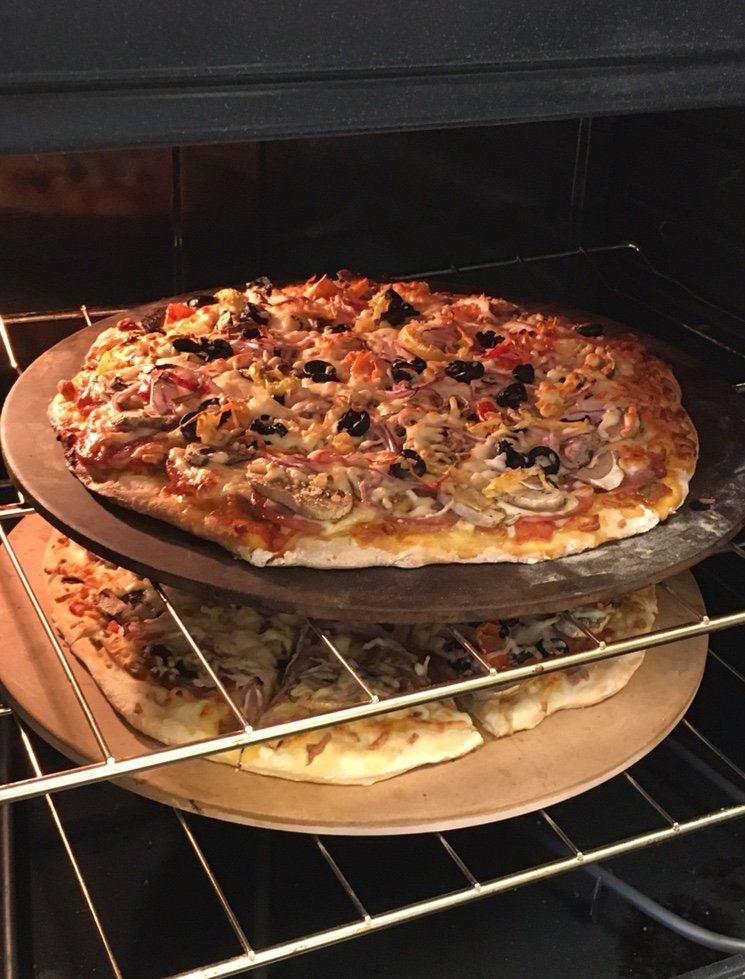
OK we are all set to bake this pizza. Put it in a cold oven (remember, no need to preheat). Sit the pizza stone in the middle rack of the oven and crank the oven as high as you can. I usually bake mine at 500 F for about 22 – 25 mins. Every oven is slightly different but I tend to find that once the edges of the pizza are browning up you are almost done. Lastly, I broil the pizza for about 3 minutes on high just to make the cheese bubbly on top.
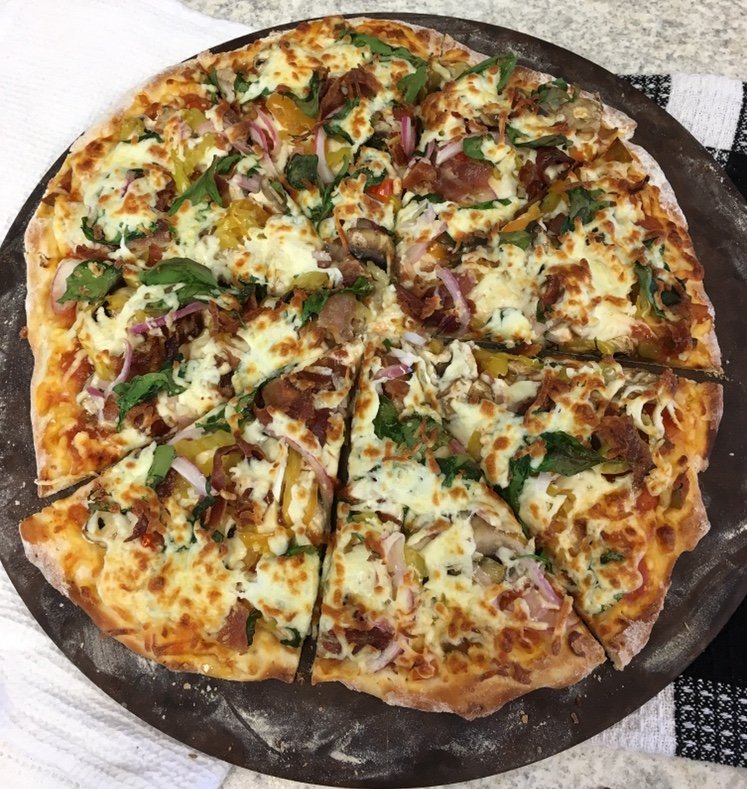
Remove the pizza stone from the oven. Let the pizza cool for about 5 minutes then cut and serve. If you followed my instructions you should have a great pizza. If not, try to figure out where you went wrong and do your best to resolve the issues. Believe me it will be worth it!
The biggest things you can do wrong are:
Yeast has not activated properly - Read the instructions of your yeast carefully and follow them next time.
Dough is flakey – You added too much flour. Use less next time.
Dough is hard and difficult to spread thin – You never let it sit long enough or you kneaded it too much.
The pizza sticks to the stone – You never used enough flour or your stone isn’t properly seasoned.
Ok guys, Thanks for reading and happy pizza making!
Recipe for the dough (thick crust; makes a 12 inch pizza):
1 tablespoon dry yeast
1 tablespoon sugar
1 cup warm water
1 tablespoon vegetable oil
1/2 tablespoon salt
2 cups all purpose flour + a bit more for spreading on the pizza stone
Half the above recipe for thin crust.
Toppings:
Anything you like
1/2 cup salsa
1 1/2 cup shredded mozzarella cheese
Yummy! I love pizza. I think I’ll give this a try. Thanks :)
Good luck, it is very fun and easy to make :)
Now that's pizza I love. Looks so yummy.
i love pizza !!!!!