Here we are,
Yesterday night I posted the first part of my "Melanzane alla Parmigiana" recipe, which you can also find it Italian language by clicking here.
Hoping that you aubergines have "rested" enough during the night, as well as the tomato sauce, now we can start putting everything together...How? Let's check it out!
Beginning
#CreationThe first layer will be only tomato sauce with a sprinkle of parmesan cheese.
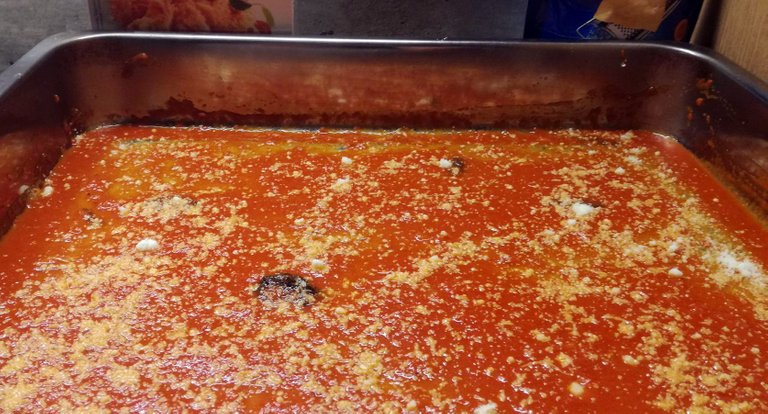
Take a large baking tray, as the one I used in the picture. We are going to make 5 to 6 layers: of course, you can do your "Parmigiana" thinner or thicker, but as the Latins said in media res stat virtus so better don't overdo in both directions ;)
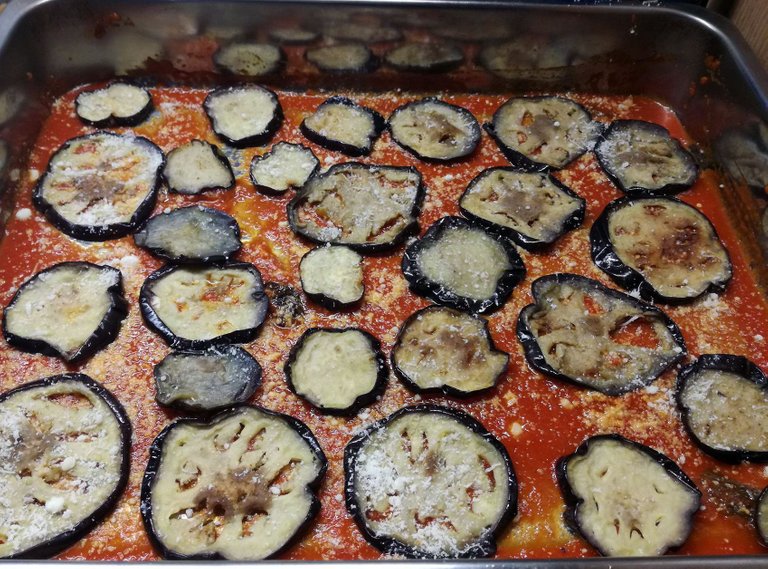
Use a ladle to pour the sauce on the tray and create a flat base on which you will start placing your aubergines, as you can see in the picture. Try to fill up all the gaps. Then, add more tomato sauce and a larger sprinkle of parmesan cheese.
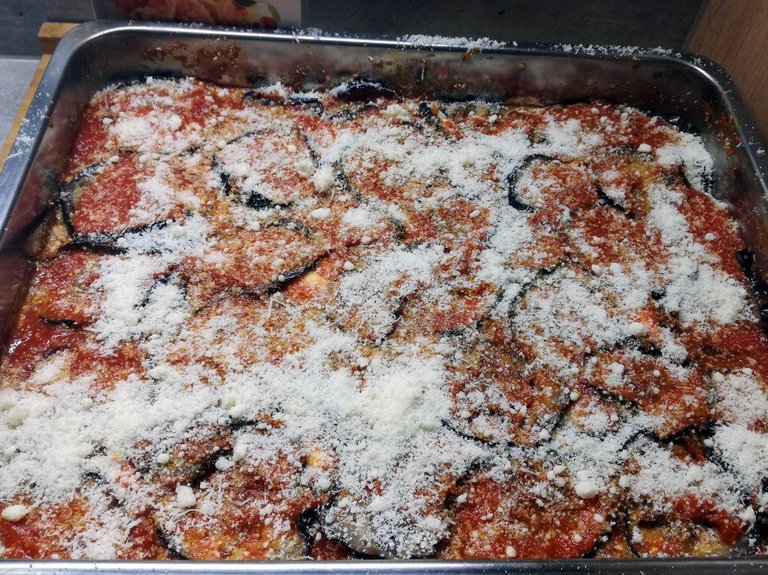
That's how the first layer should look like.
Layers
Once the base is set, we can keep adding layers following the same order: Sauce-cheese-aubergines-sauce-cheese-aubergines...
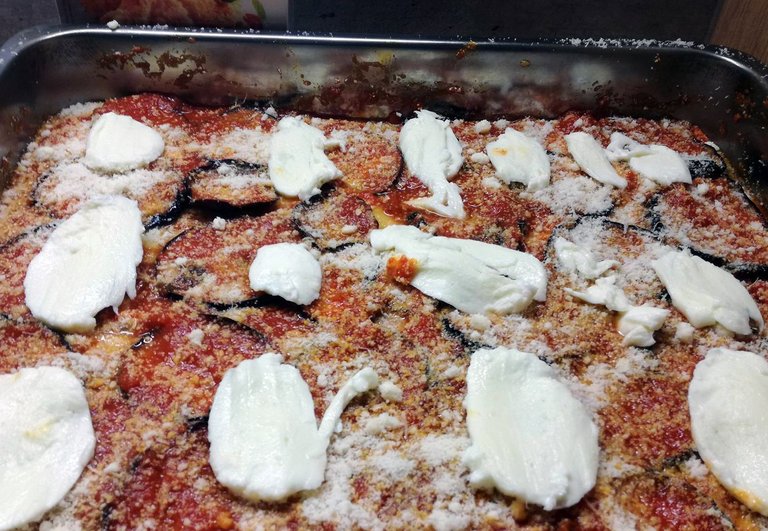
Around the 3rd or the 4th layer, we add some mozzarella cheese. Leave some space between the slices: mozzarella tends to lose water while cooking and we want to keep a good consistency instead of having a "watery" dish.
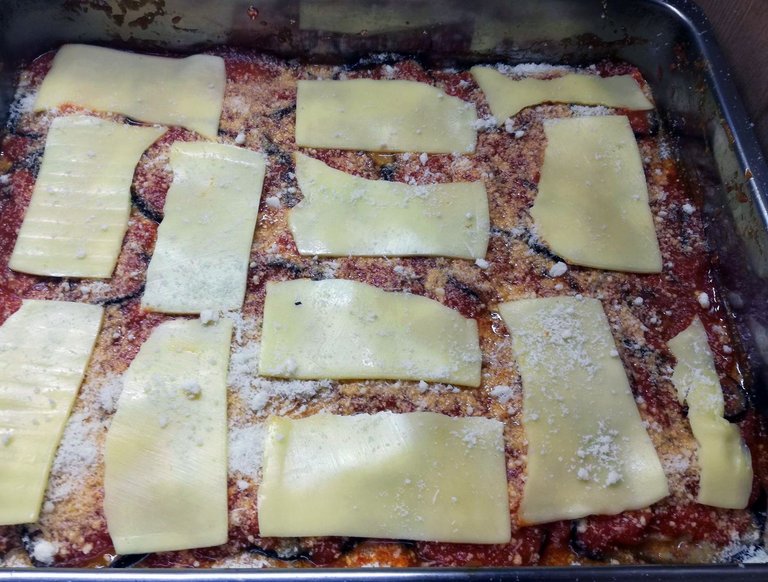
Towards the end, we do the same with some other cheese: as I told you in the #Preparation post, scamorza and caciocavallo are both ideal, but here I used some sliced gouda. The taste isn't the same but still, it works out ;)
Final layer
After having piled 5/6 layers, the last one is: aubergines-sauce-cheese-BREADCRUMBS
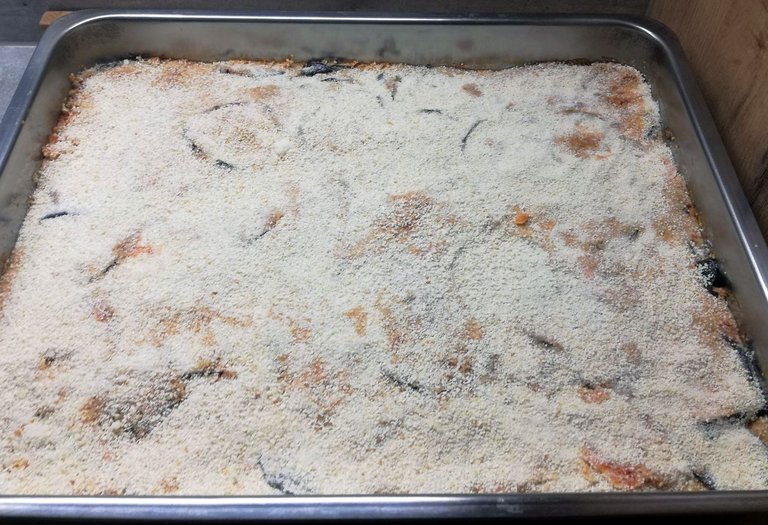
Use a sieve for a better breadcrumbs distribution: you should cover all the top part with that, trying to make it as uniform as you can. After the baking, this last part will turn into a yummy-crunchy crust.
BAKING
Start heating the oven up 10 minutes before, and set up the temperature at 200° (Celsius) with a ventilating mode, to be sure that the heat will be homogeneously distributed.
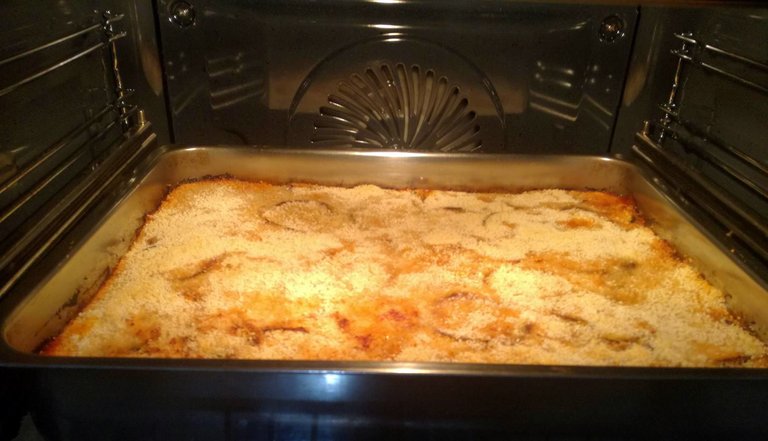
Place the baking tray inside and after 30 minutes spray a bit of olive oil on top, to turn the crust even crunchier, then turn the "GRILL" mode on. This is the most delicate phase, you should really take care that your dish doesn't burn: The goal is to brown the crust, not to turn it into coal =).
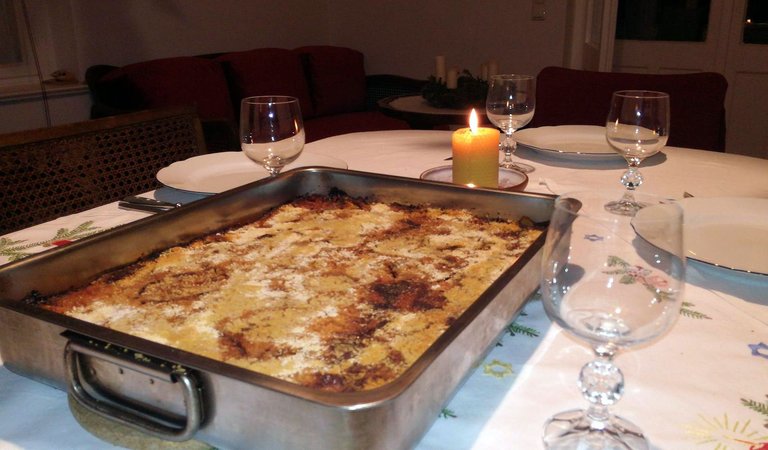
After 40 minutes cooking, turn the oven off and let your beautiful dish "rest" for around 20 minutes. Do you want to know why? Because grandma said so =) And now it's time to serve it...Buon appetito!!!
Click here for the Italian version of this article #Creazione
Click here for part 1 #Preparation and here for the ITA version
Yummmmmmmmmmmmy. By the way, is it your account that i commented awhile ago
Ahhh got it! You commented on my IT account. I opened up a new one when I lost my password, then I've found it back and I decided to use the main one for English and the new one for Italian. If anyone knows how to merge them it would be great!!! =)
Don't know...I've lost my psw and found it just a few weeks ago, so I restarted posting =)
oh such a good decision dear. ^_^ are you italian?
Yep =)