
How to Change your Keys
Several people in the community may wish to change their keys from time to time. Most urgently they have been compromised, in other cases you are changing permission structure, or to prevent the exploit of one private key compromising many accounts.
Whatever the reason we developed the Permission Management feature of eostoolkit.io to make this as easy as possible.
The process
This process uses Scatter and eostoolkit.io
Step 1. Configure scatter with your existing key
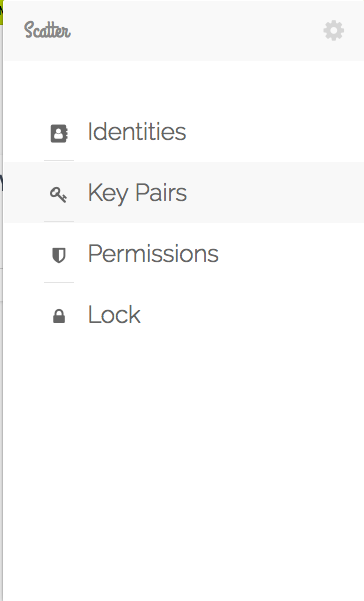
Open scatter and go to Keypairs
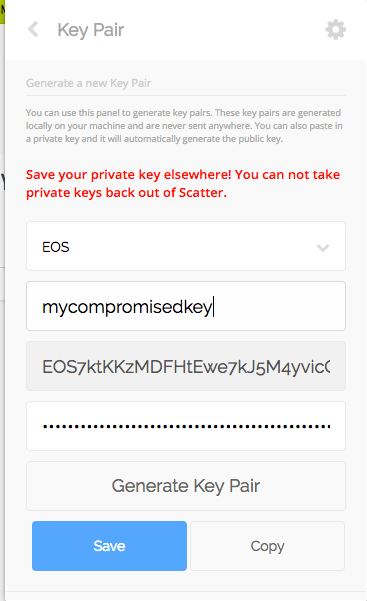
Paste your private key and give it a name. Click Save.
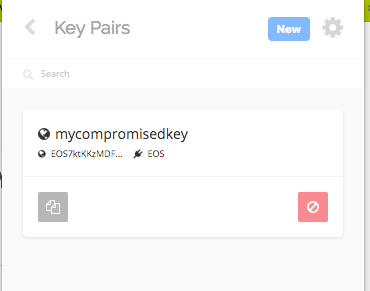
Confirm the keypair is there
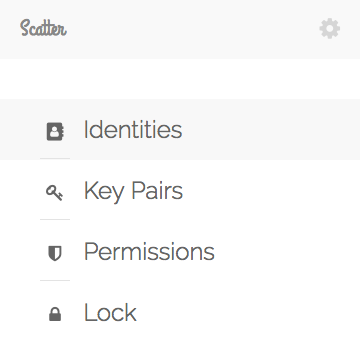
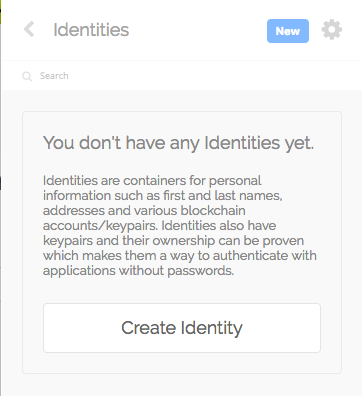
Now go to identities
If you have no identities click "Create Identity" otherwise click "New"
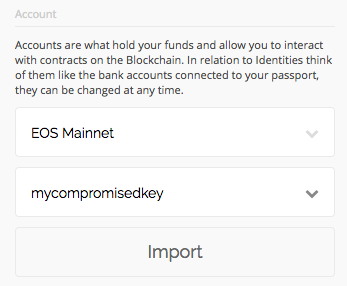
Select the EOS Mainnet and your keypair. Click Import
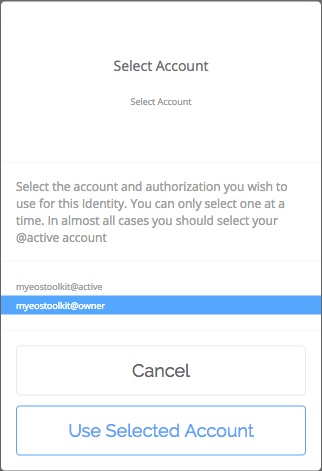
If you want to change your owner key select youraccount@owner
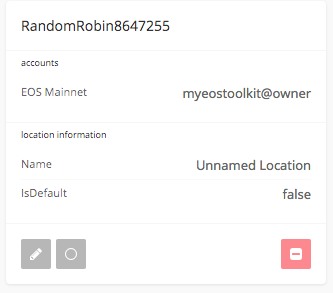
Confirm your new identity
Step 2. Go to eostoolkit.io

Lets confirm the account is using our old keys. Use the account search and enter your account name and click Search
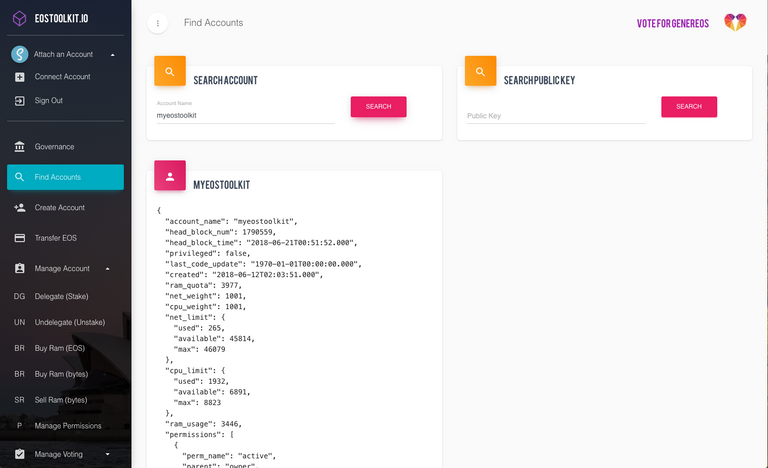
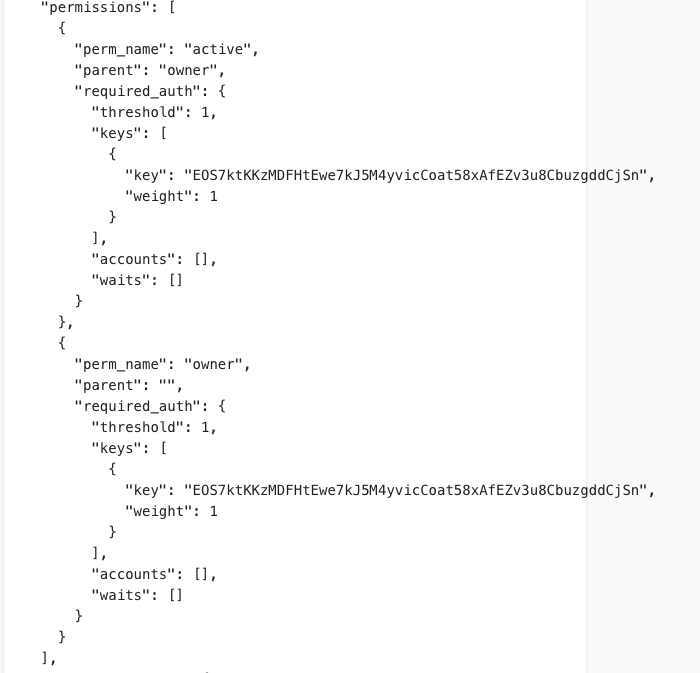
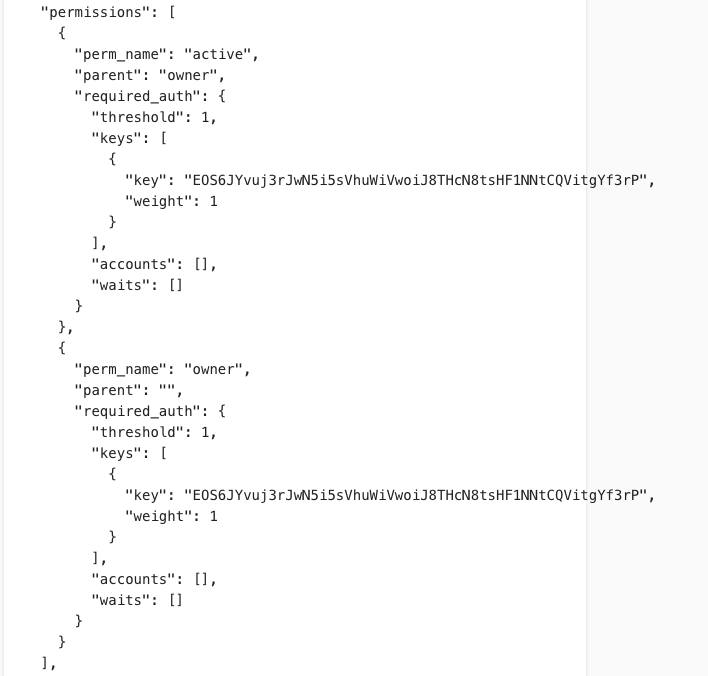
Scroll down and find the permissions json. The active and owner key should match the one you loaded in Scatter.
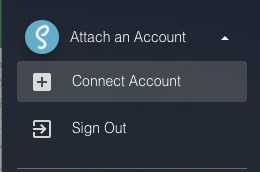
Attach the scatter identity you created
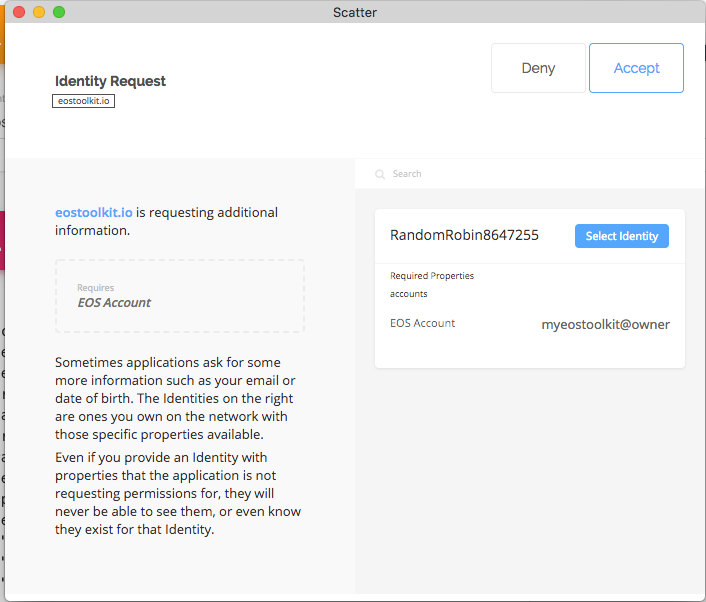
Select the correct identity
Step 3: Go to permissions tools
Select the Manage Account drop down and go to Manage Permissions
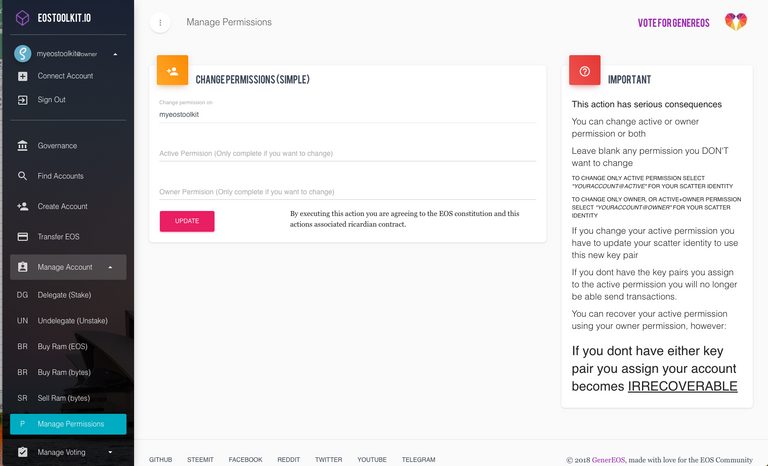
Step 4: Create a new safe key pair (optional)
You can use an offline key generator, an existing safe keypair that you already have, or follow these instructions to use Scatter.

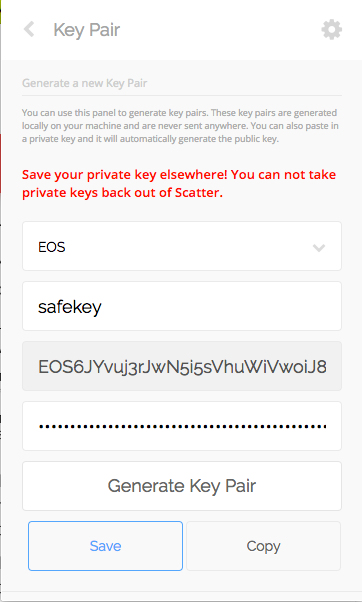
Create new key:
- Provide a name
- click Generate Key Pair
- immediately click Copy
- and then click Save.
Immediately paste your new keypair and store it securely:
- Engraved titanium
- Laminated paper in a fireproof safe
- Ledger/trezor once supported
- Keepass
Once a keypair is loaded into Scatter it CAN NOT be recovered due to encryption and security
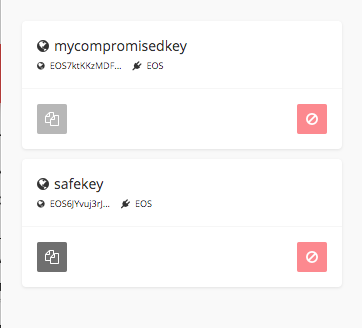
Confirm your key has been added to Scatter
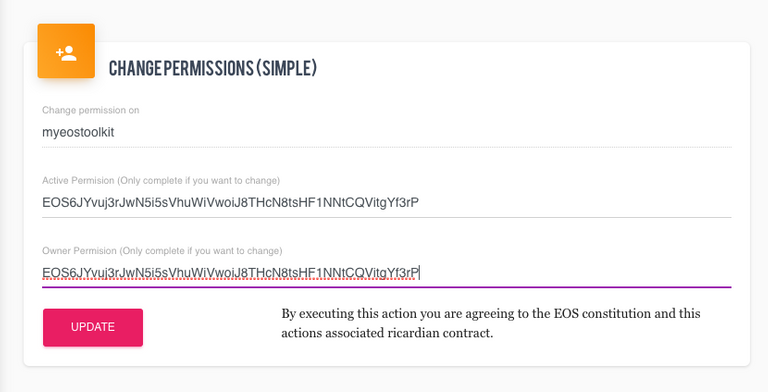
Step 5: Update the keys!
Enter your new public key (or keys) into the appropriate fields on the eostoolkit.io and click Update
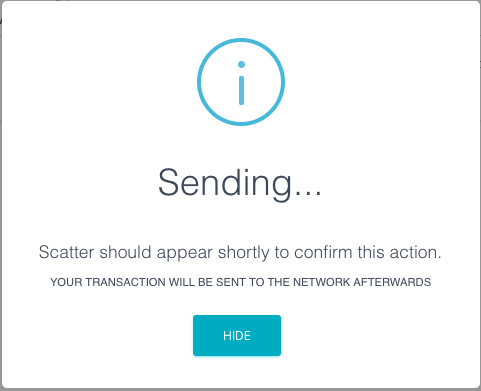
A pop up will appear... Scatter is taking a moment to sign the transaction and download ricardian contracts.
Scatter will appear for you to validate the transaction
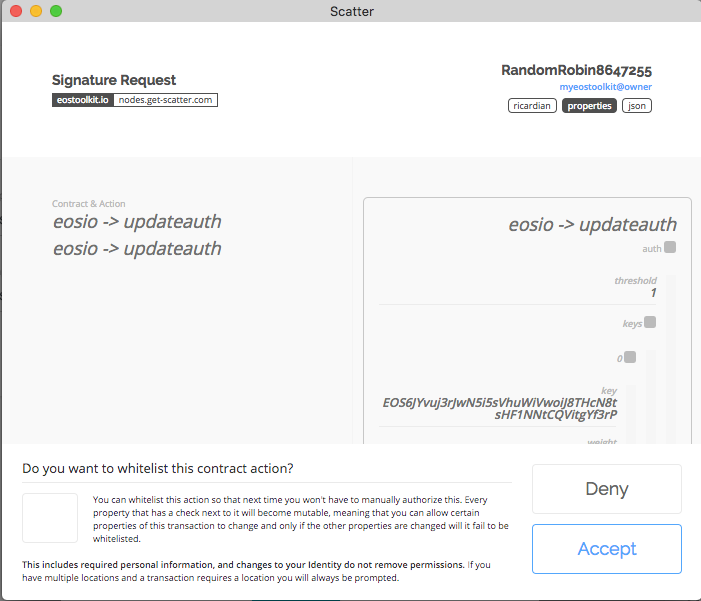
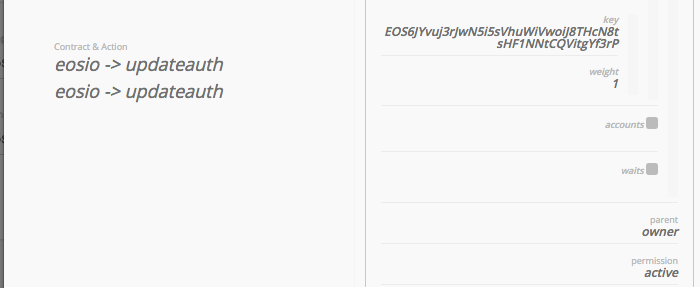
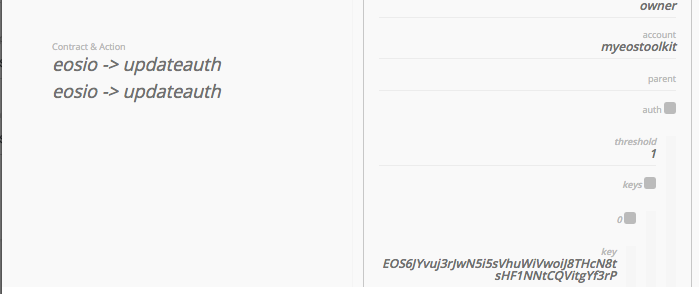
SCROLL AND CONFIRM THAT THE KEYS ARE RIGHT
Active key:
Owner Key:
Click Accept and hopefully...
Note: If you get an error that there is not enough resources for this transaction, you need to stake or delegate more NET and CPU
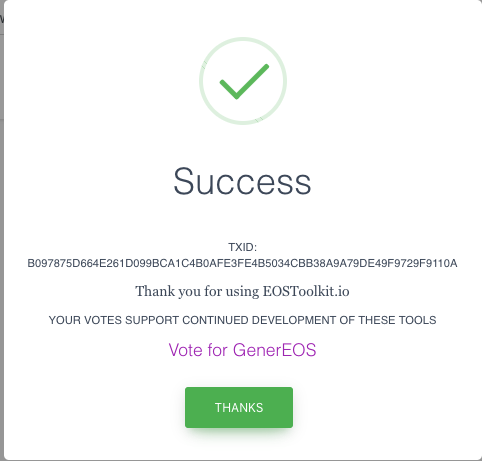
Step 6: Let's confirm!
You can take the TX Id from the success message and put it into a tracker such as eostracker.io
You can also lookup your account again. You must click Search again if your name is still there.
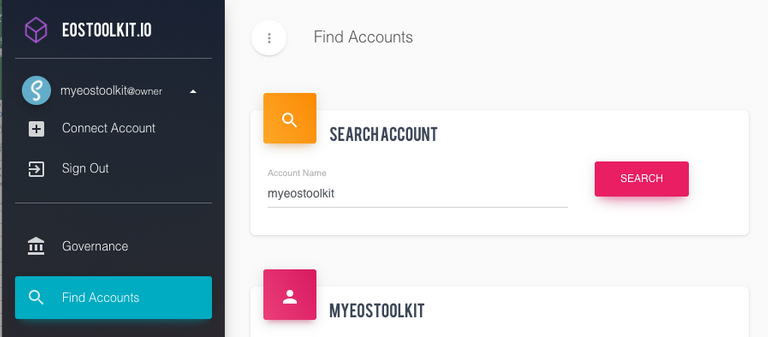
Verify that the keys have changed
Success!
Step 7: Update Scatter
Lets go to our identities

Click the Pencil button
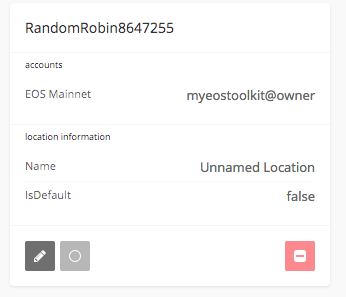
Click your EOS account name
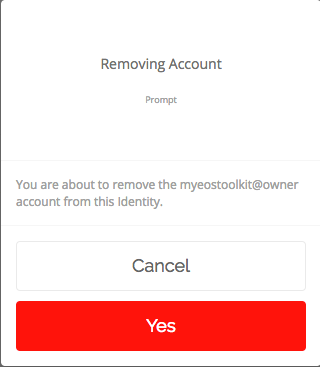
Click Yes
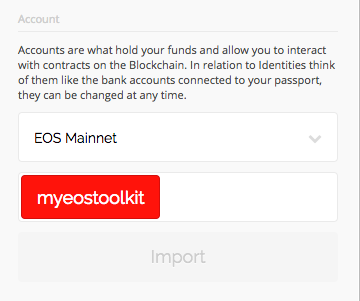
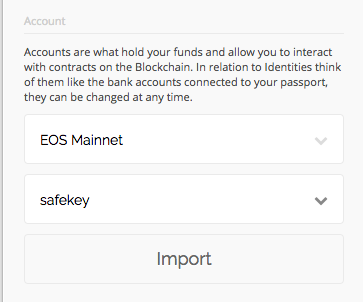
Now select your new key from the dropdown and click Import
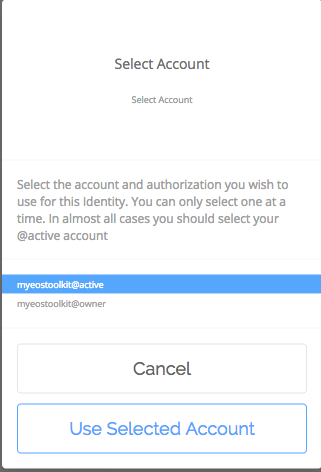
Select youraccount@active for future transactions.
Don't forget to click Save once your done
All finished!
Stay safe out there!
We hope this tutorial helps keep everyone safe.
Remember that this information helps the phisher or hacker too, so please act quickly!
Never share your private key online or with untrusted tools.

About Us
GenerEOS is a social enterprise block producing candidate with a mission of promoting and supporting scalable and highly reliable block production whilst giving back block rewards to charities.
Based out of Sydney, Australia, GenerEOS is founded by a team of like minded blockchain enthusiasts with diverse backgrounds and a passion to make a difference in the world and fostering the spirit of generosity by giving back.
GenerEOS: Helping EOS Change the World
Public Presence
Website: https://www.genereos.io
Twitter: https://twitter.com/genereossydney
Steem: https://steemit.com/@genereos
Telegram: https://t.me/generEOS
Reddit: https://www.reddit.com/user/GenerEOS
Github: https://github.com/generEOS
Medium: https://medium.com/@generEOS
Facebook: https://www.facebook.com/generEOS
Charity Selection Survey: https://goo.gl/forms/zLJ6QHPogUtxA6G22
Good job man
Very thorough write up, i for one appreciate it , please make a video walking through the steps , i believe the vids help people take the steps, seeing it done is believing it can be done and gives confidence, i will make a test account and try it my self, Thanks again for all that you are doing for our community
Great feedback, thank you. A video tutorial is on the horizon as soon as we get some time.
Thanks!
Very good information. Exellently detailed tutorial.
It's great that you've mapped out every step. It's the only way to go really. Better it's annoyingly detailed than you can't understand something.
Blockchain is still a foreign language for most of us. A totally different way of going about things. And with the many harsh pitfalls, you can easily see how people could end up a little afraid!
Keep it up, I'm totally using your stuff!
Thanks so much for the kind words. We wanted it to be as comprehensive as possible to weed out any confusion. Its the least we can do in this new confusing space :)
It's very complex, maybe with cleos is simpler
GUIs do tend to have a lot of menus!
Seriously I appreciate your effort but that are a lot of steps!
We wanted to be very clear, especially to our foreign language friends, how they can be 100% ensured to use scatter and our toolkit to securely change their keys.
For many who are already familiar with Scatter only Step 5 is required. Paste your public key twice and hit "Change"... far easier than building nodeos from scratch and running a command line ;)
In step 4, it says to save your private keys elsewhere. I'm confused. Doesn't generating a new pair of keys encrypt the private key in scatter (it's in ******** symbols above) so that you can only see the public key? example above you can see 'EOS6JY...woiJ8?
Valuable info! Good stuff
Great work guys, very very helpful content :)
I notice that the owner and active keys are the same in the jason file. Isn't better that they are different? I want to fix mine so the owner key is not the same and don't know how for my existing account.
@genereos i have been trying several times changing my owner and/or active key and before scatter pops up the transaction failed.
could you give me clue of what can cause it. i have enough RAM.
I got a free EOS account via meet.one (https://medium.com/@MEET.ONE/how-to-use-meet-one-5d1d6071eb8e). I saved my private key (it's the same for active and owner) so in theory I shôuld have control of my account. My account name is firepolswiss if you want to check it... I did send 0.2 eos on it for a test...
I generated a new key with graymass, followed these instructions, when I get the Scatter popup for the Request signature and click accept I get this error:
TRANSACTION HAS FAILED
DETAILS: "{"CODE":500,"MESSAGE":"INTERNAL SERVICE ERROR","ERROR":{"CODE":3090005,"NAME":"IRRELEVANT_AUTH_EXCEPTION","WHAT":"IRRELEVANT AUTHORITY INCLUDED","DETAILS":[]}}"
Any ideas why and how to solve it?
The account has 4 kB RAM, maybe that's the problem and I should have more RAM to change owner/active key?
You may need buy more RAM or stake more CPU/NET. I just encountered the same problem.
The guide is good but the Owner and Active Keys suppose to be different key-pairs I think? Why you show in your example that the active and owner keys are the same?
Hi @genereos ! Does this tutorial worked well to change the keys, or you have some updates for errors or bugs during the process?
Regards, @gold84