Engineering drawing has been a blessing to me since we started it this semester. Although, this is because I did Technical Drawing at my secondary school and I loathed it then.
We just finished Oblique drawing with ease and entered Sectional Views.
SECTIONAL VIEWS
Sectional views are used to show the internal views of a machine when it is cut through by a cutting plane. Hatching which involves thin lines usually drawn at 45 degrees to the horizontal are used to indicate places where the cutting plane cuts through the machine. There are some things which need to be noted when drawing Sectional Views. All these depend on the orientation and position of the cutting plane.
1 First and foremost you have to get the end view when it is sectioned right. The cutting plane decides this but the shape of the sectional view is usually of the same shape as the original.
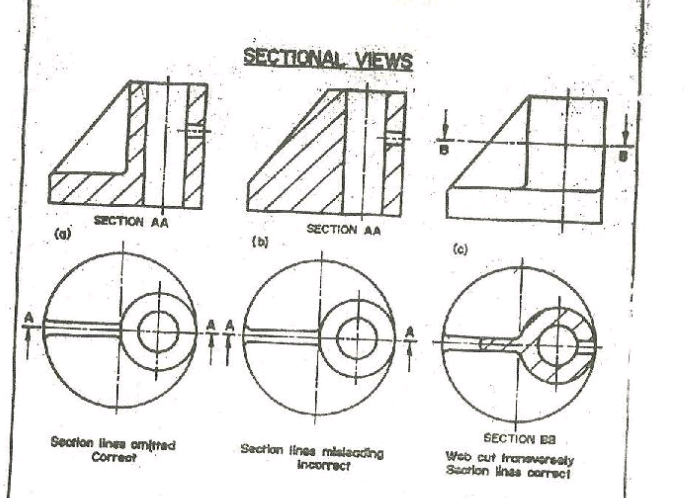
2 There are some machine parts which cannot be hatched when they are cut longitudinally but are sectioned when cut transversally such as rivets, nuts, bolts and drills. There are also some normally hatched parts which are not hatched in some cases an example is a web. From the picture below the web is not hatched to make it more defined.
3 If you are drawing the sectional view in orthographic protection do not make the mistake of projecting from the plan/front view the part cut out by the cutting plane. This makes you faster and removes unnecessary projection lines.
It's always better to do a rough sketch of the drawing to get a clear view of the sectioned part and avoid simple mistakes.
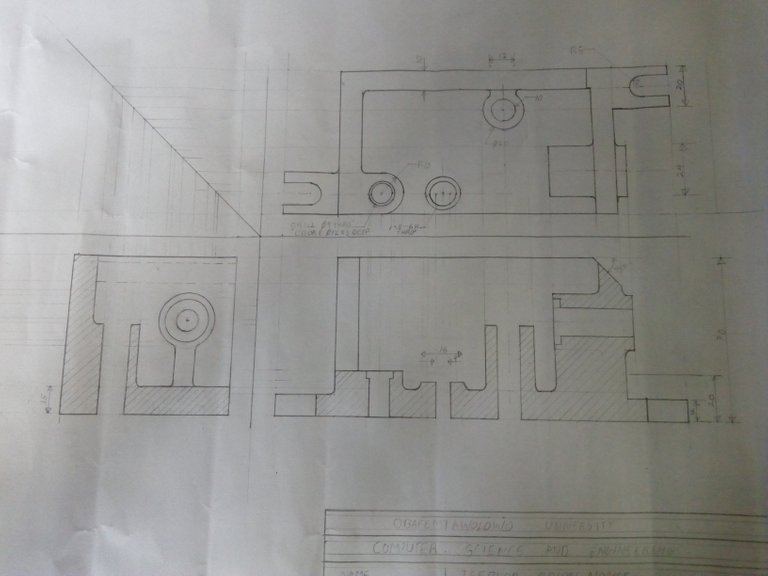
We were given two assignments.
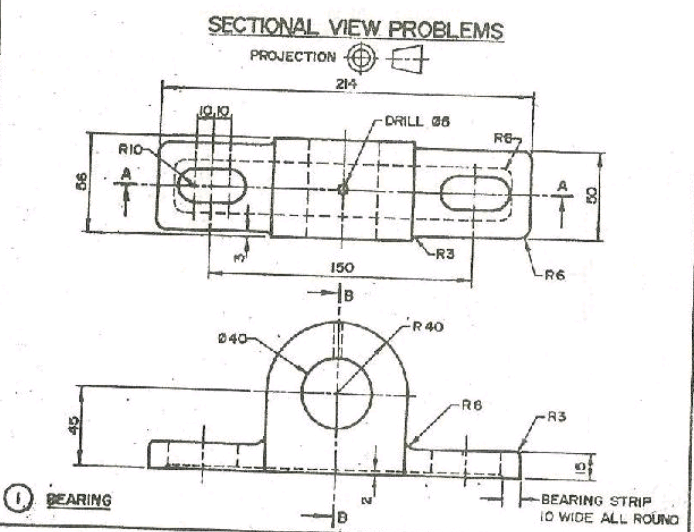
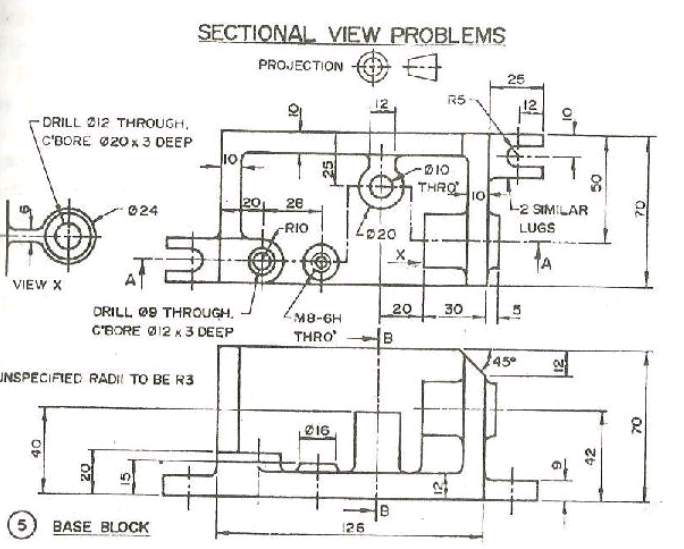
We were told to reproduce the plan and draw an end view in the direction of the cutting plane BB and a front view in the direction of AA cutting plane in third angle projection.
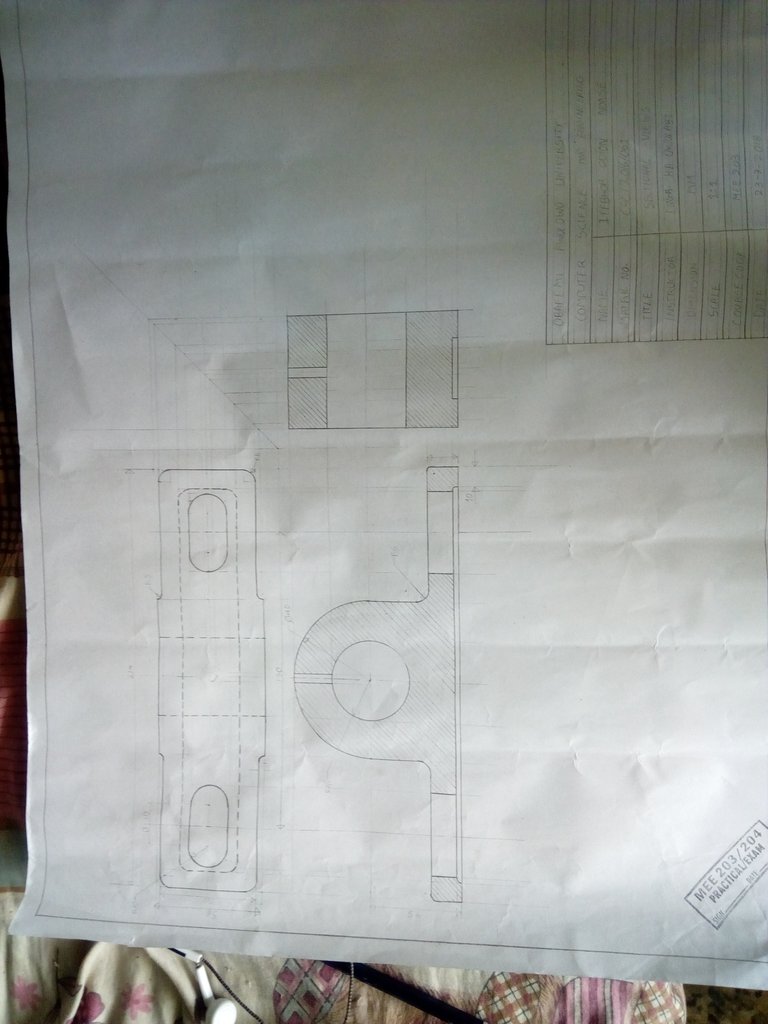
2 This one took hours to reproduce I had to sit down on my bed to draw after having a sleepless night.

Pls if you have any tips about this topic don't forget to comment, it will be highly appreciated.
If you would like to know more about sectional views follow this link
