Greetings! Those who read my blog know that I live beyond the Arctic Circle. Temperatures in winter are quite low, down to -56 Celsius. And I had a problem, my house has poor ventilation, so there is frost in the windows during the winter. This greatly hinders, as it hinders the review from the window. You can see for yourself...
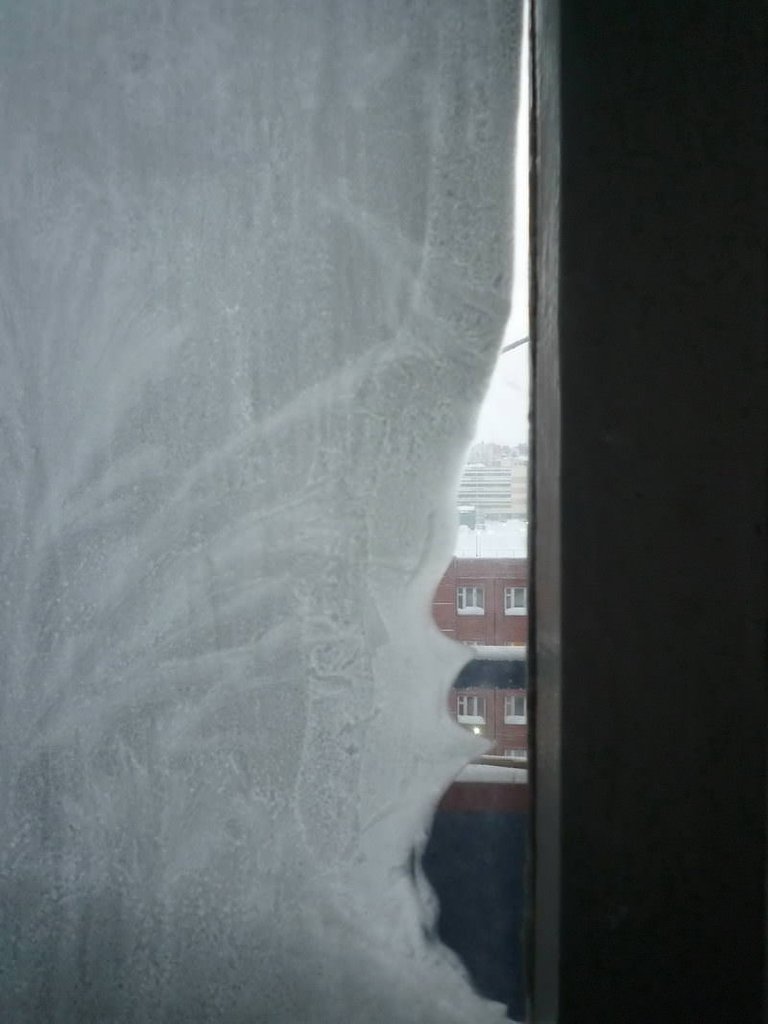
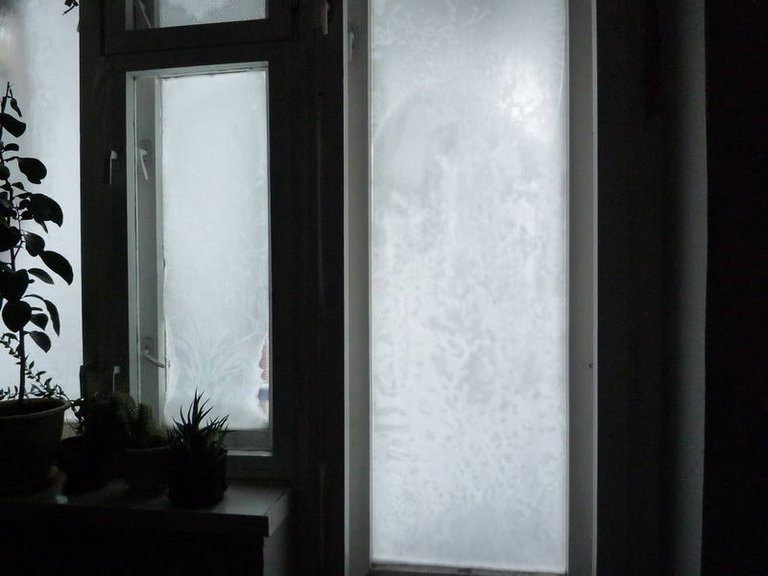
The municipality has to solve the problem of poor ventilation and while I "struggle" with this problem, I decided to do outdoor video surveillance. This will allow me to know what the weather is like, and also the video. Since the cost of outdoor cameras for a cold winter is high, I decided to make my own design.
It was necessary to determine the following tasks:
- Which camera to use?
- What control board use?
- How to solve the problem of heating and temperature control?
- Should the camera be controlled by Wi-Fi or using a wire?
In the final version, it looks like this:
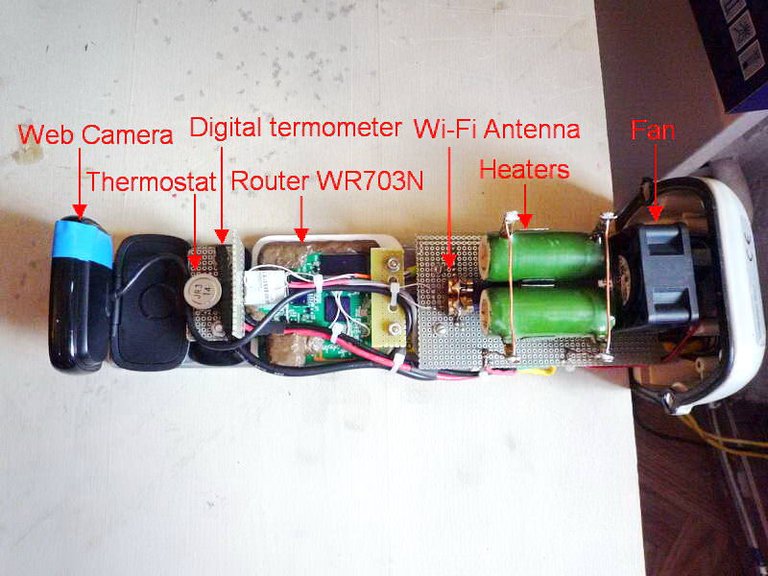
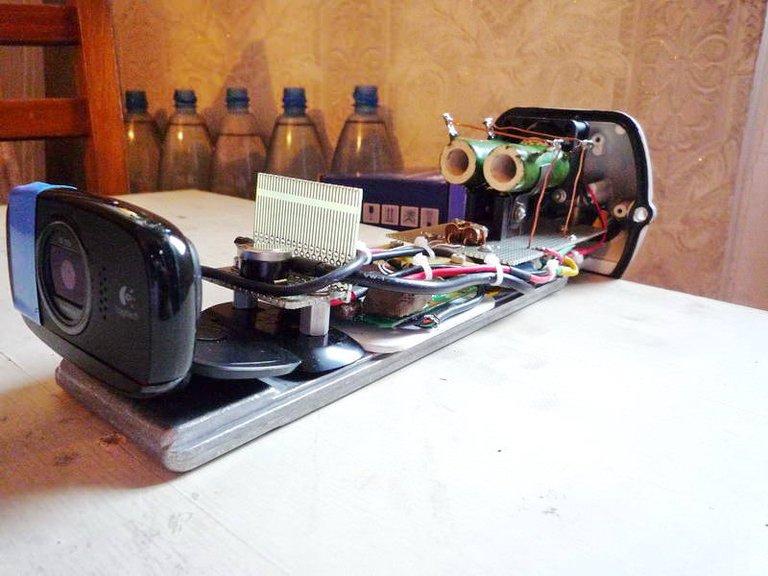
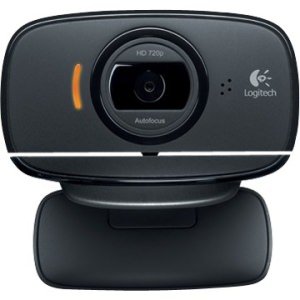
I used HD Web Camera Logitech B525: Resolution HD (720P). This is a good camera, which has the perfect combination of price and image quality.
link
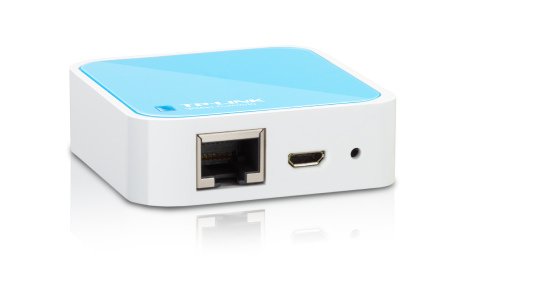
For a control board, I bought a Wi-Fi router TP-LINK TL-WR703N. It has a low price and good performance.
Features:
link
- 802.11 b/g/n 150Mbps (130Mbps real)
- wireless power output 20dBm - 100mW
- 4 MB flash memory (can be modified for 16MB)
- 32 MB RAM (can be modified for 64MB)
- USB 2.0 port (High-Speed only, use an external High-Speed hub for Full/Low-Speed devices)
- Powered via micro-USB socket
- Tiny form factor: 5.7cm x 5.7cm x 1.8cm
To connect the camera through the USB, I used an alternate firmware CyberWrt. This firmware has many software modules, one of which allows you to turn the router into an IP camera, which can work on Wi-Fi or use Lan. Later, for the transfer of on-line HD video, I used Lan as the quality to avoid freezing.
To solve the heating problem, I used 2 resistors that connected in parallel. Their total power of 20 watts, which turned out to be quite enough. For better heat transfer, the fan constantly blows on the resistors, creating a warm air.
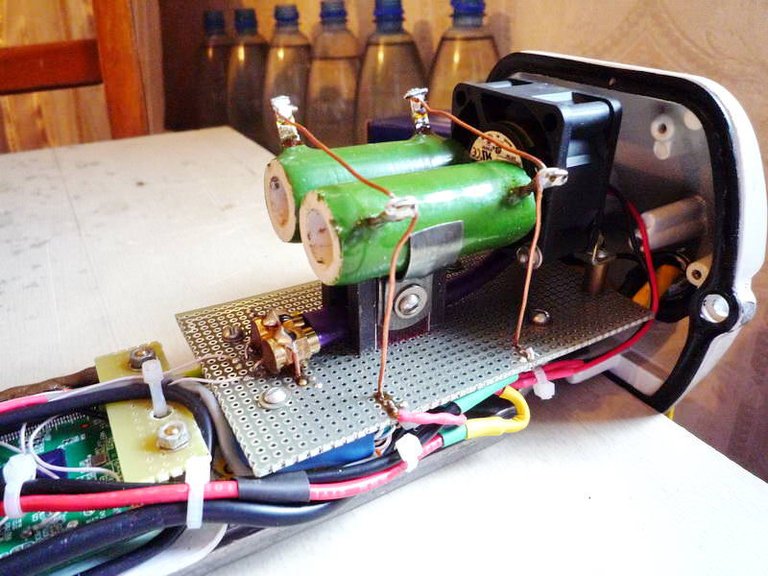
The source of power for the heaters is the old power supply from the laptop, 19V / 5A. The fan and the router are powered by a separate unit at 5 and 12V respectively.
The first tests showed that in warm weather about -5 Celsius, the temperature in the interior of the hull reached +40 degrees, with an outside temperature of about -15 inside was optimal, around +18 degrees Celsius. When the outside temperature was -30 Celsius, the inside temperature was about +8. It was necessary to solve the problem of overheating in a warm time and increase the temperature in the cold.
I thought different options, including using a microcontroller or PID controller, but this all complicated the design. An ingenious solution was the use of a bimetal thermal relay. When the temperature reaches +18, the relay contacts open and turn off the heaters, reaching a temperature of +10, the contacts are closed again and so cycle after cycle, it's brilliant))
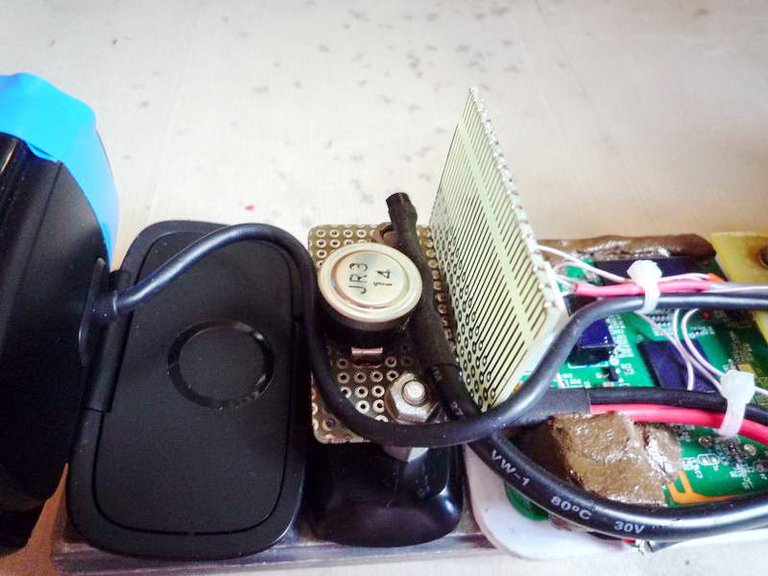
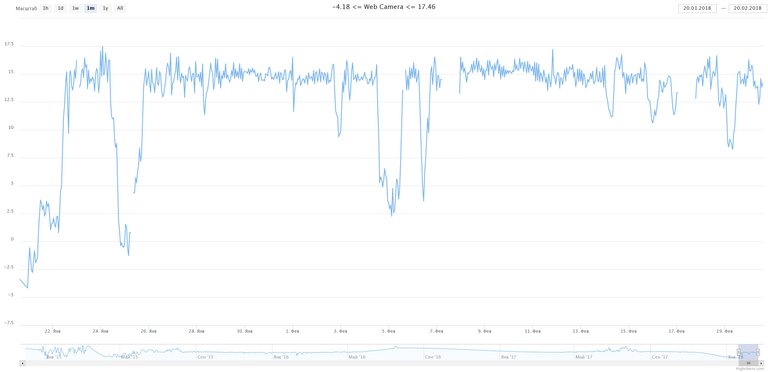
To monitor the temperature inside the camera and use a digital thermometer DS18b20, which displays information in the real time on the site. Example of a graph of the temperature inside the enclosure from 20/01/2018 to 20/02/2018. The graph shows the average temperature of about +15.
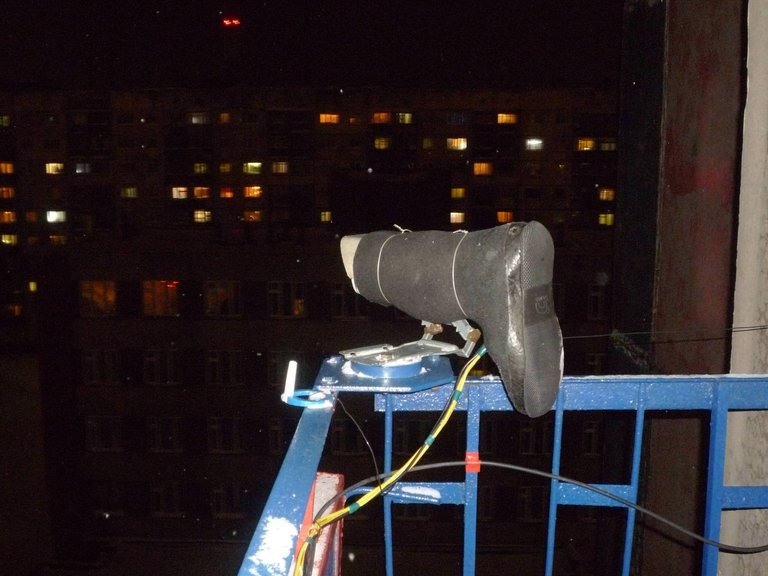
I installed a video camera on the balcony, and for maximum thermal insulation used valyanka))
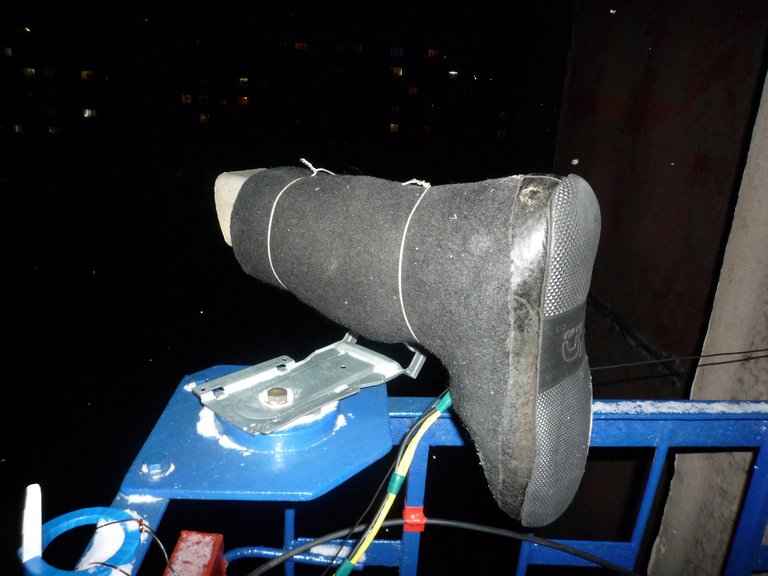
This proved to be very effective
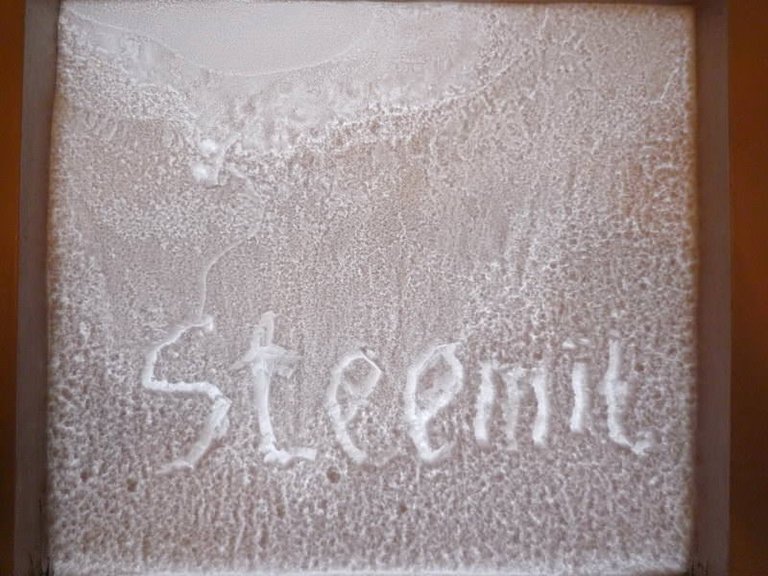
For all readers of my blog, there is a unique opportunity to see an on-line image from my camera. These are screenshots that can be updated in the browser by pressing F5. LINK
Perhaps this information will be useful to you, or maybe just read to kill time, in any case, thanks for attention :)
With the best wishes, @gleb-jeglov aka Evgeny.
Прикольно, всегда восхищали люди, которые могут запиливать такие штуки своими руками.
Спасибо за добрые слова. У меня отец занимается электроникой, видимо и мне передалось )))
Super system - valenok edition :)
За то надёжно, дешево и практично )) Экономия тепла и электроэнергии на обогрев!
Мне нравится. Я когда в одной it конторе работал, мы за пингвинами следили в антарктиде всем офисом через веб камеру, теперь буду Норильские дворы разглядывать :)
А без обогрева при какой минимальной температуре работала? У меня смарт в качестве камеры до -10 нормально функционировал, ниже в Калининграде не было ни в этом, ни в прошлом
Было такое, что электричество отключали дома и камера без обогрева оставалась, потом включал и нормально работала. Мне кажется, что и без обогрева она будет работать без проблем, тут опасения больше за стекло, что бы не обмерзало. Эта оказия у меня уже 3 года, 24/7 работает. Корпус хорошо герметиком заделал,а внутрь пакетиков с селикагелем накидал. На самом деле с вэбки можно и видео посмотреть, если интересно, могу кинуть линк в телеграм.
Wow!!Good job.
Thank you so much, bro!
I appreciate the information. This is a good way to build your own networked camera whether it's cold in your area or not. I don't think I would need the heating, but just using a camera like that with the router converted to a webcam server is a great tip. Thanks
It's convenient and profitable than buying a finished camera.
This post has received a 0.26 % upvote from @drotto thanks to: @banjo.