Good evening friends, I leave you tonight a new job in photoshop that you make these days, I hope you like it and will use it to apply them in your work for those who use or not, this application is really the best in my opinion that user and as a teacher when teaching it to my pupils.
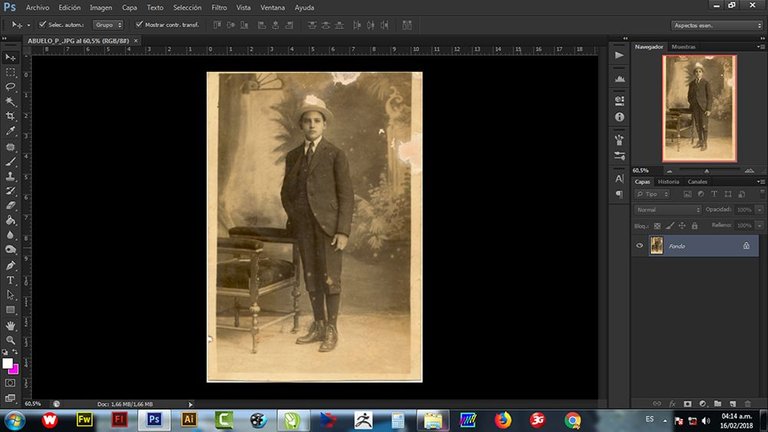
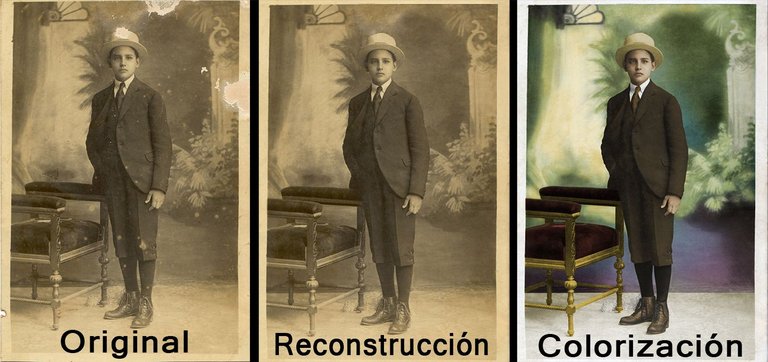
First I show you the image of my paternal grandfather, with the original damage.
The second is to go to the PICTURE menu and there to select IMAGE SIZE and in resolution to upload it to 300 dpi or ppp in Spanish.
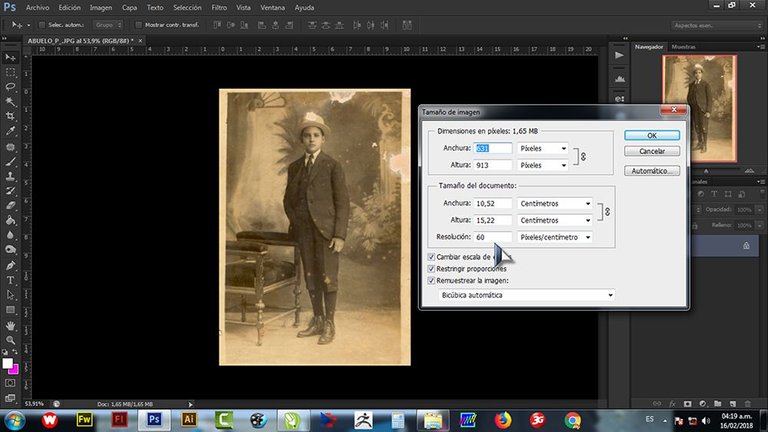
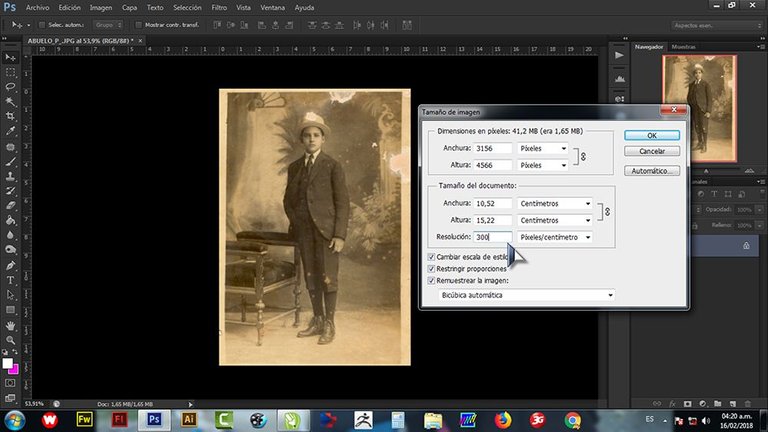
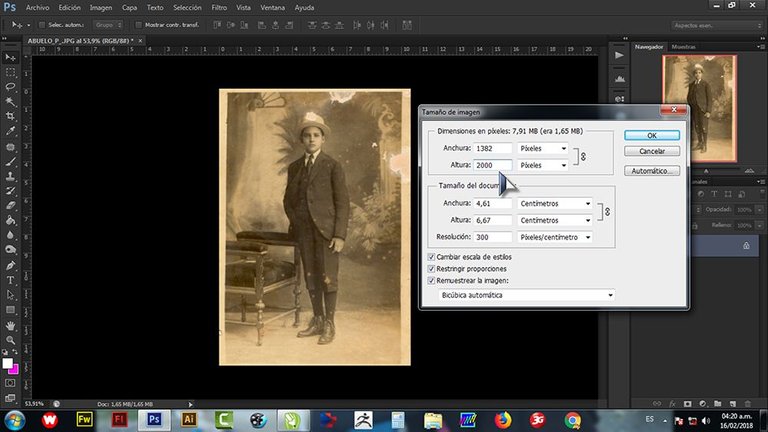
If you detail the values that by default increased in height and width, you will see that they exceed 3000 pixels and this is a lot of value for an image that will be used on the internet or printed in approximately letter-size formats. That is why I take the higher value (width 4566) and lower it to 2000 pixels that will be sufficient for the letter printing format.
Now the game starts, with the patch tool (left side the 7th tool) is drawn around the area to be changed and then dragged that selection to the space that looks more like the damaged area.
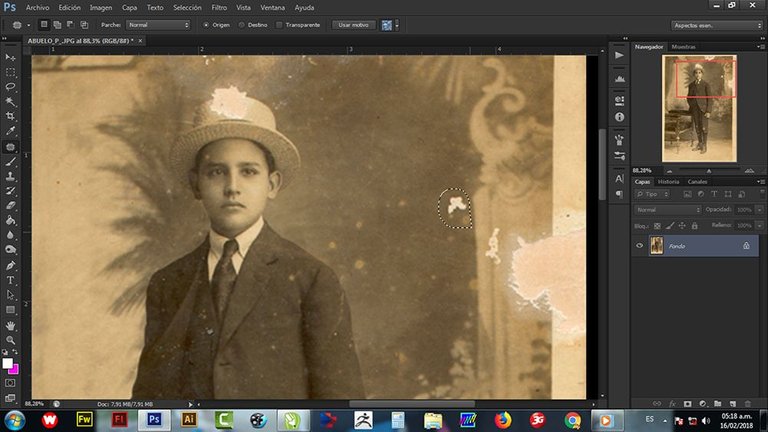

That operation is repeated throughout the photo, look how it is going.
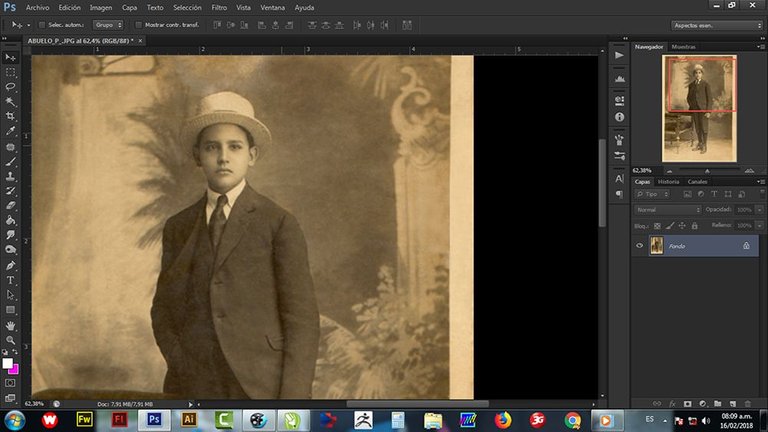
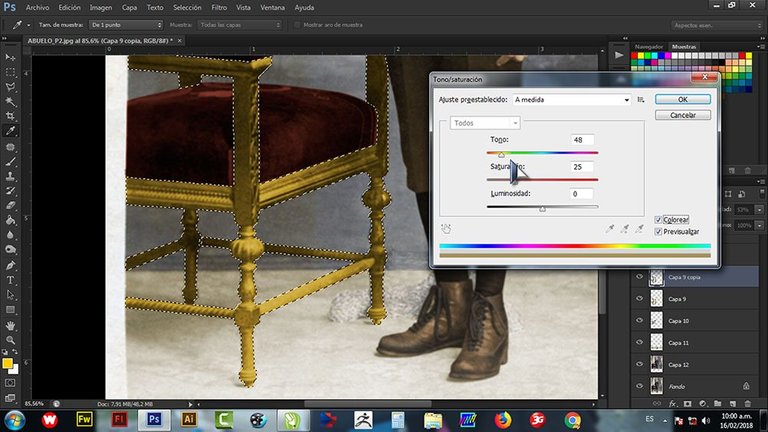
Now the fun for me, coloring ... I select with the pen tool (number 15 of the tools), I'm drawing each piece to color, I duplicate that selected area to not color directly in the photo, I select the color I want in the color window on the right side and then in the PICTURE menu we look for SETTINGS and select TONE / SATURATION.
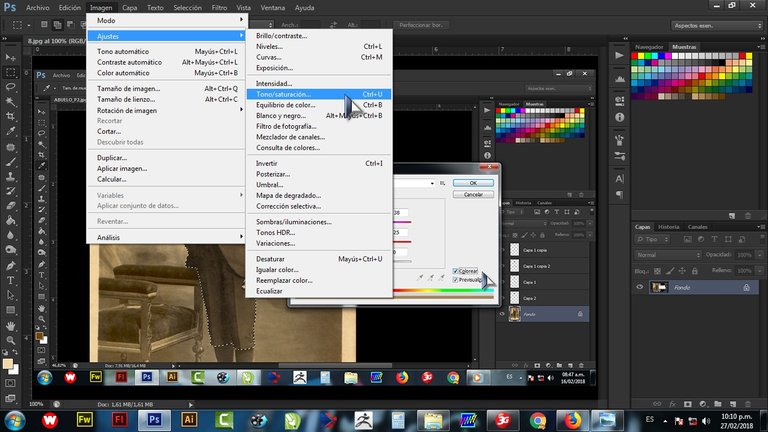
Here we first activate COLOR so that the color previously selected in the photo is applied, then if we can modify the values of SATURATION and LUMINOSITY, the TONE does not recommend it because they remember that a color had already been selected, just touch the TONE if you have not selected a color before entering this TONE / SATURATION box.
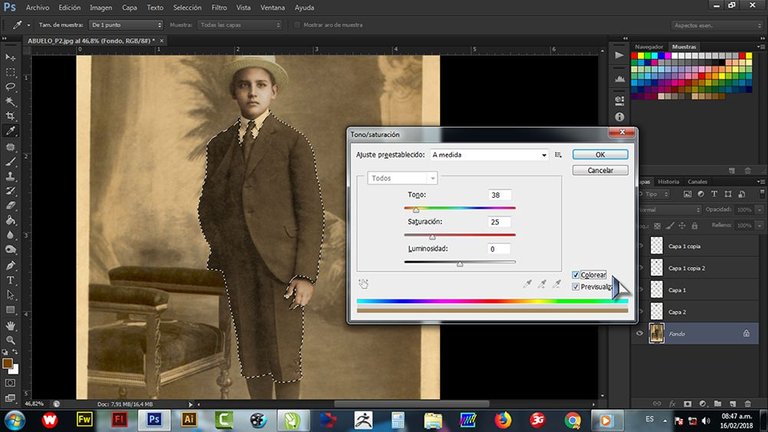
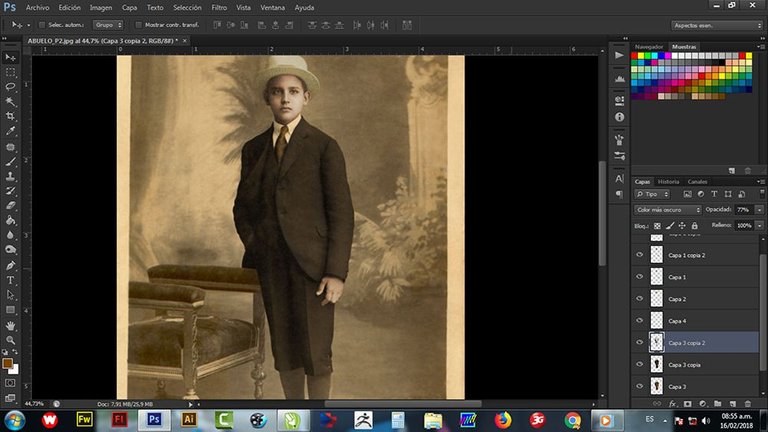
In the same way for all parties. In this case, I applied 2 shades to the shoes, so once the brown was applied to a copy of the selection in the photo, I re-published that layer of the shoes and in TONE / SATURATION now I will modify TONE, to look for a lighter one. and achieve the litmus effect.
If you have patience, the final art will remain that way.
Thanks for your attention DLB greatly friends.
