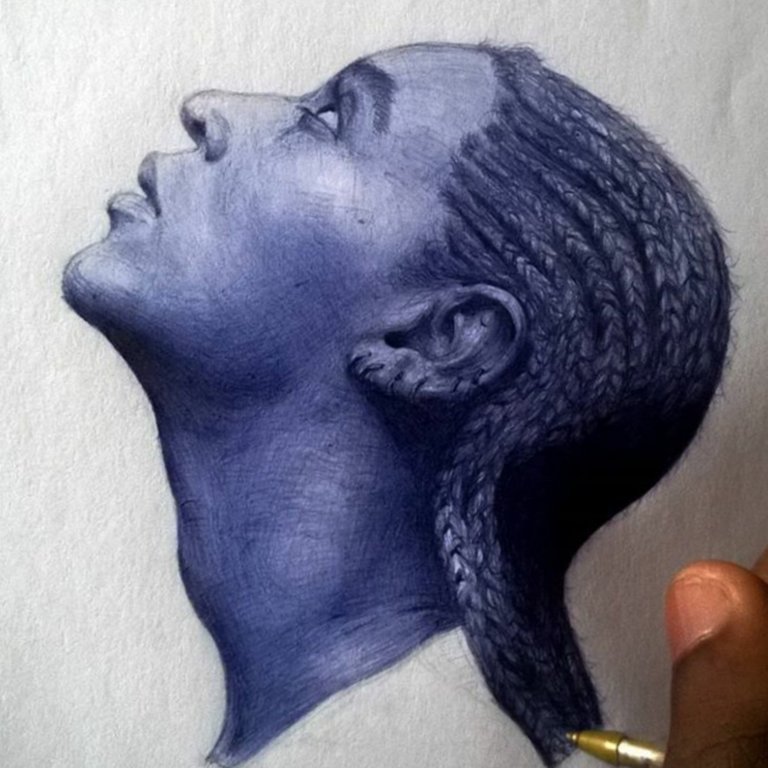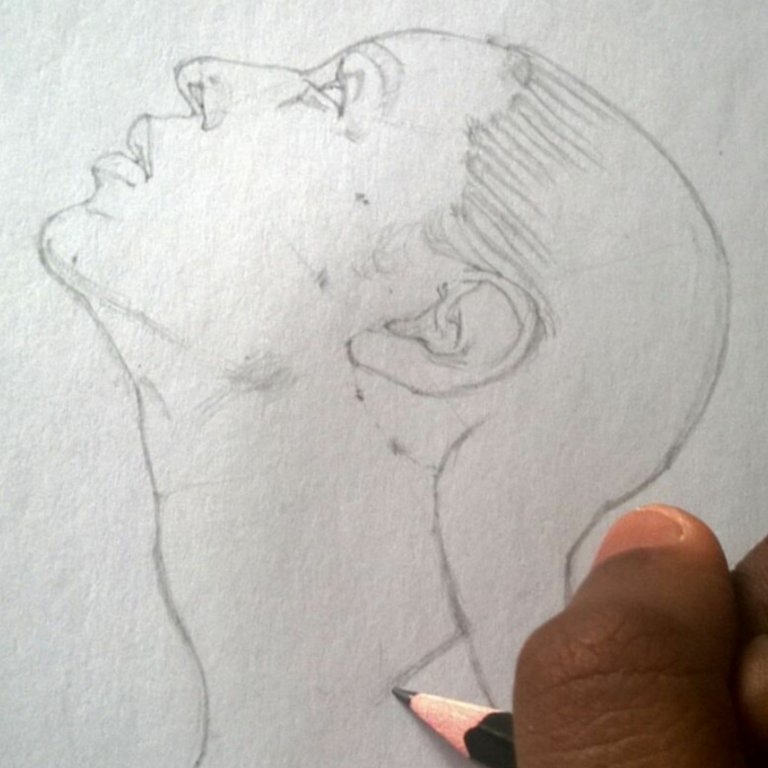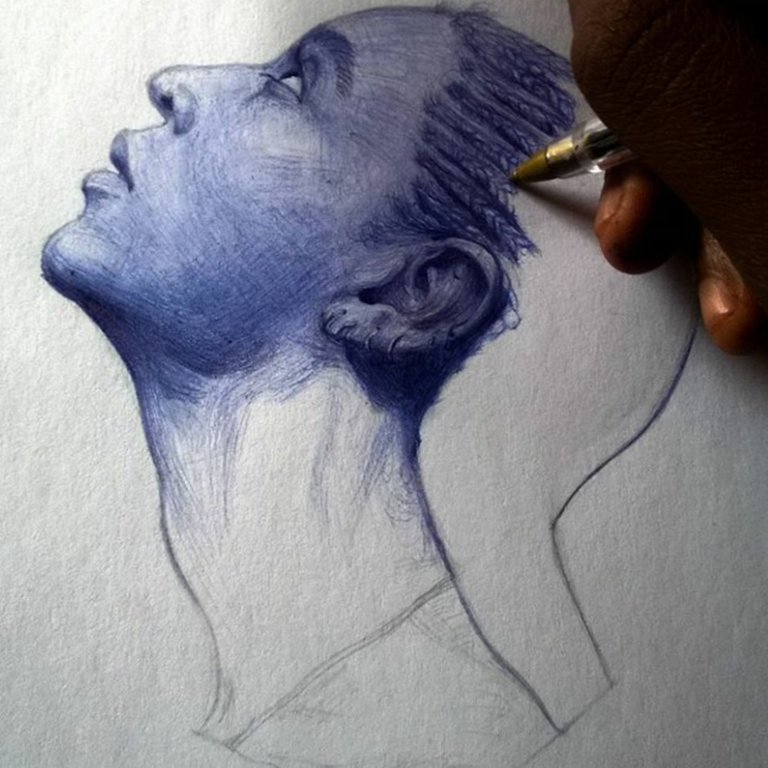
STEP 1:- MAKING THE OUTLINE -

for many artist this is a struggle, but there are some artists that love making the outlines. There are different ways of making them. You can use the (1) Square Grids (great for huge drawings or when you are on a time crunch), the (2) Diagonal Grid (you simply make two diagonal lines that cross each other and then a straight horizontal line that crosses those previous lines) which is kinda like a semi-freehand or straight up freehand. (3) for freehand drawings, you have to keep practicing to find what works best for you (everyone finds one eventually). I like to use certain markers in the reference pic to help me. So apart from eyeballing it, i find something like a very obvious pimple for my entire drawing.
STEP 2:- SHADING (BASE LAYER)-

now you'll notice that I've corrected the positioning of the ear and shifted it upwards. If you examine the diagram above, you'll notice that there are 3layers of cross hatching (you can insert any technique you want) an example of the first layer can be seen on her neck (you can see the visible strokes, her head and cheeks have 2layers, her jaw has 3, her chin has 4 and the back of her ear has 5layers, the variety of the pressures on your stroke will give you a good range of values (light shades to dark shades) to work with.
STEP 3:- SHADING (DEPT)-

knowing what layers are, all you need do is to keep adding more subtle layers to where they are needed (as seen above the drawings now look smoother than before). If there are curve in your reference pic, try shading with the curve (usually called contours) and can be emulated with any technique you want) this contours will help you create dept.
#tamster
Have fun drawing urs and if you like this post please upvote and resteem
Beautiful drawing, I wish I could draw too
Thanks..