I love the farmhouse design trends and all wall décor this trend has brought with it. While I'm a sucker for the wooden signs available in every home décor section of my favorite stores I also don't have the budget to fill my personal home and staging home with them. Therefore, it was time to get creative, I hit pinterest and found just about every DIY tutorial for wooden signs. I was less than thrilled with most of my results and apart from just writing my own wording I couldn't find a tutorial that was fast, easy and required relatively no skill. And then I found out about wax paper! After perfecting these steps I have quickly transformed almost every wall in my house and for almost no money at all!!
WHAT YOU'LL NEED
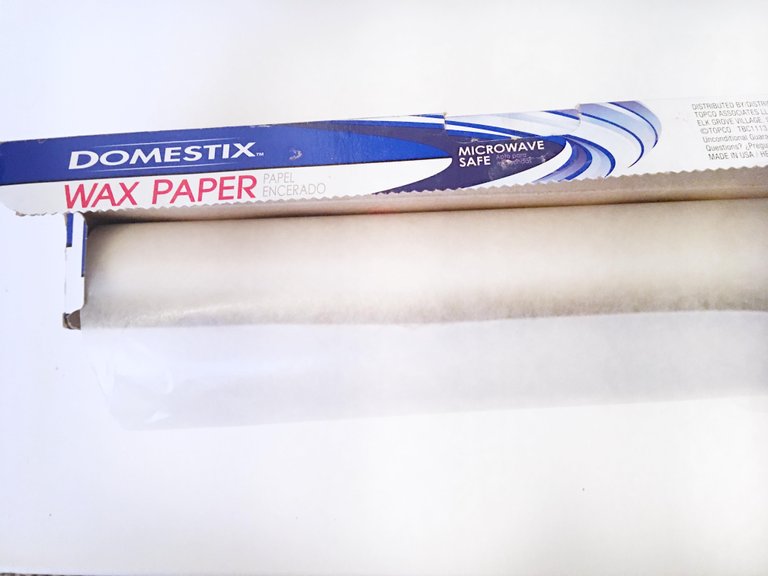
wax paper
scissors
paint pen
ink jet printer
decal to print
STEP ONE
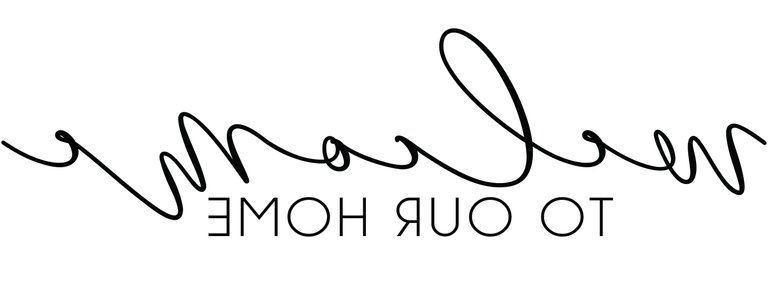
Grab your artwork, once you have it be sure to mirror the image so that it will print out backwards. (if you don't do that it will apply to your sign backwards) SNAG MY DECAL HERE
STEP TWO
Cut your wax paper down to regular printer paper size and feed into your ink jet printer. Be sure to do one page at a time as the wax paper can slip. *(also be sure to print off a few test sheets on regular paper to check the sizing and placement for your sign.)
STEP THREE
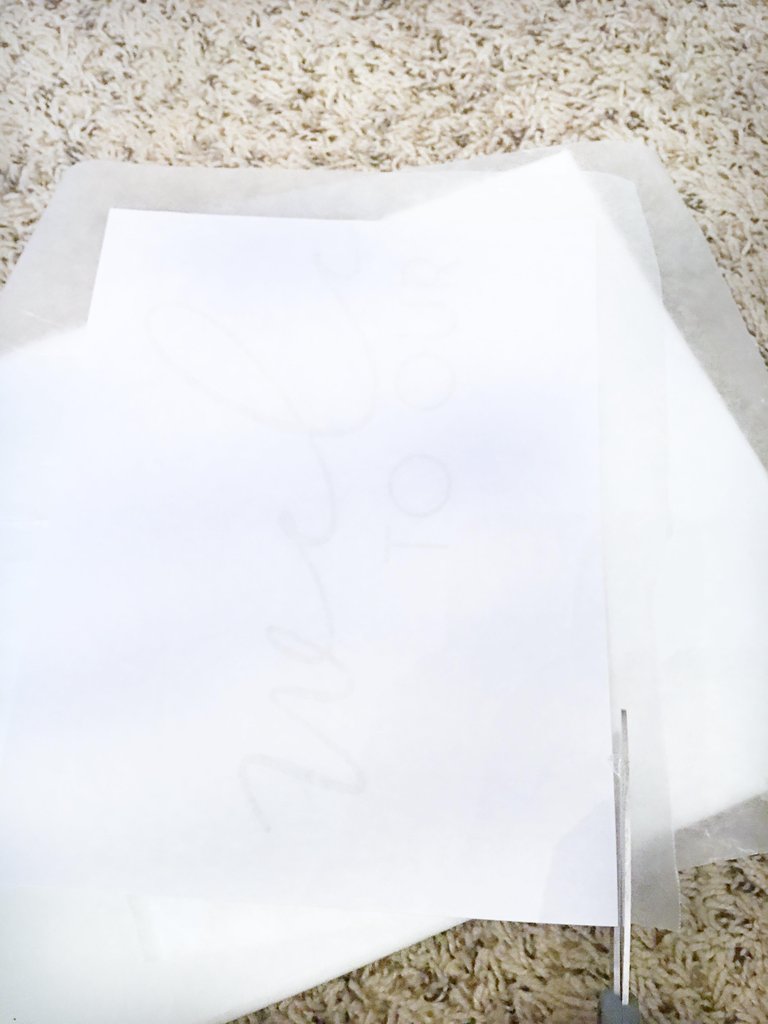
Place ink side down onto your sign and hold it very secure (DO NOT let it move around or you'll get blurry lines). Once it's held in place, firmly rub over each letter with a paper towel or rag of some kind to help the ink transfer from the wax paper to the sign.
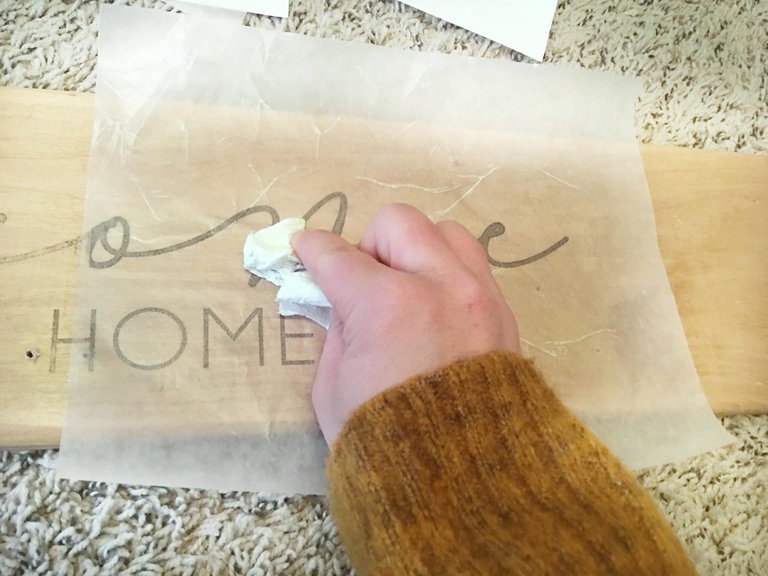
STEP FOUR
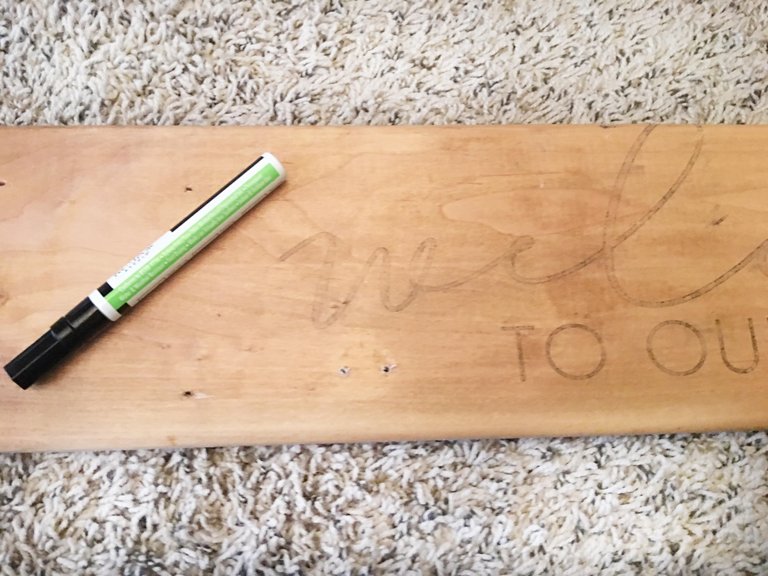
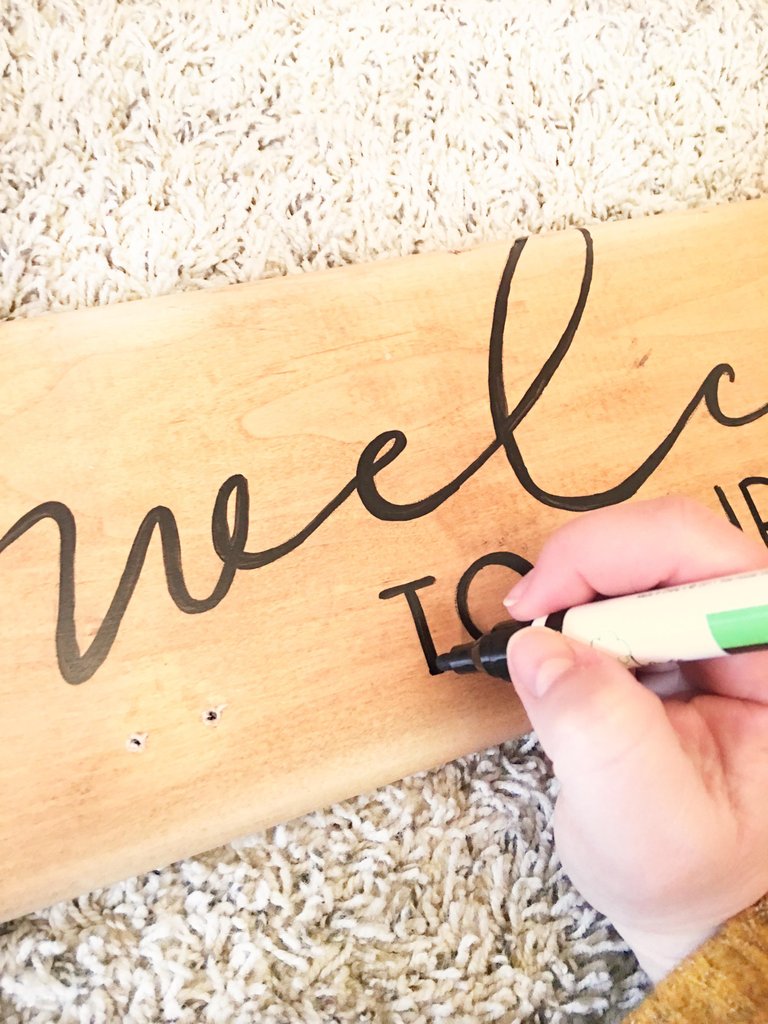
Remove the wax paper and Voila! Now you can choose to leave it as is if you like that rustic, worn in look or you can use this as a guide to trace over with paint marker...which is exactly what I chose to do. (Keep in mind this board that I'm using has a finish on it which repelled the ink jet ink a little on a sanded or raw wood surface the ink jet ink will appear much darker!)

STEP FIVE
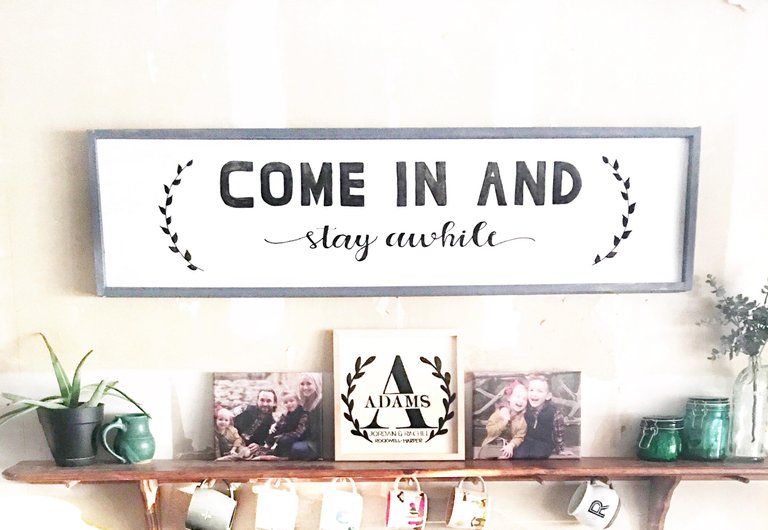
Find the perfect spot in your house and hang that bad boy up!
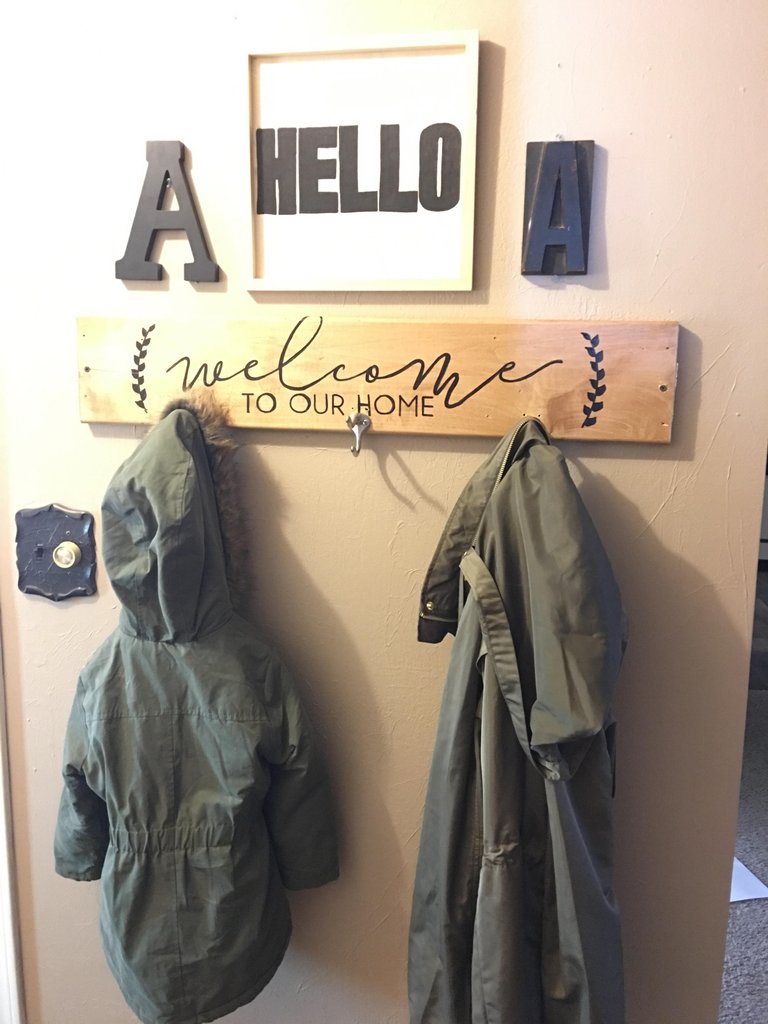
If you are interested, here are a few more I created with the same steps!