Work continues on the prepping for painting the wooden floorboards in the spare bedroom. I thought it was just mentioning a couple of things.
I’ve read a few “how to” articles about the painting process, and I found this article useful, and also this one.
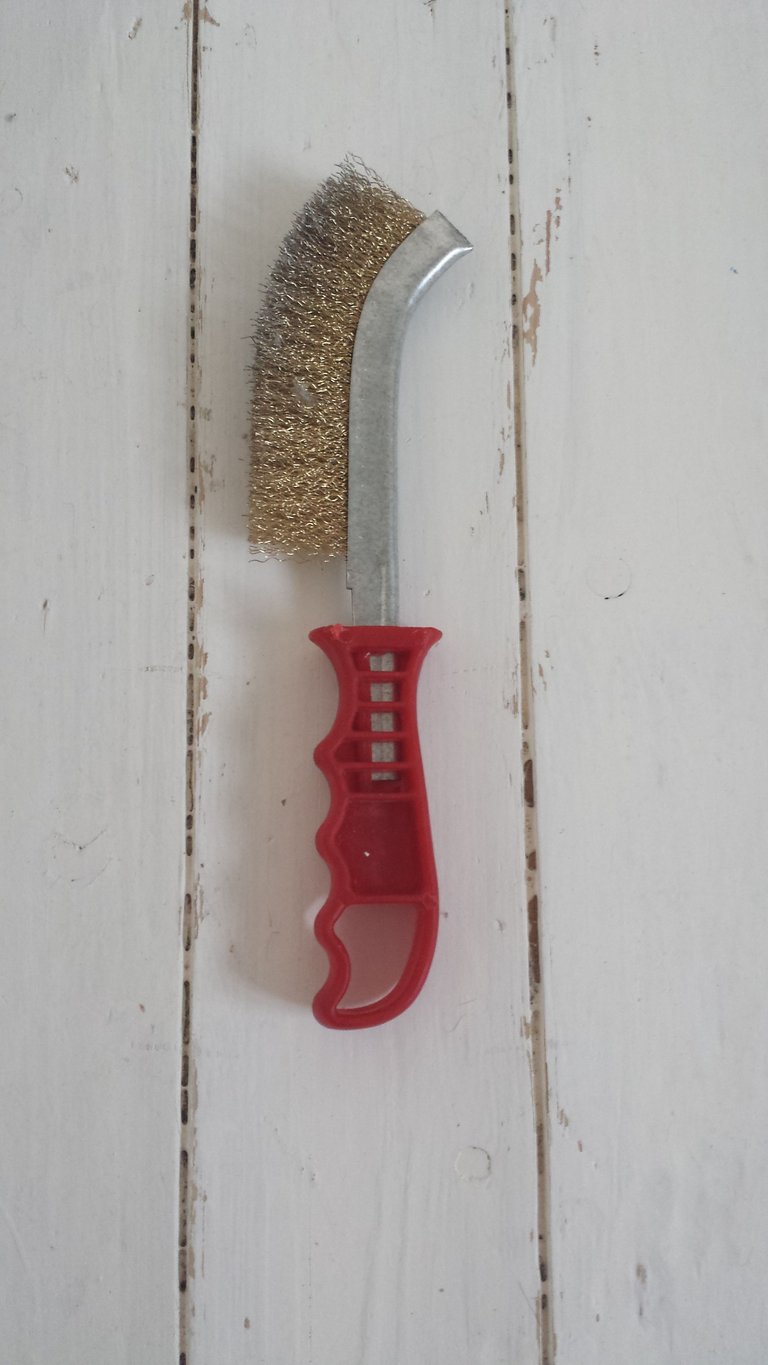
I had previously been using a scalpel to scrape out the gunk that was left there. My very clever husband @costopher got me this steel bristled brush.

At first I said I didn’t want to use it because I was worried it would take off too much paint, and then I would have to re-prime the bare wood. However, he proved me wrong by using it at an angle to get into the crevices in the boards, but managed to avoid most of the boards themselves. Sometimes it’s nice to be proven wrong. If you’re doing a job like this, get yourself a steel brush.
Switching to the steel brush made this very boring but very necessary job go a lot quicker. There were still some bits that needed the scalpel to clear (like the Blu Tack and a large piece of masking tape that had been painted over. Why?), but all in all, the steel brush is a winner.
My very, very clever husband also reminded me that I wanted the skirting removing to be replaced with new, and that now was the best time to take if off; before the floor had been cleaned and nicely painted, only to have rubble and dust scattered all over it by removing the skirting, and then having to clean it again before putting on the new skirting and oh god so much cleaning. Cleaning as you go whilst doing this sort of job IS important, but if you can plan the job logically so you have the least amount of cleaning to do for the maximum result, then you’ll be happier and less tired.
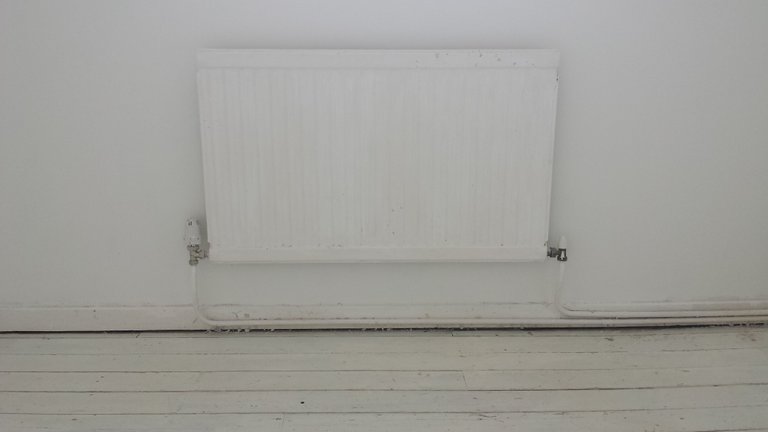
As you can see in this photo below, the pipes for the radiator run in front of the skirting board.

We had to be very careful when removing this piece of skirting so as not to knock the pipes or valves and cause a leak. Using a hammer and chisel placed behind the skirting (so professional), we gradually pulled the skirting from the walls. It had been attached with some nasty looking nails. These were hammered down flat to the wall rather than removed.
It is possible to remove the nails, but we didn’t know how much plasterwork it would take with it, and given that they will be covered over with the new skirting, it’s not too much of an issue. For the skirting behind the radiator and pipes, my husband pulled it outwards at one end, with me using my feet to brace it to the wall close to the pipes (how elegant), so he would be able to get a small saw to the skirting and take out a piece so that the rest could be slid at an angle up the wall till it was vertical and free of the pipes.
Gently pulling away the skirting.

The wall without skirting.

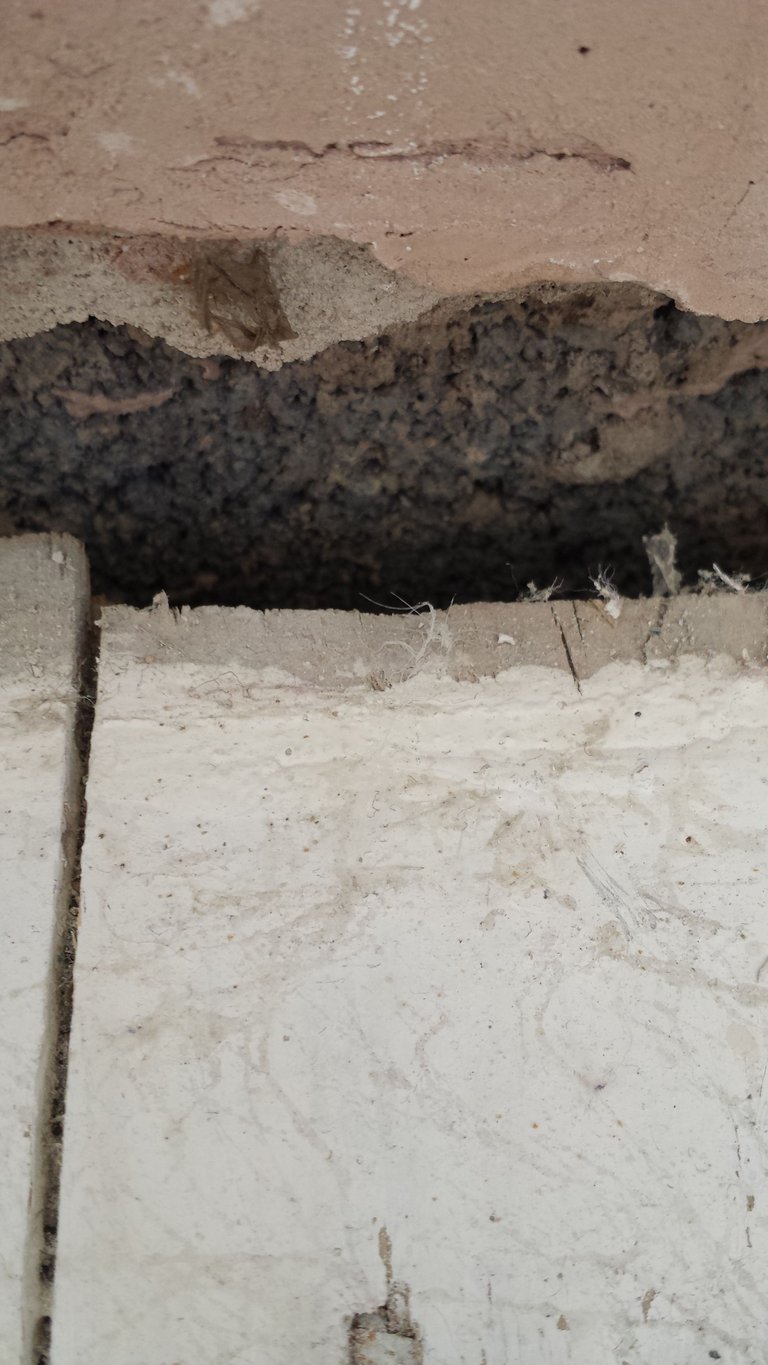
I have to say, there is something utterly terrifying about taking apart pieces of your house; even something that isn’t necessarily structural like skirt. OH MY GOD I CAN SEE A GAP BETWEEN THE FLOORBOARDS AND THE WALL IS THIS ALL MY HOUSE IS RESTING ON OH GOD IT’S ALL GOING TO FALL APART OH GO WHAT HAVE I DONE OH GOD OH GOD OH GOD. And then you put back or replace the bits you took away and suddenly it’s all fine again.
The gap between the floorboards and the wall.

Next step is to give the whole floor a light sanding, then vacuum up the dust and then back to scrubbing with sugar soap.
Side note: apparently sugar soap is really only known by that name in commonwealth countries and here in the UK. According to Wikipedia, in the US and Canada sugar soap is more likely to be cosmetic product; the comparable cleaning product would be trisodium phosphate, also known as "TSP”. In France it is sold under the brand name “St. Marc”. Interesting. Sorry if I’ve caused any confusion with people thinking that I’ve been rubbing face cleanser into wooden floorboards. You can try it, but I don’t think it will work very well.
It’s taken pretty much an entire day, but the floor has been scrubbed and scrapped and sanded and cleaned and washed down. Following all the advice I’ve read, I’ll leave it alone now to dry fully.
Most articles written about painting a wooden floor say that you should try to do one layer of paint across the whole floor in one go, so as to not get any ridges where you’ve painted one section, then let it dry and done another section at a later date. I might not have enough time to do that on Tuesday night, so it might have to wait till my next day off.
Thanks for reading, and I hope this post may be of help. Let’s hope all the prep work pays off!
P.S. When painting, always, ALWAYS do thin layers. Please.