My partner and I had a garden two years ago and we started with three buckets, some egg cartons, dirt and two 24 packs of red wigglers. What came of that was some mystical compost that sprouted 9 out of 10 seeds that we planted leading to a really messed up conclusion that we clearly planted too much zucchini. So this year, we are planting somethings at the end of the sow period and restarting a small scale vermicompost to top whatever makes it. Wanna see how?
Step one: Hardware store & pet store.
3 10 gallon buckets
1 10 gallon bucket lid
2 - 3 24 packs red wigglers
1 newspaper
Do not buy opaque buckets or lids, your worms will hate you and the sun, promptly not eat and die. Why red wigglers? This is pretty much what they're made for, they breed fast and eat much of anything. You could use earthworms but the progress is slower and if you fish, who is gonna say no to an abundance of active wiggly worms. What were making is a three compartment system. The bottom is meant for concentrated compost tea, this is both the build up of liquid from your kitchen scraps and the excess of moisture that your worms will produce. You can dilute this mixture for some unreal fertilizer in the future. Theres an easy way to create a tap, but I find it unnecessary. The second and third level buckets is where the worms with actually live and break down your garbage. Let's build.
Step two: making the bin.
Get out your drill. Get a 1/8 to 1/4 drill bit.(If you dont have a drill, its a pain in the ass but not a problem. Grab some 1/4 to 1/8 width screws and a screwdriver. If you don't have that, GO BACK TO THE HARDWARE STORE. Yeesh. Haha.)
Leave bucket one alone.
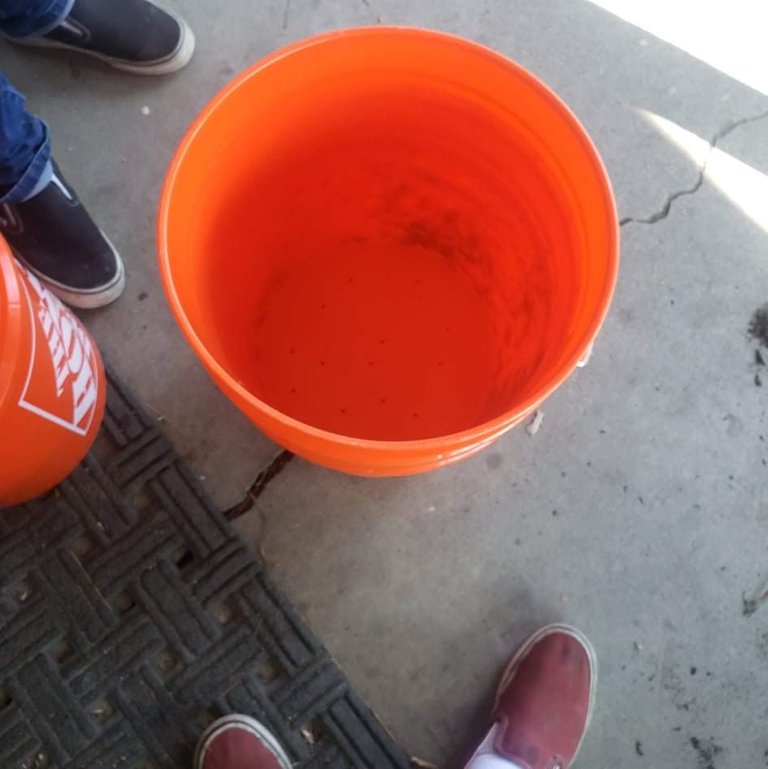
Just leave it alone you guys. It needs nothing. No touchy the first bucket. You're finito with it.
Bucket two and three.
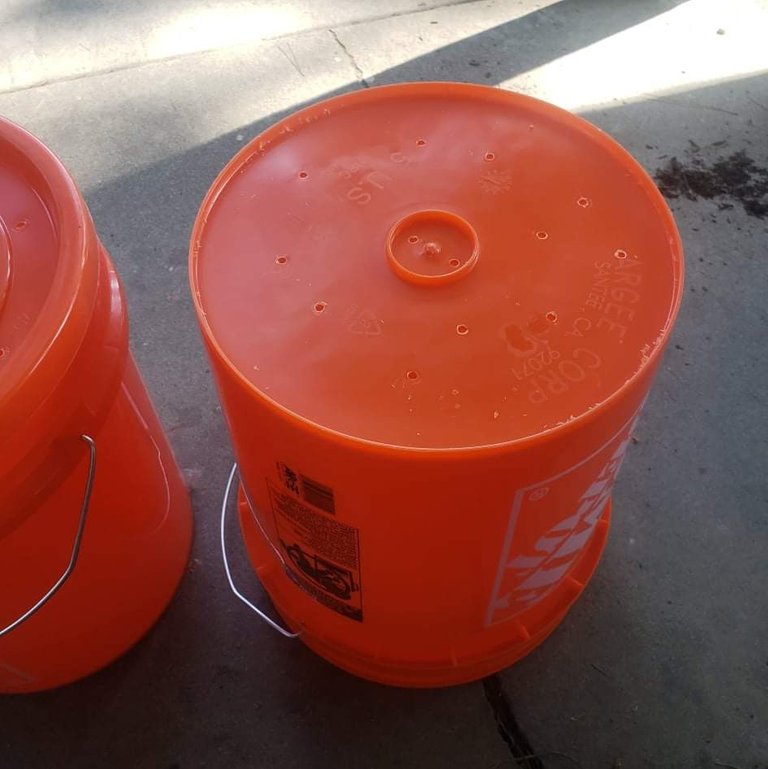
Drill holes in the bottom of the bucket 1 1/2 to 2 inches apart. Make sure there is no drill debris as this is not just for the aeration of the bucket, but your worms travel ability. Then youre done!
Lid.
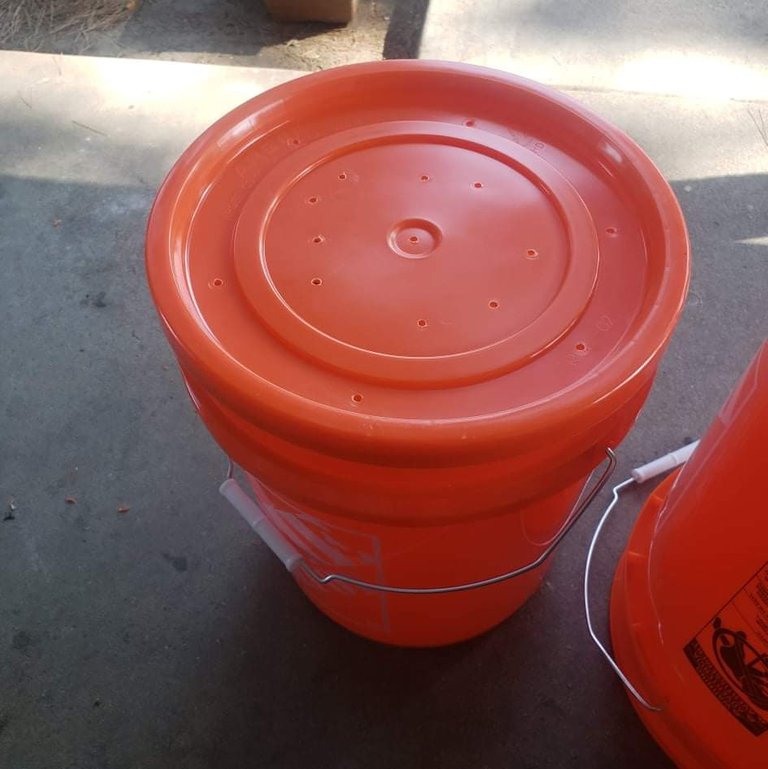
Same thing as above, this is for aeration and your worms will not escape. Stack. No hole bucket, holey bucket, holey bucket, lid. Tada, vermicompost kit!
It should look like this.
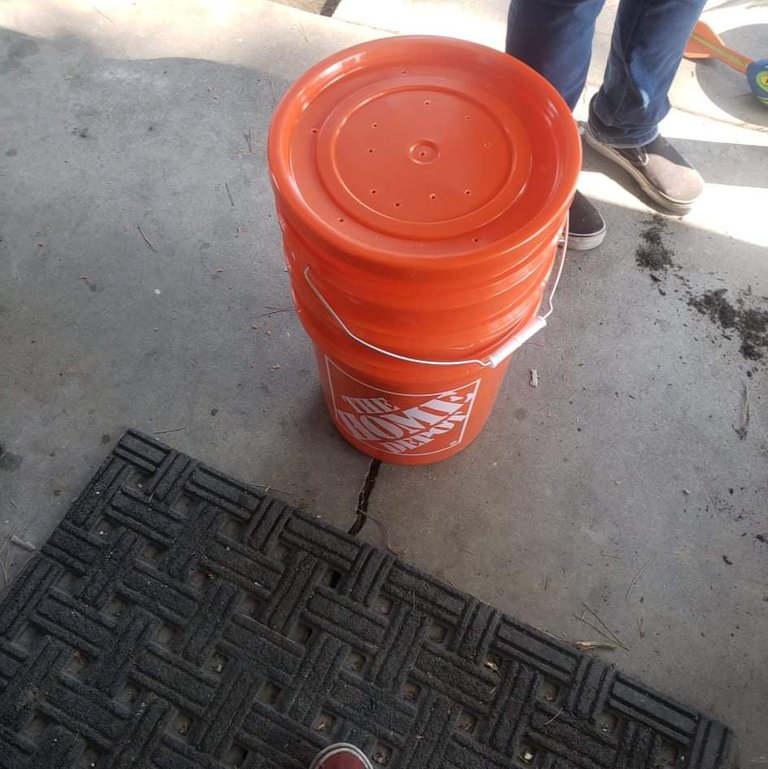
Incredibly easy, you see? You could add more buckets if you want for less possibly of worms in the finished compost product, we are considering it. Store your unused compost in a bin with holes in it, so that it may dry and keep out contaminates.
This is the hard part and the trial and error part.
Your first worm bed.
Dirt. Personally, we use an excess of dirt at about 5 cups, but 2 cups is optimal. I like giving the worms a lot of dirt because I also like to tumble(turn) them occasionally.
Worm bedding
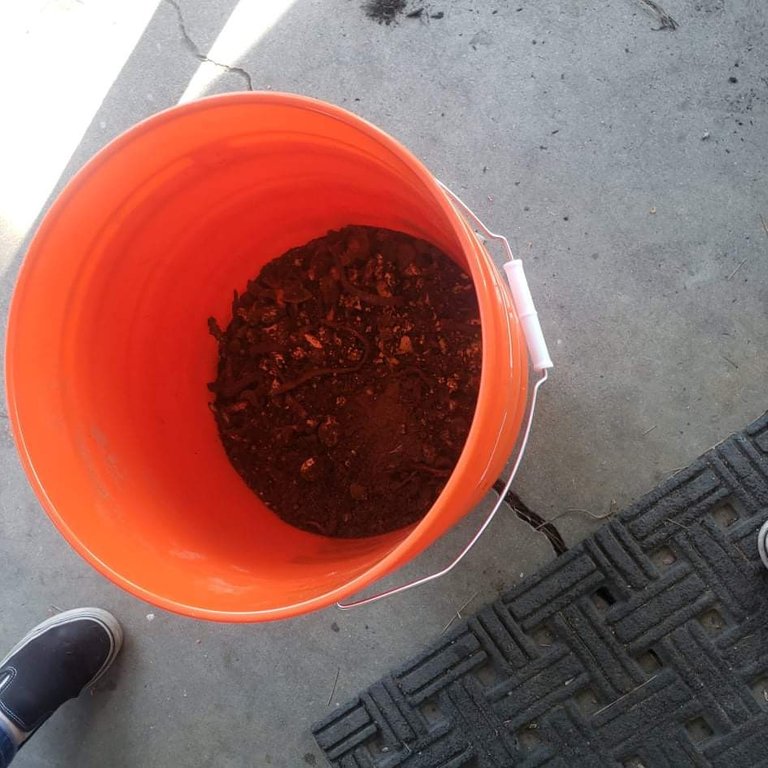
Most purchasable worm bedding is coconut coir. However, newspaper, egg cartons and dryer lint also work. We did purely egg cartons last time, but this time we will be experimenting with shredded paper, cartons, and lint. You produce them, you can use them. Moisten and mulch. We didnt do that very well with this started bed, but the worms seem to be okay with it. Mix with dirt. We will make up for the mulch by getting some mulched paper in when we finish feeding the bin. That's the next part, by the way..
Some personal choices on first feeding your bin.
Fuck the patriarchy. No kidding, kinda. Some vermicomposters say not to feed the bin for the first 3 to 5 days. It's my personal opinion that unless you buy directly from the worm farmer or a vermicomposter, you don't know when the worms were last fed because you liberated those suckers from being reptile or fishy food to live their lives doing their thing and helping you do something beneficial for everyone. So I feed my bin upon starting! I found a sadly rotting romanesco cauliflower, threw in some watermelon peels, cold brew coffee grounds, and will be adding up some well mashed eggshells as soon as we eat some eggs. Because this is a starter, I'll probably stop feeding the bin next week, let them do their ish and build a new layer the week after. Rules for my worm bin are no citrus or onion types, worms do not like the acid and wont eat. Easy on eggshells and coffee grounds, the calcium and nitrogen are good for compost and the worms, but too much will cause them to slow eating or stop eating. I only add fruits and veggies(no meat), my bin is out in shady spot in the open, I dont want rodents, birds, or ants in my shit, fuck those guys, so I try to avoid making my bin too stinky. Keep your worms out of the sun and keep on the wormy revolution! Yeah!
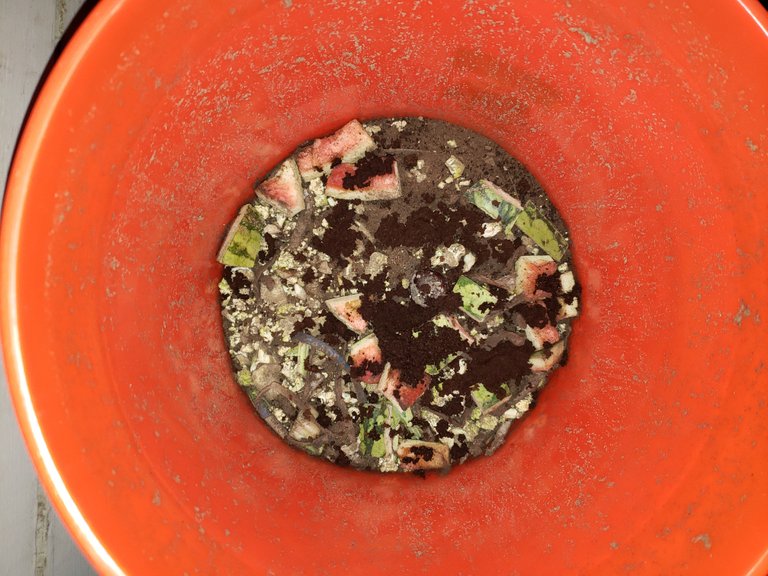
ADD THE WORMS! Worms work at night if its not cool enough, so I put them together on a sunday and checked them out on Tuesday at 5am and....
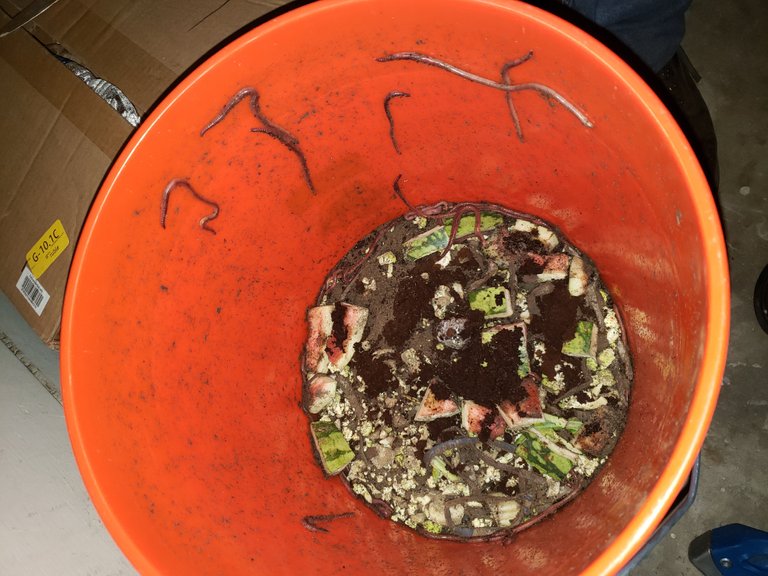 Tada! Yes your worms will crawl on the sides, no they will not escape. Most are just chilling on the sides of the bin. Try it out and I'll let you know how these guys do.
I also planted seeds sunday and they'll hopefully be the main subject of my next garden post. Toodles!
-KC
Worms are good. They make the castings that allow my cannabis garden to be possible. :)
They make gardens grow, I still trip on how pretty cannabis plants actually are, on top of everything else they can do!
Agreed! Here are some photos of my previous crop as it went into flowering stage: https://hive.blog/photography/@drutter/mk-ultra-cannabis-photo-album
Beautiful!
Welcome to HIVE! I upvoted and reblogged. This is a thing I'm really interested in and would love to incorporate it into my own gardening situation.
😎
You'll get to hear about all my dumb trials and tribulations. 🤪