Voilà Steemians!
Je suis Justin.
This is my first time posting here at Steemit, and I would like to share some of my learnings and knowledge of one of the famous photo – editing or image – processing software used in the industry today. PHOTOSHOP, one of the creative software developed and published by the Adobe Systems for students and design – industry. Photoshop was created in 1988 by Thomas and John Knoll. Since then, it has become the de facto industry standard in raster graphics editing, such that the word "photoshop" has become a verb as in "to Photoshop an image," "photoshopping" and "photoshop contest", though Adobe discourages such use. It can edit and compose raster images in multiple layers and supports masks, alpha compositing and several color models including RGB, CMYK, CIELAB, spot color and duotone.

I was introduced to this creative software when I was in high school. Even though our classes with Photoshop was modular, I ventured out of the box and discovered many things about the software and its potentials. I became fascinated and watched a lot of tutorials and read advanced studies about the software. I then tried creating projects with it and applied what I learned on my artworks or designs.
Enough of small talks, without further ado, I’ll be introducing to the tool that I mostly use and the most powerful tool (based on my opinion since I don’t have a drawing tablet), the PEN TOOL. In this entry, we will be using pen tool as our major tool in creating a vector art out from an existing photo. Though Photoshop can automatically create vector images with some plugins, we will be maximizing the use of pen tool to familiarize with its use and to prepare ourselves for my next Open Digital Portfolio entry.
Here is the initial and final image of our project:


Requirements:
• Photo (a person, animal or anything)
• Adobe Photoshop CS2 or later
Let’s start with our Open Digital Portfolio entry:
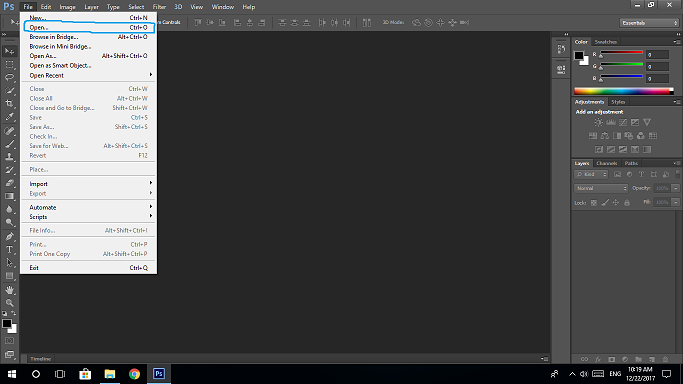
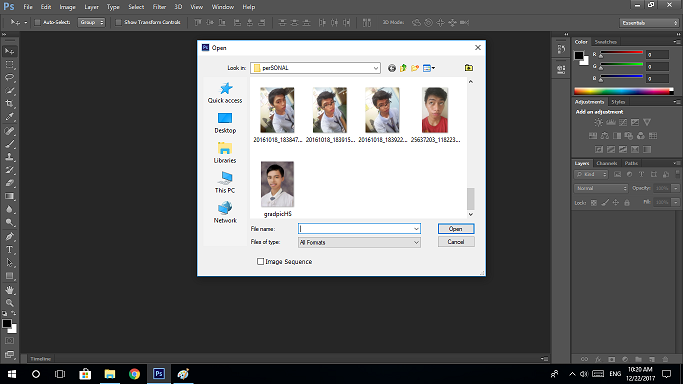
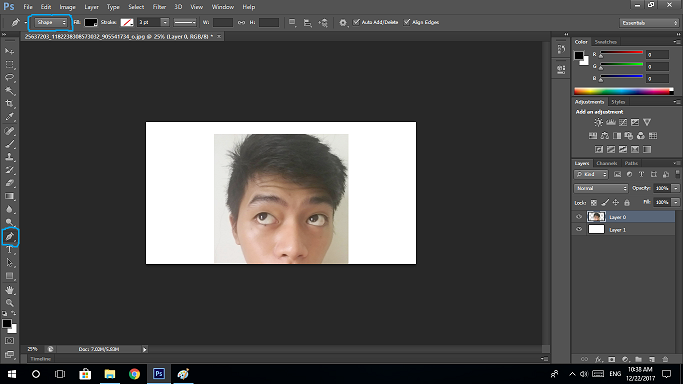
1. Open the Photoshop software and click File > Open and locate the image you want to use. I’ll be using one of the photo that I recently took.
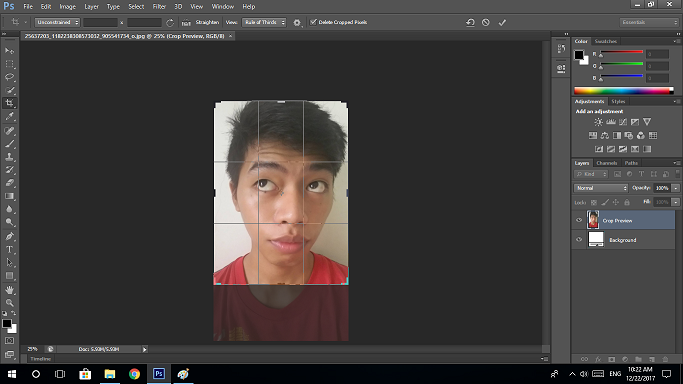
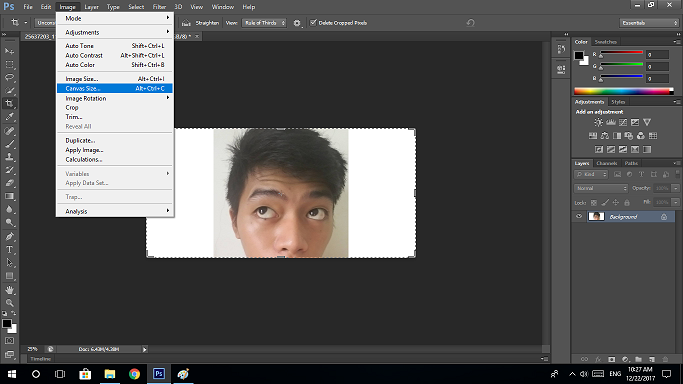
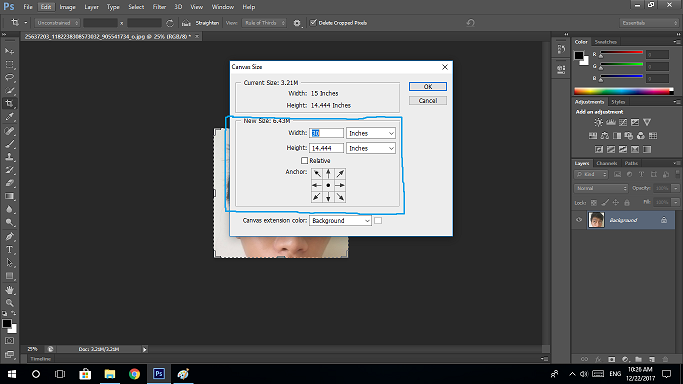
2. (Optional) Since I want to use this vector art as my profile picture, I wanted only some parts of my face so I cropped the photo using the Crop Tool from the Tool Palettes and selecting only the desired areas. I readjusted my canvas since the photo has little space to work with by clicking Image > Canvas Size and set my new canvas size (refer to image below).
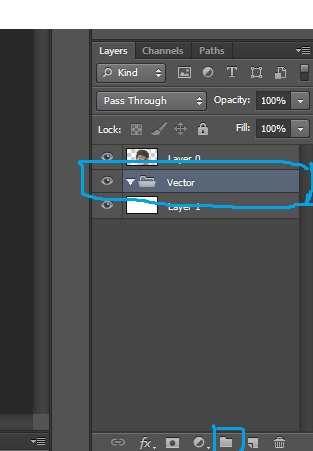
3. On the lower-right of the user-interface, click the New Layer icon to add layer and set it as our background (Note: Double-click on the photo layer to unlock the image which enables us to edit the photo and enables layer reorganization, when a pop-up for will appear just click OK). Then, click on the Add Group icon to add a group folder. This group folder/ layer will be used to organize our base layers.

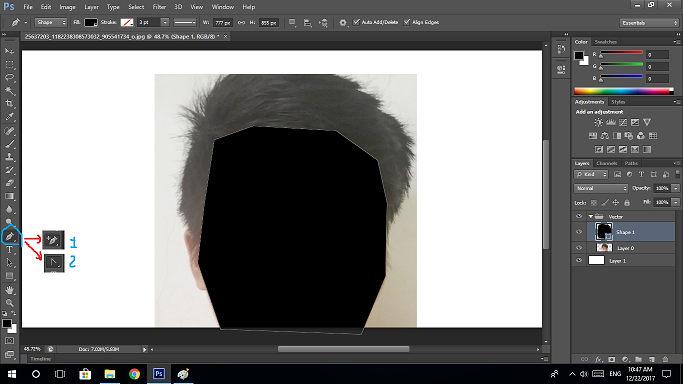
4. Click on the Pen Tool from the tool palettes and click on the area you wanted to start with the vector layer. By using the Pen Tool, you create points to create a solid-filled layer and by default, the Pen Tool uses a shape mask that automatically fills the points/ shape made and fills it with black solid color. Continue adding shape points until you fill in the area you wanted to fill. You can adjust shape points by using (2)Convert Point Tool or you can use (1)Add Point Tool to smoothen surfaces of a line. To use these tools, just press on the small arrow located below the icon of the Pen Tool.

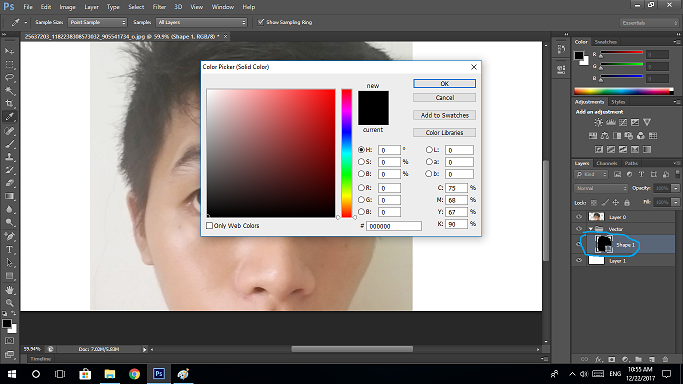
5. Once you are done with creating the shape, change the color fill of the shape. Double – click on the Shape layer and a Color Picker window will appear. You may select on your desired color or you may use the Color Picker Tool by hovering on the existing photo and clicking on any areas with the desired color.
6. Continue performing steps 4 and 5 for the other parts of the photo. Presented here is the partial output of my vector art. I had renamed the layers in order for me to determine right away which layer I am currently working and which layer adjustments can be made and for easy identification.

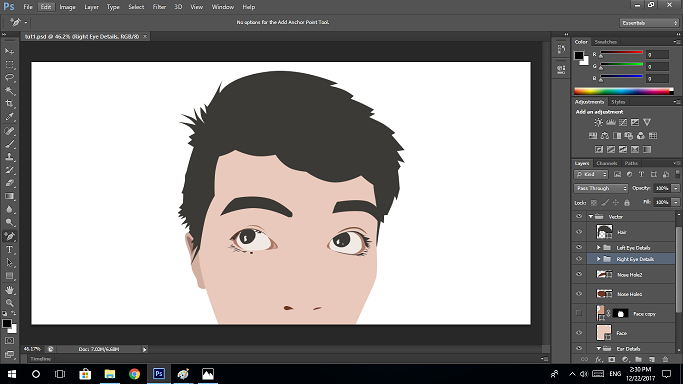
7. To be organized, I added another group layers for specific parts of the face (e.g. nose, right eye, left eye, ear, hair, and face). I put the base layers and detailed layers on its specified group layers for easy determination. (Presented below is the vector art with base layers and detailed layers)
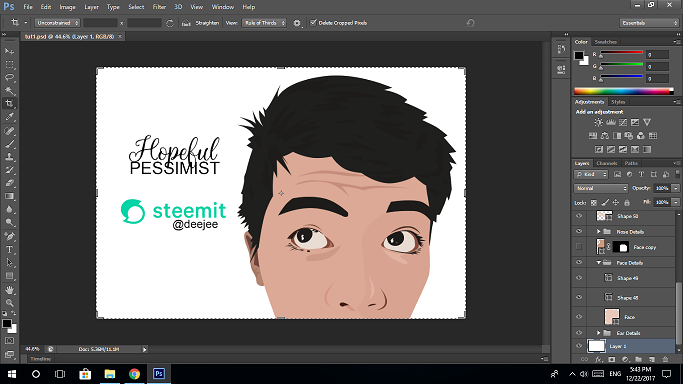
8. Continue repeating the tasks until you are satisfied with the result. As for me, this is my final output:

Merci Beaucoup! Thanks for dropping by.
If you have questions and follow-ups, feel free to drop by the comment section I will try my very best to answer your queries.
I am looking forward for posting more and to help build greater Steemit community. And I am also open for suggestions.

Wow! This is very extraordinary. This post deserves some recognition. You are very good in your craft in digital arts, @deejee. Keep up the good work.
Happy holidays, my friend.
I'm glad you appreciated my work. Thanks, my friend. Your appreciation moves me to post more.
Merry Christmas, pal.
Hi. I am @greetbot - a bot that uses AI to look for newbies who write good content.

I found your post and decided to help you get noticed.
I will pay a resteeming service to resteem your post,
and I'll give you my stamp of automatic approval!
Resteemed by @resteembot! Good Luck!
The resteem was payed by @greetbot
Curious?
The @resteembot's introduction post
Get more from @resteembot with the #resteembotsentme initiative
Check out the great posts I already resteemed.
Truly power! I always tot using IL to make it one.