Hi!
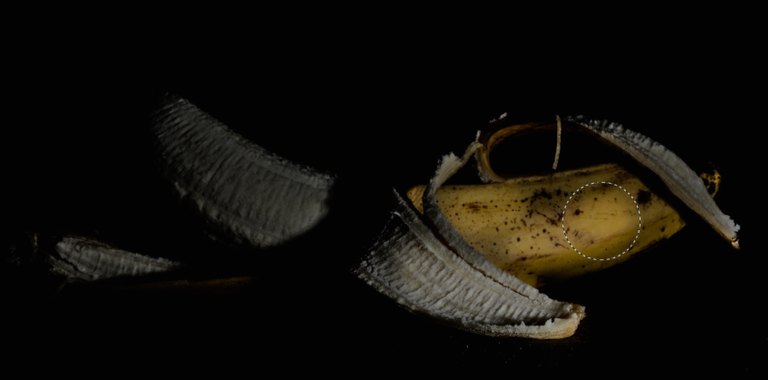
Lately I've been shooting some product type photography and with background separation, and Yesterday I shot a banana. But I also shot the same banana, after opening it.
If you want to make the subject separate from the background there are a few ways to do it, but the two main types are either wide aperture and plenty of blur ("bokeh"), or by using a light source that overpowers the background.
This latter technique is done by making the aperture small enough, that only the light on the subject (usually the flash) will be visible. Often this technique needs you to "paint" with the light, so you'll end up making several photos and then combining them into one composite image.
So my setting was as follows.
Pre-requisites: You need at least one set of remote triggers (a transmitter and a receiver), an external flash, and optionally an extra trigger. (I had an IR trigger, and the flash in the other hand, but I could have sufficed with just pre-composing the flash in-place before every photo.)
My camera was set up about half a meter away from the banana, and the background (the emptied bookshelf) was about two meters behind the banana.
I had dialed the aperture to F16. (F16 is the highest number on my Sigma lens. Remember, the higher the f-number, the smaller the aperture.)
Using a small aperture like F16, I could see hardly anything on the viewfinder, so I will have to use the liveview function and manually (!) focus by temporarily setting the shutter speed to 30 seconds and use a bit of extra light. (Keep the lens set to manual focus, as automatic focus will not work unless you have plenty of light, and the camera might try to re-focus between shots if it's set to automatic.)
While shooting, my camera settings were 1/200s exposure, 100ISO, and aperture F16.
Now take several photos by re-locating the flash around, but always directly towards the subject. You can use a snoot to direct the light more precisely at the subject. I personally used a cardboard casing as a snoot around my flash.
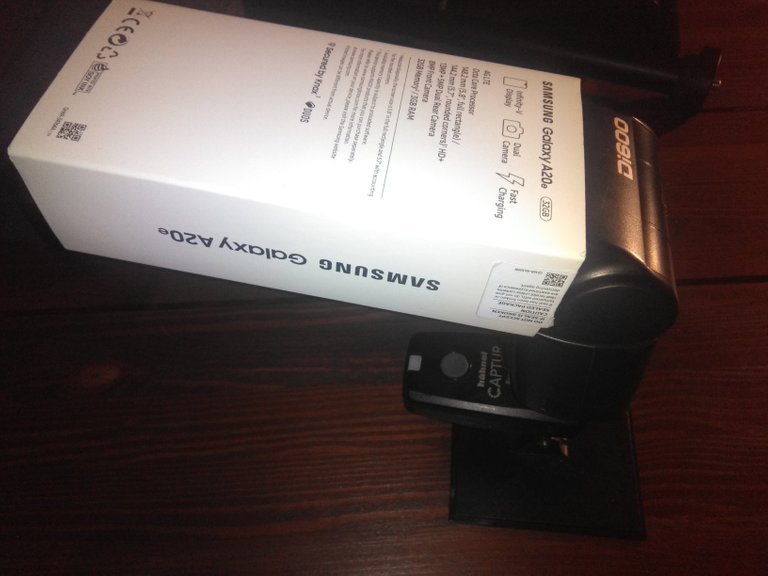
Flash with a snoot
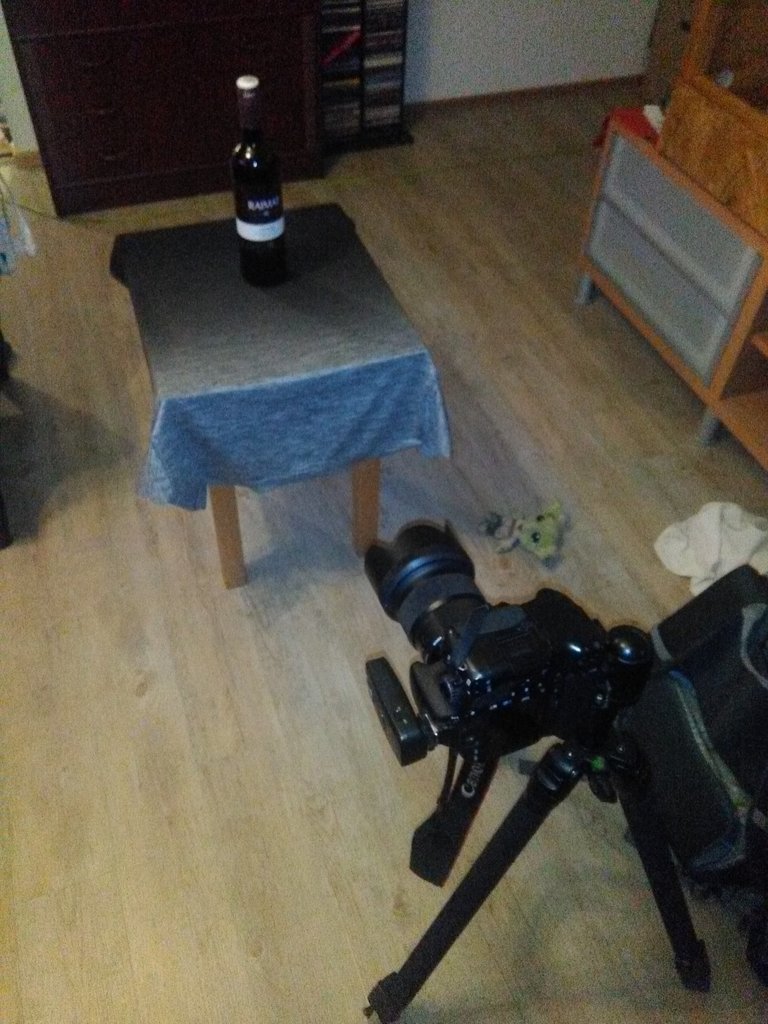
Preparing a shoot.
Shoot 10 to 15 photos, each lit from different angles, from front, left, right, above and behind, both sides.
When you've taken the photos, do the quick retouching by using your preferred tool (I use Darktable on the best lit photo of the batch, and then copy and paste the changes to the rest of the photos. Export the photos as 32bit Tiff if you can. (I did this to preserve the quality.)
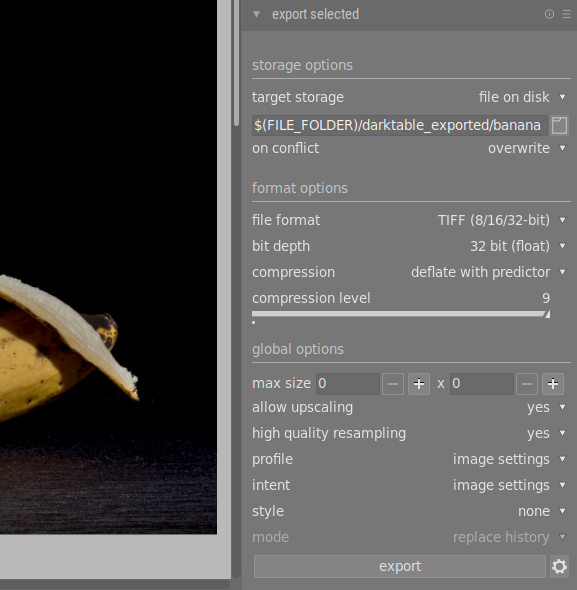
Next, import the Tiff files into your preferred photo editor (I used Gimp as layers.
First, add a black background layer and move it to the bottom of the stack. That'll make sure your background will stay nice and black.
Add a Layer Mask
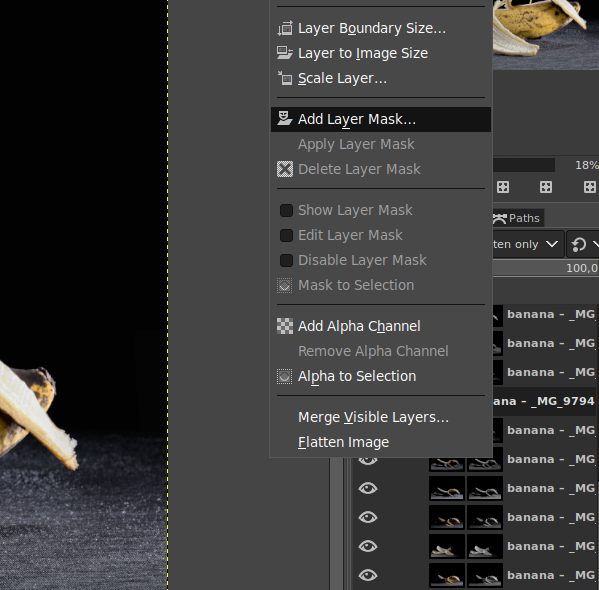
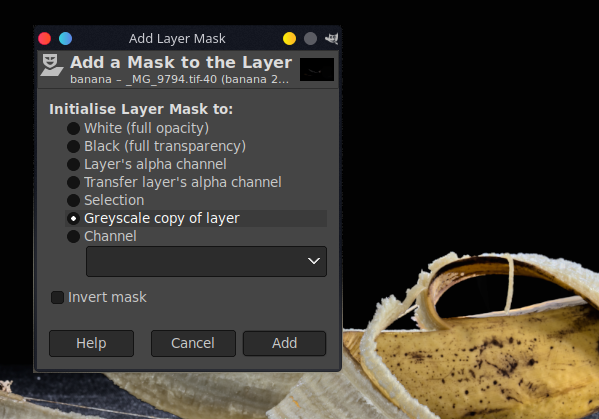
Adding a layer mask.
Make sure you use the Greyscale copy of layer option on each layermask. Alternatively, you can use a White layermask, and then just paint black on the parts of the photo you want visible on each layer.
You'll need to set the overlay mode to Lighten only.
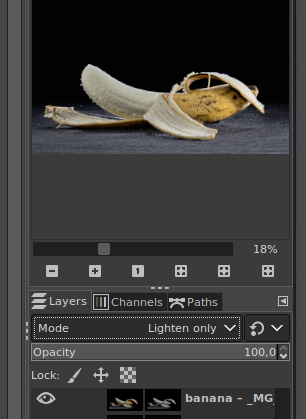
You can also use the brushes to gently draw over the layers to selectively control (burn) more light onto the resulting image on the parts you want to get more exposure.

Selectively adding exposure
You can do the same in the opposite way and selectively reduce exposure (dodge) if you switch the foreground and background colours.
Additionally you can use the Opacity setting for the layer to uniformly set how much light each layer lets onto the picture.

When you are satisfied with the end result, you can export the resulting image to a jpeg file.
Here's mine:
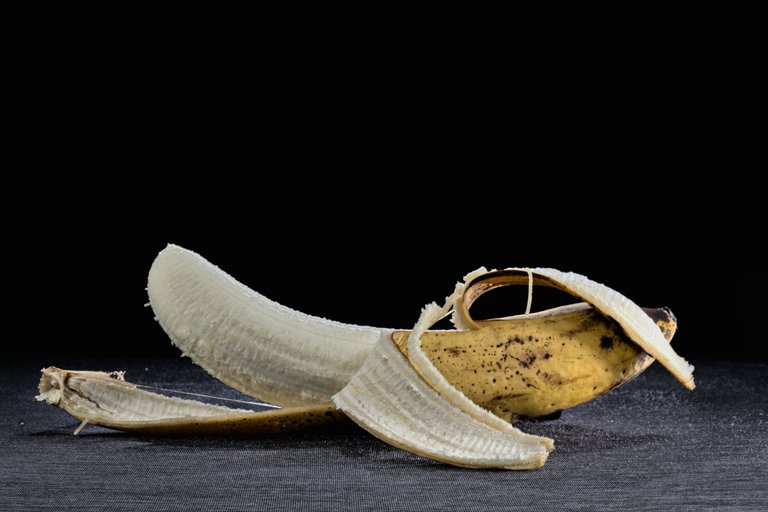
Have fun with this little howto. :)
I'll post my daily a bit later today.
See ya!
Lots of technology and how to use it described, its very important information for being a photographer.
Thank you for the lesson!