
I have spent a good part of the past weekend figuring out how to get IOTA and setting up a wallet. I thought that my experiences might be of help to others, and therefore this small guide. Note: I disclaim all problems you may get using this guide, so keep your head clear at all times
The basics on IOTA
IOTA has been called bitcoin v 3.0. It is based on a new principle of a tangled network instead of a blockchain, as in previous cryptos. Now I am certainly no expert on the deeper stuff of the crypto world, so I have to rely on people explaining the stuff for me and then base my trust in my intuition. In the case of IOTA have seen a few serious videos on the subject ... and the best so far is one by "Ivan on Tech" @ivanli called "IOTA and Machine to Machine Economy | Programmer explains "
IOTA website explains the purpose as this:
"As the Internet-of-Things keep expanding, the need for interoperability and sharing of resources become a necessity. IOTA enables companies to explore new business-2-business models by making every technological resource a potential service to be traded on an open market in real time, with no fees."
Setting up a IOTA wallet (geared for windows setup, but might work well with other systems):
1. Check if your Windows is a 64bit version
Follow Microsofts own guide: https://support.microsoft.com/en-us/help/827218/how-to-determine-whether-a-computer-is-running-a-32-bit-version-or-64-bit-version-of-the-windows-operating-system
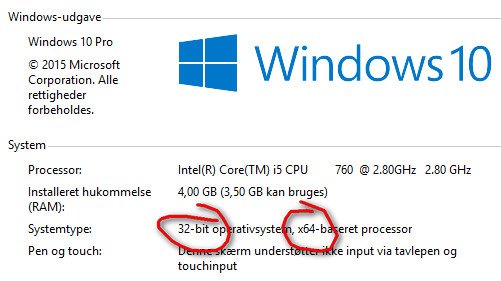
On Win 10 systems you can right click on the start flag in the lower left corner and choose "System" ... this will take you right there.
I show here a system that is NOT compatible with the IOTA wallet since it is a 32 bit version of Win 10. But it can be upgraded since it is a 64 bit cpu (x64)
2. Getting the software
Go to this website on GitHub: https://github.com/iotaledger/wallet/releases and download version 2.2.6 .. the one ending with ".exe"(I tried 2.30, but had problems with seeds)
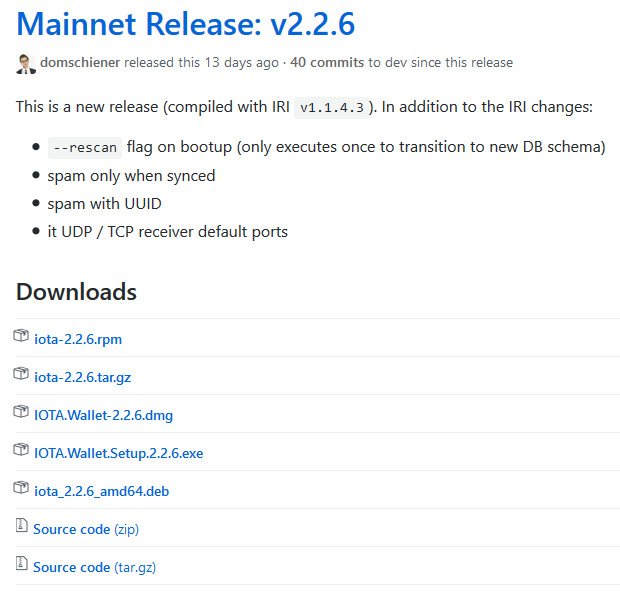
This version works . Install it and click the icon on your desktop.
3. Choosing wallet type
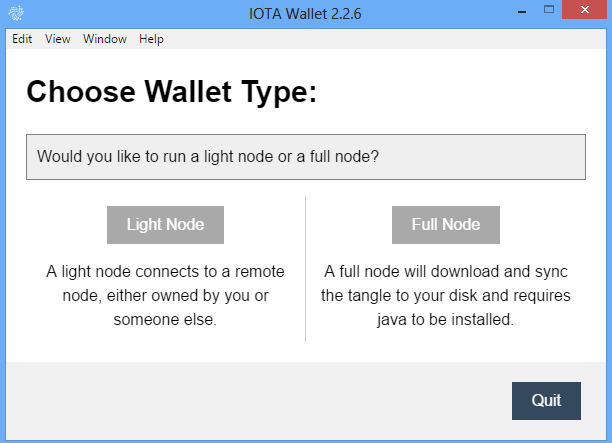
When firing up the app the first time you will be presented with the choice of a "Light Node" or a "Full Node". As far as I understand it, the full node is for those who want to create a node all for themselves, and this procedure is more hairy than the simpler light node.. and as a beginner we want to keep it simple.
Click "Light Node"
4. Connecting to a host
Got to this page: http://iotasupport.com/gui-lightwallet.shtml
Copy & paste one of the URLs to a light wallet server. I chose the IOTA support one at the top, I figured it could be the safest... but this is pure guessing. Choose one with full milestones, as an indicator (i believe) for quality)
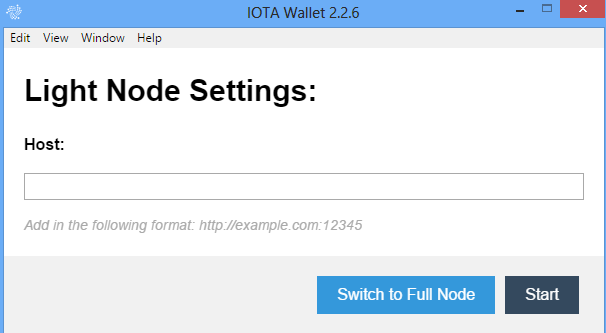

After you paste the host address in the form and hit enter, you should now be presented with the wallet login-screen
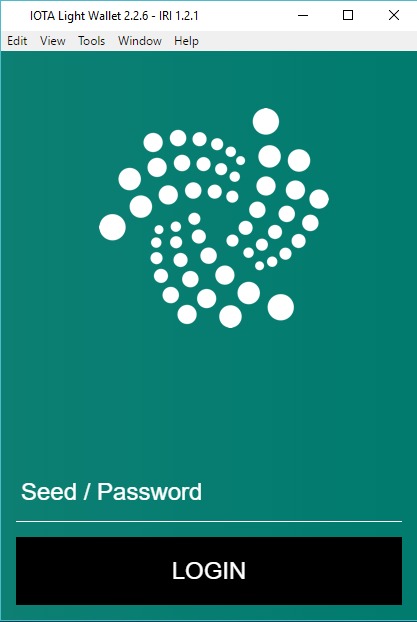
5. Setting up the login seed
Click on "Tools" in the menu at the top, and choose "Generate Seed". This is a string of capital letters and 9´s. Make sure you keep this login seed safe and encrypted.
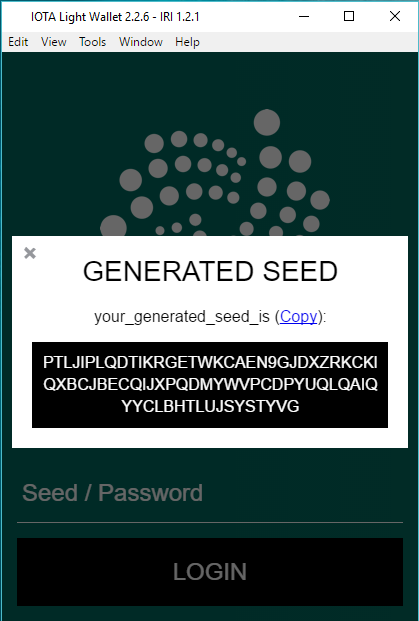
Press "Copy", close the seed window, and paste it into the login field ... the press Login
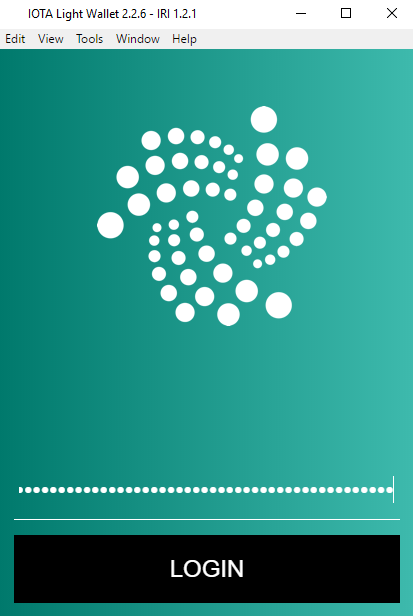
And you should now be "inside" the wallet !!
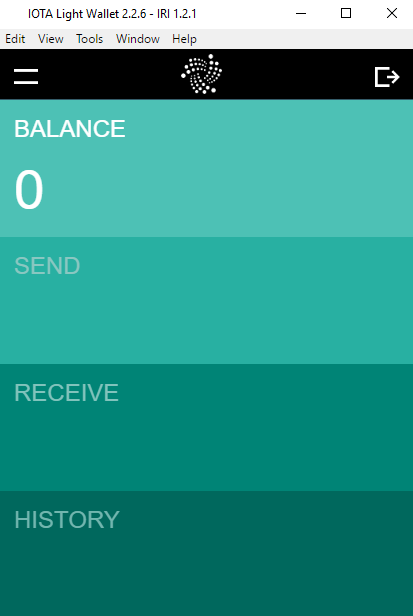
VERY IMPORTANT NOTE !!!
My biggest hazzle was figuring out the error messages i got when logging in with the seed, the second and third time etc. It mentioned that there were too many characters (more than 81) and that it cut off the excess. This means that it will become a different seed and a new login, as if it is another wallet all together, and your funds in the original seed login is not visible.
I figured out that there is a lowtech getaround for this issue. From where you keep the seed safe, copy it first into NotePad, then copy the string from there and paste it in the login field and enter. There is probably some problems with some formatting of the string or EOF or something.
6. Attaching a receive address
Click on the "Receive" part of the wallet. A random address will appear. As far as I know, this has the same format as the login seed, instead it is longer. To make the address come alive, press the "Attach to Tangle" and await the answer.
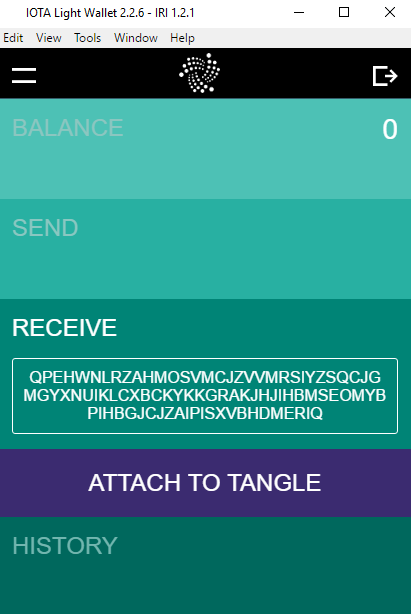
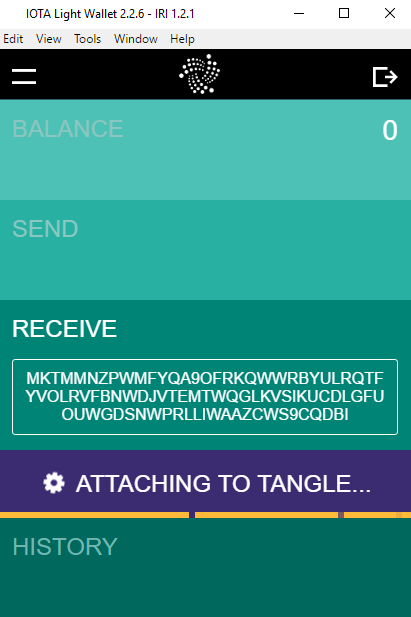
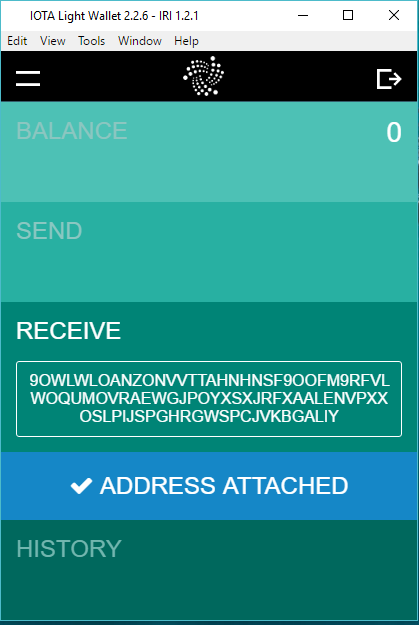
If attaching fails, keep trying until one attaches !
VERY IMPORTANT. The address HAS to be attached to Tangle to work on receiving IOTAs. Make sure you have attached before making any transfers.
When an address is attached, it is shown in the history tab, as a trasfer (of 0 funds). But this keeps track of the addresses you have attached correctly. You can copy from this tab, the address you want to use as receiving address, this way you make sure to use a functioning address.
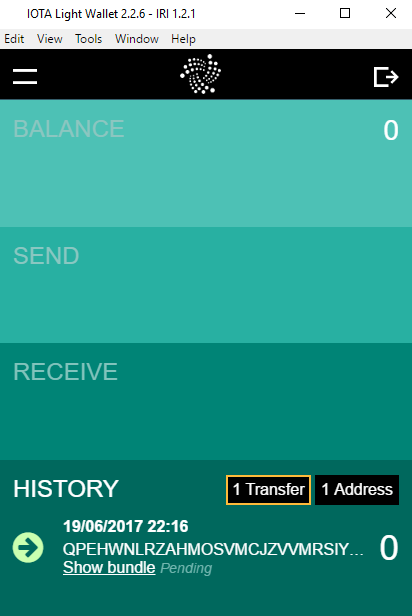
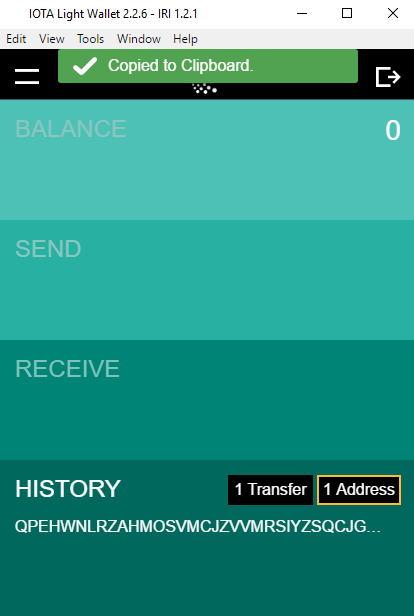
Log out if you are done, and again ... make sure you have backed up everything correctly. If you forgot to save your login seed, return to step 5 and do it again.
Thank you for reading .-) and happy IOTAing :-)
Thank you for this nice startup guide. This one is still on my list to check out sometime later this month. Today everyone seems to be looking at antshares instead. Have fun out there and good luck with your future posts!
Thanks. I have no clue about AntShares... cant cover it all :-)
Thank you very much for the tutorial, very useful for beginners like me :) Nice job
Glad you liked it ... good luck :-)
Congratulations @mandibil! You have completed some achievement on Steemit and have been rewarded with new badge(s) :
Click on any badge to view your own Board of Honnor on SteemitBoard.
For more information about SteemitBoard, click here
If you no longer want to receive notifications, reply to this comment with the word
STOPBy upvoting this notification, you can help all Steemit users. Learn how here!
Question: If I have to restore IOTA on to a new computer, do I just need the seed to recover all of the attached addresses?
I am not sure to be honest. The login seed is the key in every event. You could try installing it on two systems with different seeds on each, the try one seed on another and the see if you get the transactions shown, if they show, you have full access to your adresses there also
Awesome guide and saved me a lot of time. I am thinking of running a full node on a raspberry pi - what do you think?
Why run a full node? What happens in the node? You aren't mining since all IOTA were pre-generated. So you will be confirming other transactions? But that doesn't earn you any IOTA since there is no fees? Help a noob understand please?
Sounds like a good idea :-)
Attaching to Tangle is still going after 8 hours so I did a reboot and attached again and still running - any ideas?
Firewall ?
Ill try but I dont like to mess with turning firewalls off.
was looking for this type of guide, great work
Thank you very much for your illustrations. I was clear an precise. I hope to get this correctly when trying on my own
Can I get my wallet for iphone and imac ???
Re: 5. Setting up a login seed
Version 2.3.1 for Mac does not have a "Generate Seed" function in the "Tools" menu.
However, you can copy and paste the following code in Mac "Terminal" and it will generate an 81 character seed in Uppercase with 9’s included.
cat /dev/urandom |LC_ALL=C tr -dc 'A-Z9' | fold -w 81 | head -n 1
THX. Good job!! UV
very helpful, thanks