OWNCLOUD - CREATING A DATABASE

We want to create our database for our ownCloud storage set-up. We have to create a username and a password and then put in our database credentials, to create our database for our ownCloud and on our own server.
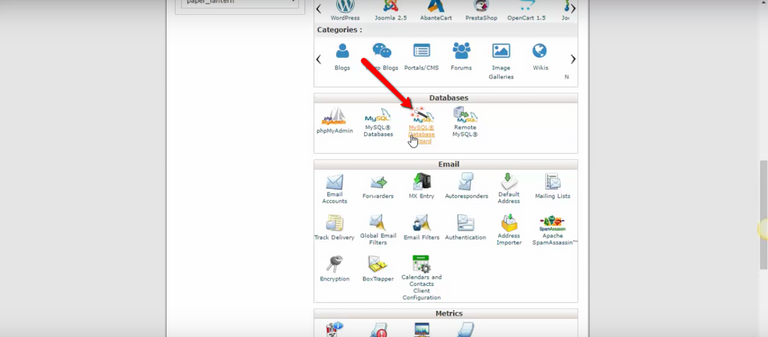
You want to go into your cPanel and go to your MySQL Database Wizard. Here is where you will want to create your database.
CREATING YOUR OWNCLOUD DATABASE - STEP BY STEP
The best thing to do is to make sure that you put all of the credentials that you used on it to a notepad for you to remember exactly what your credentials are.
What I have done is I have already created my credentials, and I have put them in a notepad.
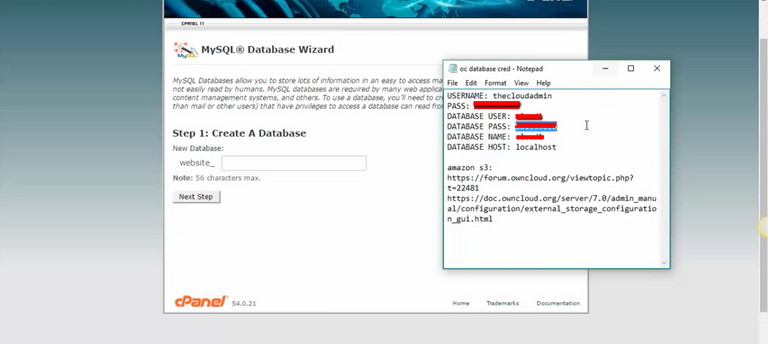
Of course, you will want to make sure that you recall all of your credentials so that you can use them again later.
What I'll do is I'll copy and paste all of my credentials for use to create the new database.
Of course, I will blur out all of the information.
Now Step 1: Create A Database
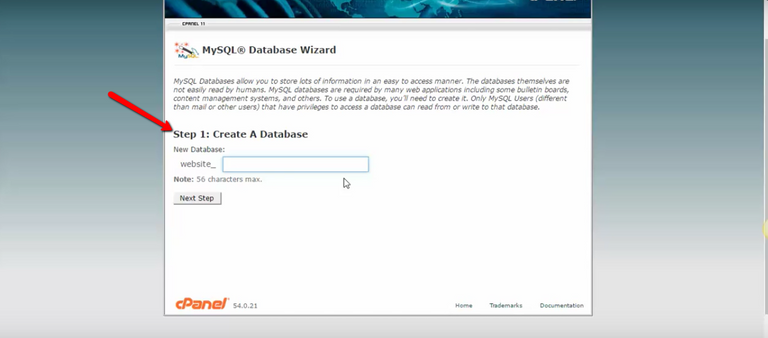
Put in a name for your Database...
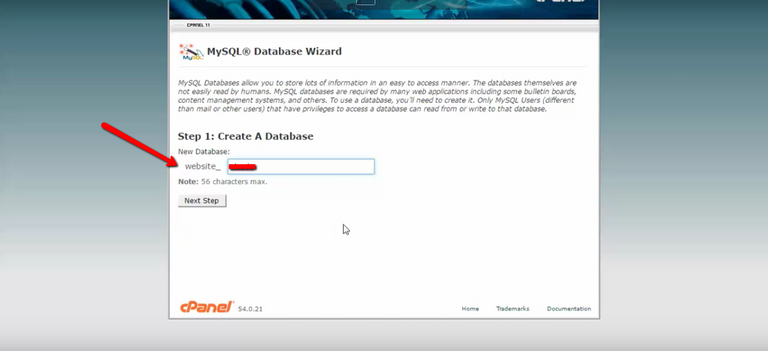
Now, you want to put in the user, the username, the password, put the password in again...
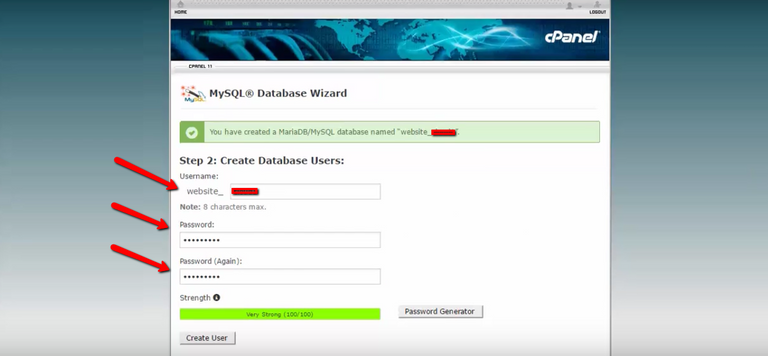
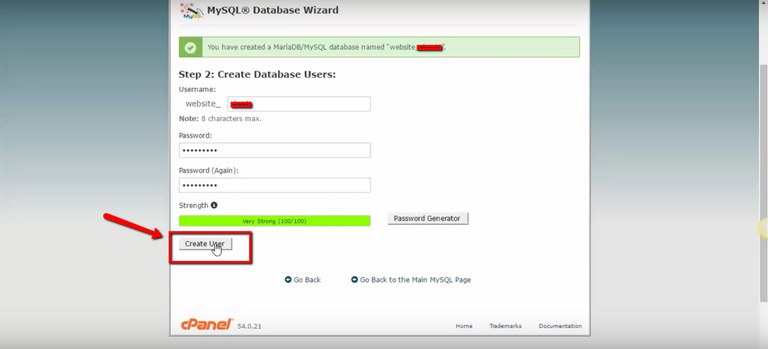
Now Create The User...
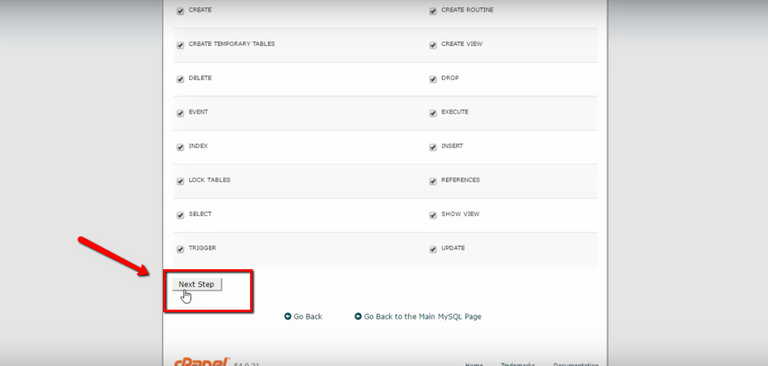
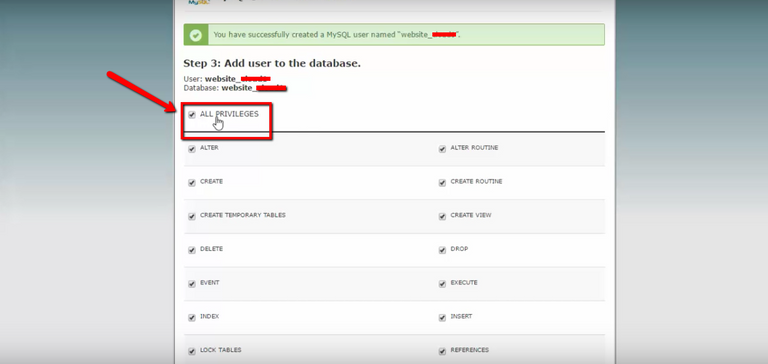
You want to give “all privileges” to the user and click next step.
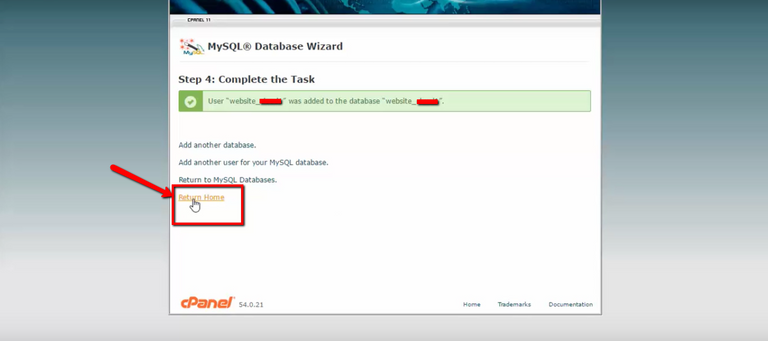
It's will say that the website user was added to the database.
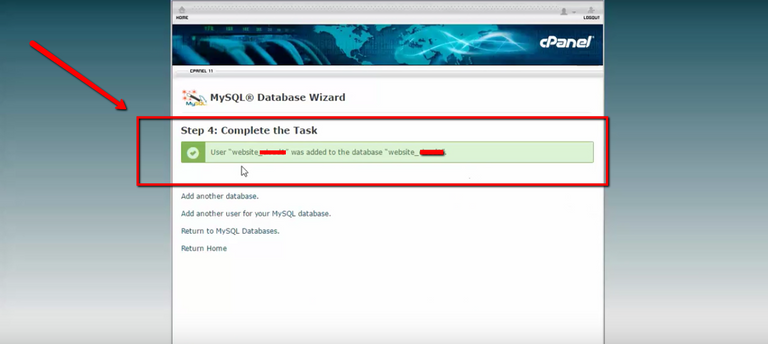
You want to make sure that you again copy all of your credentials here. The user and the database, and make sure that you will know what that is.
You will want to return to your database...
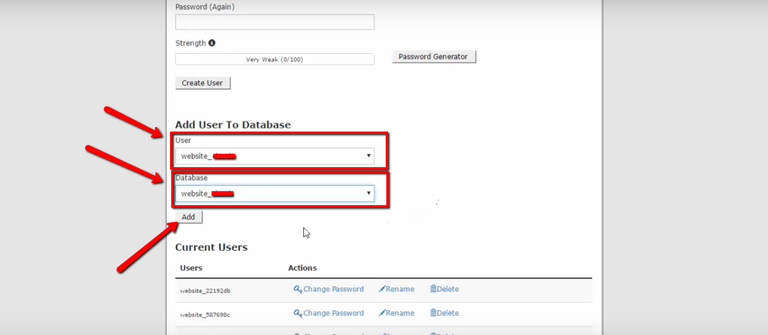
...and add the user you created to database you created. As you can see here as I scroll down, it allows us to add the user to the database. We want to find the user that we just created, and we want to add that user to the database we just created and click the Add button.
Make sure that all privileges again is checked and click “make changes”.
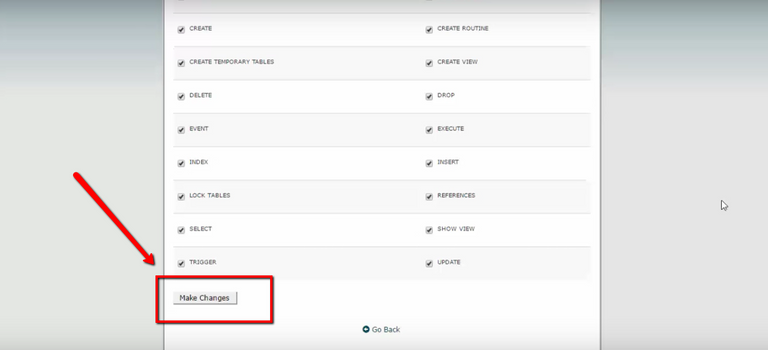
You have given the requested privileges on the database to the user, so we're good to go.

That's how you add your user to your database.
In Part 3 of this series, we'll go ahead and put our new credentials for our database into our ownCloud in our new installation to create an admin account.
By the way, here are all of the lessons in the Drop The Box. Own The Cloud Series...
- Intro - ownCloud Installation
- ownCoud Creating A Database
- ownCoud Creating An Admin Account
- Other ownCloud Installation Options
- The ownCoud Community
- ownCoud Amazon S3 Integration
- ownCoud FTP Integration
- ownCoud Google Drive Integration
- ownCoud Dropbox Integration
- Installing The ownCoud Desktop Application
- The ownCloud Apps Section
- ownCloud App Updates
- Why your business needs its own cloud
All of these topics will be taught step-by-step so you can have your own cloud storage up and moving. See you in Part 3!
Very interesting but too technical for me... @kbargold
@kbargold It's not as hard as you might think. If you have a domain and hosting you'll be able to do this is a minute or two. If you want to do this and need help just let me know and I'd be happy to help you do this because you can!
Hey sms thanks for offering but I've got too much on my plate right now....
why don't you make it into a video?
I do have videos for all the steps but I plan on packaging those in a product as I mentioned in part one. If there is a lot of interest in them though I might include them in the posts without any editing. Will depend on the feedback I get from the posts though.
Saved this for later. I would hold out on the videos for now if you are planning on doing a course. As you say, see what interest there is here first.