Before providing a more general update on what's been happening on my faithful compagnion on the road to 400.000km I wanted to provide a tutorial for anyone wishing to replace or upgrade their steering wheel in any late 90s early 00s BMW.
Your old Steering Wheel

Driving older BMW cars can be a very rewarding experience and if you're like me you're probably driving the car a lot which means that all the surfaces you touch a lot like the steering wheel, shifter, handbrake handle and also the often neglected radio volume nob leading to high tear and wear on the plastic/leather.
As you can see above this steering wheel has had its fair share of use, leather has no rips and all the stitching is still in place but the leather is glossy, hard and starting to lose its color.
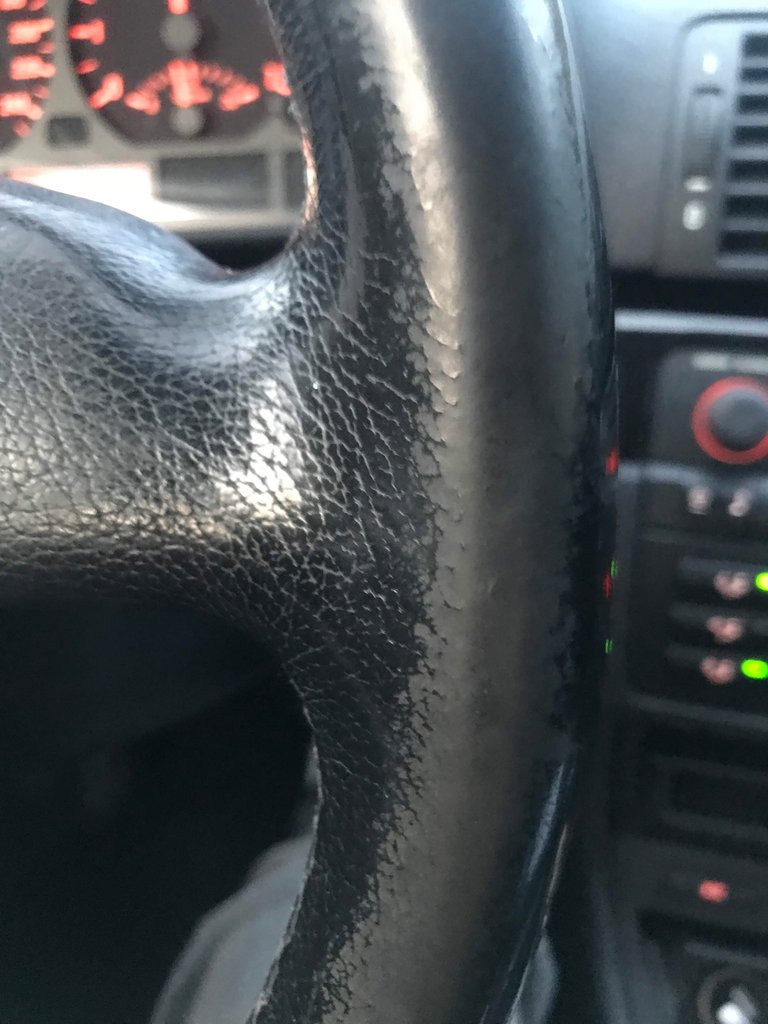
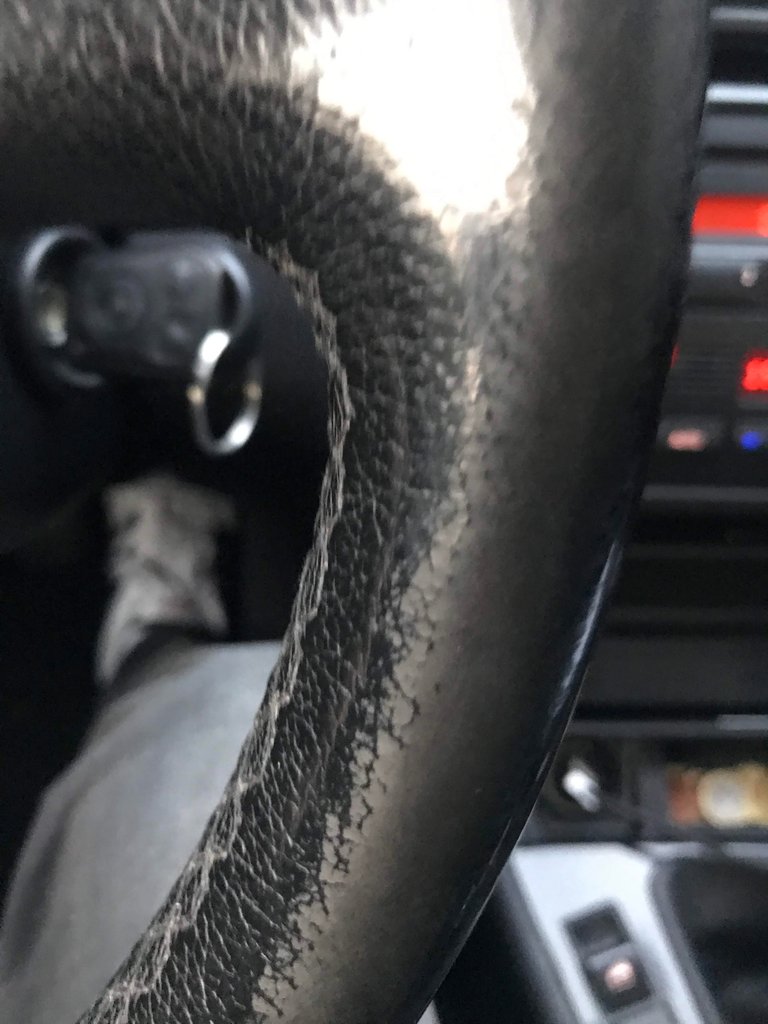
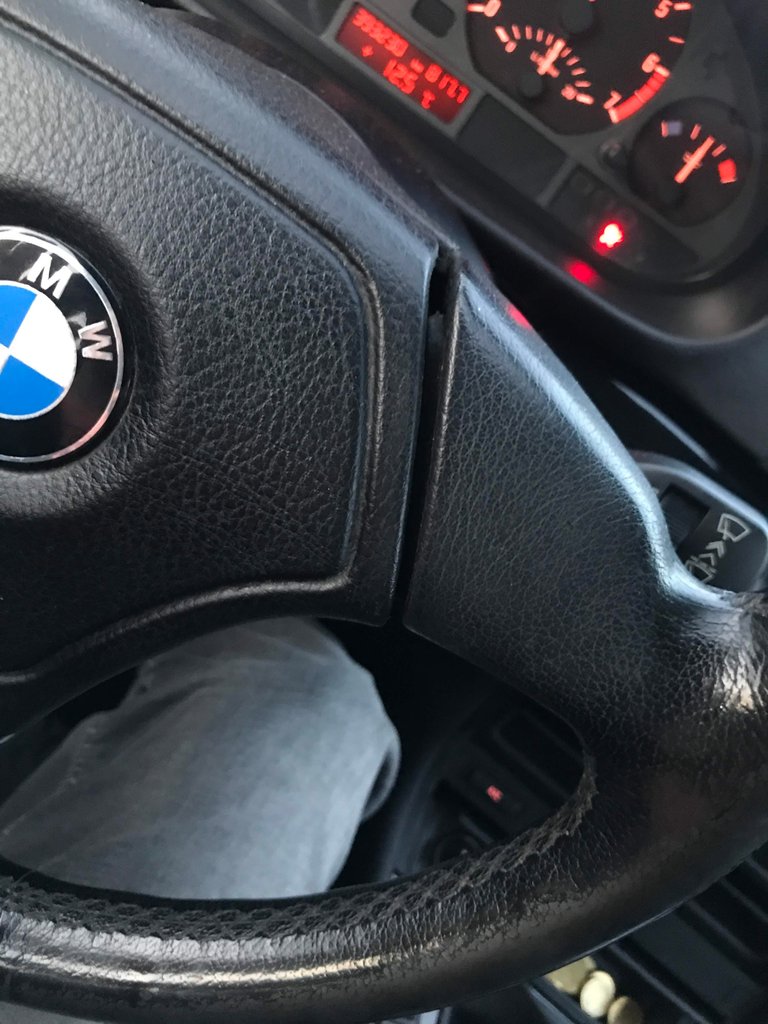
All in all it doesn't look very appealing but what's even worse is the leather can no longer fulfill its original function so it doesn't warm your hands when it's cold and doesn't cool them when it's hot. Also you have different surface characteristics along the wheel and on the insides. Same applies to the shifter...

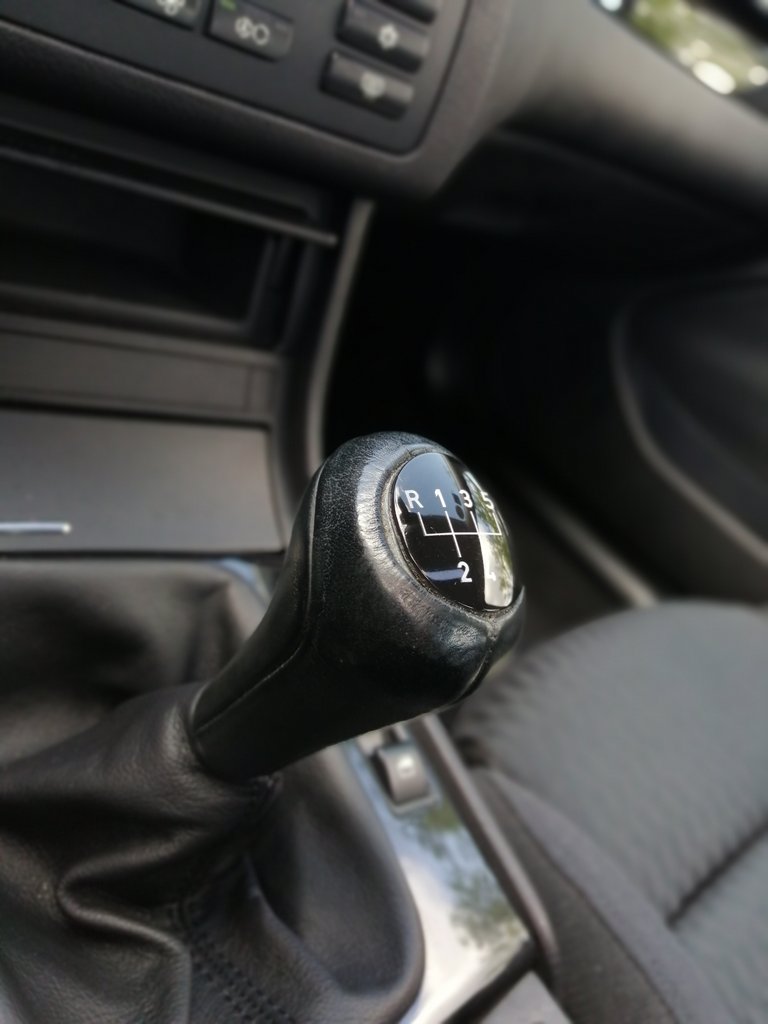
For me as a hobby detailer the worst thing next to the not so ideal driving experience is the fact that no matter how clean and factory fresh you get the interior to look the old surfaces ruin the look.
A New Steering Wheel
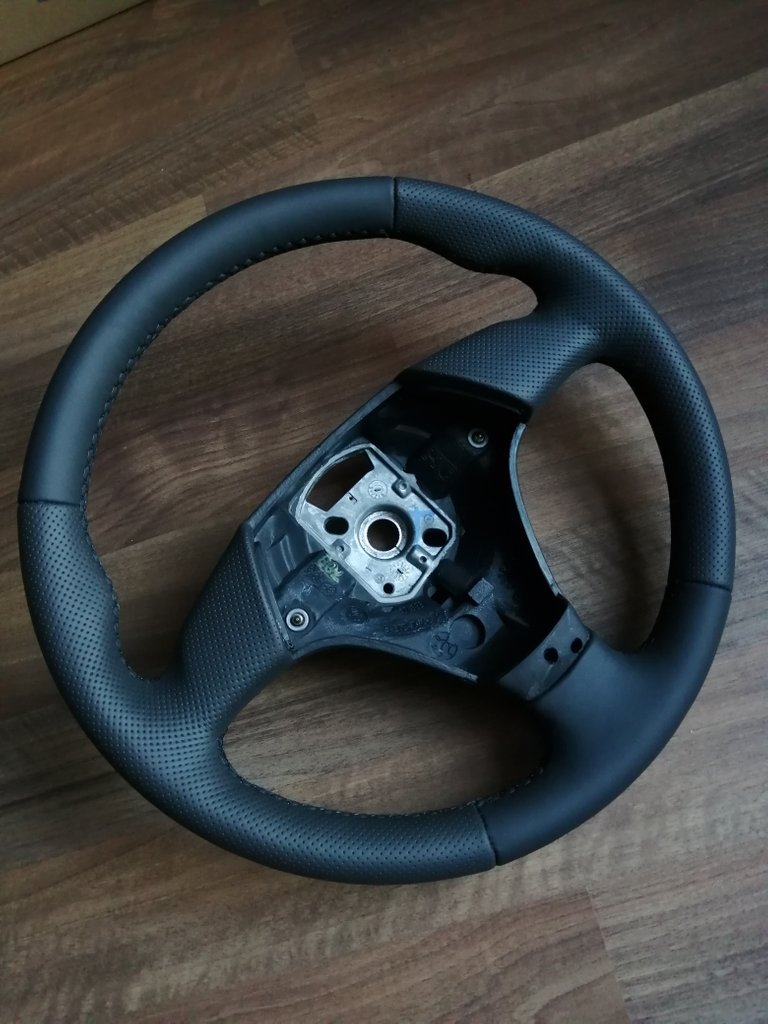
Nowadays there's a myriad of leather professionals who offer to either rework your old steering wheel or provide a new one in exchange for your old wheeler.
The wheel originally installed in my car was the regular, non-leather, non-multi function E46 airbag steering wheel.
In early 2017 I upgraded the standard steering wheel to this one called 'BMW Sportlederlenkrad I', it was the standard sports leather steering wheel which all pre-facelift (up to September 2001) E46 received.
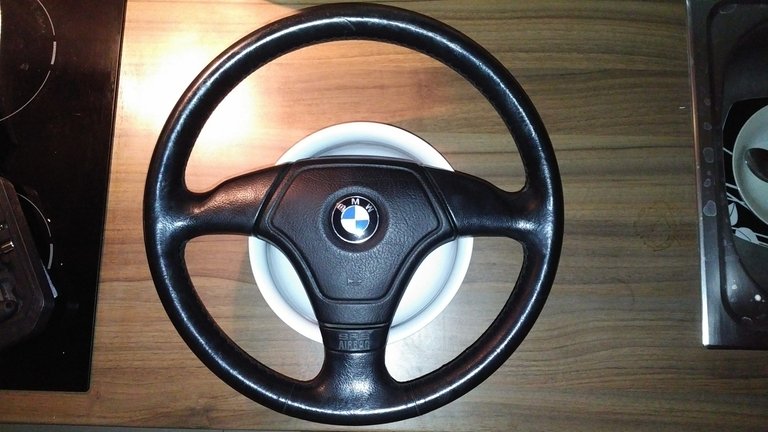
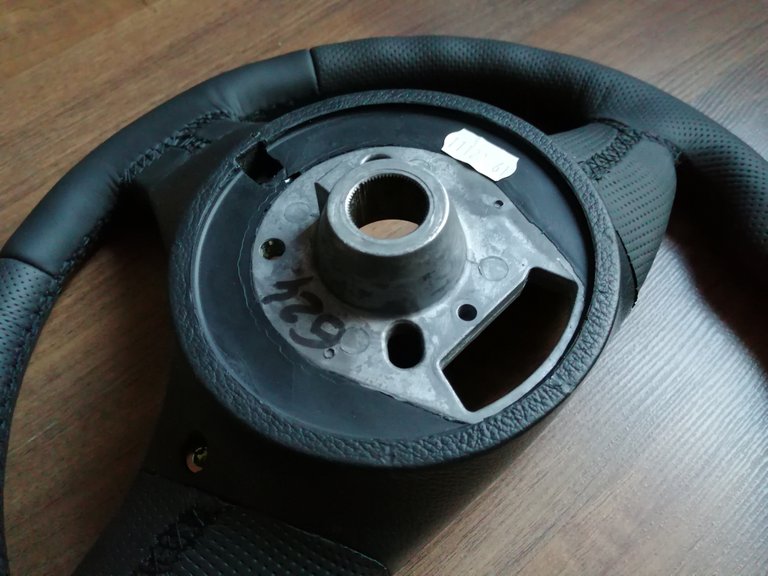
The problem with the one I originally bought was, while visually identical, it was actually for other older models which I failed to check at purchase. So the one above is actually one used in the E31 8 series.
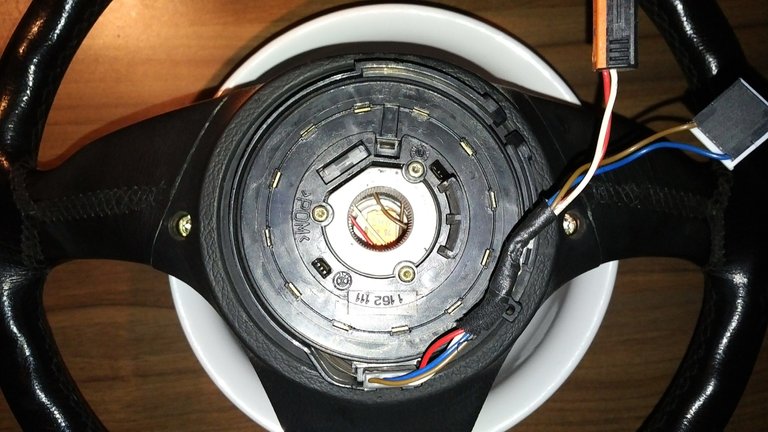
The connector plate is completely different to the one in my car but I didn't figure that out until I had already half assembled my steering column including a spinning cable assembly which took me a good hour to put back in place. I had read online that it wasn't possible to put back and it was easier to buy a new one but that obviously didn't keep me from trying - works ever since. I sold the wheel to an 8 series driver and bought the correct one which I installed and used up until last week.
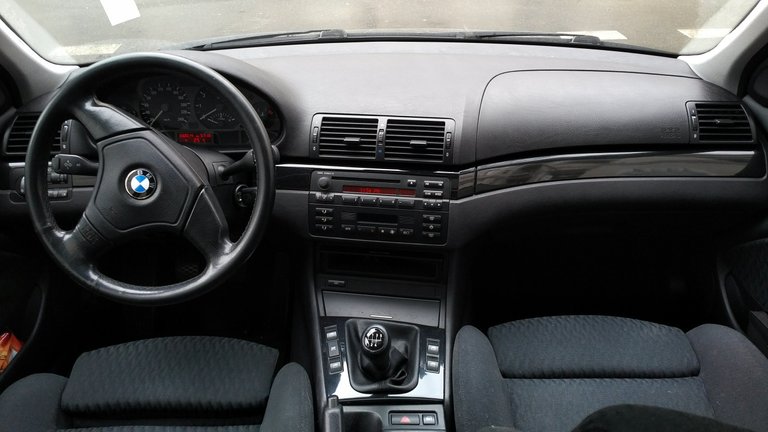
When I bought the new one it was important to me that the OEM look was preserved, that it was still fully round and not squared off at the bottom, that it was thickened a bit but not to the point of the later M-Tech 2 steering wheel which is just too thick IMO and that the quality of leather and craftmanship were high.
Well, I wasn't disappointed. For only EUR 130,00 I purchased this wheel from a company in Bavaria which did an excellent job.
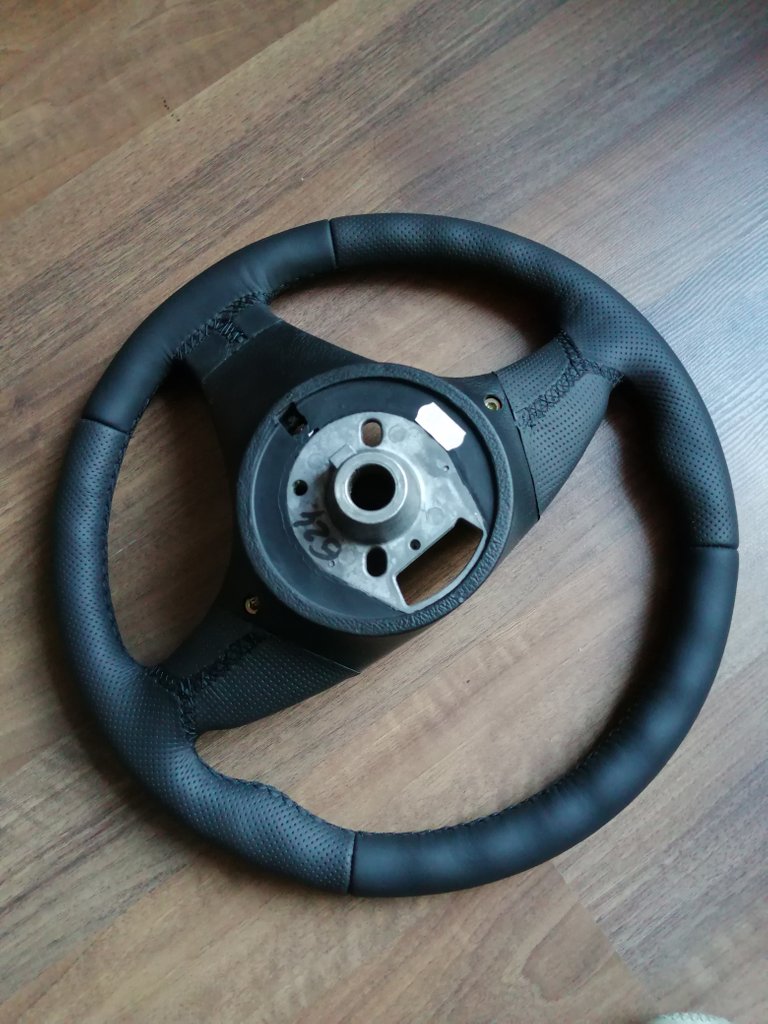
This is black nappa leather all around, smooth on top and bottom and perforated on the sides.
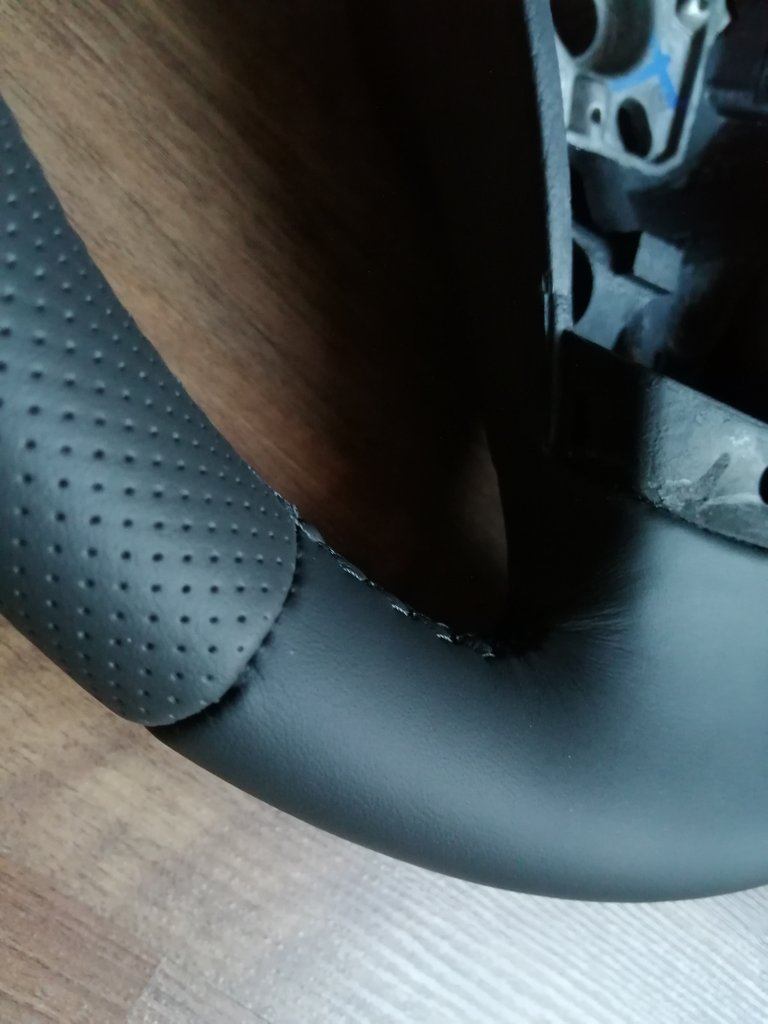
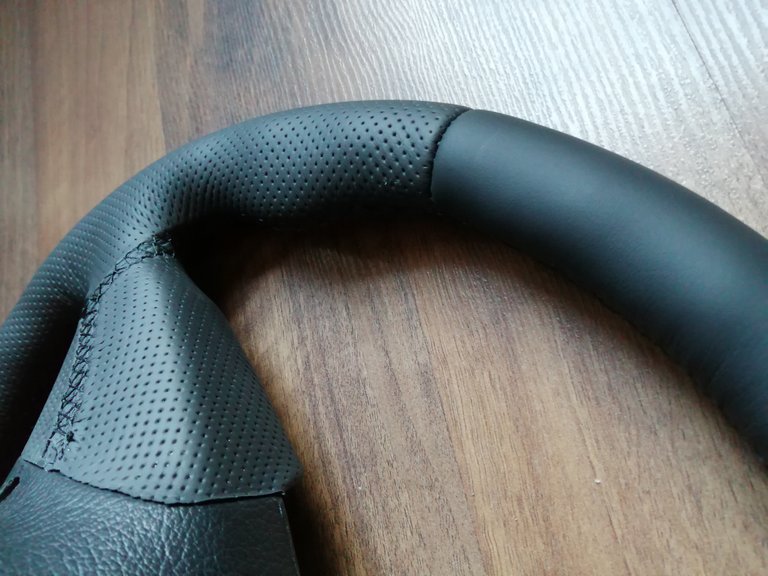
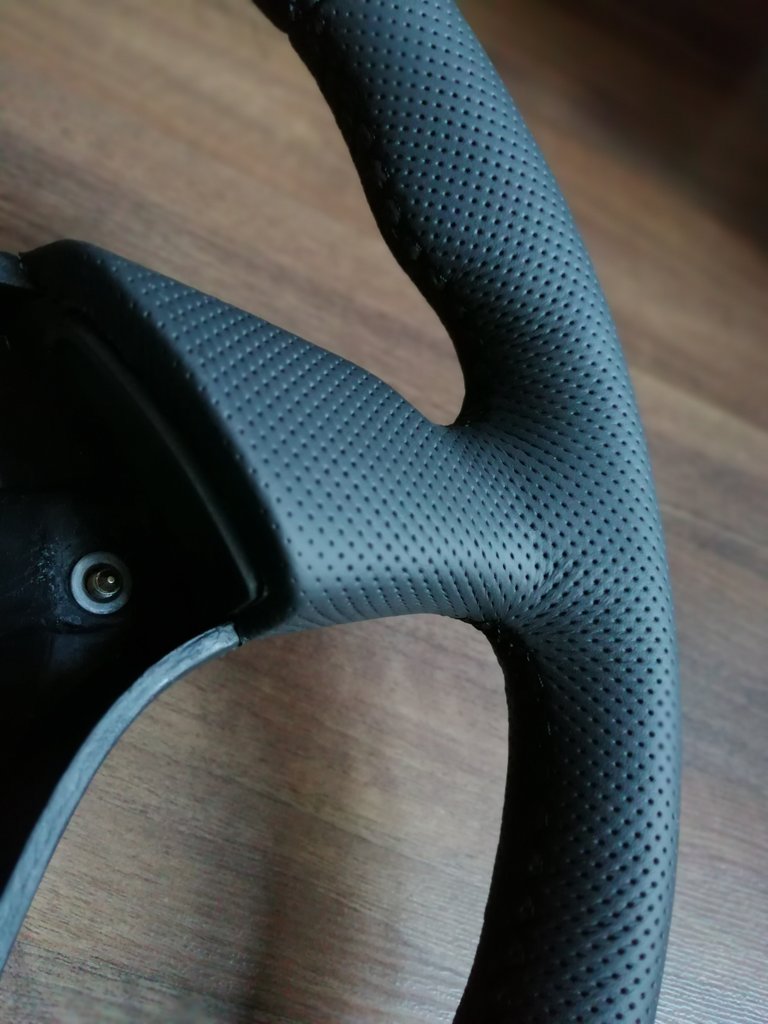
Here's the full front view as per the dealer:

Replacement Process - Removal
The first thing you have to do is disconnect your battery. Simple reason being that the airbag needs to be without juice for the time of the replacement. In most any modern BMW the battery sits in the trunk on the right. Lift your trunk floormat and remove the cover and you can access the battery. Use a size 10 nut to losen the the negative terminal connector and take it off.
It's good practice to wait a few minutes for the system to drain itself, some say 30 minutes, I usually do with 10.
Before removing the steering wheel I suggest to use the adjustable steering column assembly and pull it out all the way to easier access the screws. You can see the ones you have to losen first here:

The two small, golden torx size 8 screws hold the airbag plate in place and it needs to be removed in order to take out the steering wheel. Make sure that your torx nut sits firmly in the screw as they are quite soft and can run through if you pull too hard while not firmly inserted.
Once you've loosened them they will not come out as the screws are locked in with the steering wheel frame. You can now gently pull the airbag plate towards you until you see the cable connector right on top which you can simply pull out. Voila we have our airbag removed:
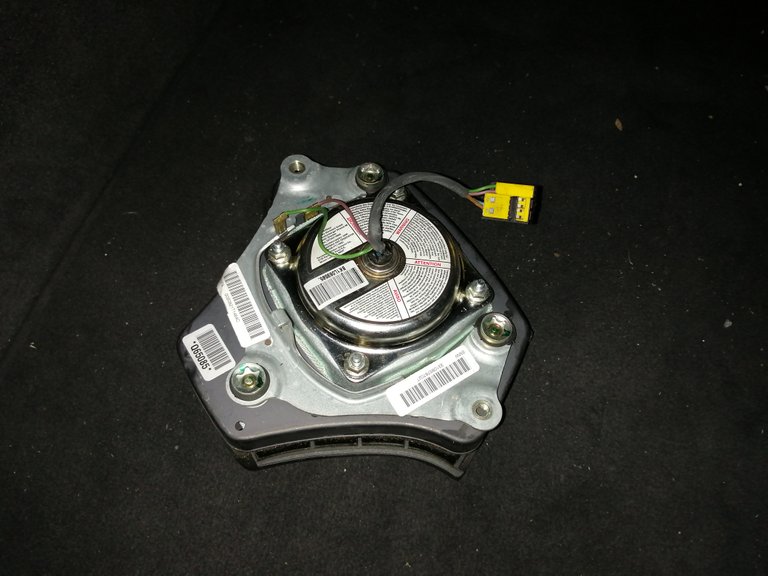
For safety reasons always store it face down and ideally in the trunk or similar enclosed space just to make sure.
You will now see this single large screw which attaches the wheel to the column. This needs a size 16 nut:
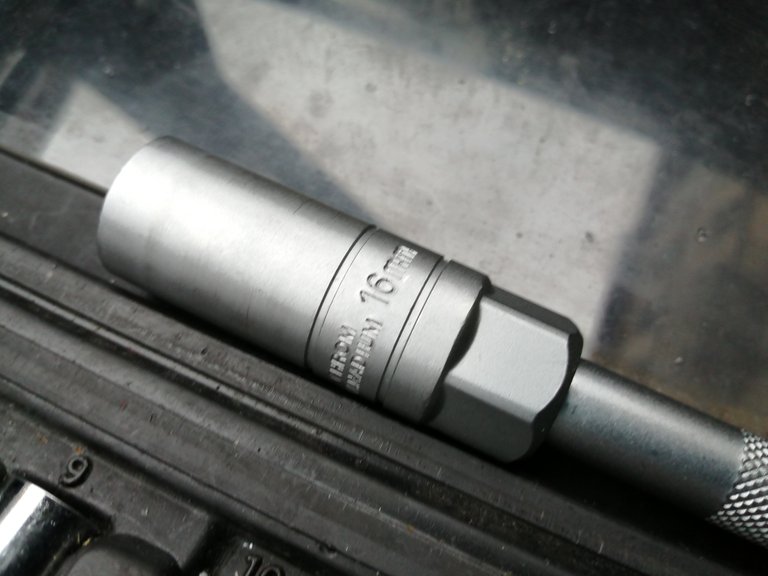
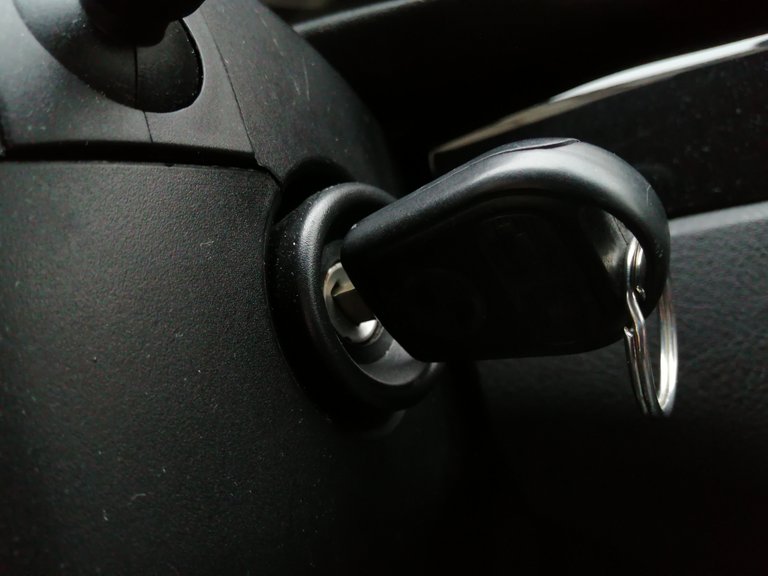
I recommend an extension and a large wrench so you don't have to pull too hard as these screws (especially when they're the first ones from 20 years ago) can sit quite tight. Straighten the wheel and remove the key so the steering wheel locks in before you go to work on the screw - otherwise you'll be turning against your steering rack/wheels which I do not recommend.
This is what you will find once it's out. You can also see the two small indentations which mark the lineup between wheel and column so that your wheel sits straight when putting the new one in.
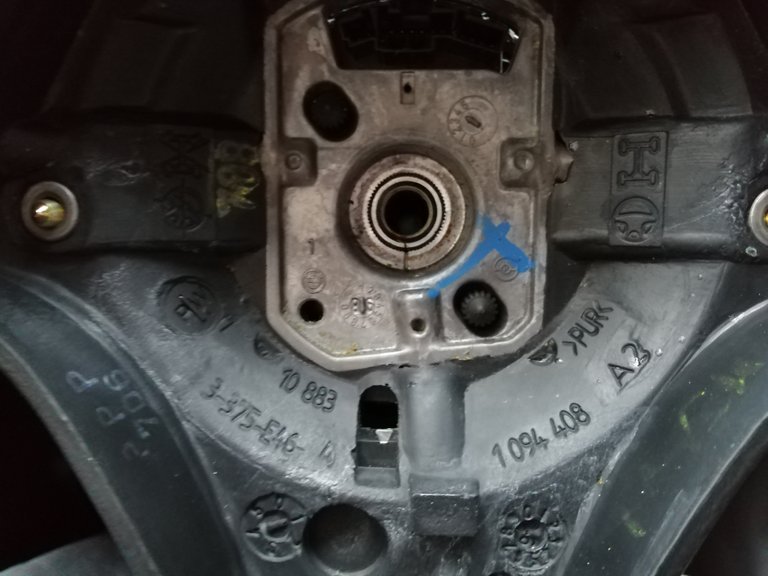
Reinsert the key and unlock your wheel and you can now gently pull it towards you to take it out.
Here's a closeup of the column thread after removal:

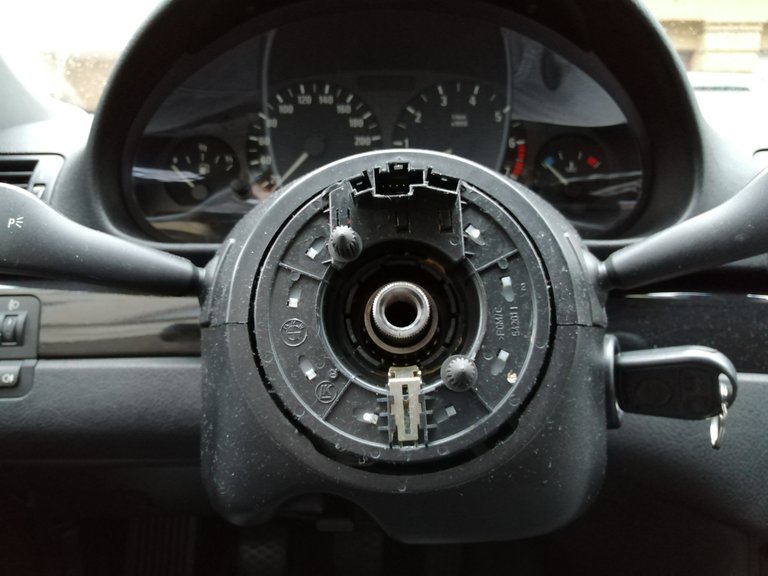
Good opportunity for a quick clean up of the areas usually unaccessible!
The two plastic nobs are alignment helpers and go into corresponding indentations on the steering wheel:
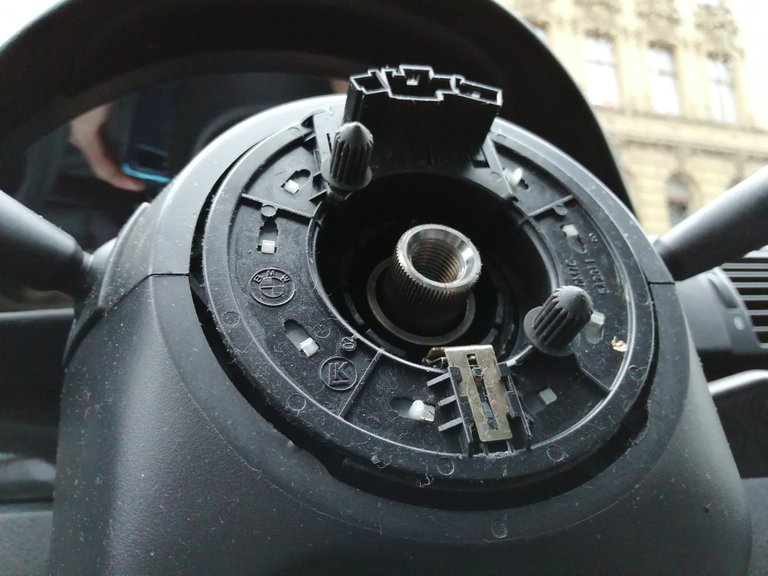
Replacement Process - Installation
\
Now it's time to grab your new wheel and slide it onto the column lining up the thread markings so it's straight:
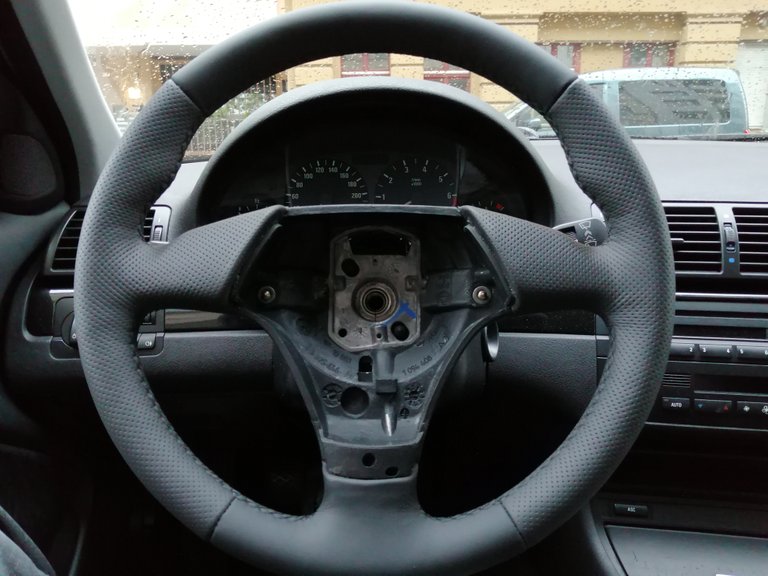
Look at that:
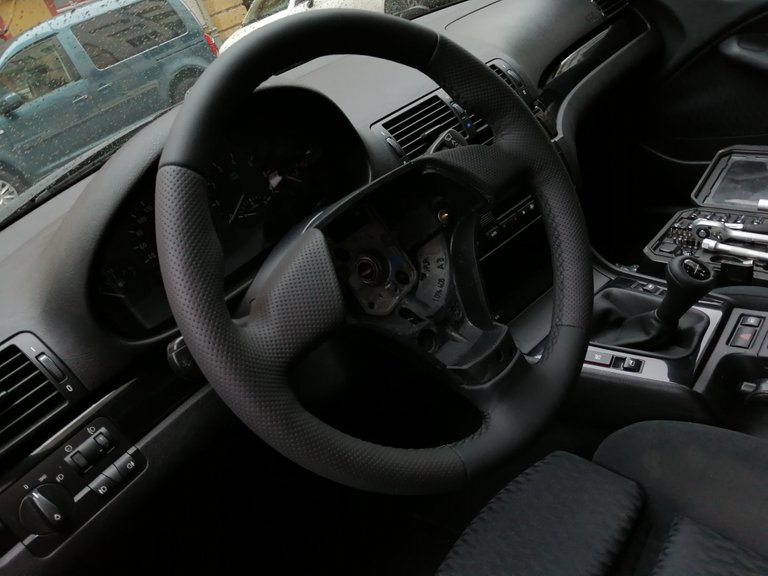
Note my already installed new shifter :).
You can now reinsert the screw and tighten it, again remove your key so the wheel doesn't turn. I recommend tightening until you cannot turn it anymore plus one more pull. Don't go to crazy on it.
Before refitting your airbag I recommend cleaning the plate thoroughly. A lot (A LOT) of dirt settles in that plastic over 20 years but it is usually possible to completely clean it if you take your time.
Now take your airbag and gently fit it into position. Do not forget to reattach your airbag cable connector by simply clicking it back into place.
Here it is after a good 30 minutes of cleaning using cleaning wipes and following up with microfibre towels drowned in interior plastic finisher to remove the towel fibres.
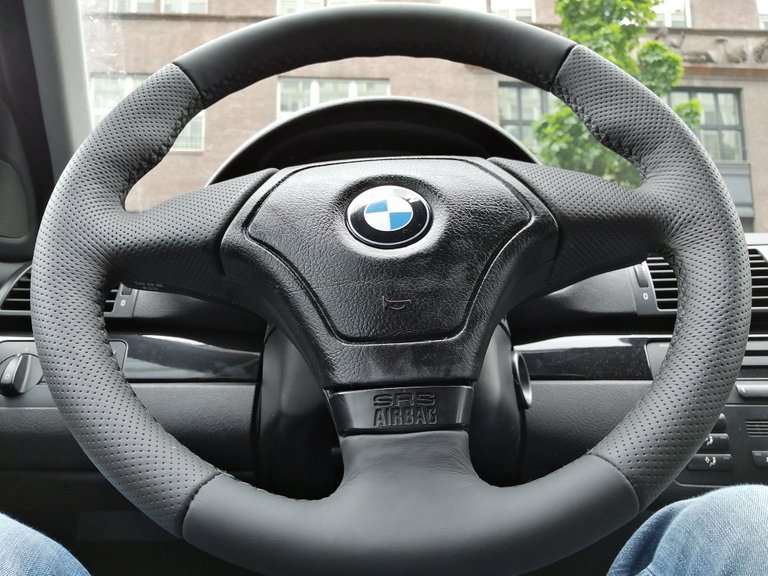
Also reinserted the 'SRS AIRBAG' badge which simply clicks into place. I still have to do a final cleanup of all components but for now I think it's not too shabby.
Final step for installation is the two screws around the back that hold the airbag plate firmly in place, again make sure your torx nuts sit firmly in the screws. My wheel actually came with new ones so I used those.
Note that the steering wheel lock simply prevents turning and removal of the wheel itself. The airbag cable connects to the car via the steering column so the wheel actually is independent of that.
You can now reconnect your battery and close everything off again, also store away your old steering wheel and remove any tools you may have used.
Replacement Process - The Result
Do you love before and after shots? I love them.
Before:

After:
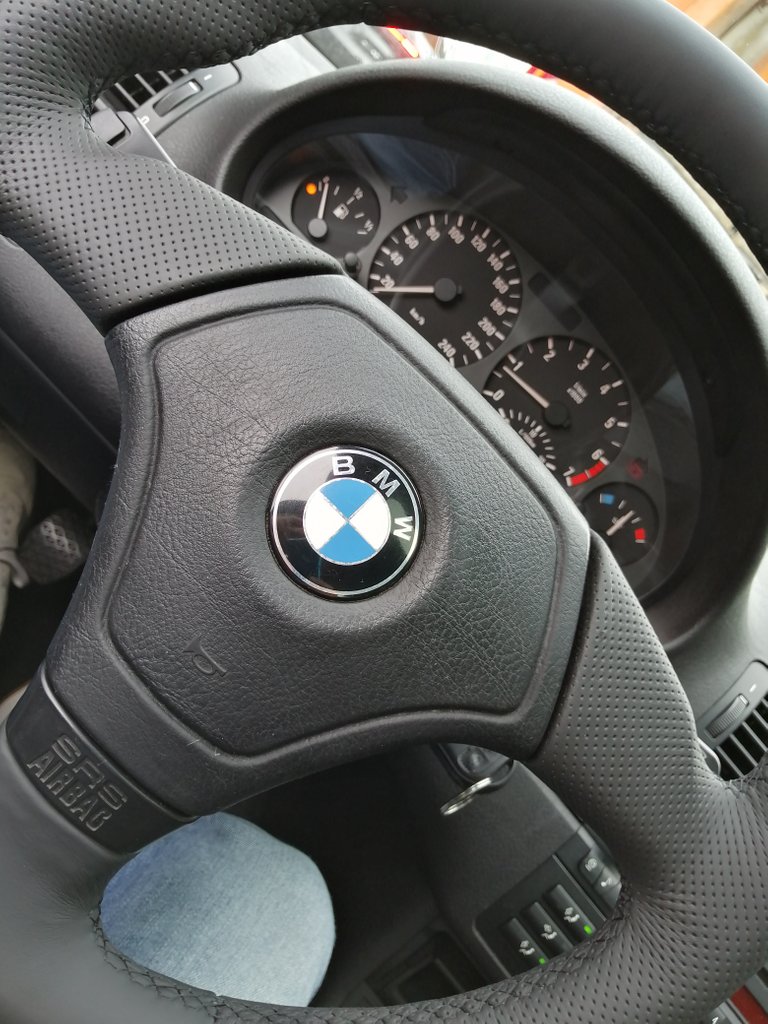
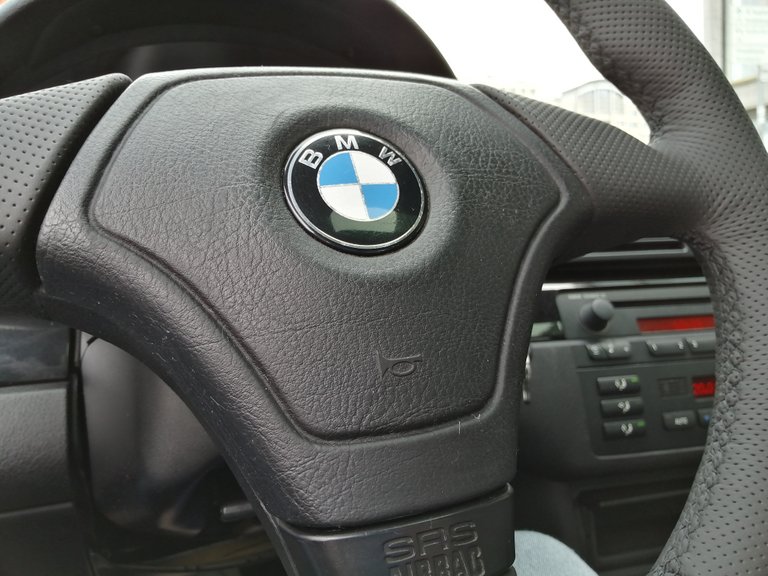
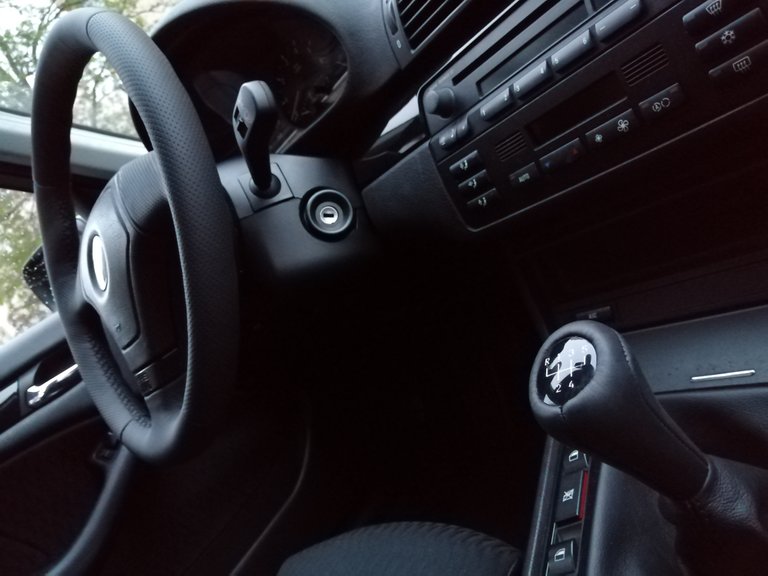
Ironically the effect of the clean airbag plate is almost more striking than the new wheel itself. In any case I absolutely love this and think it adds great driving pleasure, safety and last but not least value to the car. Afterall if you spend a lot of time in your car the wheel is your number one point of interaction with it. I do plan to replace the pedal mats as well soon. As for the shifter it is the standard 5 speed 'non-M' leather shifter - heavy version:

Will post some daylight shots once I'm back from my trip and everything is cleaned and well lit.
Coming up...
For anyone who was wondering the car is now at close to 394.000km so the 400 is getting awfully close. I've replaced a rear left window regulator including entire assembly and motor and will post about that soon. Also the driver's door lock mechanism has given me hell lately and I'll finally fix it next week so expect a post about that as well.
Other upcoming repairs will include the driveshaft bearing and that will be quite the operation as it is an exhaust out job.
Hope you enjoyed this and join me again soon on the road to 400.000km.
Steem on!
Wow, the difference in the looks before and after the replacement is abyssmal, it looks like new vehicle all of the sudden, I would love to see the process on the shifter too but I guess that would be another post, you did a great job here, thanks for sharing!
This post was nominated by a @curie curator to be featured in an upcoming Author Showcase that will be posted in about 12 to 24 hours on the @curie blog.
NOTE: If you would like us to NOT feature your post in the Author Showcase please reply, or DM me on Discord as soon as possible. Any photos or quoted text from your post that we feature will be properly attributed to you as the author.
You can check out our previous Author Showcase to get an idea of what we are doing with these posts.
Thanks for your time and for creating great content.
Franz (@curie curator)
I'm in the process of putting together a follow up with pics taken in daylight which will include the shifter.
Hi peterschroeter,
Visit curiesteem.com or join the Curie Discord community to learn more.
Maybe I am too young to know that people change their steering wheels as well. i have never witnessed anyone around doing it. hehe. I just thought people are supposed to change tyres. Thanks for taking me through this little adventure form behind my laptop screen.
:):D
Really nice documentation on your DIY work. Fascinating that the BMW already has 400.000 km. Is it your daily ride?
Are you an automotive mechanic? - or is it just a hobby?
Cheers,
Max
Well it's close to 400k. It was my daily for most of 16, 17 and 19. That's where most driving was done. Mind you I bought it at 297k 4 years ago, the car itself was built in March 1999.
I'm not a certified mechanic but I've built cars before so it's a hobby that I'm into quite a bit. Thanks for stopping by.
I must agree the new steering wheel does make it look more up to date and definitely improves the looks of the interior. Not something I would try though but nice to see it done with so much care to the detail.
Once you've stripped two entire cars and put one back together chaning the wheel gets easier :) Thanks for stopping by.
One of my favorite parts of a car is the steering wheel, I feel it must be modern and looking good. The change is quite noticeable, newer and very refreshing, I'm not mechanical so I do not risk changing mine haha
Hi @peterschroter! Yay, another DIY post on steem, the second for me today.I'm so glad you guys are posting these tutorials. I'm not going to change the steering wheel but there are plenty users here that are taking care of their own car and those could use your experience. I saw you bought a steering wheel previously that was for another model. Maybe your story can be a warning for someone else. This is awesome, keep it up!
Thanks for stopping by. Agreed, checking numbers on matching parts is quite important. I was unaware that there were different models of steering wheels which from the outside look identical.
Better luck next time. I bet you will check everything :)