
This week's assignment is :
Make an in-circuit programmer
The FabISP is an in-system programmer for AVR microcontrollers, designed for production within a FabLab. It allows you to program the microcontrollers on other boards you make.
I followed Andy's work to do this assigment.
Shouldn't miss this Video Walkthrough and this tutorial before starting fabrication, especially for beginners. It explains how to mill circuits on the modela in nice details.
Cut the board for circuits
In our lab we use this guy: Roland SRM20
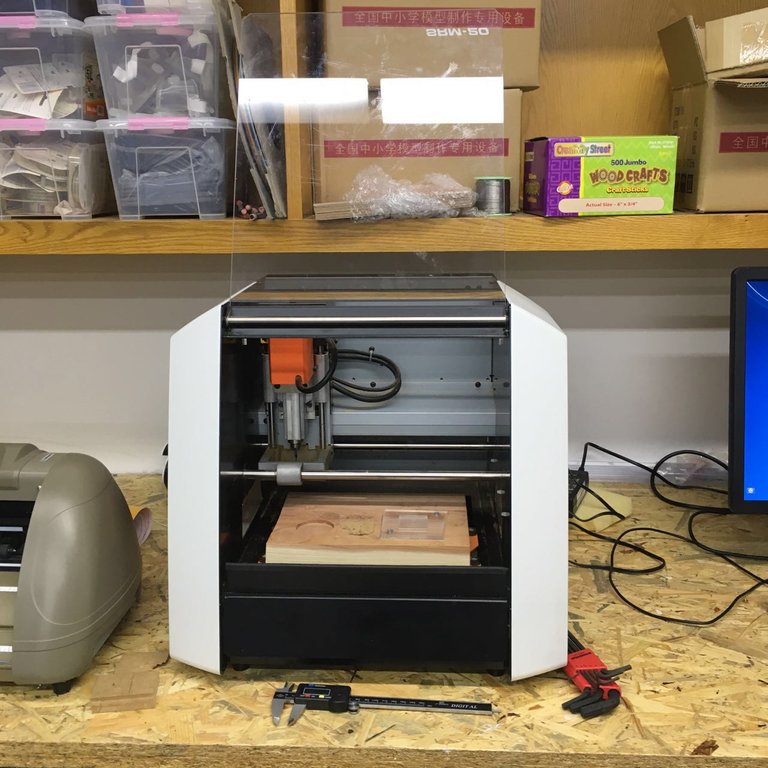
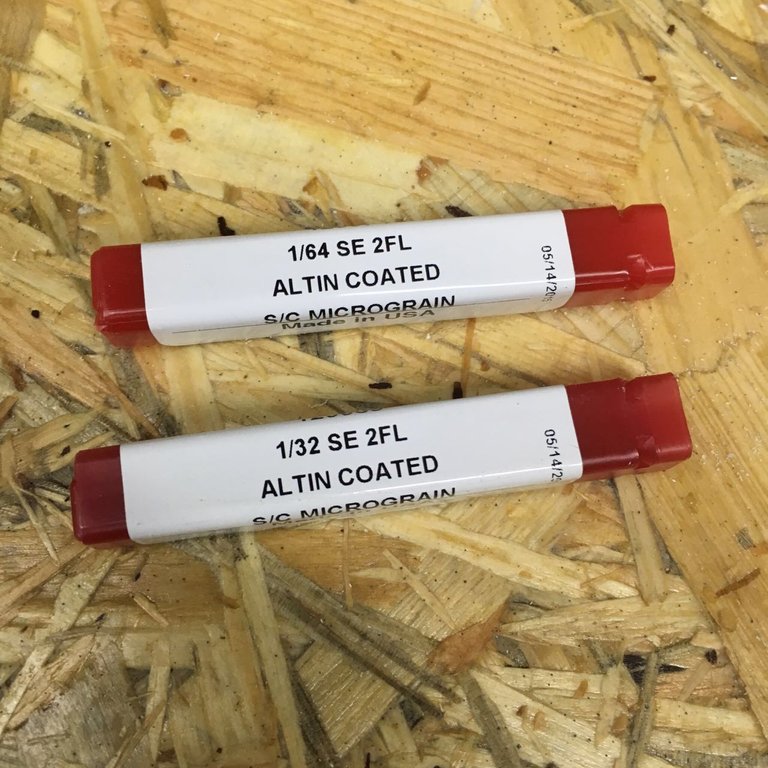
1/64 bit end mill for traces and 1/32 bit end mill for board edges are ready.
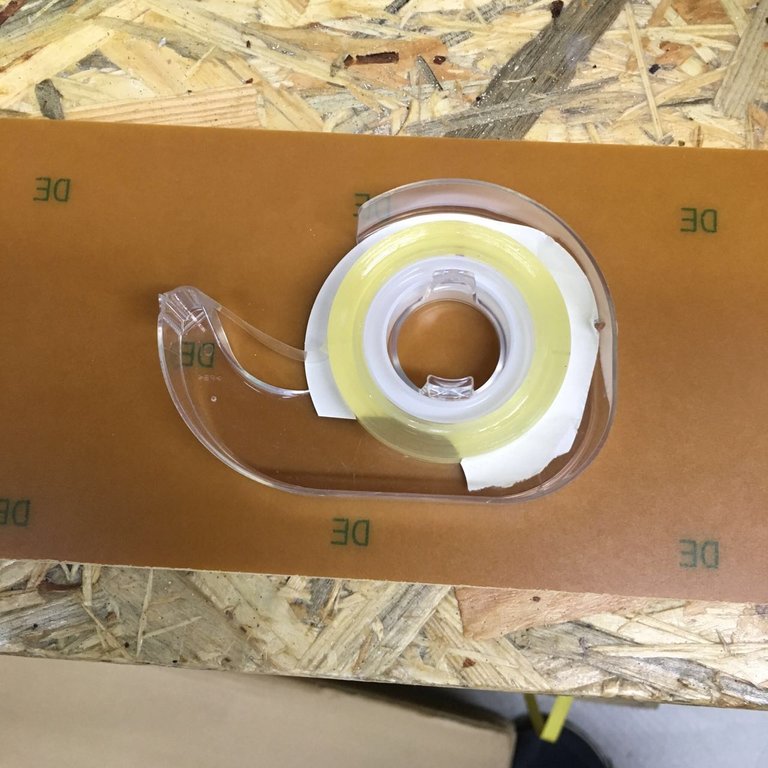
We use FR1 which is a paper based copper plate to mill on.
1. fixation
Fix the FR1 on the base board with double sided tape:

2. install endmill
Place endmill (1/64 for tracks first) into the hole, then use hexagonal screw to tighten it (clockwise).
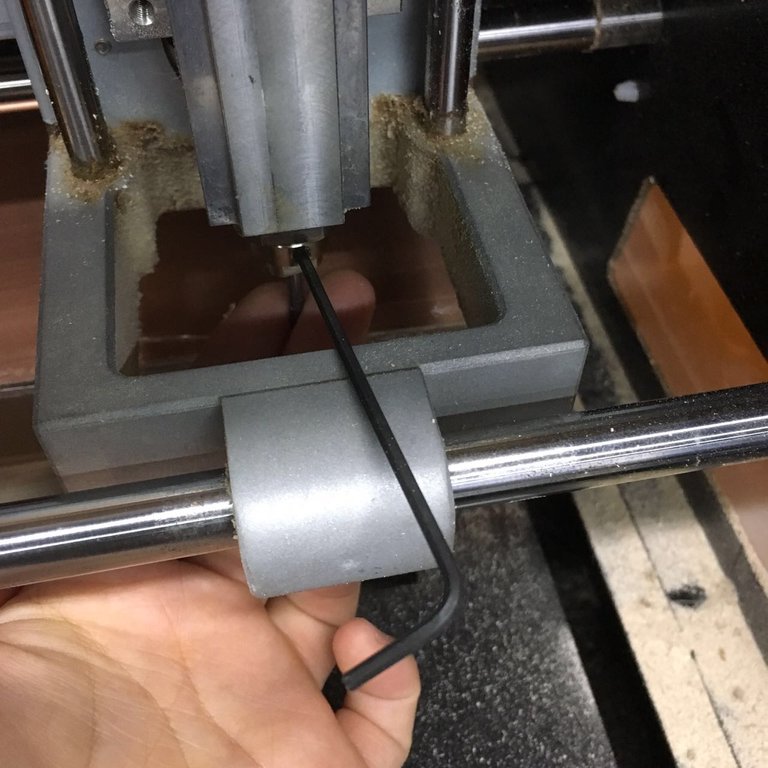
3. position and zeroing
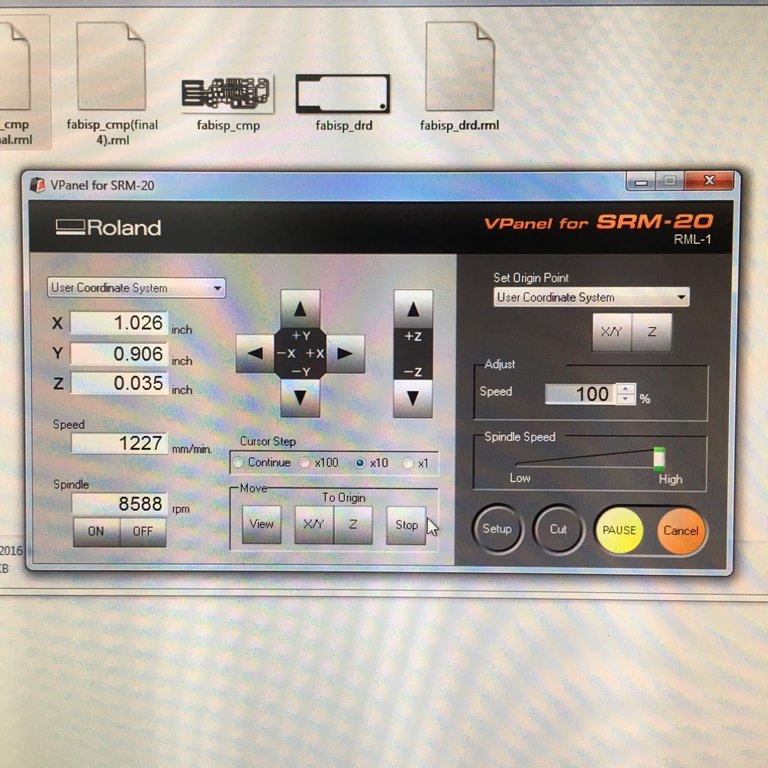
Open VPanel for SRM20, move X/Y to the ideal place. Then move z down to the board surface. When getting close to the zero point, loose the endmill until it just touch the board, then tighten it again.
4. mill
Choose the traces file and send to SRM20. Just wait until milling is done.
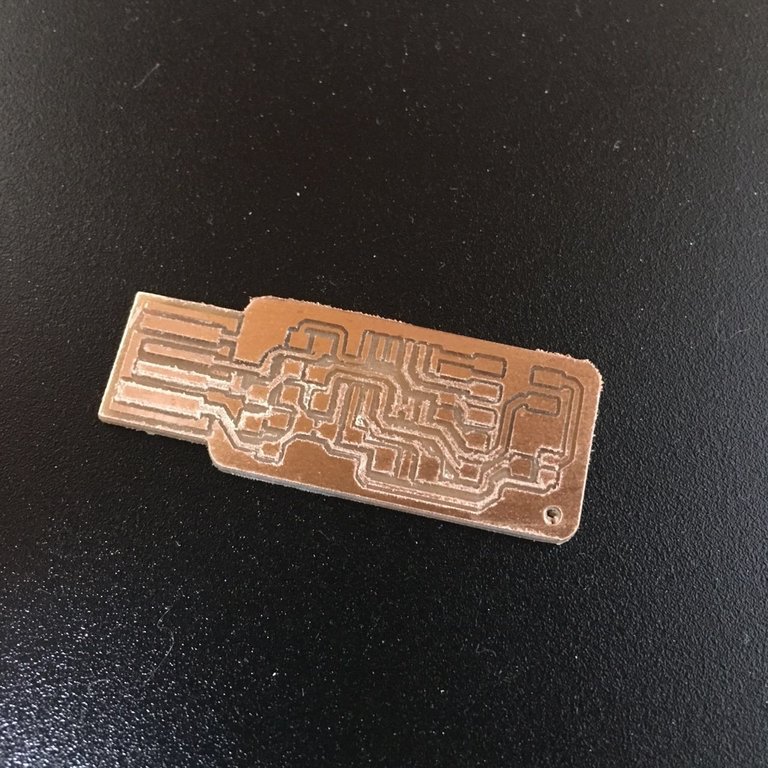
Once the traces are ok, replace endmill with 1/32. Move to origin x/y and z position. Then choose the outline file and send to SRM20.
If everything goes well, you should get something like this:
5. clean up
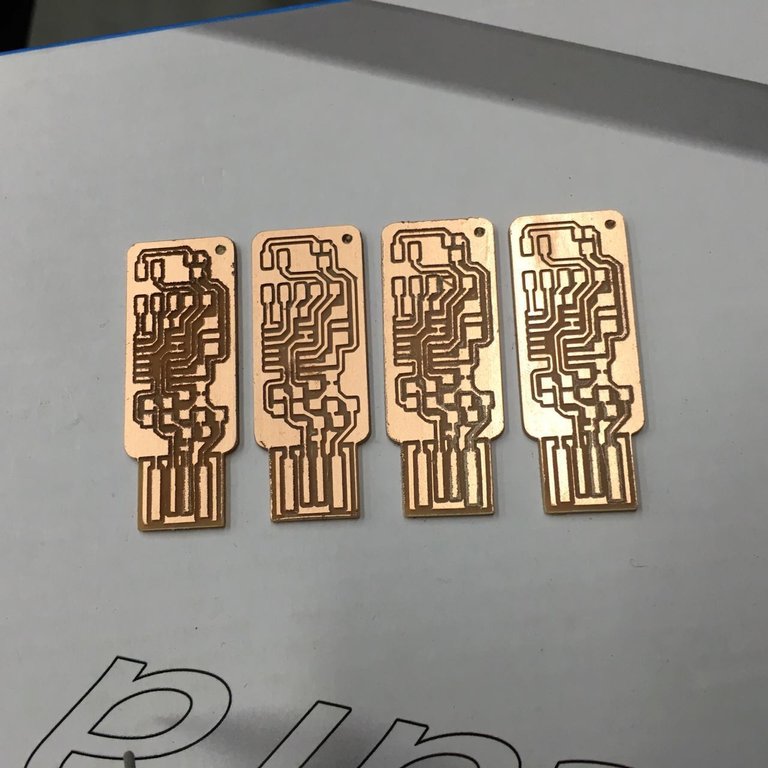
Do some clean up:
trial and error
In my early experiments, I got wierd result: some parts of the board were ok but some traces were too shallow.
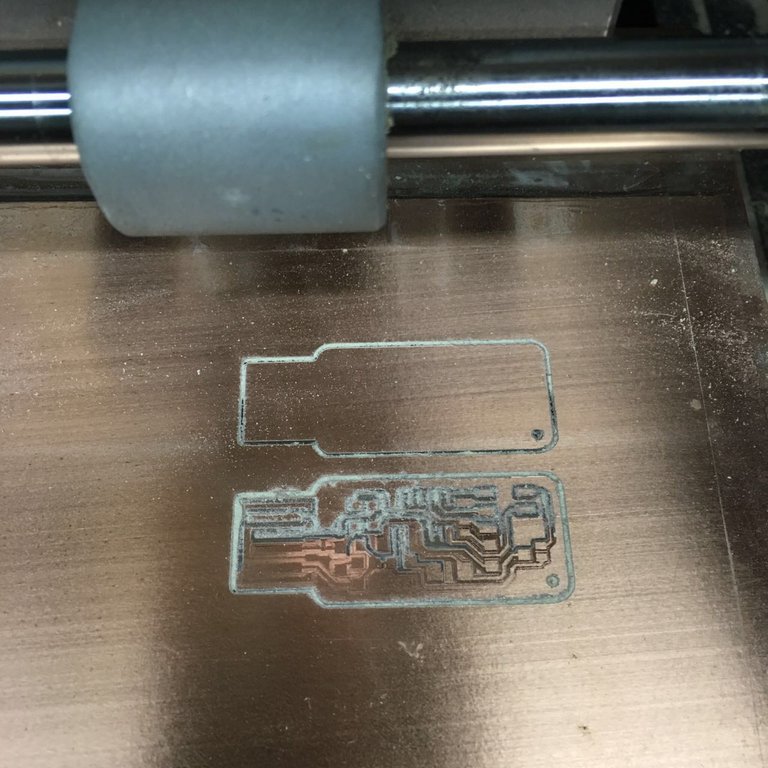
I couldn't figure out why until my classmate reminded me the endmill problem : I didn't tighten it enough! After milling for a while, it could move backwards.
So I tightened the endmill and solved the "half-milled" problem.
Soldering
Next challenge: soldering!
Thanks to my classmate, they've prepared all the components before hand.
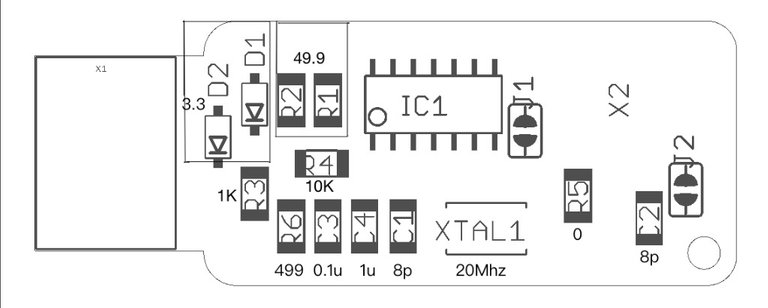
All the elements are so tiny that I was wondering if I can handle all of them...
I started from the biggest one: ATTINNY44
Place it to the right place, then press down one pin use welding torch with one hand, and let solder wire approach to the torch with the other hand. After solder melting down, put away wire first, then the torch. In a few seconds, the solder become shiny and smooth.
My first soldering component, not bad XD
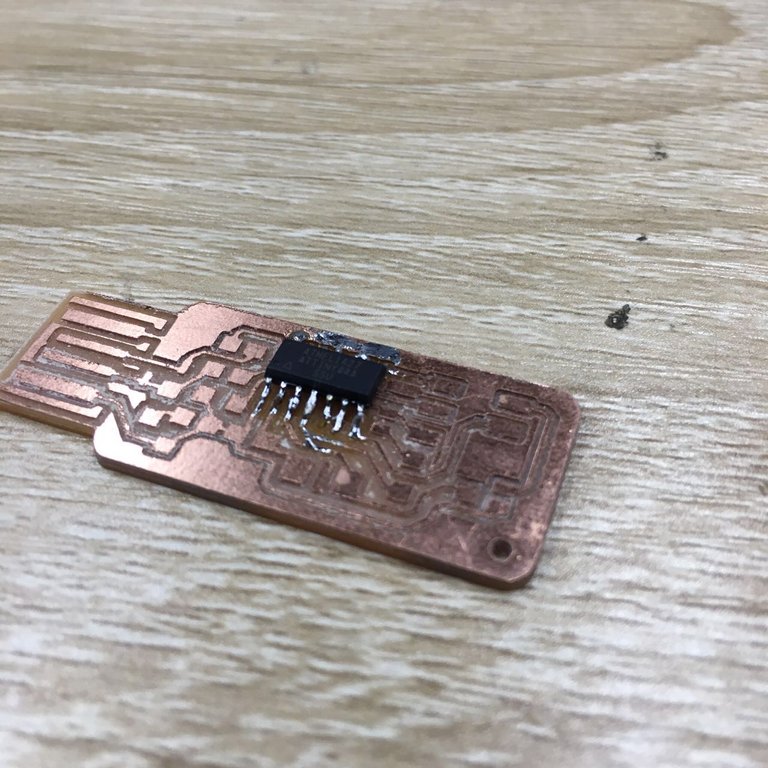
Keep trying:
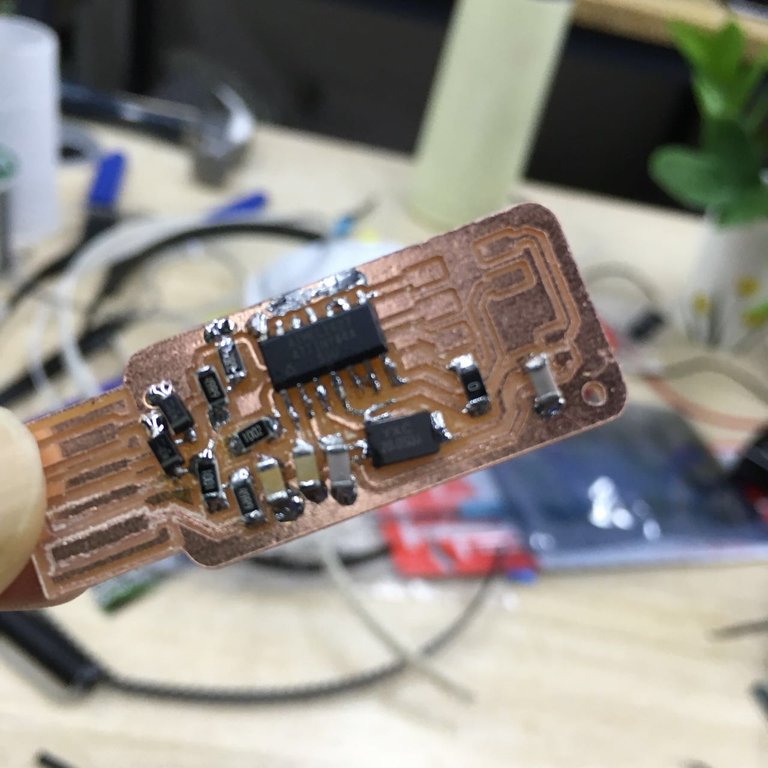
Final board:

Programming
Steps on OSX
Get Make (via XCode)
Download the firmware FabISP Firmware for MacOS 10.8.2
unzip and cd into the firmware directory
Open the Makefile with TextEditor
change avrisp2 to usbtiny
Go to the line that says:
#AVRDUDE = avrdude -c usbtiny -p $(DEVICE) # edit this line for your programmer AVRDUDE = avrdude -c avrisp2 -P usb -p $(DEVICE) # edit this line for your programmer- If using the USBtiny programmer or another FabISP, remove the "#" in front of the line with "usbtiny" in it. Add a "#" to beginning the line with the "avrisp2" in it to comment it out. Save the Makefile
cd firmware directory,
make clean- the result should be
rm -f main.hex main.lst main.obj main.cof main.list main.map main.eep.hex main.elf *.o usbdrv/*.o main.s usbdrv/oddebug.s usbdrv/usbdrv.s
- the result should be
then
make hexthe result is
kidults-MacBook-Pro:~/Desktop/firmware$ make hex
avr-gcc -Wall -Os -DF_CPU=20000000   -Iusbdrv -I. -DDEBUG_LEVEL=0
-mmcu=attiny44 -c usbdrv/usbdrv.c -o usbdrv/usbdrv.o
avr-gcc -Wall -Os -DF_CPU=20000000   -Iusbdrv -I. -DDEBUG_LEVEL=0
-mmcu=attiny44 -x assembler-with-cpp -c usbdrv/usbdrvasm.S -o usbdrv/usbdrvasm.o
avr-gcc -Wall -Os -DF_CPU=20000000   -Iusbdrv -I. -DDEBUG_LEVEL=0
-mmcu=attiny44 -c usbdrv/oddebug.c -o usbdrv/oddebug.o
avr-gcc -Wall -Os -DF_CPU=20000000   -Iusbdrv -I. -DDEBUG_LEVEL=0
-mmcu=attiny44 -c main.c -o main.o
avr-gcc -Wall -Os -DF_CPU=20000000   -Iusbdrv -I. -DDEBUG_LEVEL=0
-mmcu=attiny44 -o main.elf usbdrv/usbdrv.o usbdrv/usbdrvasm.o usbdrv/oddebug.o
main.o
rm -f main.hex main.eep.hex
avr-objcopy -j .text -j .data -O ihex main.elf main.hex
avr-size main.hex
   text    data     bss     dec     hex filename
      0    2020       0    2020     7e4 main.hex

   ```
Seems good.
then
make fuse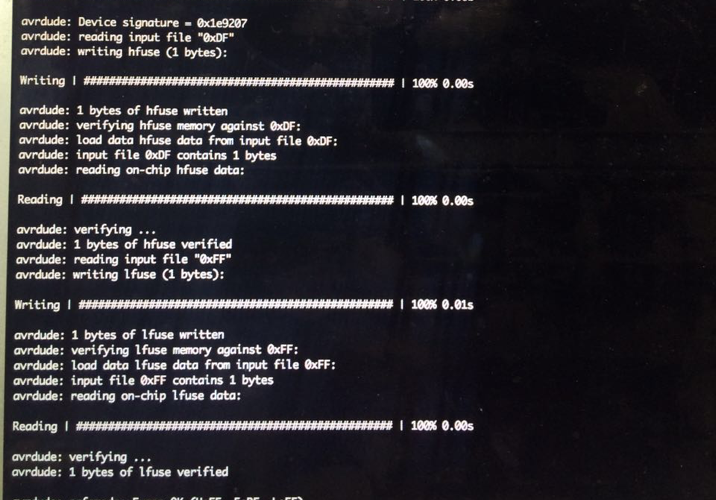
final step
make program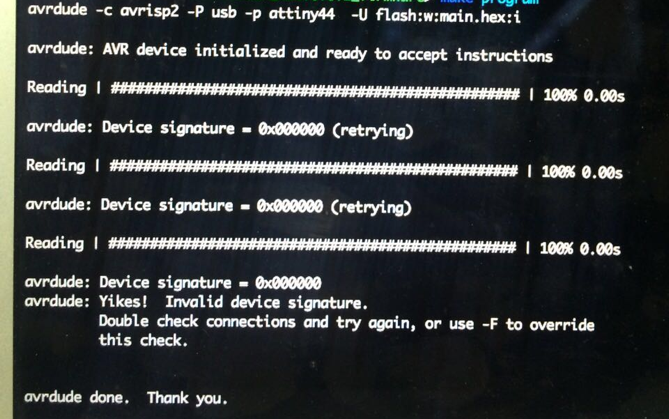
All FabAcademy Notes (to be continue):
- FabAcademy Week1 Note - Introduction
- FabAcademy Week1 Assignment - Build a website and use Git
- FabAcademy Week2 Note - CAD
- FabAcademy Week2 Assignment - 3D Modeling
- FabAcademy Week3 Note - Computer-Controlled Cutting
- FabAcademy Week3 Assignment - Computer-Controlled Cutting
- FabAcademy Week4 Note - Electronics Production
- FabAcademy Week5 Note - 3D Scanning and Printing — Steemit
Art x Code . Thanks for Upvote!
Hi! I am a robot. I just upvoted you! I found similar content that readers might be interested in:
https://kidult00.gitbooks.io/00fabnotes/content/Week4/4_Assignment.html