This lesson is to teach everyone a simple but very interesting method of adding glare to a photo using blending modes. Glare will turn realistic and natural. Adding and configuring the filter will be performed using the standard filter program Photoshop. Further processing will make the glare more natural, as the filter itself worsens the image.
Here is what we should get as a result:

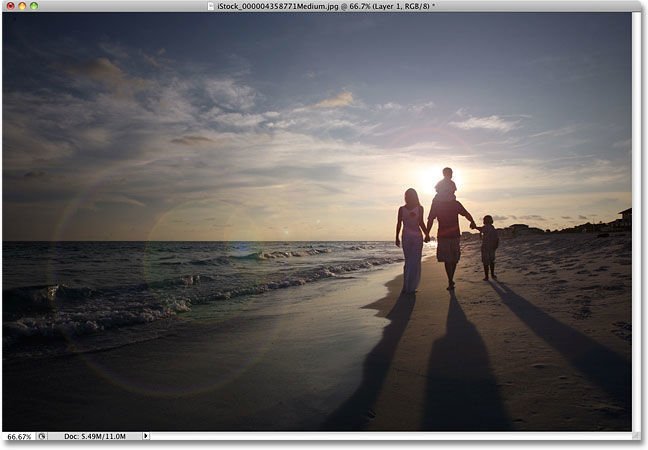
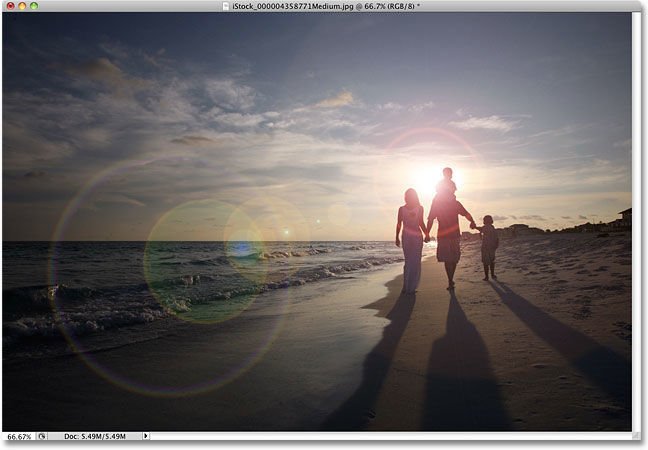
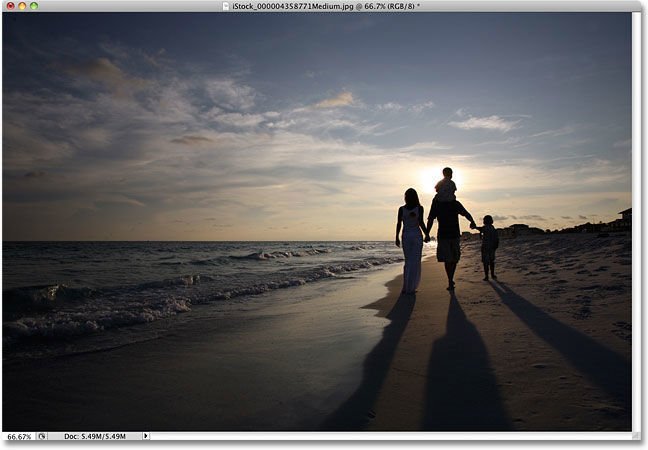
And here is the source image:
STEP 1
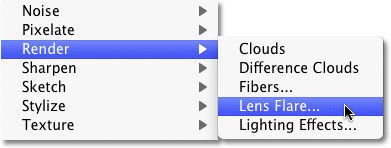
Determine the location of the flare. Go to the Filter menu / Filter -> Render / Rendering -> Lens Flare.
In the window that opens, you can select different types of highlights. Set the view of the lens 50-300mm Zoom / 50-300 mm zoom . In order to determine the location of the flare, you just need to click on the preview. Choose a place where the sun is.
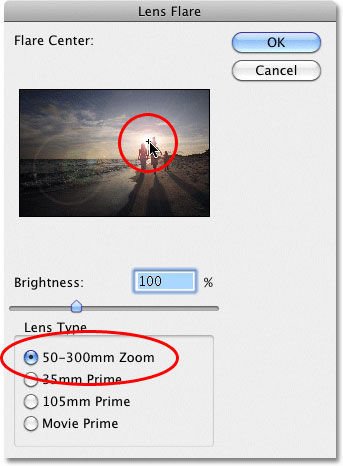
Having defined the settings, click "OK".
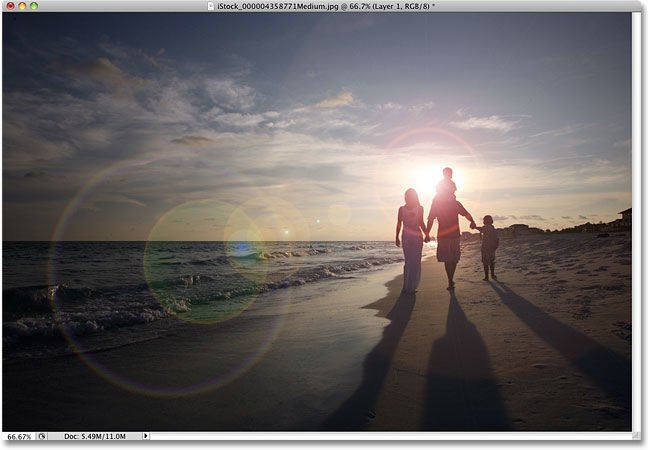
As a result, we get this result. It would suit many, but there are some inaccuracies. The glare turned out too bright and from that it does not look natural. We continue processing.
STEP 2
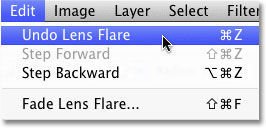
Cancel what was done by the filter. To do this, press CTRL-Z .
STEP 3
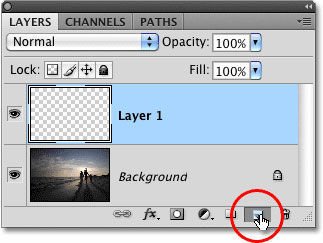
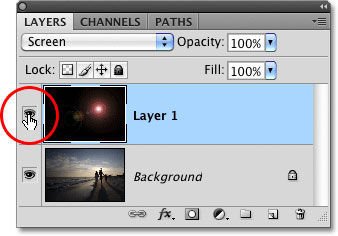
Next we will need a new empty layer. The screenshot shows how to create it.
STEP 4
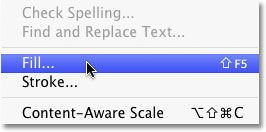
Fill this layer with black. Go to the menu Edit / Edit -> Fill / Run Fill
In the opened window we set the settings as in the screenshot.
.jpg)
Clicking on "Ok" we will see how Photoshop will fill the new layer with black color and hide the photo.
STEP 5
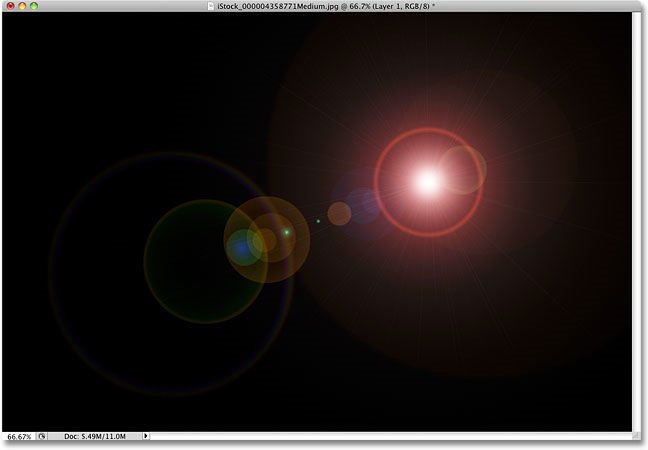
Now you need to put a highlight on the black layer. While we have not used other filters, you can repeat the action of the last used filter with the same settings. To do this, press Ctrl + F.
And that's what happens:
STEP 6
The blend layer blend mode needs to be changed to Screen / Lighten.
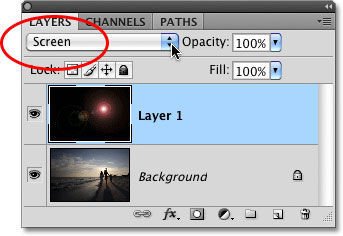
As a result, the black color is hidden and only the highlight remains.
Now, due to the fact that the flare is placed on a separate layer, we can turn on and off its visibility.
STEP 7
Placing the glare on a separate layer allows you to change its transparency, thereby adjusting the intensity of the glow.
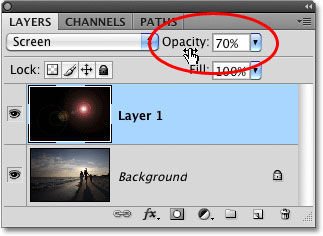
Set the layer transparency to 50% and get a fairly good result.
Save the photo in PSD format, you can easily turn on and off the effect of glare.