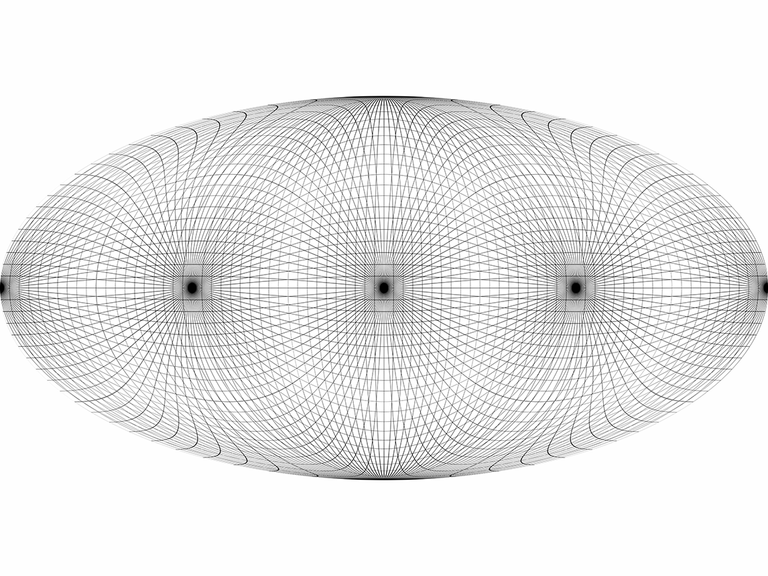
Introduction
As many people are demanding me what are the basics of curved drawing including 360º or Panoramic drawing I commence here a set of lessons introducing the fundamentals of this subject.
The purpose of this lessons is to develop the necessary drawing skills to achieve a curved drawing. This course addresses all sketchers, illustrators, graphic designers or art amateurs. No previous drawing skills are required, but, It will help if the reader is familiar to horizon line, vanishing points, and perspective.
In order to attempt a large public, the mathematical background which founds this aspect of drawing technique will not be covered in these posts. If a huge interest in the math behind this technique is detected, I will wrote some notes on the subject, as some notions on Differential Geometry (and Riemannian Geometry) are needed and, unfortunately, these subjects are restricted to a small public, I will concentrate my energy in the practical aspects of the curved drawing technique.
My purpose is to spread this incredible technique which gives an awesome visual experience for both, artist and spectator.
I will begin revisiting the fundamentals of perspective which has been used since the 14th century and I will show what are the limits of this technique. Then we will smoothly shift to a spherical perspective or curvilinear perspective but in a different approach from the one already disclosed in the academic literature.
I hope this notes will interest you, and I look forward to receive your comments, suggestions and, of course, curved drawings!
Let's start with some fundamental definitions:
Definitions
A curved drawing is everything which is not a flat drawing. So, what is a flat drawing. Well, a flat drawing is a drawing where the horizon line is a straight line and the volumes are build with rectangular boxes.
Examples of flat drawings:
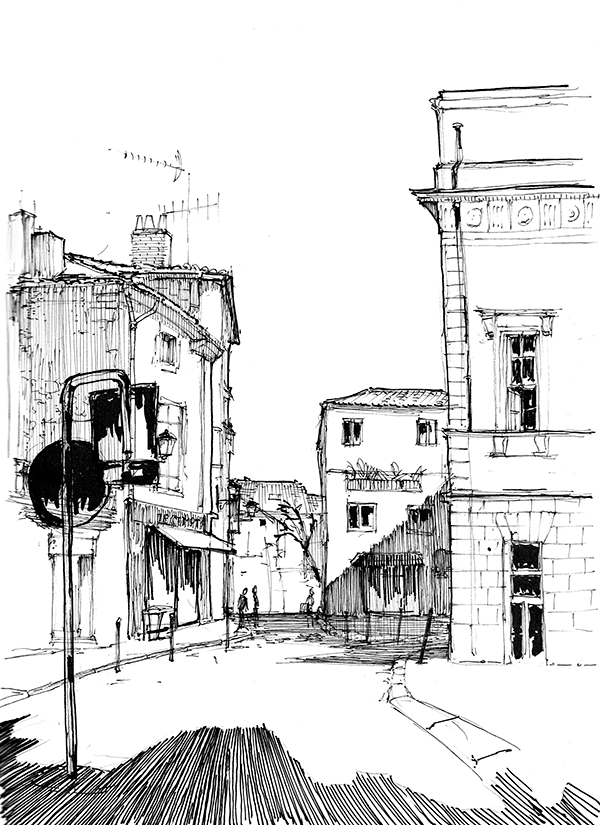 )
)See how buildings are build upon rectangular blocks or bounding boxes.
Another example, with no architecture:
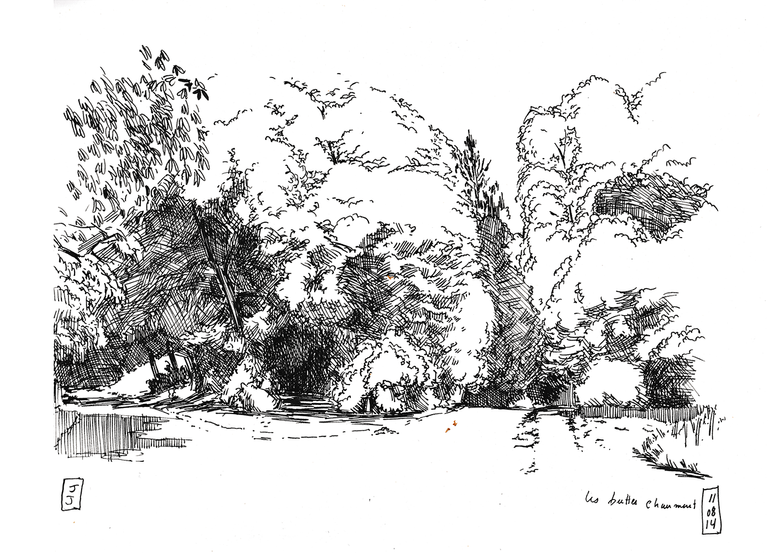
The straight horizon line divides the composition in two: trees and vegetation above and paths bellow.
Or a single character in a vanishing space..
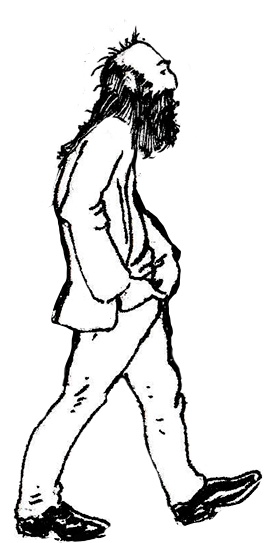
The kind of drawing we have been making all of our life, are flat drawings, unless you are Kim Jung Gi (in almost all his drawings ) or Otomo Katsihuro (in same drawings) among others.
So how does a curved drawing looks like?
I will distinguish between two supports:
flat supports curved drawings and VR Support for curved drawing.
Some posts ago, I have uploaded this example in a flat support:
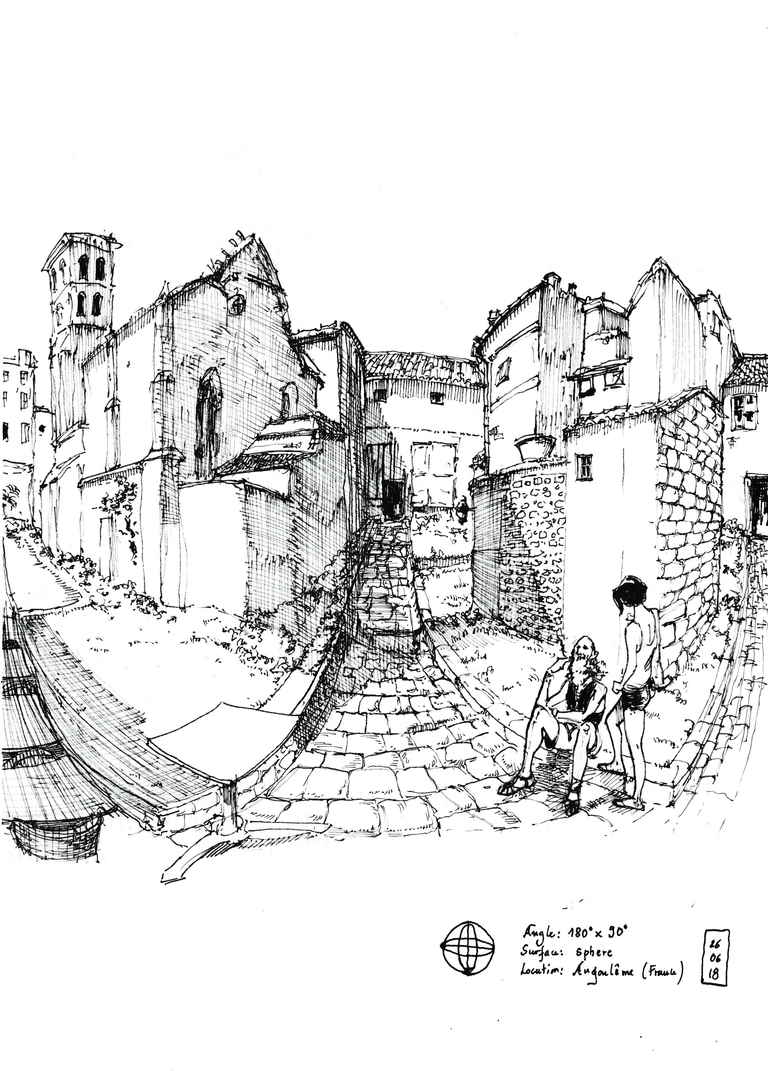
This is a curved space sketch in a flat support which a horizontal FOV of 180º. Just feel the curvature of the buildings, isn't amazing?
for a VR Support view of this picture you can clickhere
Or another example, this 360º Panoramic drawing in this link (Drag with your mouse in the picture and browse all along the place.. until you discover the musicians).
So, we have seen so far the differences between flat drawings and curved drawings. Just retain that if the horizon line is a straight line, for sure, we are facing a flat drawing. On the other hand, in a curved drawing we distinguish between curved drawing in flat support, where we found amazing curves which replaces straight lines, and VR support, where we can browse a large Field of View.
This tutorial is intended to upgrade your drawing skills to achieve curved drawings like these.
Let's continue, we are going to talk now about perspective and geometry!
The intrinsic geometry of a flat drawing
Either we are drawing from imagination or observation, in both cases, what we do is transfer visual information from one plane to another plane, like it is shown in this figure. Let's call the plane where we draw the projected surface.
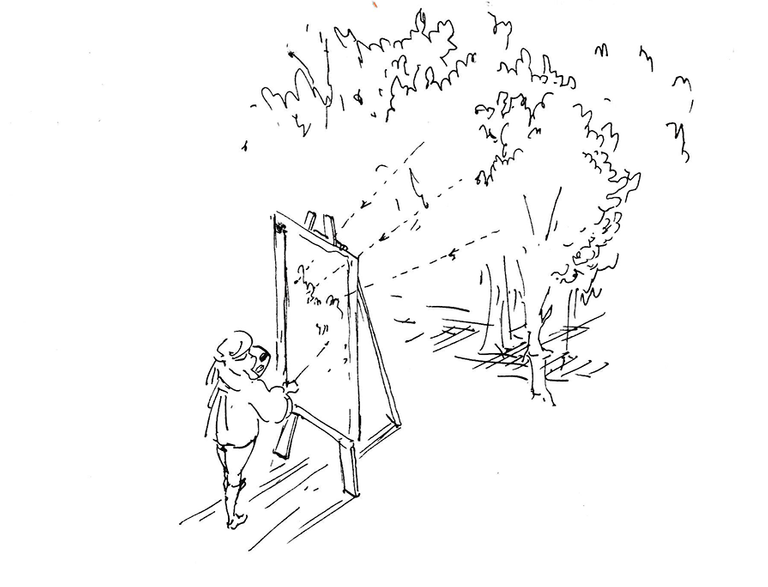
In 99% of the images that our brain can remember, the mathematics laws that govern the different features of the drawing or painting are ruled by perspective.
Just as a recall, in traditional perspective we assume:
- one an unique horizon straight line at the eye level.
- In this horizon line, we can figure as many vanishing points as we like. With the help of vanishing points we build different objects which appears to be in three dimensions.

I guess this illustration is well known from everyone who has ever draw a building in location.
During centuries, we have been using (being aware or not) this geometrical tool called perspective. And this perspective assumes:
- Horizon line is a unique and infinite straight line at the eye level.
- distant objects are drawn small than close objects.
- A straight segment in the reference is a straight segment in the drawing.
- Amplitude of angles are equal in both reference and drawing.
It is important to notice what FOV (Field Of View) can be attempt with this perspective or this geometry which we though immovable.
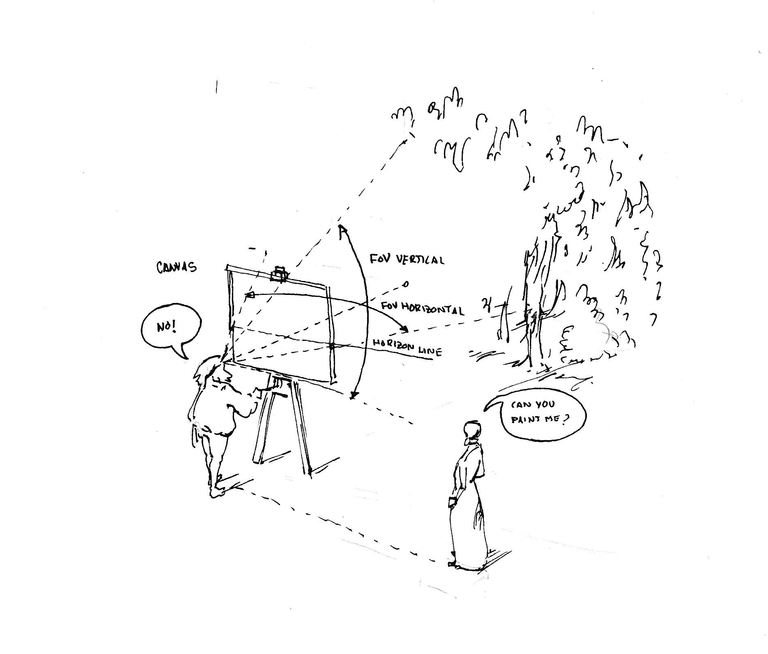
Now, suppose we have a young lady standing in the right side of our talented artist. Obviously, this young lady could not be represented in the picture as long as she stands outside of the FOV of the artist.
The FOV of the artist is then bounded to the size of the canvas.
And tipically, Fov (both Vertical angle and Horizontal angle) are more or less around 50º.
Conclusion
Classical perspective, also called Euclidean perspective maintains lines, angles, proportion between the reference and the printed image.
FOV is limited to 50º beyond we have strong distortion not used by painters.
Impossible to capture objects outside the visual cone delimited by the FOV. We cannot draw objects which stands in the right side, left sight, up, down or even back to the point of view.
Horizon line is considered to be an infinite straight line.
Euclidean perspective is suitable as long as we want to keep a small FOV and just draw objects in front of us.
-but, wait, wait, wait, are you serious man? Can we draw objects which are not in front of us??
-not in Euclidean perspective, that is, not in Euclidean geometry...
Indeed, Euclidean geometry does not work if we want to:
- have FOV above 50º. For example, if we want to draw a church at street level.
- draw objects which are not in front of us.
Also, Euclidean geometry has a poor graphic density because for the same amount of flat support, that is an A4 paper, we can only have 50º of FOV.
In the next lesson we will discover a new geometry which fixes the poor performance of the planar Euclidean perspective. Have fun and thank you for reading.
Keep tuned to this account!
This post was shared in the Curation Collective Discord community for curators, and upvoted and resteemed by the @c-squared community account after manual review.
Very lovely post ! Good text, with good humour and of course, the tutorial is very good !! Love the illustrations also, specially the one that illustrates how to effectively draw a curved space ! So artistic ! Very lovely :D
thank you @veryspider! Once the tutorial will be finished, I am eager to see you curved drawings!!
uh.... i will try.... i dont usually plan before i draw though... hahaha, the life of a hobbyist artist :>
Dear friend, you do not appear to be following @artzone. Follow @artzone and get added to our voting list for valuable up-votes!
Congratulations @javier.dejuan! You have completed the following achievement on Steemit and have been rewarded with new badge(s) :
Click on the badge to view your Board of Honor.
If you no longer want to receive notifications, reply to this comment with the word
STOPTo support your work, I also upvoted your post!
Do not miss the last post from @steemitboard:
SteemitBoard World Cup Contest - The results, the winners and the prizes
Your ink works are magnificent! I certainly enjoy looking at them, really nice. I love the warping perspective and your delicate cross hatch. Very beautiful :).
-upvoted-
thank you @scrawly!