Rise and Shine Steemians! I wanted to share to you an @originalworks on how to make this colorful Mandala art in which is easy to make by your own talented hands. Grab these materials and Let's start .
Hope you'll like it :-)
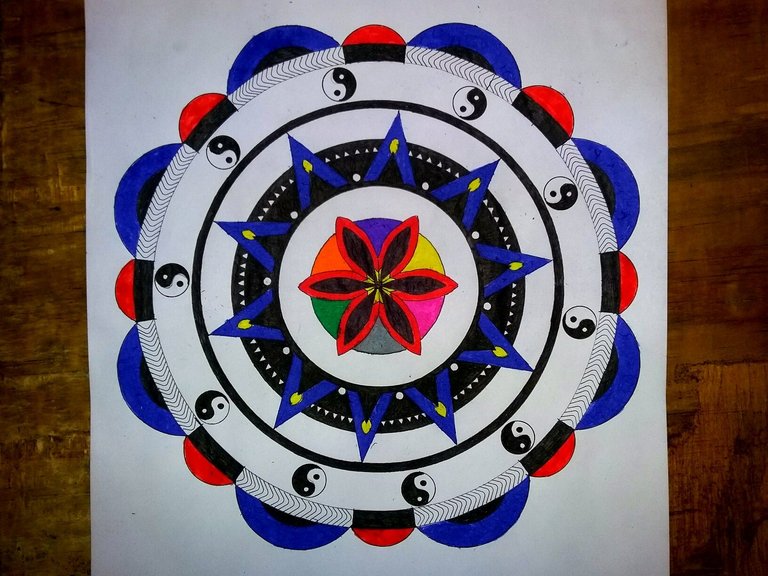
Materials Needed :
•Sketch Pad
•Pencil
•Gel pen (0.3 and 0.5)
•Colour Pens
•Protractor
•Compass
•Ruler
•Eraser
STEP 1
First make your guidelines as usual it is in ray forms which has equal distances (10 cm ). Draw your smallest circles (1.5 , 2.5 , and 3.0 cm ) in radius .
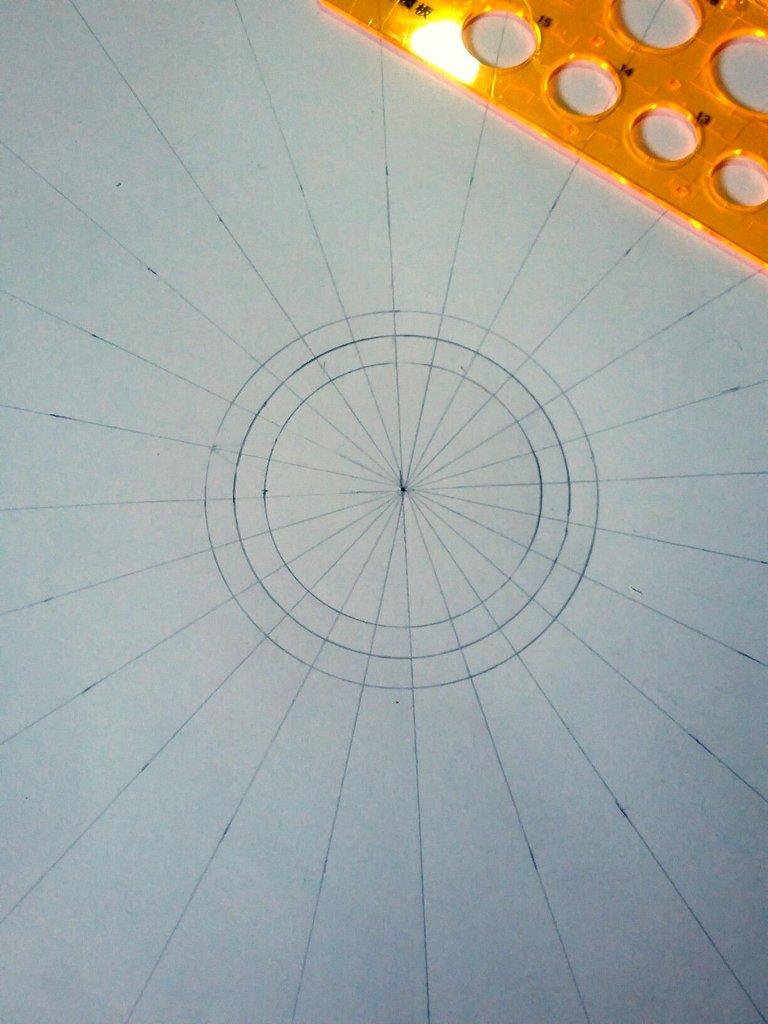
STEP 2
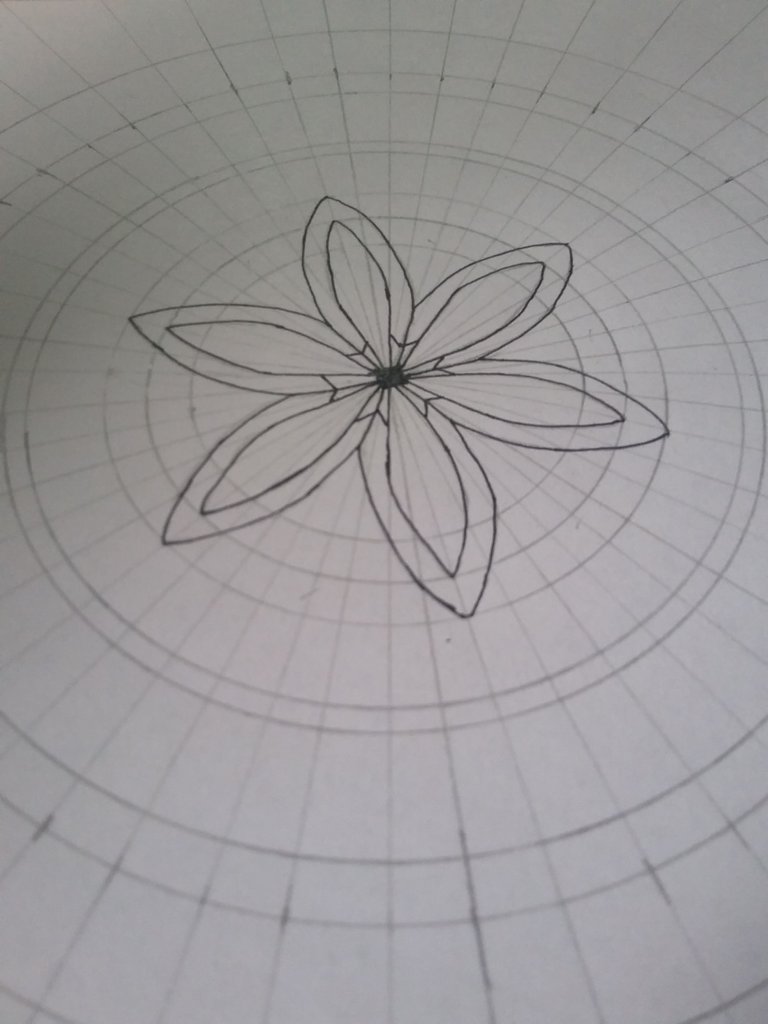
Then, draw your petal designs (6 pcs.) . Note: ( Every tip of each petals must reach the edges of the circles ).
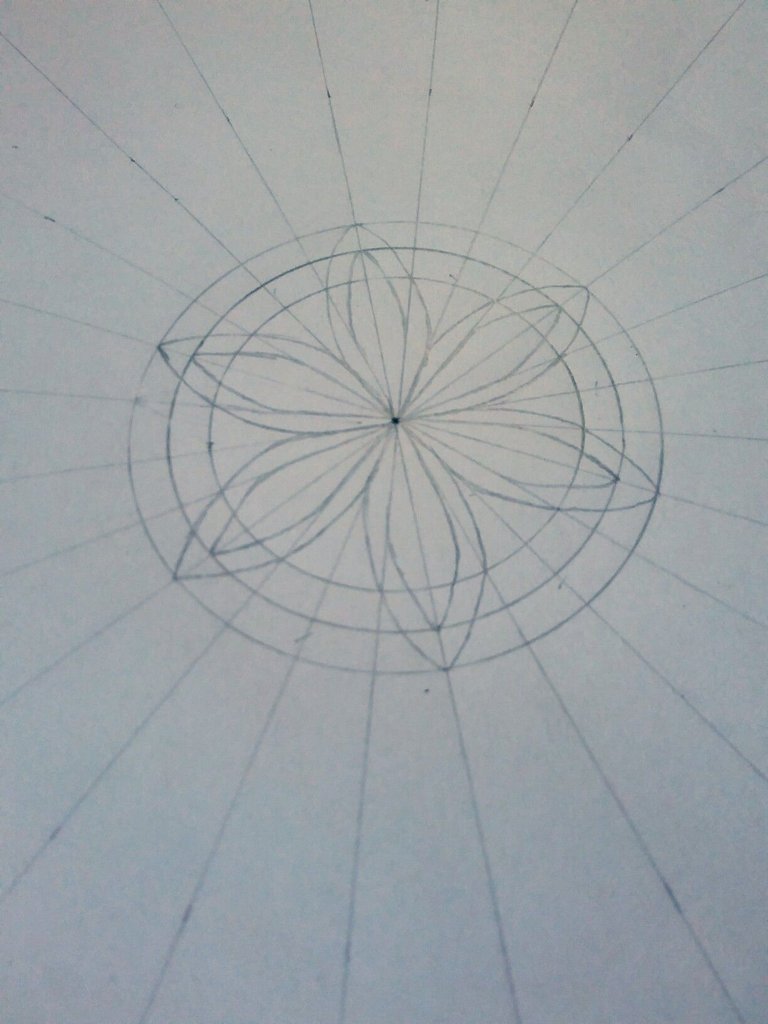
STEP 3
Trace your drawn design using your tracing Gel pen (Black) then add more circles bigger and bigger of what you have drawn earlier approximately measuring ( 6.0 , 6.25 , 8.0 , 8.5 , and 10 cm in radius ) .
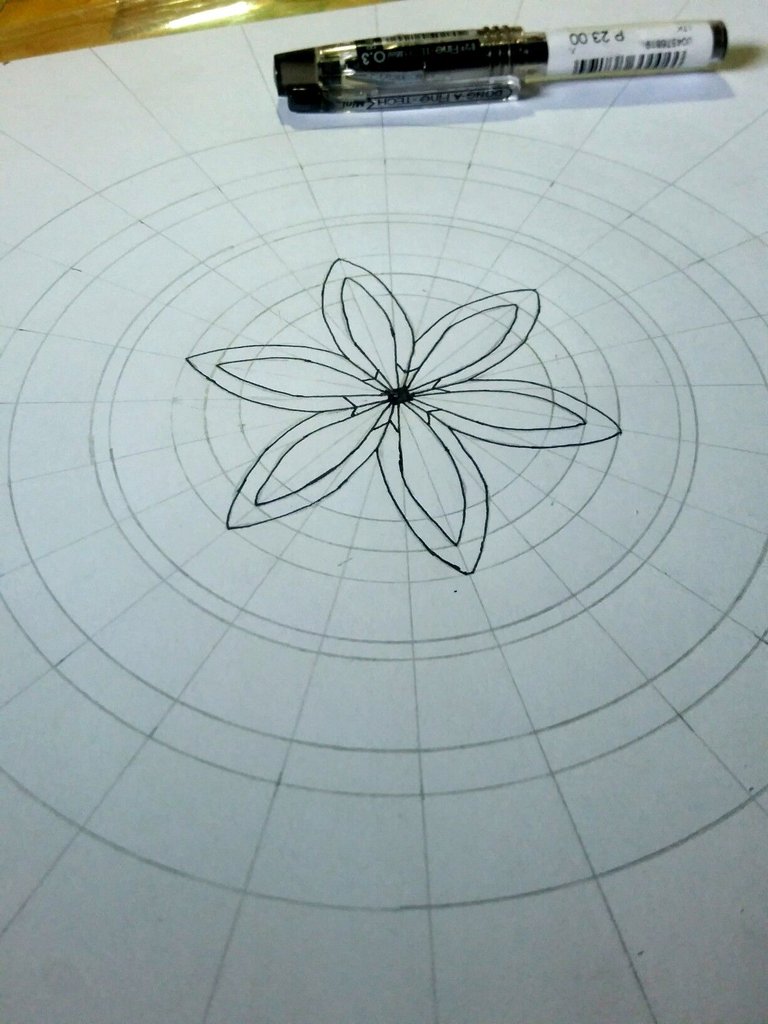
STEP 4
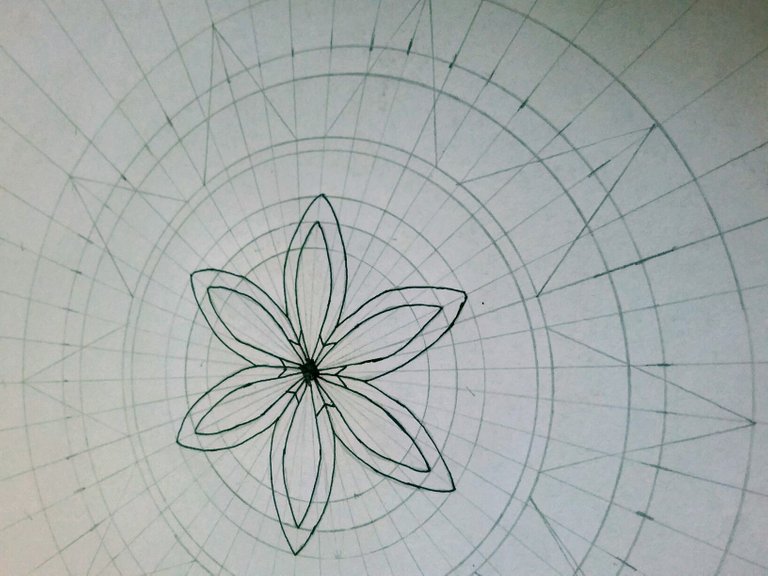
Draw more rays (0.5 cm in radius) .
This would be your guidelines for the next designs of your artwork.
STEP 5
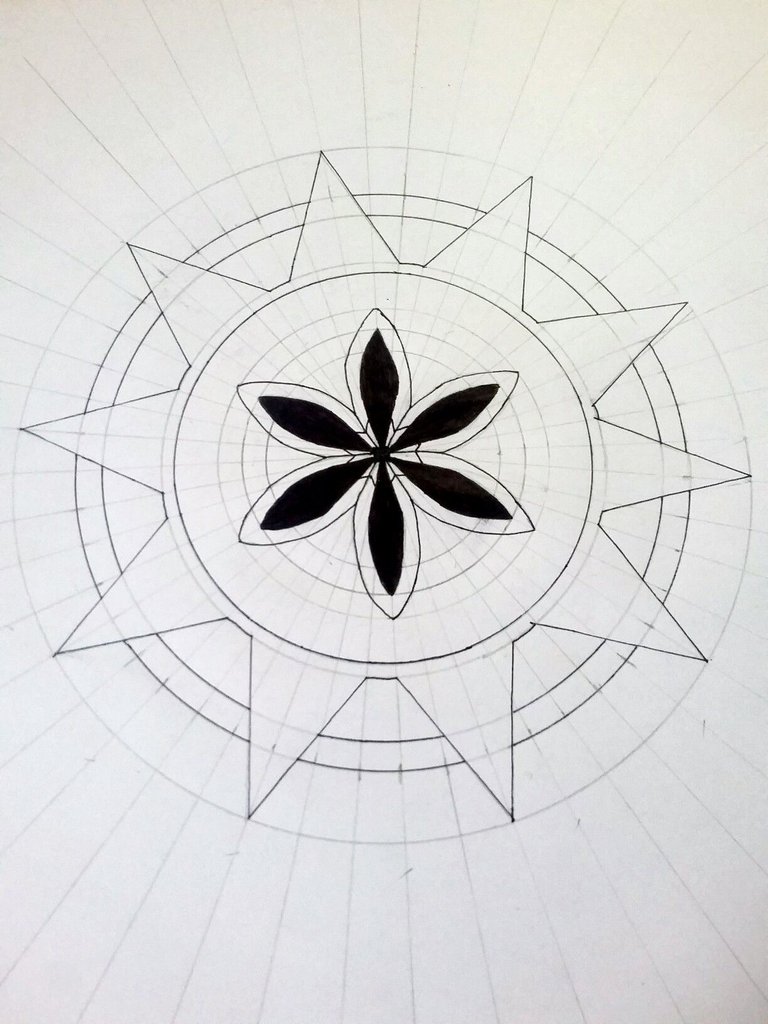
On your fifth sized circles, draw your triangular design with (0.5 cm ) in distances before and after each triangles ( See photo ) .
STEP 6
Trace using your Gel pen (Black) . Then, boldly blackens the inside design of your petals.
STEP 7
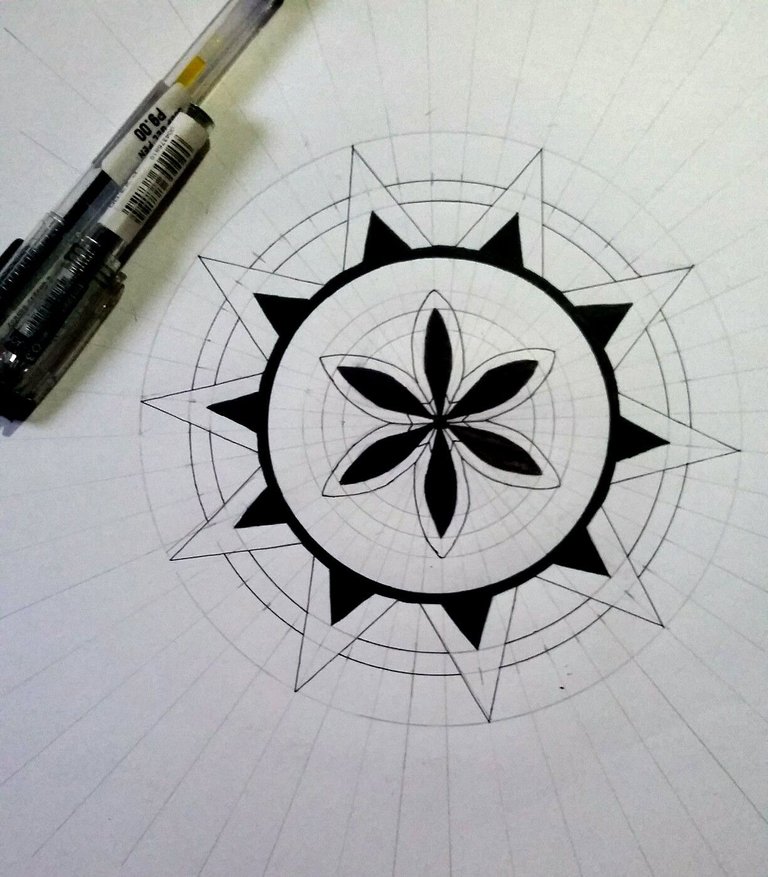
Continue Blackening some designs (See photo) and add more detailed designs (circles and triangles).
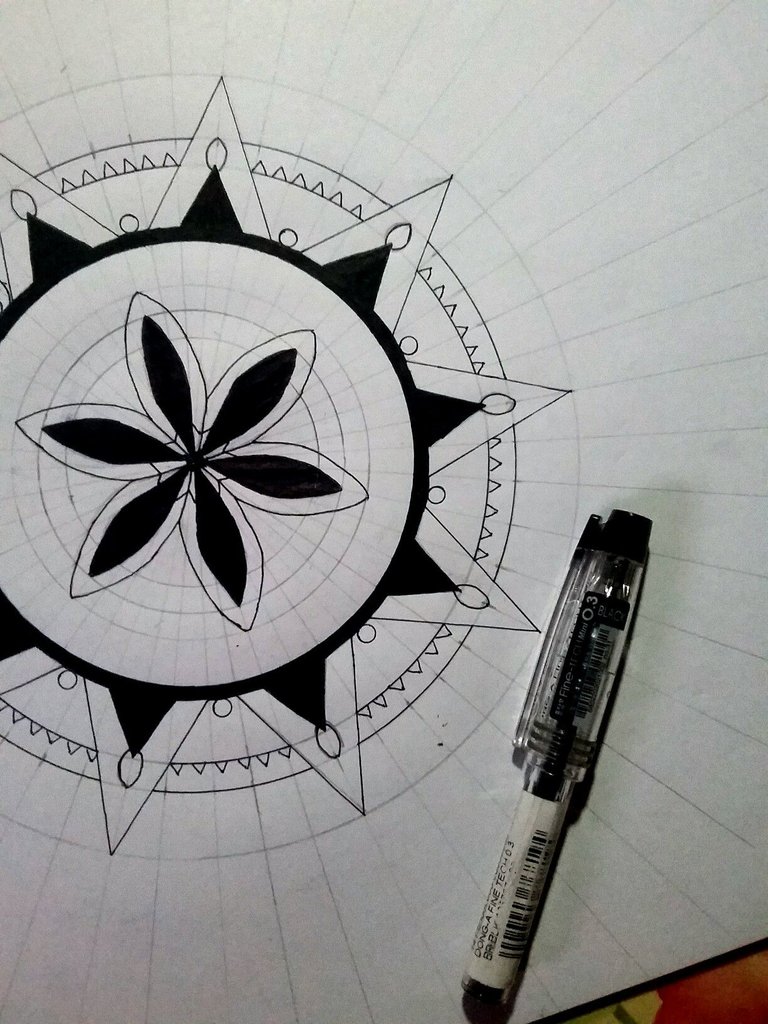
STEP 8
Add your last circle measuring (10.5 cm ) in radius.
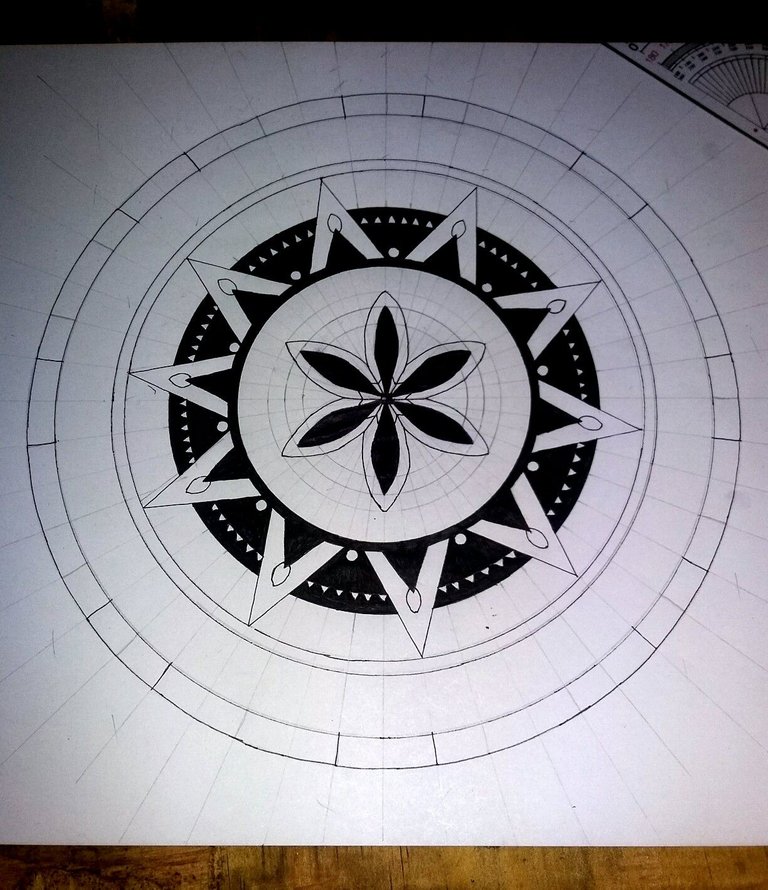
Blackening carefully some parts of your designs.
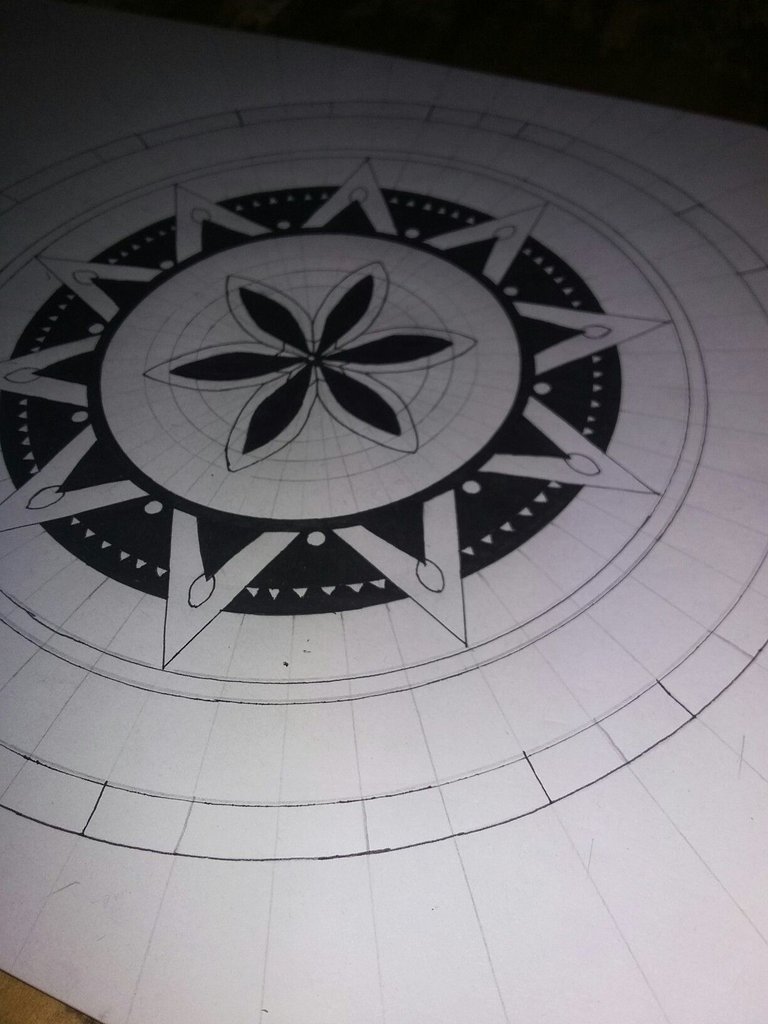
STEP 9
Add more designs on the last circles (See photo).
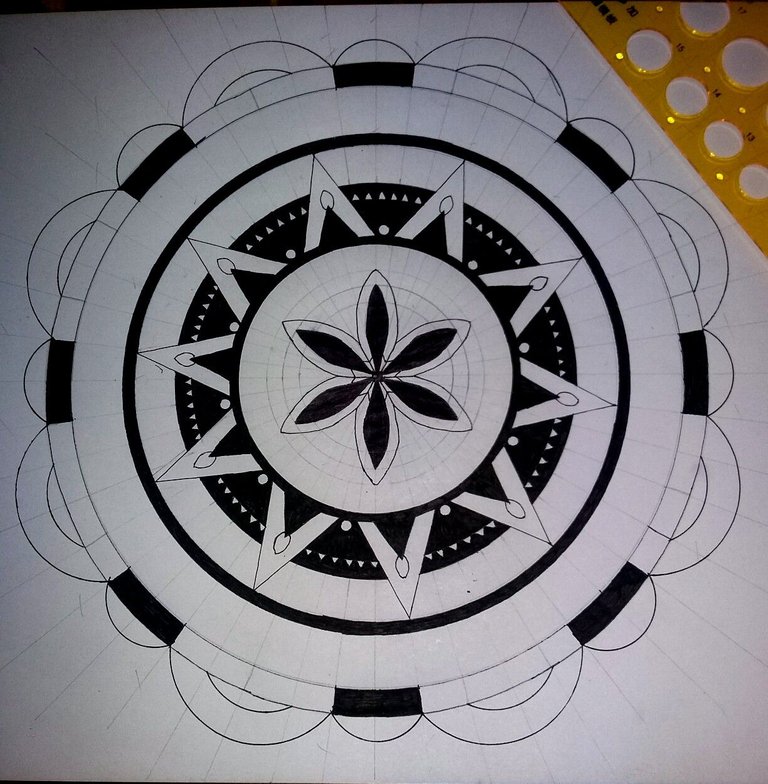
blackening designs.
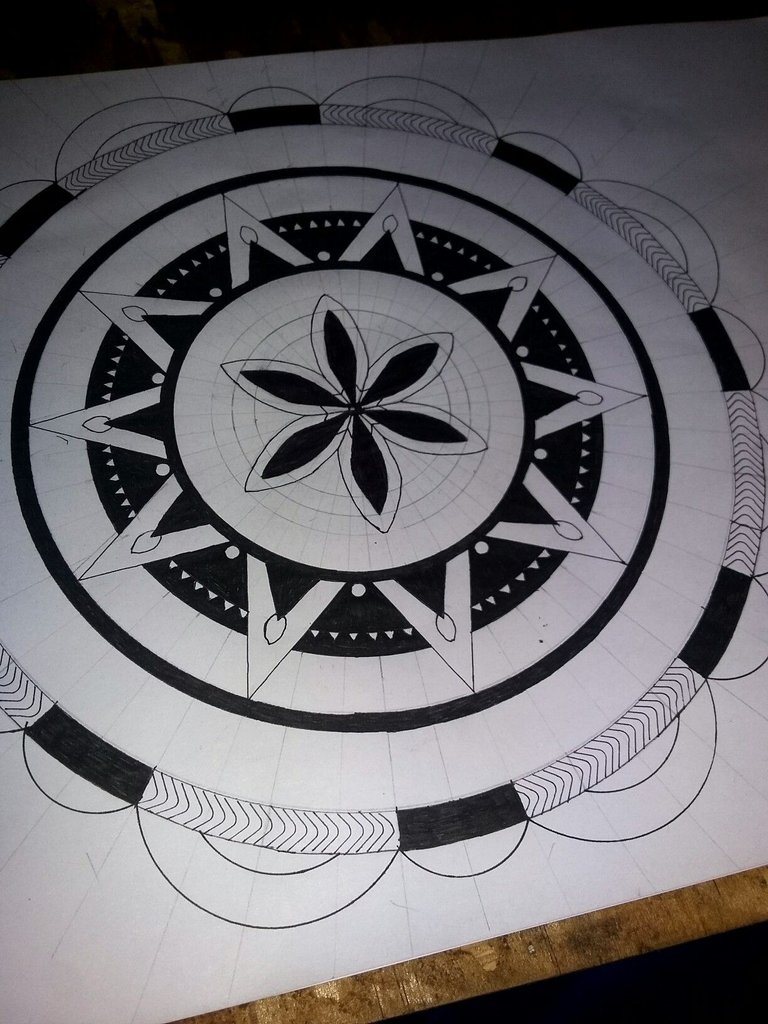
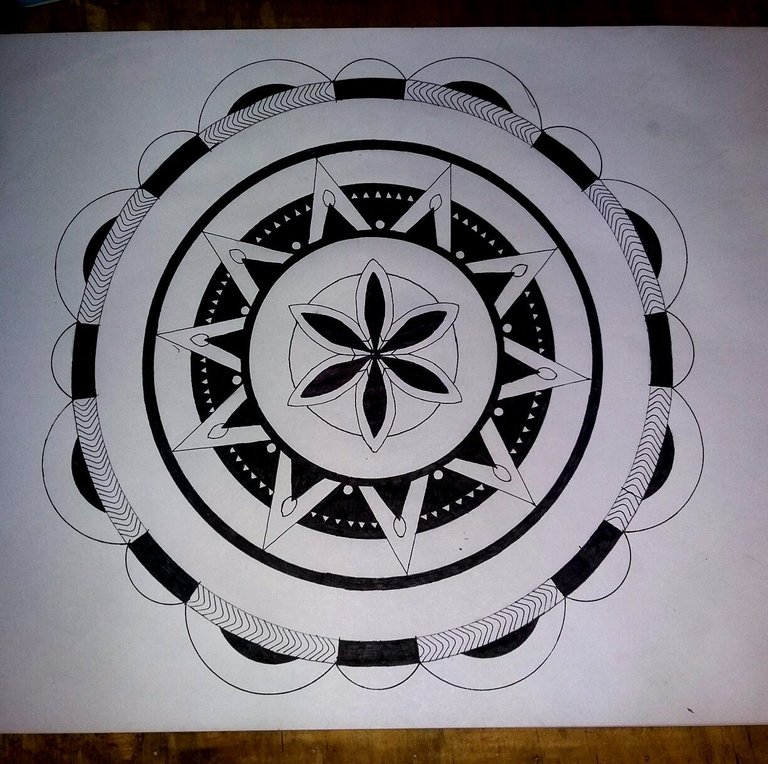
STEP 10
Almost Done! Now, make your artwork more attractive by splashing colors using your colored pens. Then add "SUGO" symbols as your final designs.
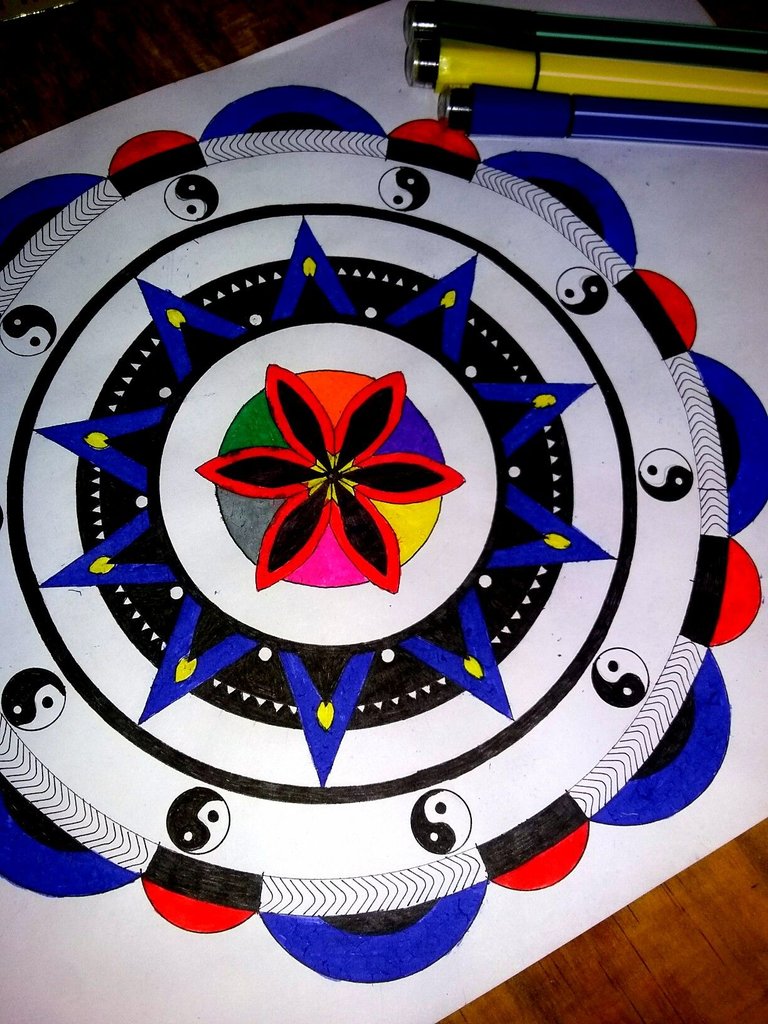
DONE! 😉
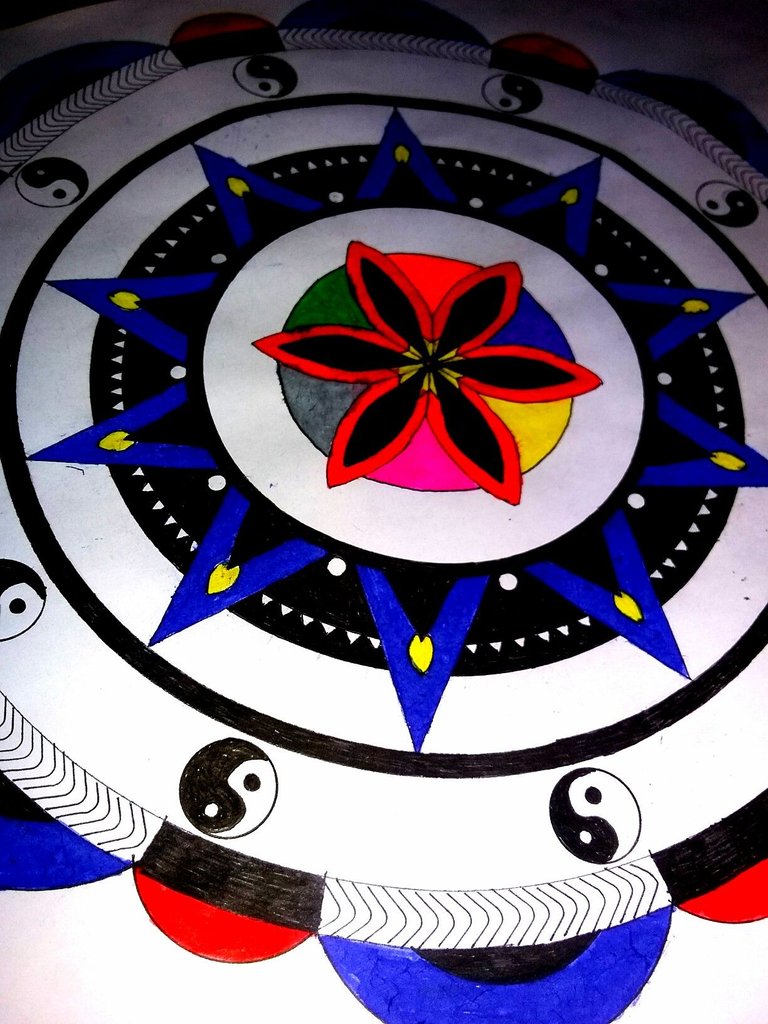
Another Mandala Artwork was made. Hope you have learn something from me. :-)
Thank you for visiting my Blog! 😘
'till next time, God Bless 😇
Mandala Artist,