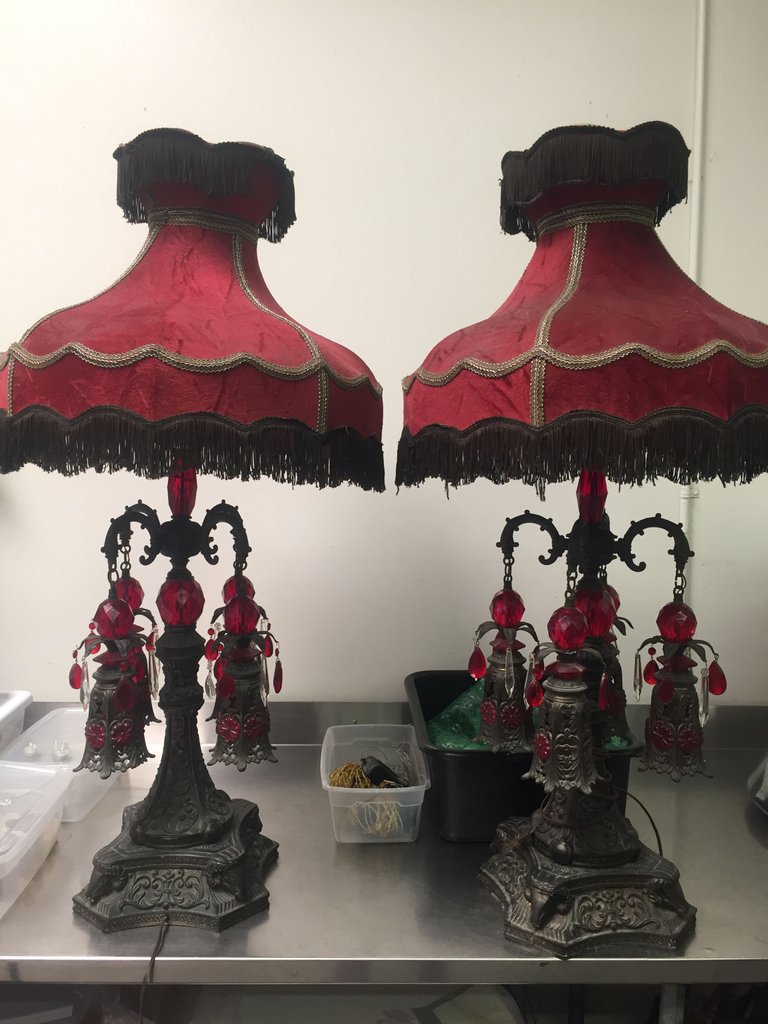
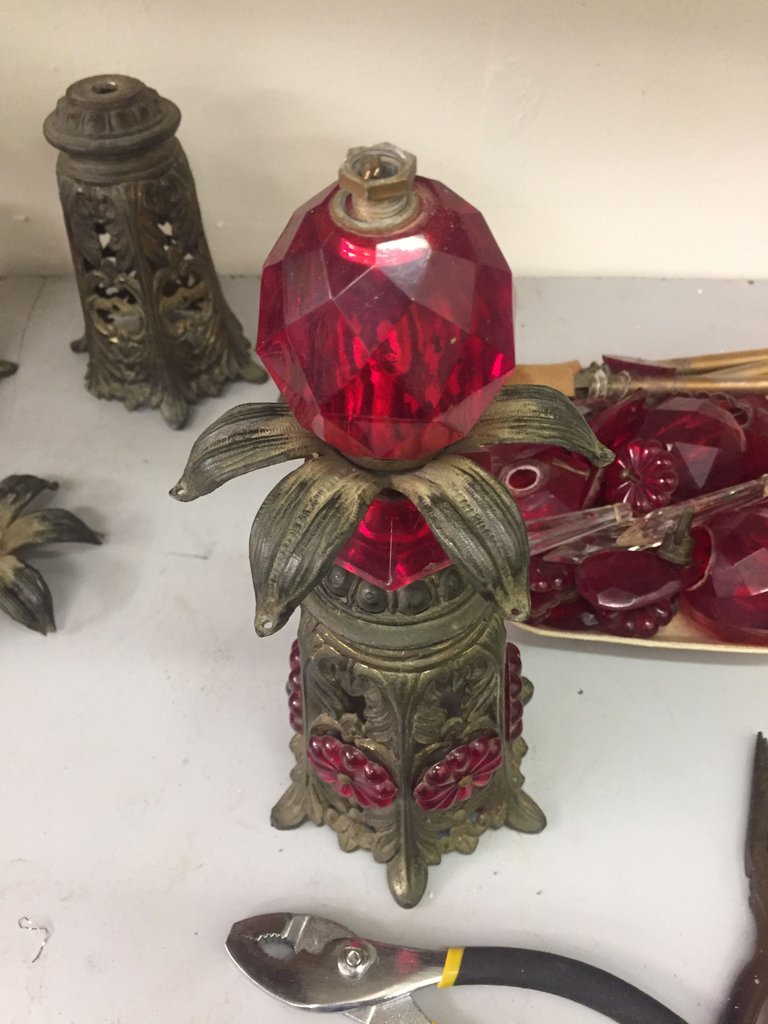
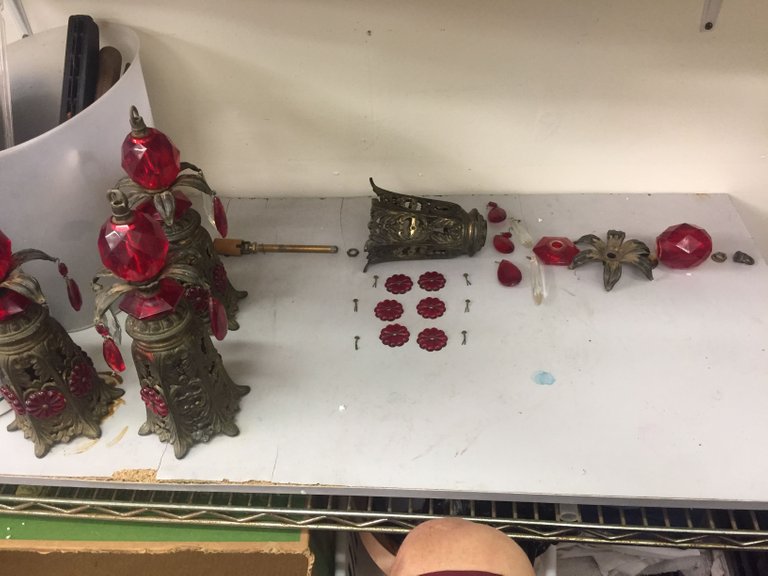
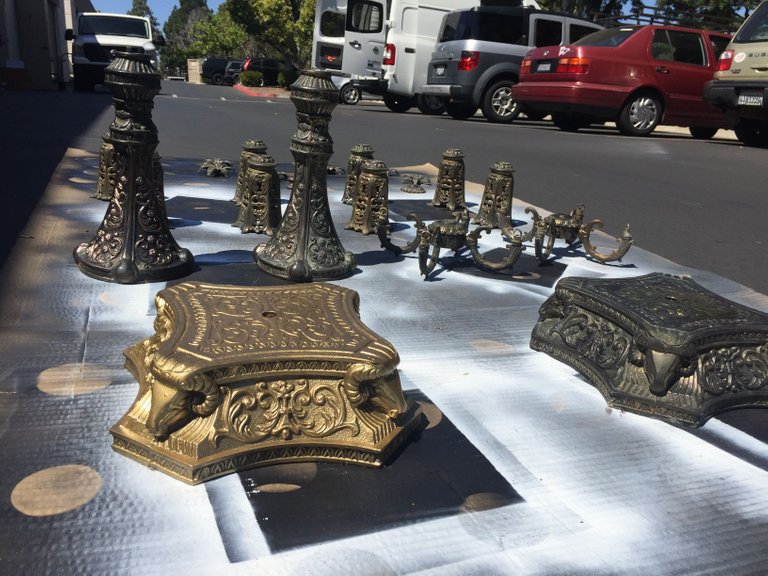
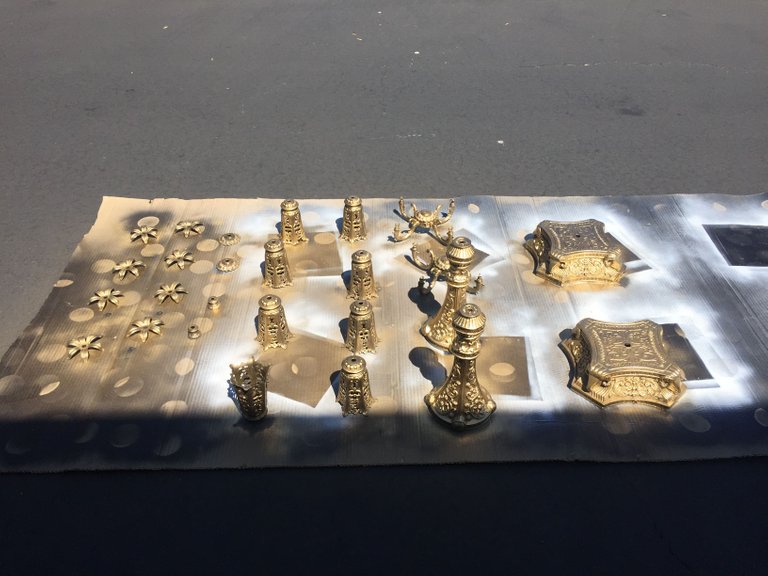
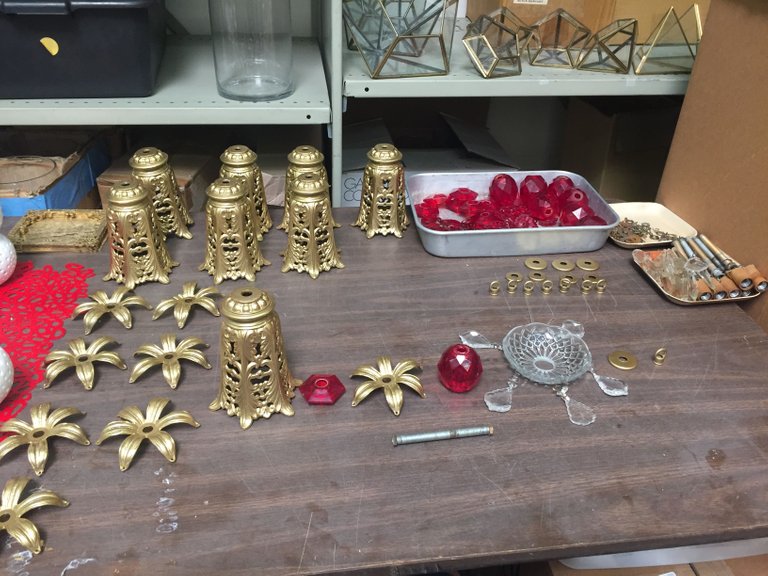
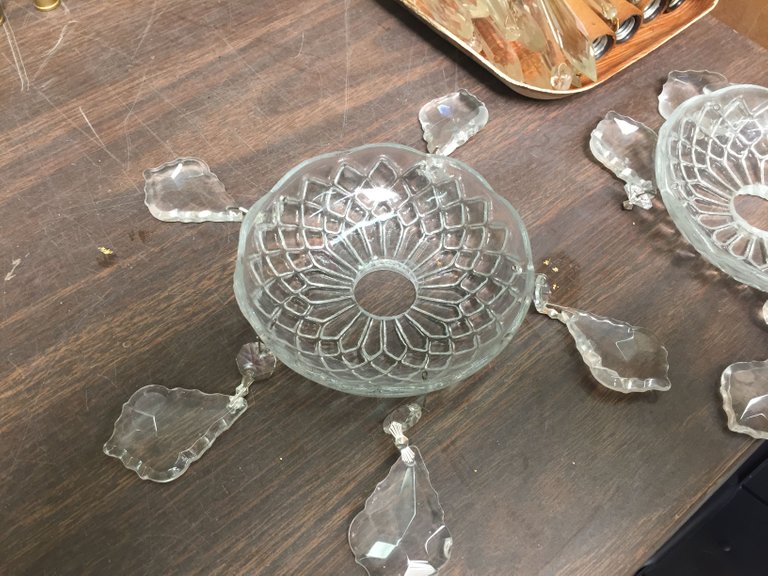
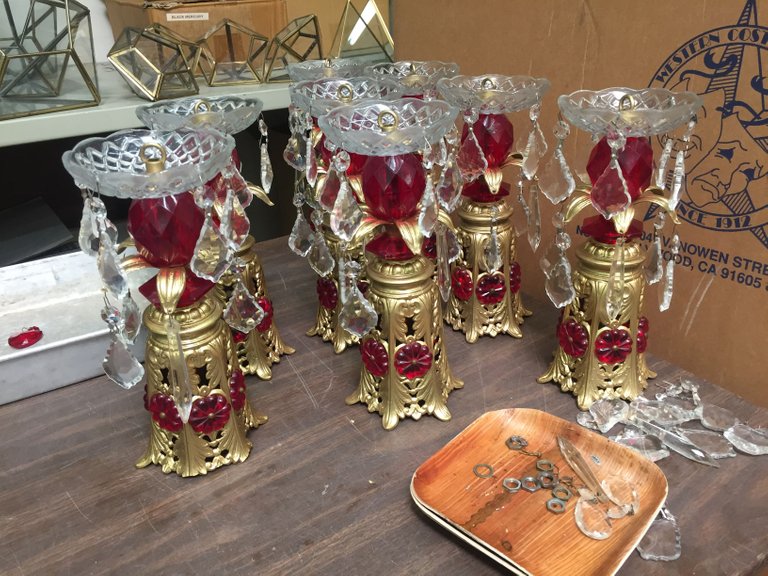
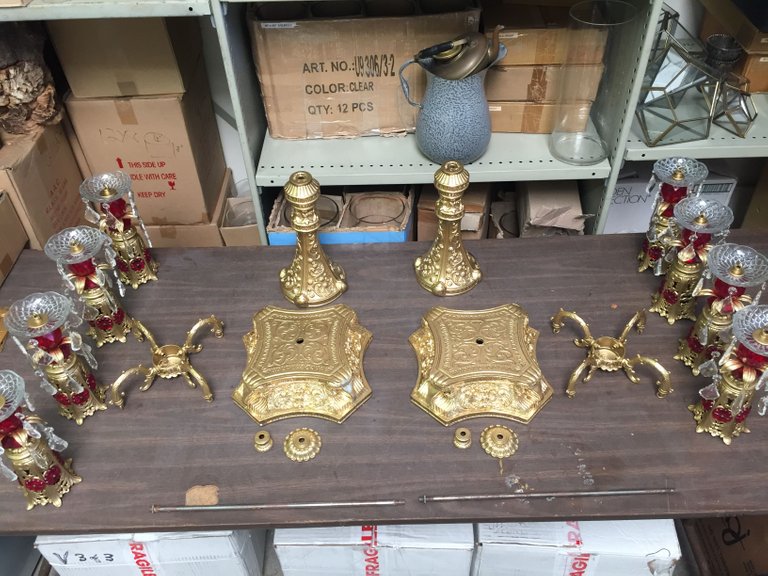
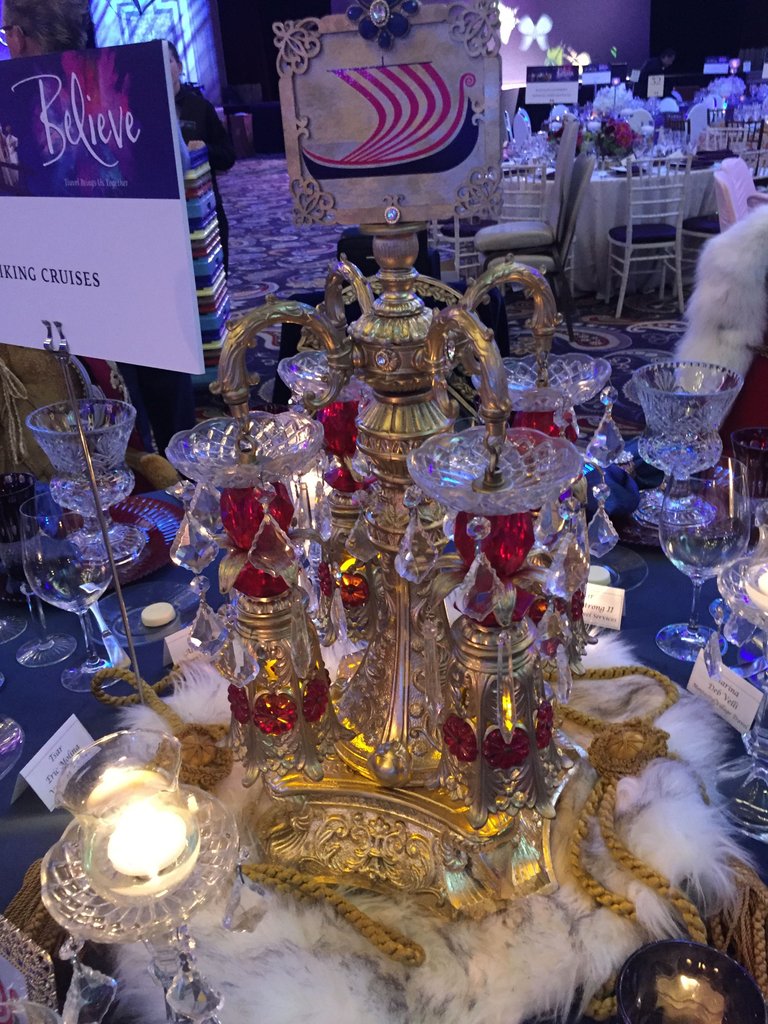
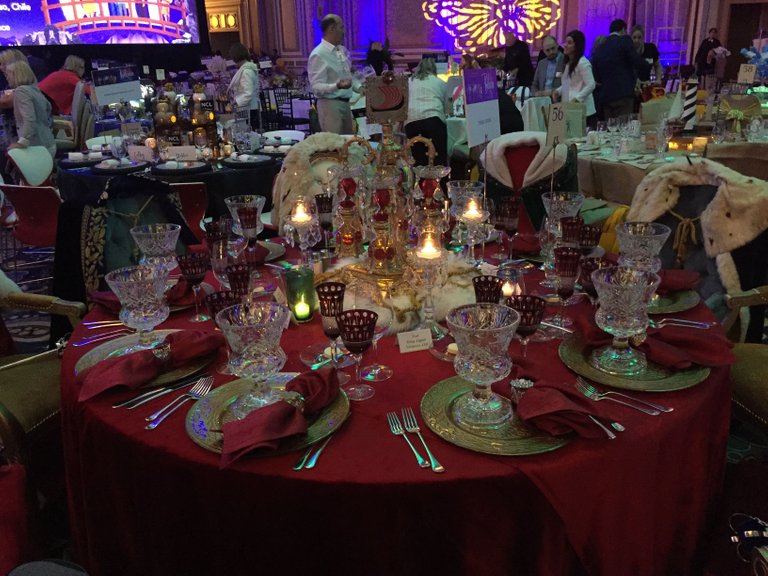
The before and after shots of my work.

.jpg)
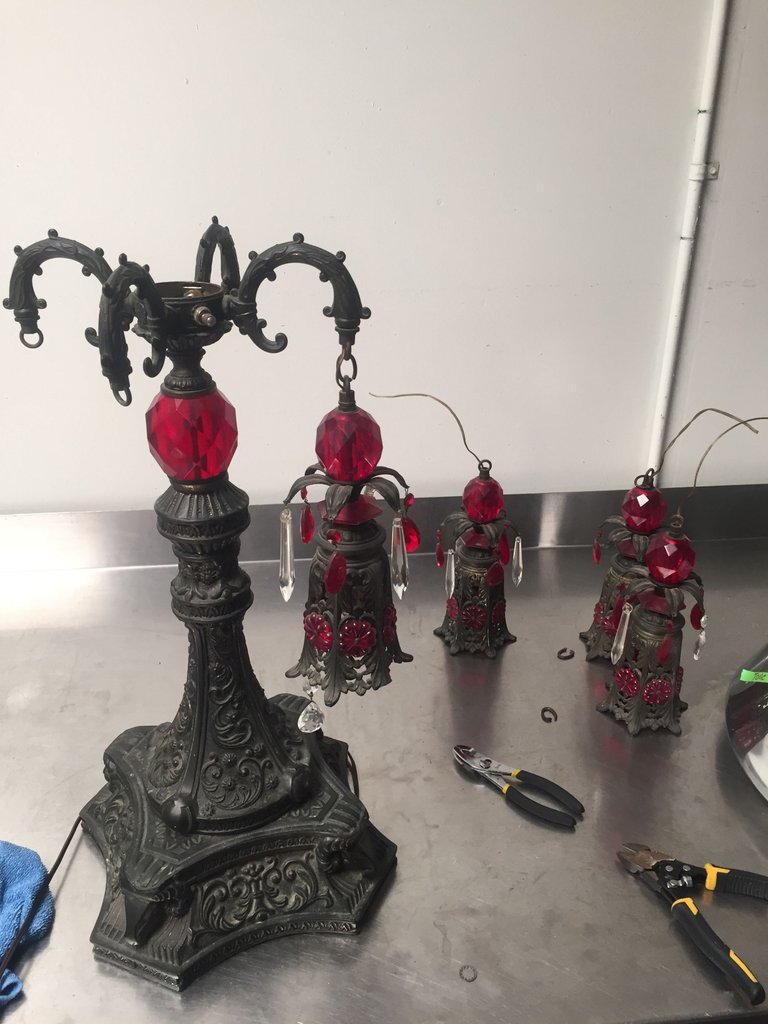
Continuing on from my last post, A little work project: Cast Iron Lamp deconstruction (part1), I needed continue the deconstruction.
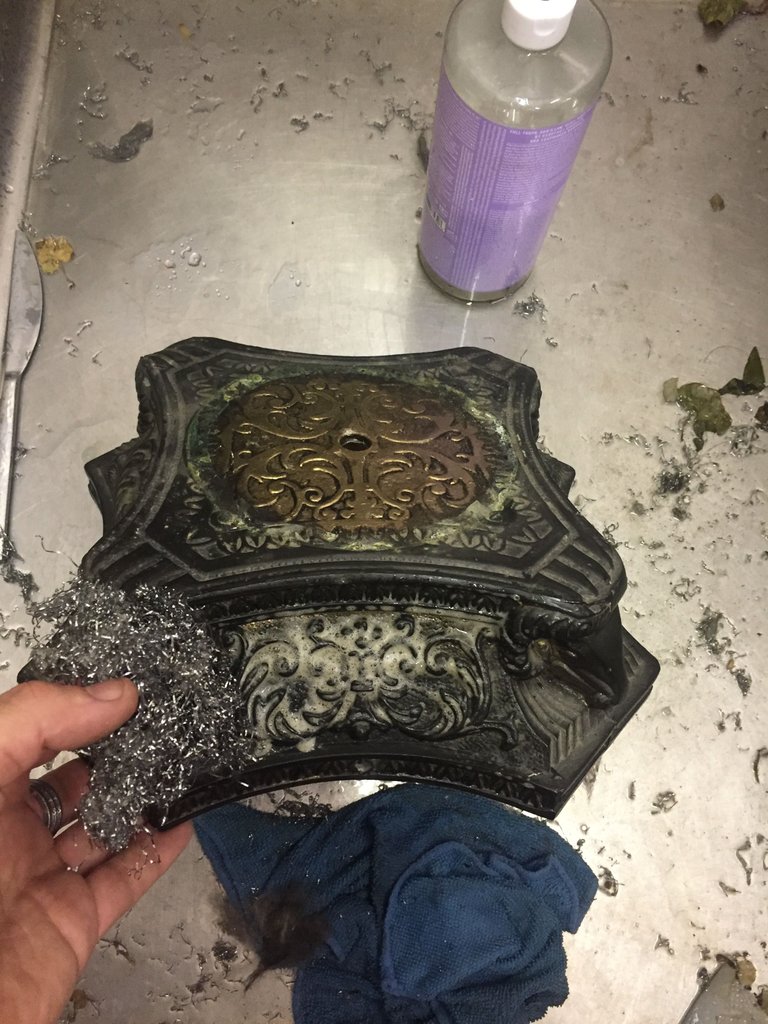
I needed to use a wire brush a lot of elbow greece to get most of the tarnish off.
Now they need to dry.
I'll need to disassemble these and clean them as well.
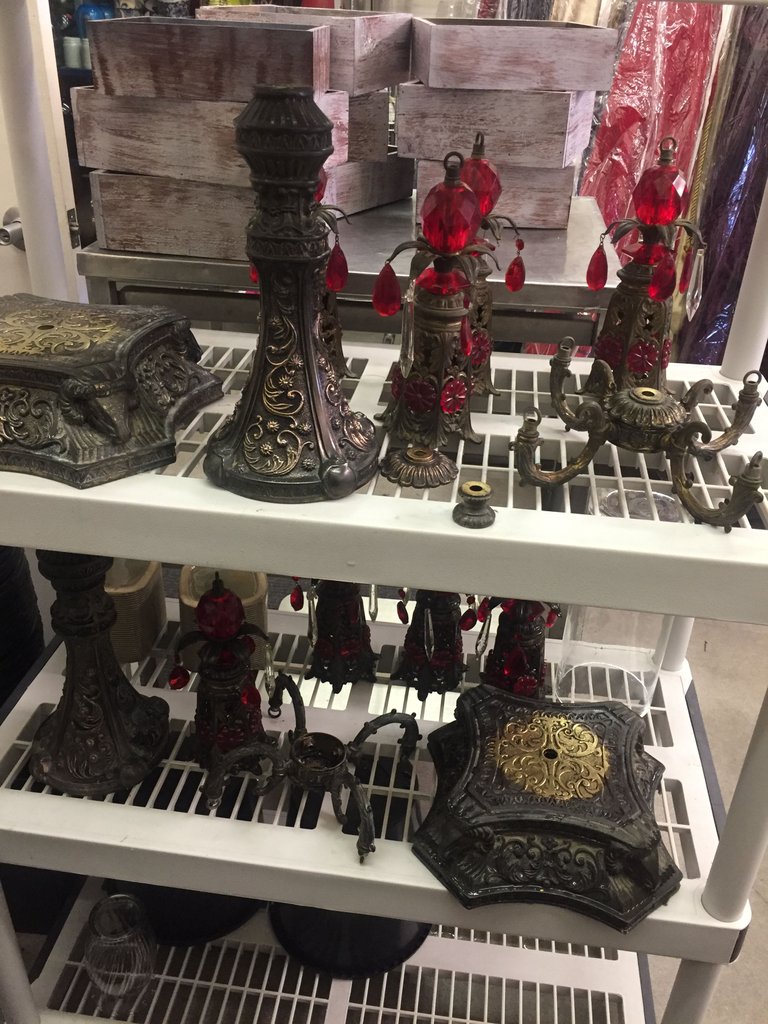
Now it's time for the gold paint before adding in the gold foil.
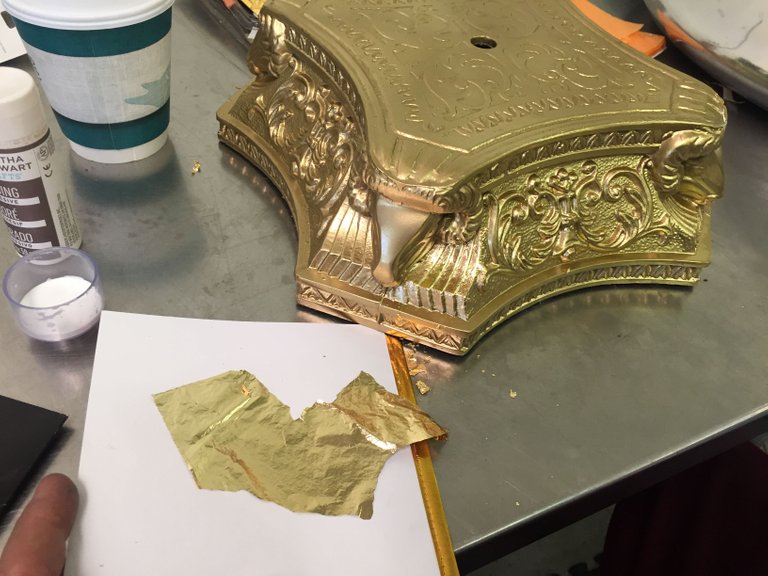
Painted and ready for the gold foil.
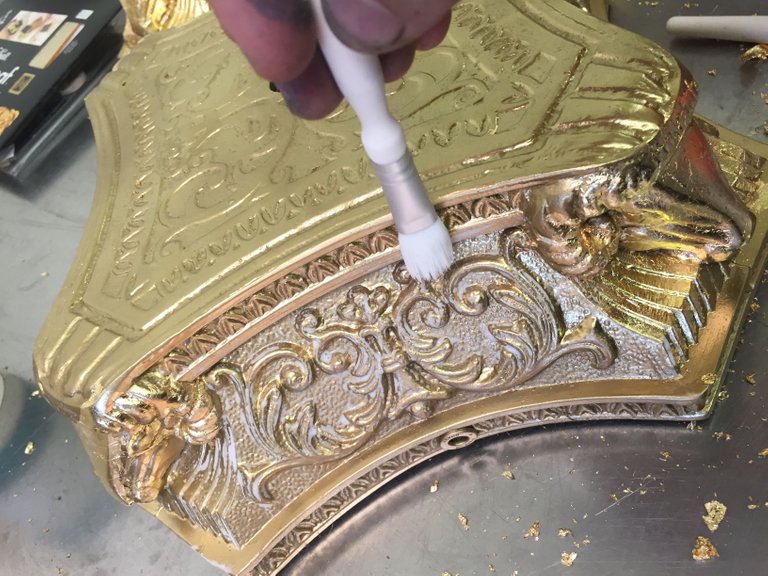
First you'll need to add the adhesive with a fine horse hair brush. Applying it evenly until transparent.
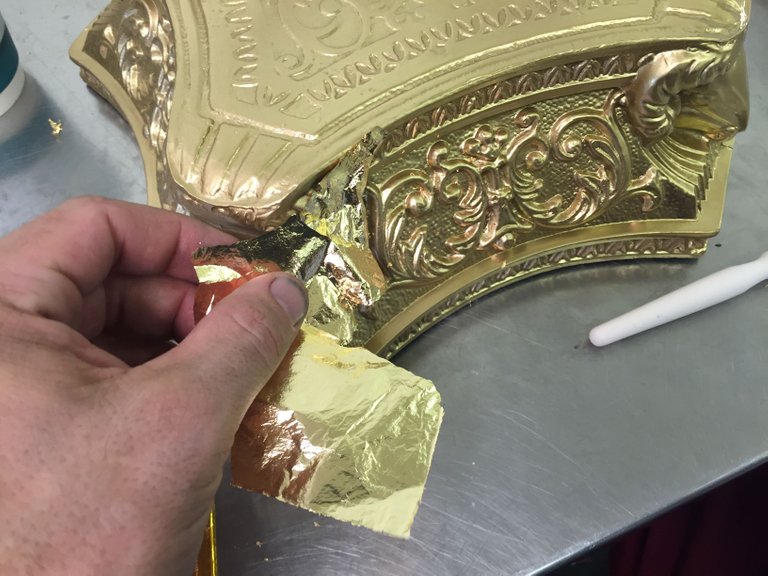
Then comes the gold foil.
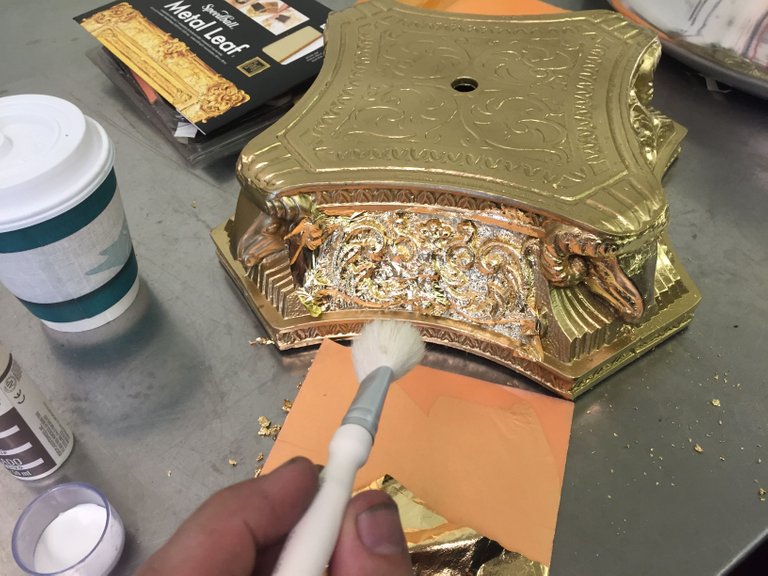
Then the application.
Then a different horse hair brush to push the gold foil into all the nooks and crannies.
Now that's all done. lets move onto the assembly of the light bells.
We added in these little beauties to add to go towards the desired look of the client.
Here's some great results. =-D
Now it's time to assemble all these parts.
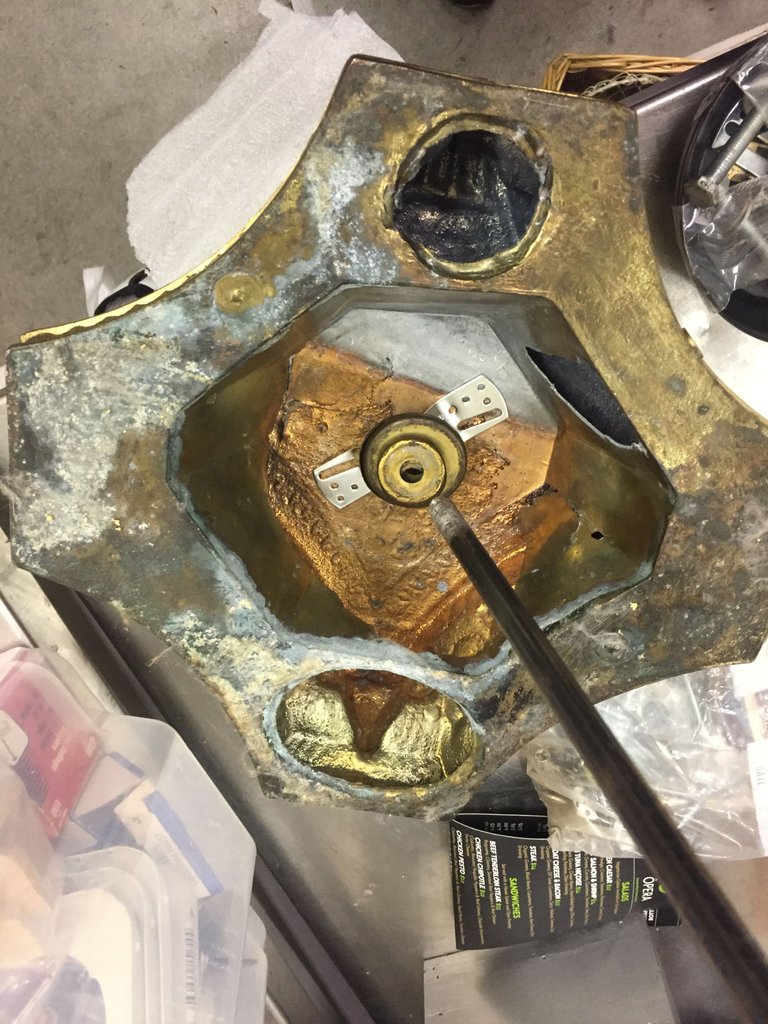
This is the bottem of the cast iron lamp where the rod is inserted to hold the whole project together.
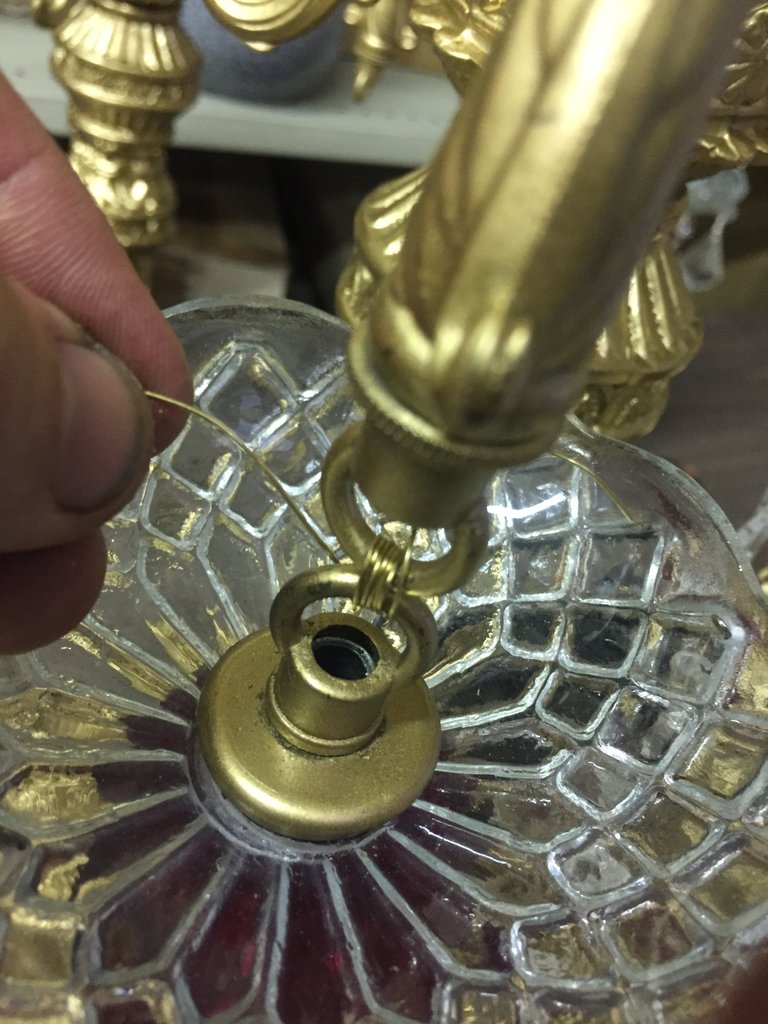
The gold wire, needed to connect the bells to the main frame of the project, was a tedious task. It took longer than needed to fish this wire through without affecting the new paint job.
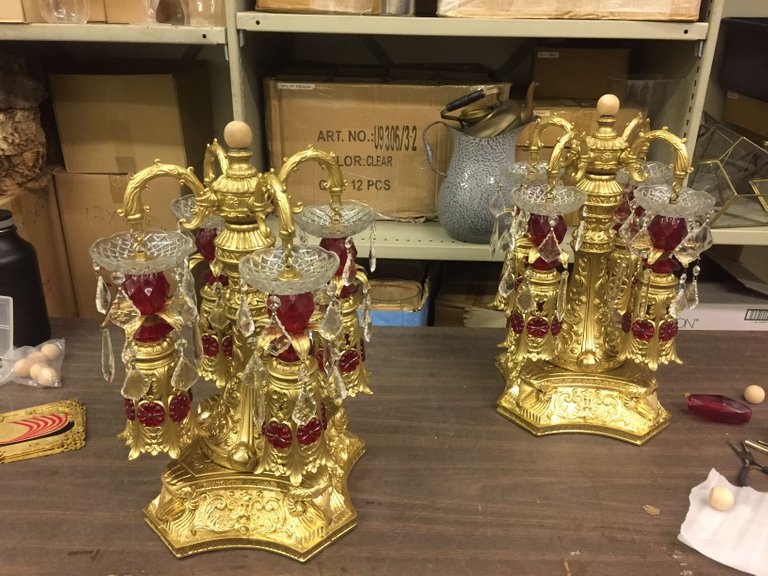
Here are some results without the main toppers.
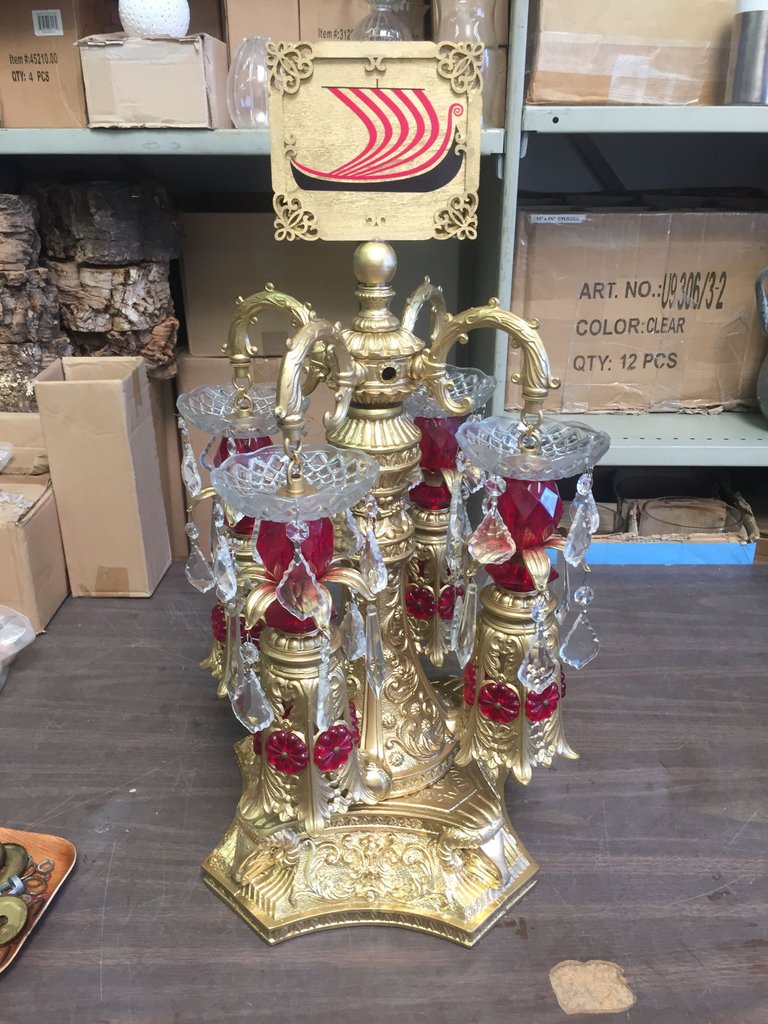
Here is the end result with the topper.
Here's the finished product as a table center piece.
The Royal caps on the chairs were a borrow from a movie studio. The clients loved wearing those. :)
Thank you for your time and interests. I hope to share more of my projects with this community. =~D
