Today I want to introduce you to a new illustration process of a movie character
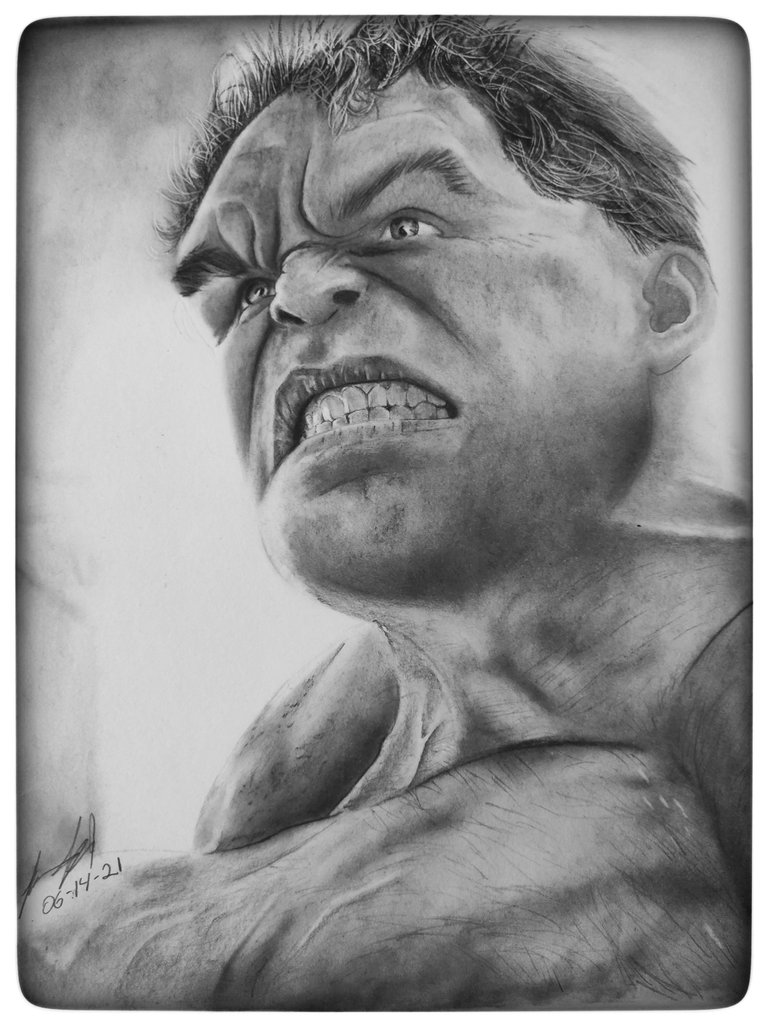
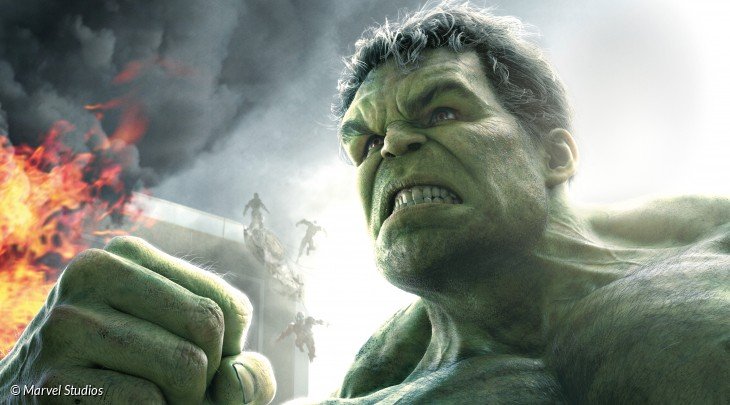
This is a fictional character based on Marvel Studios Comics. He is a character with great resistance and a lot of physical strength.
The actor Mark Ruffalo was the one who gave life to our green giant, and it is this version of the character that I chose to draw.
I really like to draw details, Illustrations that represent a challenge due to the complexity of the details, in my opinion this is what excites when drawing.
When we draw a portrait, it is not very complicated to make its details, the complicated thing is to make it look like our reference. However, some portraits represent great challenges since they contain certain key details that make us identify the character, such as the expressions, in the case of the Hulk, the anger on his face.
Now I want to show you the process of creation:
The Tools::
- Mechanical pencils / HB, 2B Lead.
- A4 Opaline 160G.
- Charcoal Pencil - Medium.
- Brush.
- Diffuser.
- Embosser.
- Moldable Eraser.
- Graphite Pownder.
The Process:
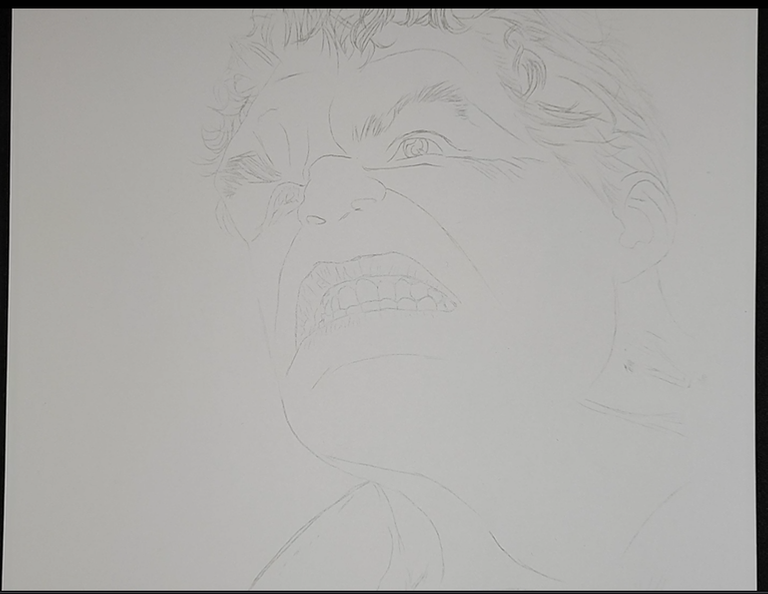
- It took me about 10 minutes to make the sketch using HB graphite.
I do not like to make the lines very strong since when I use tools such as the brush, many lines are pronounced
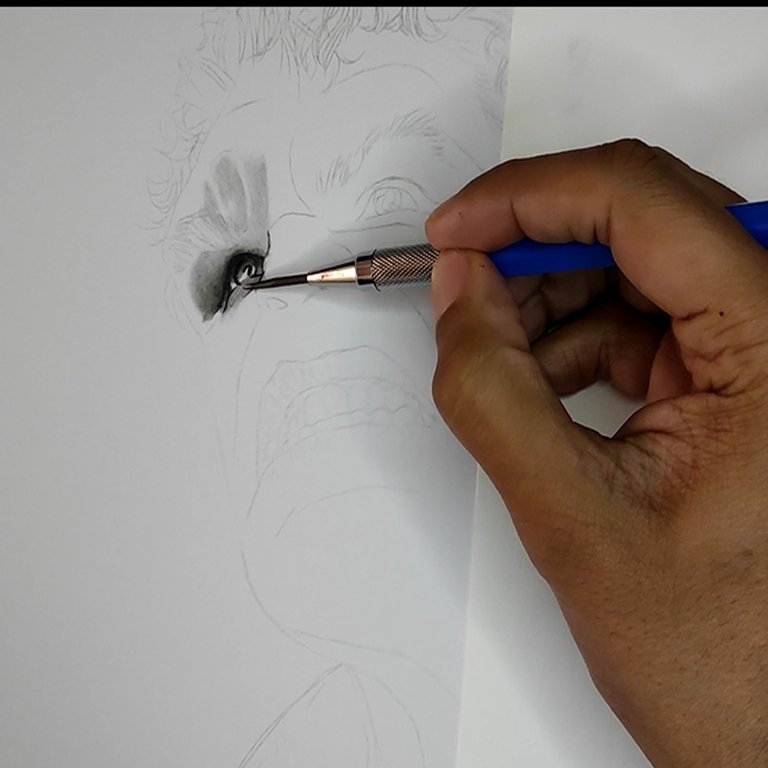
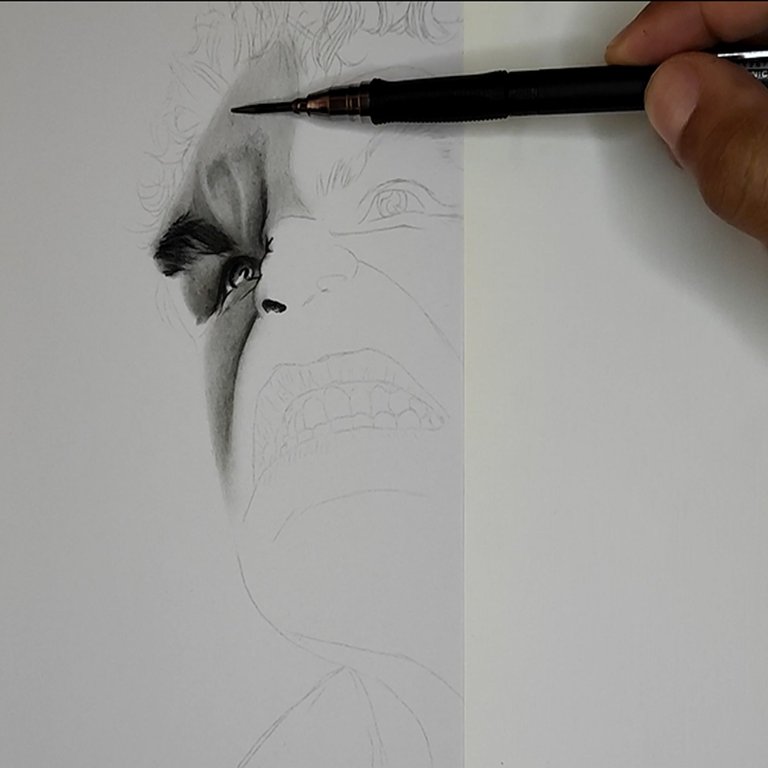
I always start by painting the left side, supporting myself with a piece of paper so as not to dirty the work area.
To paint the base tone of the skin I use HB graphite and for the shading I use graphite 2B, having green skin I raised the intensity a bit, I did not raise the value scale to 4 or 5B because I felt it would be very dark and the reference has a lot of light so the tones are attenuated.
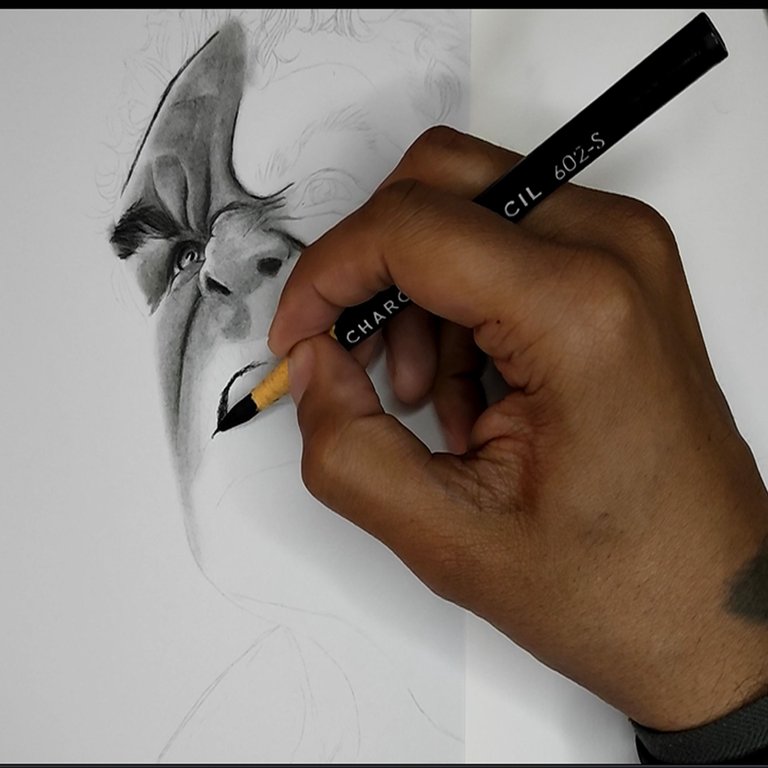
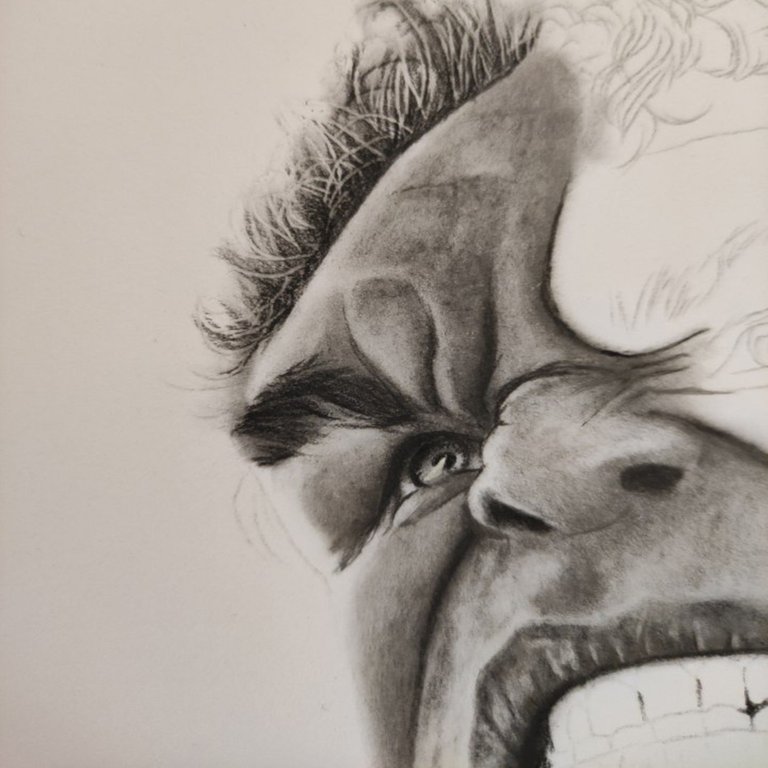
I like to use charcoal for very dark areas, since the light hits from behind and reflects off the edges of the face, the center of it is very dark.
When using very dark graphite such as 6 or 8B, photos look very bright and dark shading cannot be distinguished.With the embosser, I mark all the hairs that are reflected by the light and when I paint over them with charcoal these hairs are highlighted giving the sensation that we see in the second image, so it is very easy to draw hair.
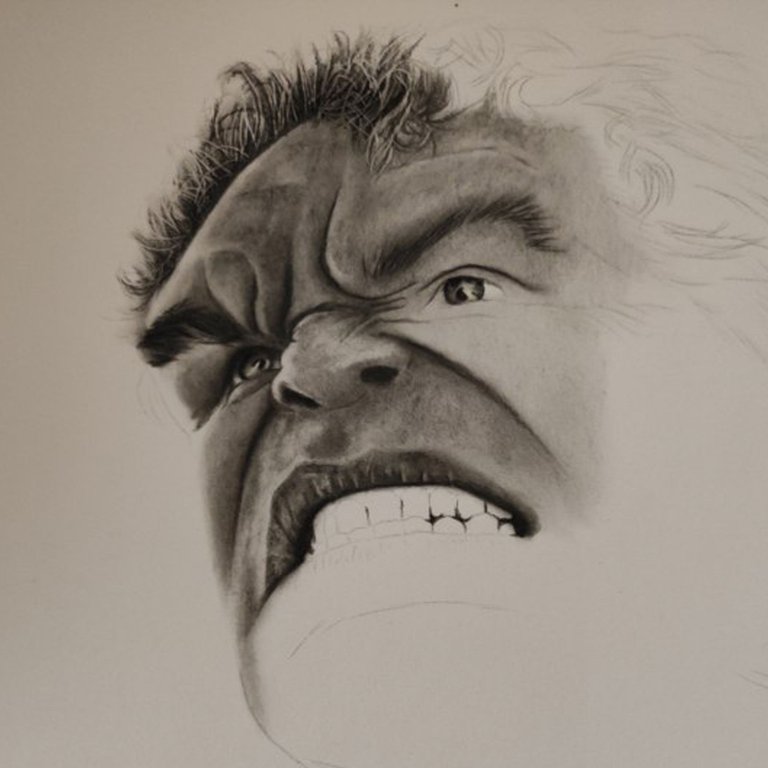
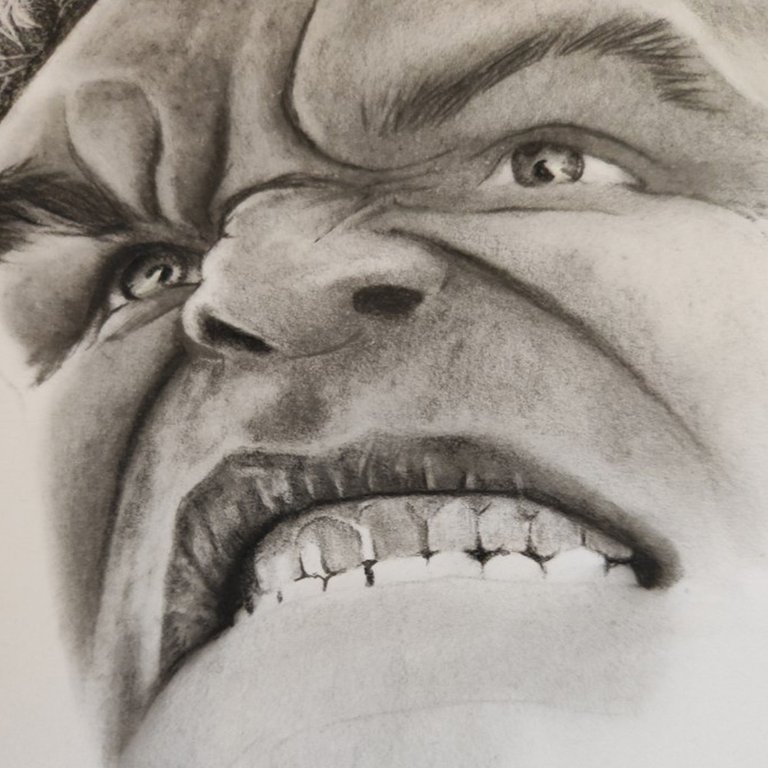
Hulk's face is a bit smudged which makes proper shading a bit difficult.
I really like to convert the reference images I use to black and white, in order to identify the tones.
I degraded the face shadows by painting random spots, to also simulate those face spots.Although the teeth are very light, I painted them dark because they are not being hit by the light, only the frontal light is reflected in them, which creates a game of values and reflections.
It is important to understand how light plays on bodies and it is interesting to see that some elements can change their hue with the absence of light even though we know they are white.
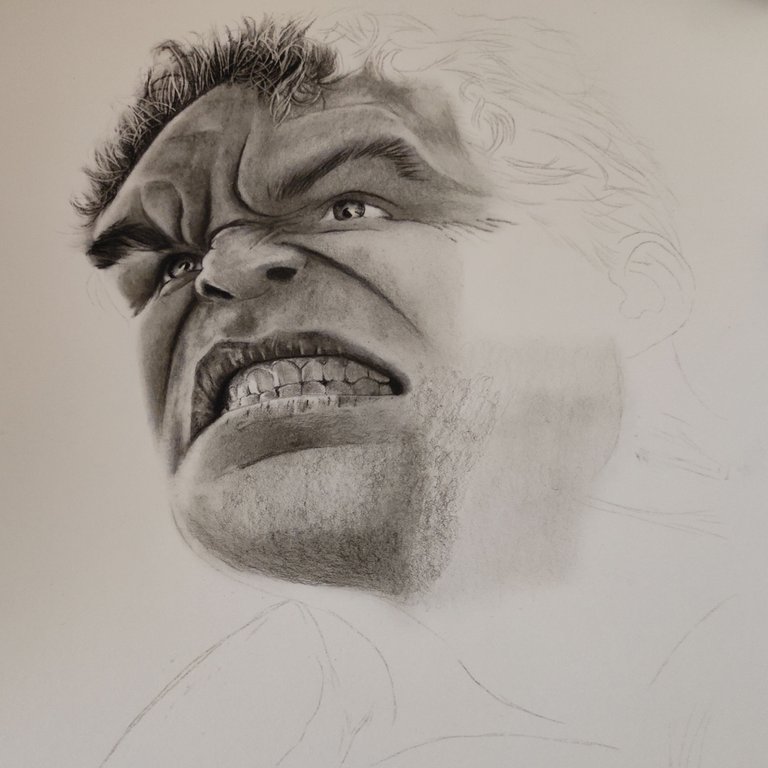
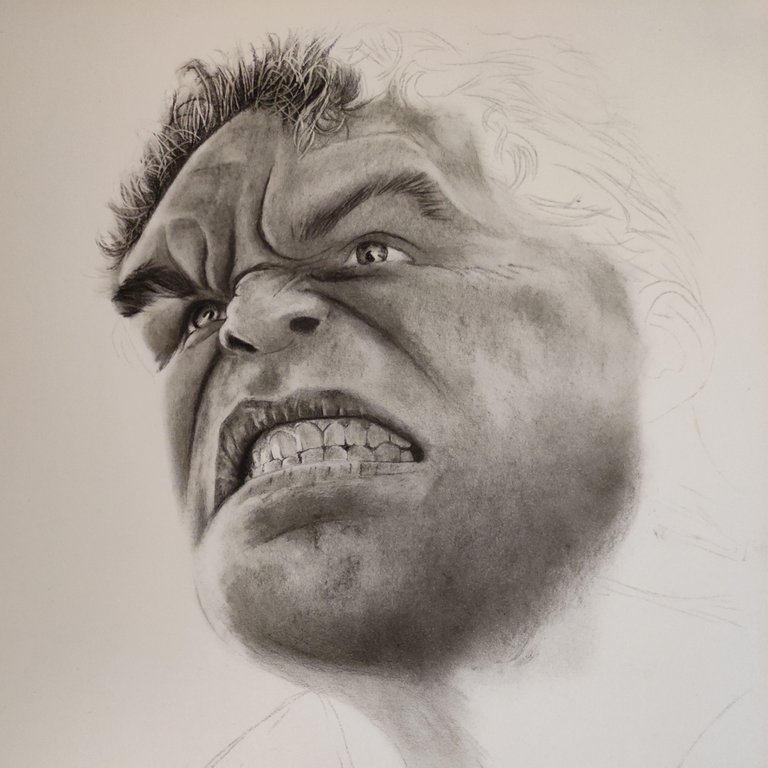
To complete painting the rest of the face I used the same techniques, make degraded spots to combine the shadows with spots on her face.
I also used a bit of charcoal to dirty the face and in this way make the texture of the face look more realistic.
We can also use the tools we have to solve problems, many of us know that graphite and charcoal do not get along, but using them correctly we can obtain impressive results.
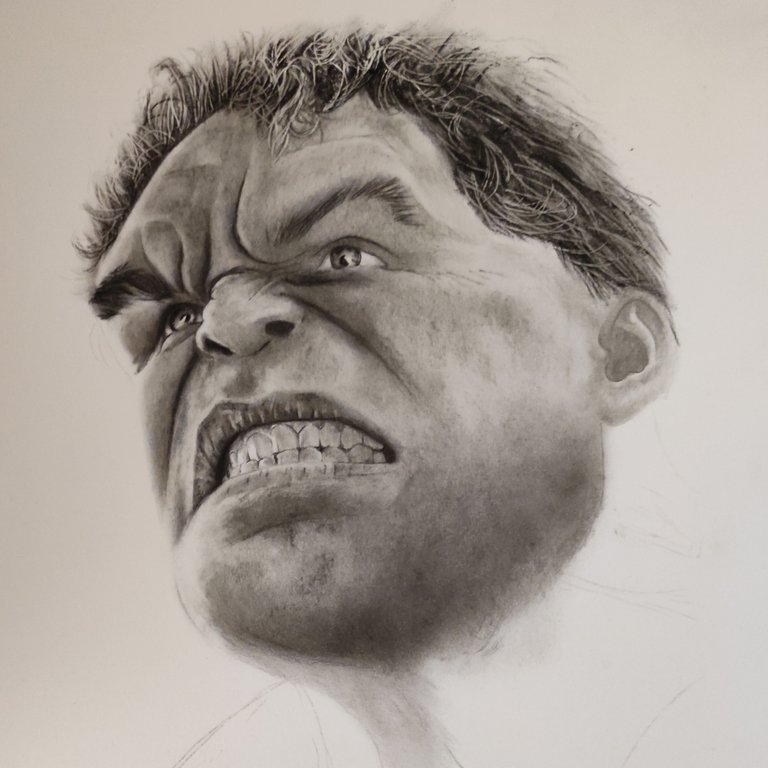
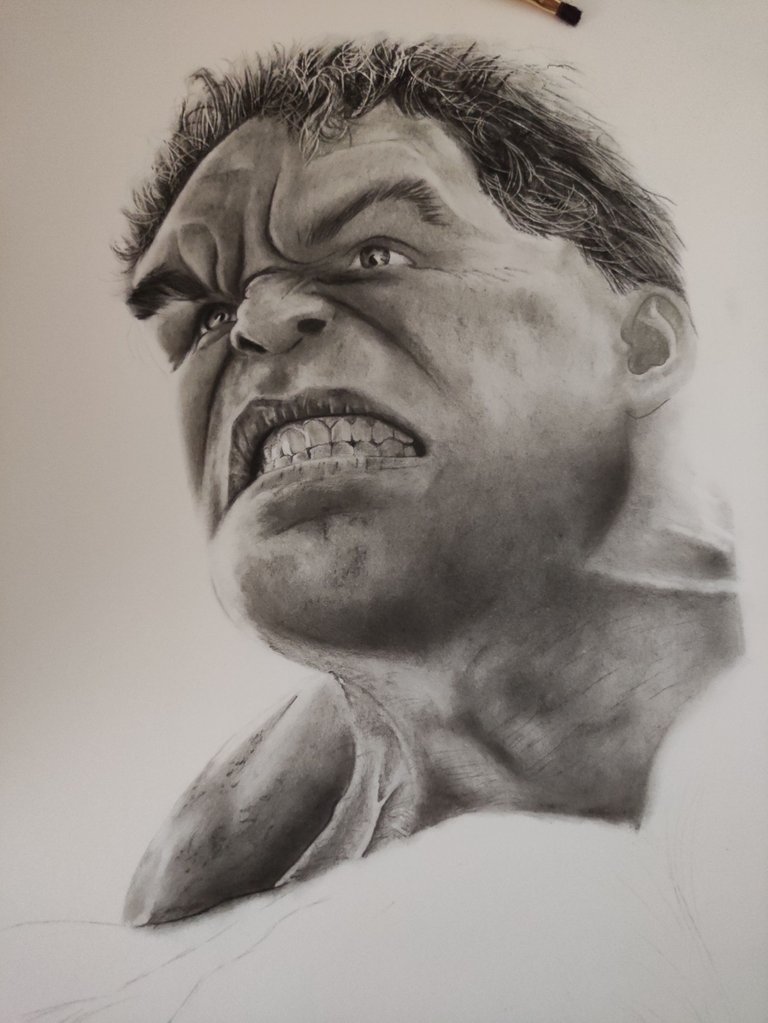
I really like the effect that is created with the embosser to make the hair, this tool allows you to create many details and shade the hair easier. I have made many drawings and I think this has become my favorite tool, since it not only helps us to paint hair but also to create textures such as scratches on metals, which are things that we do not normally draw but we have that option open for which opens our range of possibilities to draw much more.
Now it only remained to paint the chest, for this I used charcoal and I degraded it with the brush so that it does not look so dark, also with the 2B pencil I made some lines to simulate chest hairs, it does not show much but if you enlarge the image you will be able to notice it !.
This is the Finar Art!

I had finished it a few days ago but due to some complications I could not upload it.
It was a lot of fun to draw this character, but the real challenge was to identify the tones and see how the light works on the bodies where sometimes the tonality of things changes, especially when we paint in a gray scale.
The embosser has become my favorite tool, not only because you can make the hair but because it opens up a lot of possibilities for drawing, things like scratches in the metal, bumps, or details in structures are things that I imagine.
I will be drawing new images where I can use this and other tools much better, I would like to use them to the fullest!
Thank you for visiting me and appreciating my work, I hope you like it and look forward to my new Artwork.
I say goodbye to everyone, I hope to bring you more content soon.
Thanks for the support!
Rock out!