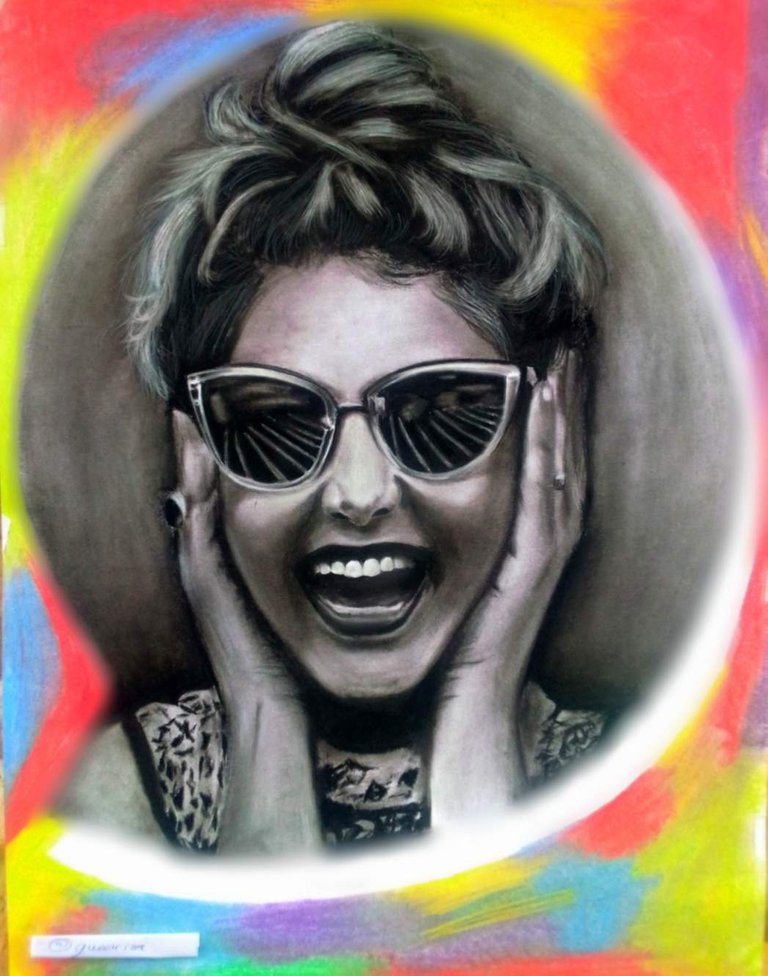
Hi guys!!!😘
As promised, I'm sharing my latest piece with us and showing you how it's made from scratch. I have some empty wall spaces in my house that needed some piece of art that I could hang on them. I craved a spice besides the nature, abstract and wildlife art pieces I already had.
So last week, I stumbled on the photograph of this beautiful lady on steemit sign up page. I call her "THE STEEM LADY" (Sorry I'm not good at giving names)☺️. Recognise her now?? For those still wondering, you can check her out on the sign up page😉. Well, some things that caught my attention to the picture was it's black and white effect, the big smile on her face, sparkling white teeth, cheeks, shades and her hair.
Hence, I decided to make her the subject of my next piece. Been on this for about a week now and finally completed it today. This was done in charcoal and pastel medium. For artists who would like to try this out, these are the materials used.
• A black and white charcoal pencil for darkness and highlights respectively
• A white catridge cardboard paper.
• Natarag eraser for highlights and erasing.
• Soft pastels for the colourful background.
• Smudger for blending and shading.
They are readily available at art shops.
STEP 1
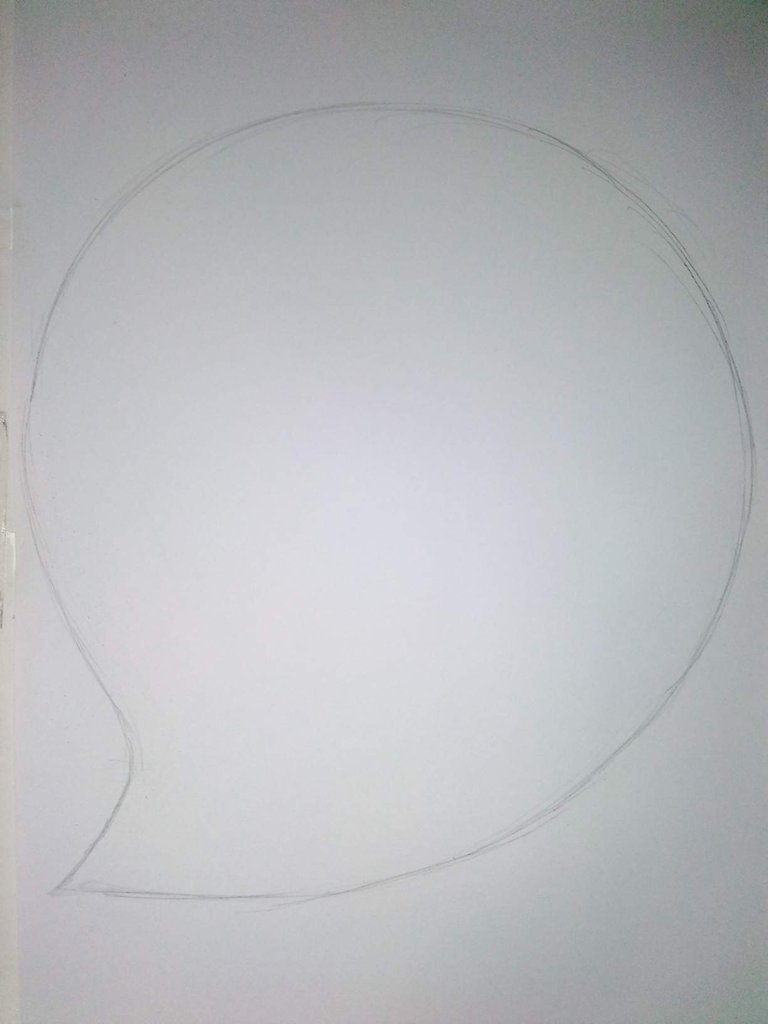
I sketched out the shape where I was going to draw the face and also the did a rough sketch of the face. It was really hectic because the paper wasnt so large and I had to manage every space on it.
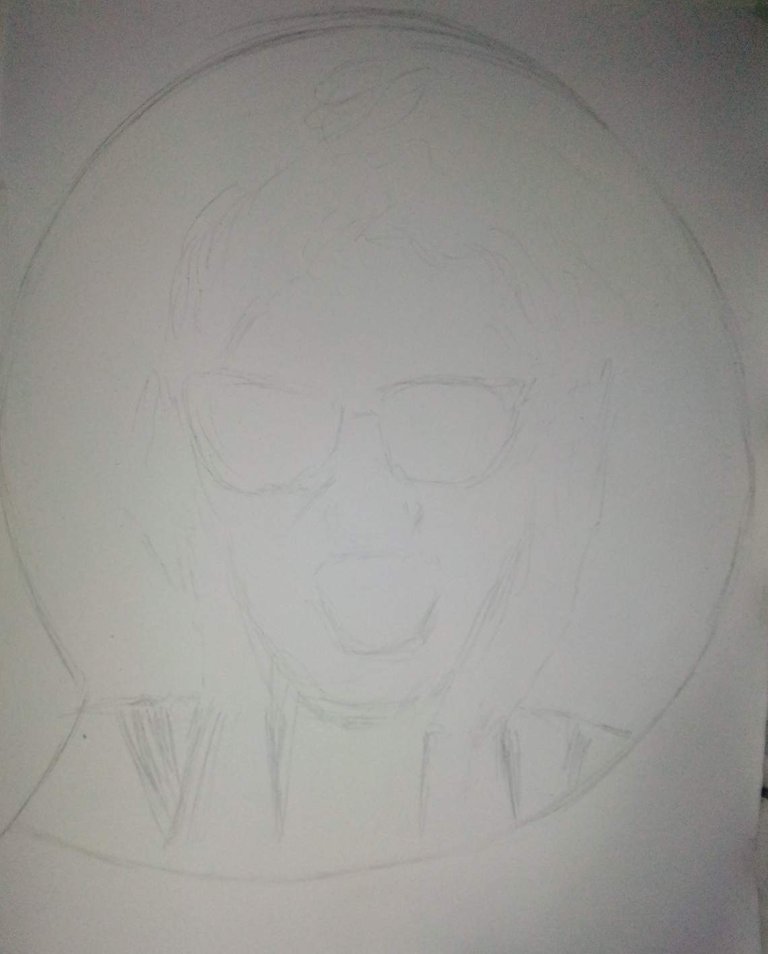
Dont judge me, I know the sketch ain't pretty too😄
STEP 2
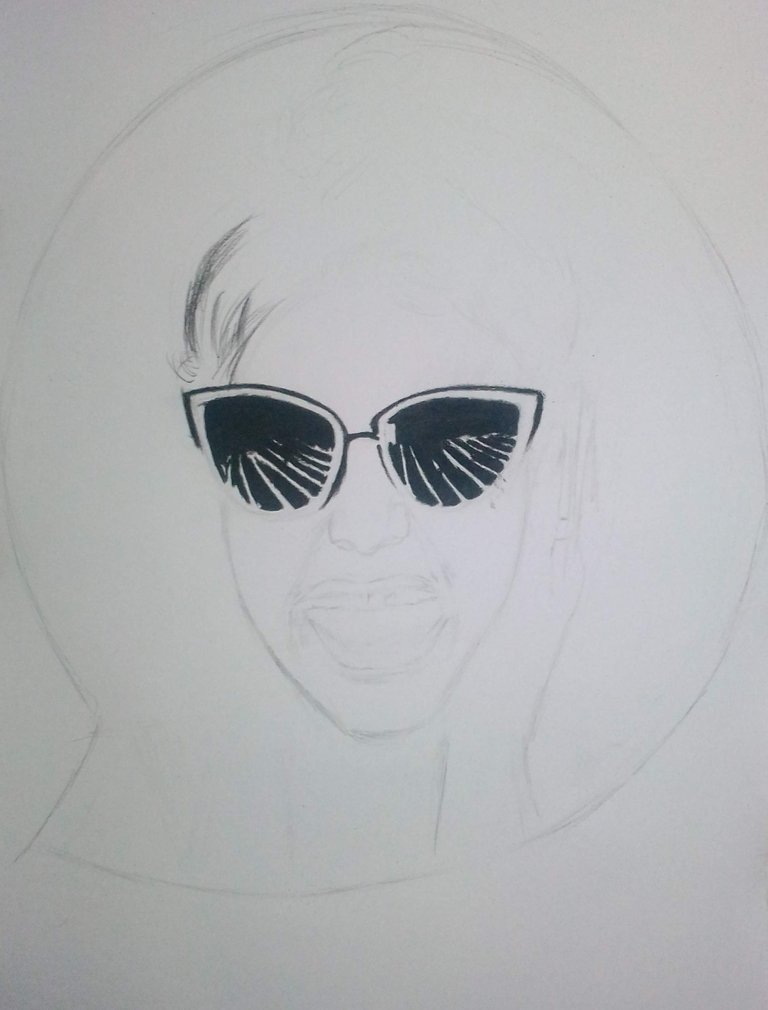
After so much errors and erasing in the sketch, I finally got a satisfactory result. I created the darkness of her shades with my black charcoal pencil.

Went further to create the darkness of her cheeks, lips, mouth and hair

At this point, this was looking like a weird bearded guy.😄
STEP 3
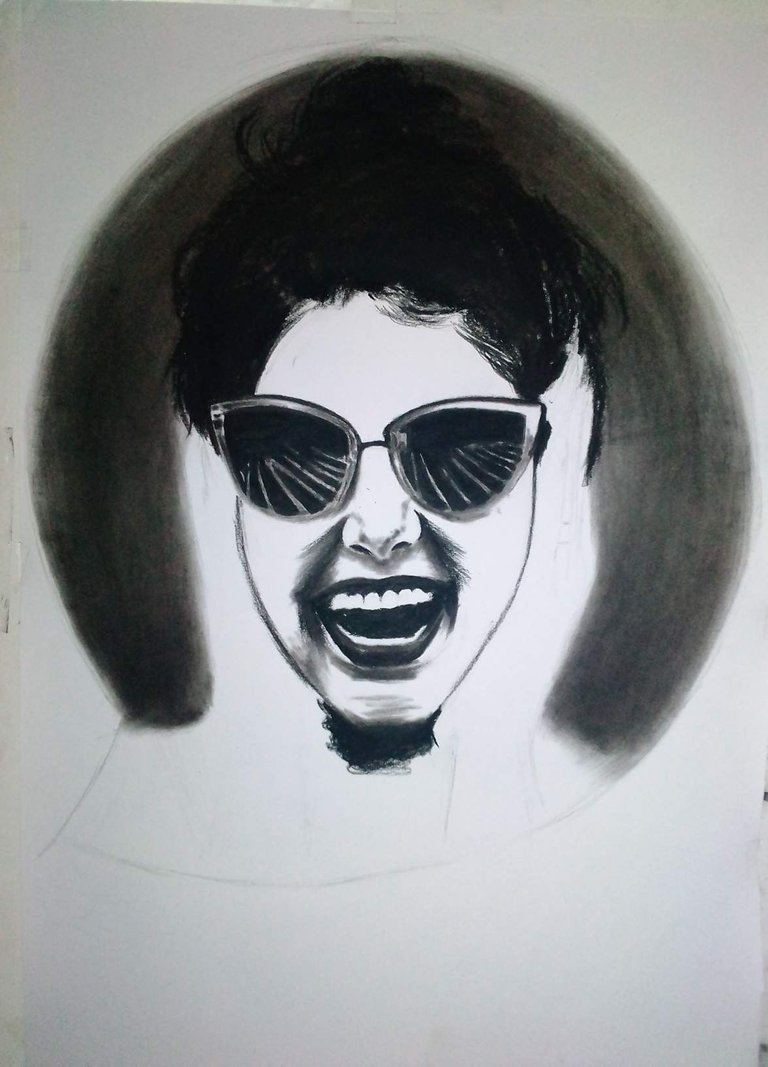
I used the charcoal dust from the hair to create the background while leaving the space for her hand. The background was blended using a smudger.
STEP 4
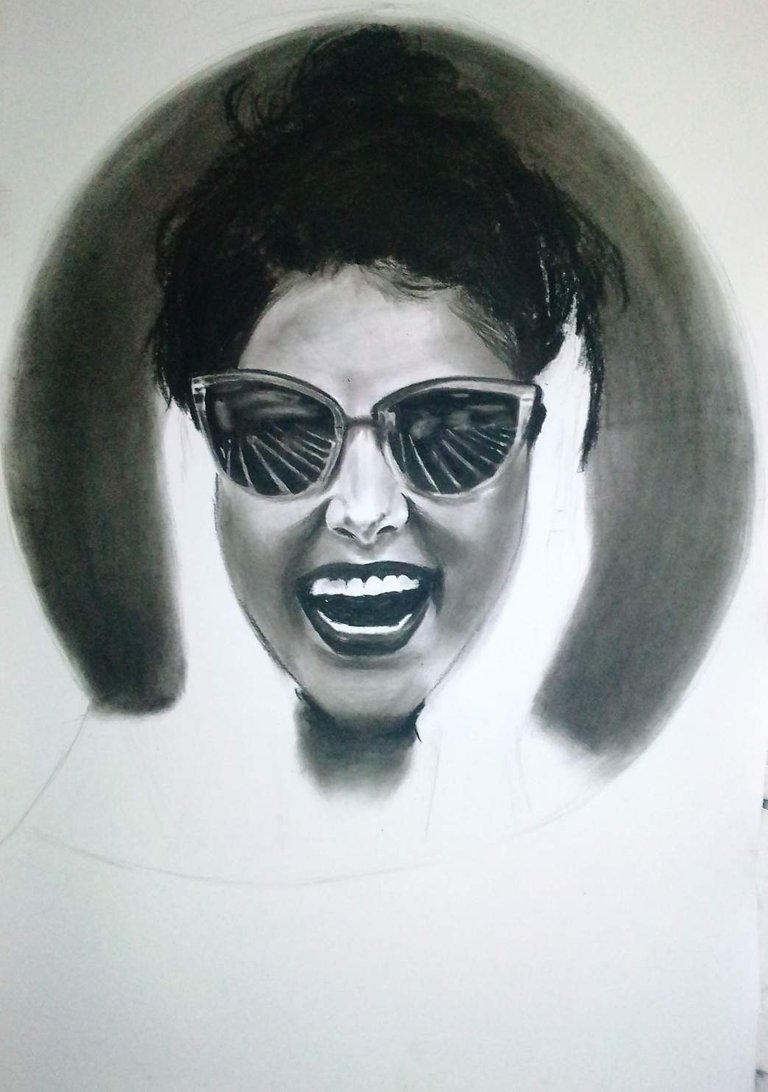
Here, I started shading the face and shades with my smudger and at the same time, creating highlights with my eraser.
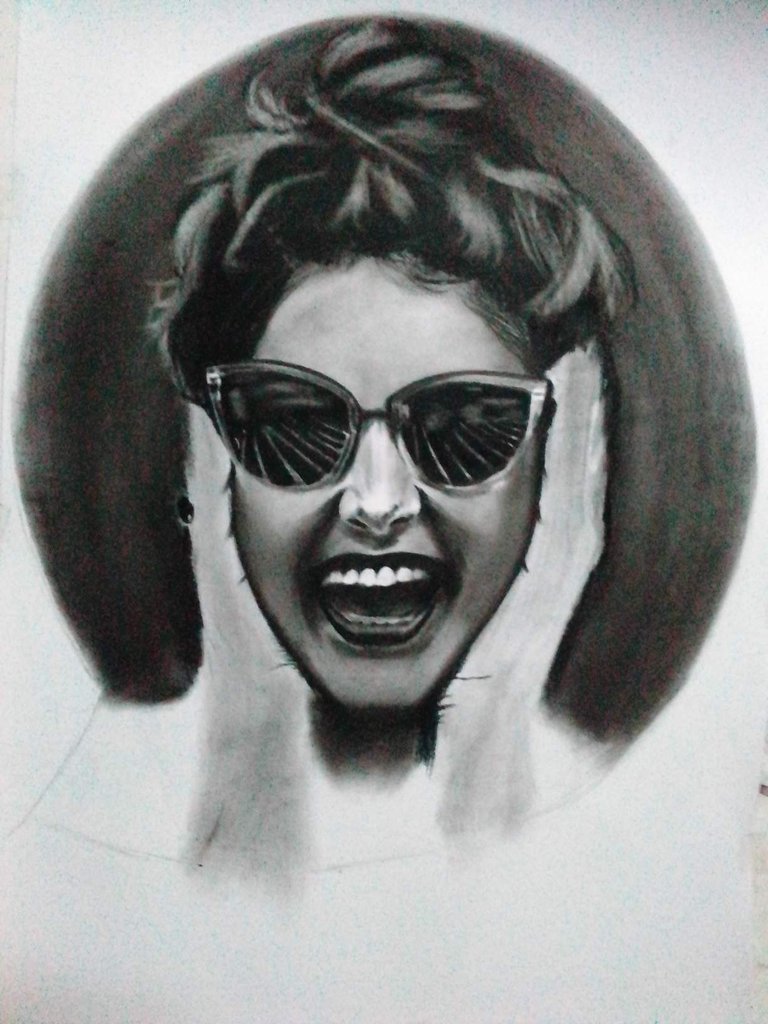
I used my eraser to create highlights on the hair and teeth. I started shading the hands at this point (drawing of the hands is probably the most demanding part of creating this piece).😬
STEP 5
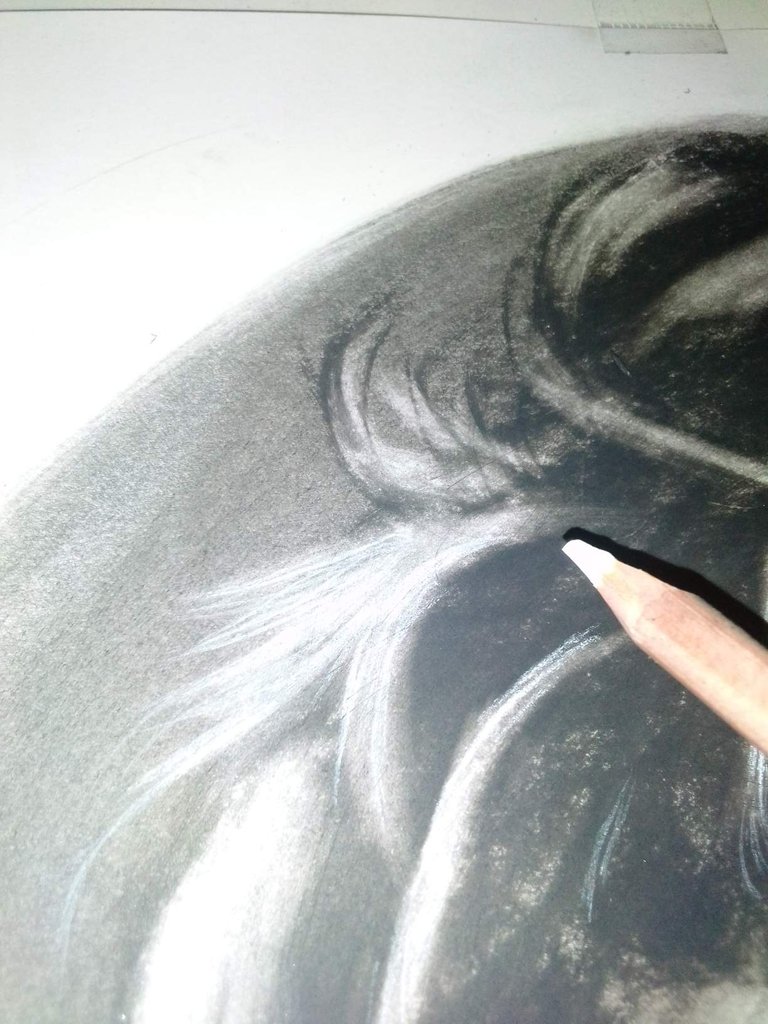
Using my white charcoal pencil, I created highlights on the hair and shades to give the appearance of realism.
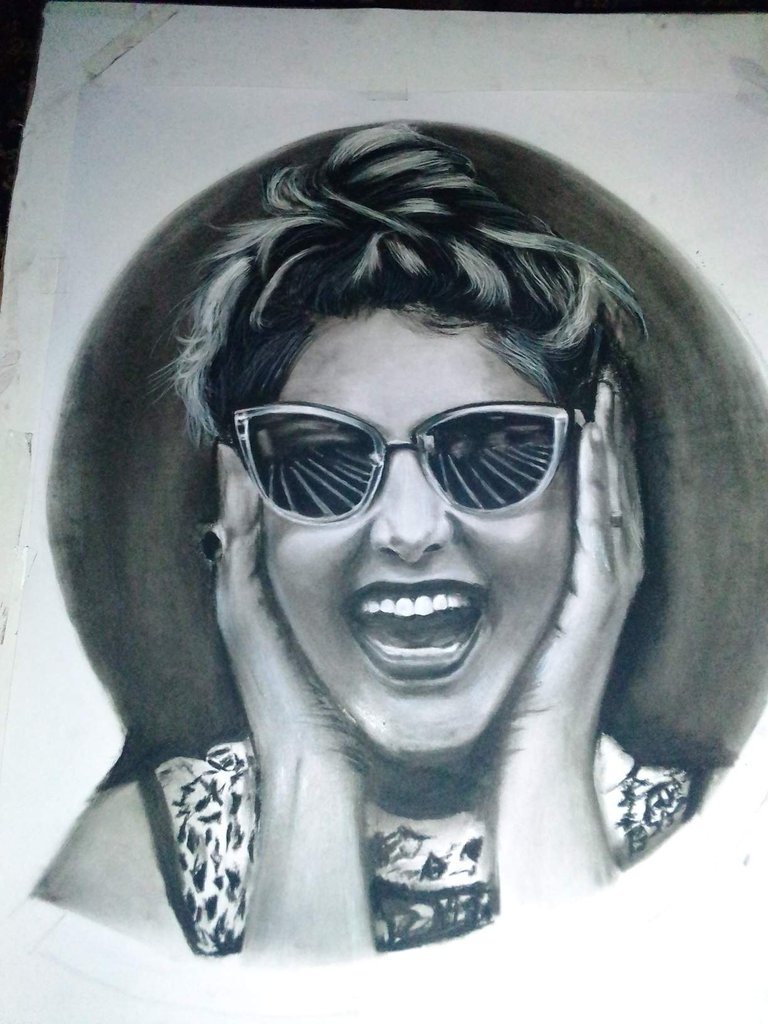
STEP 6
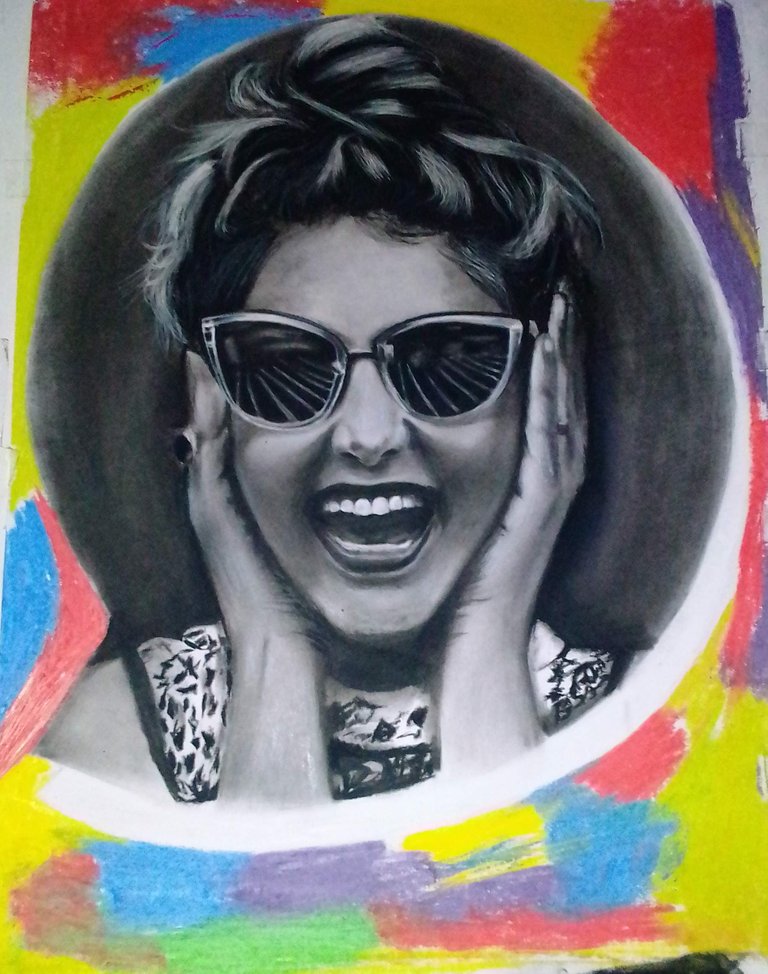
To add creativity to this piece, I decided to make it a colourful art by using my soft pastel. I created a mix of colours for the background and blended with my smudger. I added a blur effect to give the photo realistic appearance

So here is the complete drawing. It's really gonna be hanging on my wall for quite a long time because I think it's my best yet☺️.
Thank you for taking your time to read through. I appreciate everyone supporting my art in one way or the other. You guys are the best😘.
Comments, questions and suggestions are highly welcomed.
Posted using Partiko Android
Fab step by step post. Love the addition of colour around her
Posted using Partiko Android
Thank you🙂. Just thought it'd make it more beautiful, and it think it worked.
Posted using Partiko Android
This post was shared in the Curation Collective Discord community for curators, and upvoted and resteemed by the @c-squared community account.
If you are a community leader and/or contest organizer, please join the Discord and let us know you if you would like to promote the posting of your community or contest.
@c-squared runs a community witness. Please consider using one of your witness votes on us here
Thank you so much
Posted using Partiko Android
Fantastic💗💗😂
Posted using Partiko Android
Thank you
Posted using Partiko Android