Portrait in digital illustration - step by step - retrato en ilustración digital - paso a paso
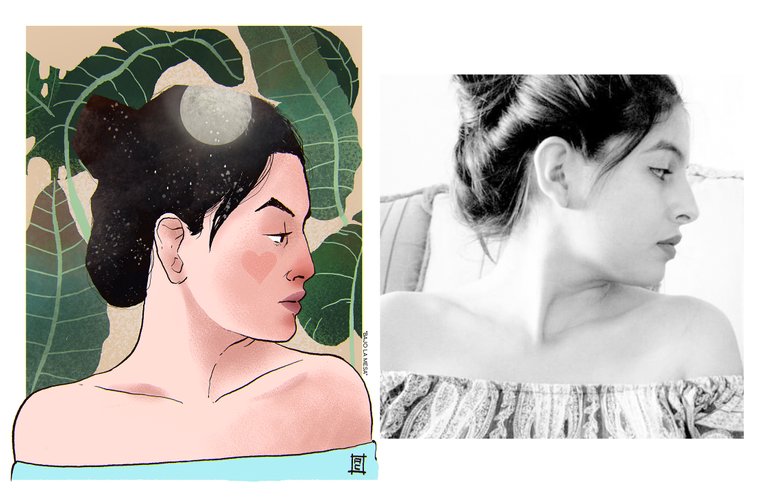
Hello everyone! In this post I will show you this process in a digital portrait made in Photoshop. In this case it is the portrait of a friend that I used as a model.
Hola a todos! En este post les mostraré este proceso en un retrato digital hecho en Photoshop. En este caso es el retrato de una amiga que la utilicé como modelo.
Step 1 - Paso 1
Here what I did was a sketch in Photoshop of the anatomical shape that I wanted to portray, as you can see the strokes are more free and rustic.
Aquí lo que hice fue un boceto en Photoshop de la forma anatómica que quería retratar, como se puede ver los trazos son mas libres y rústicos.
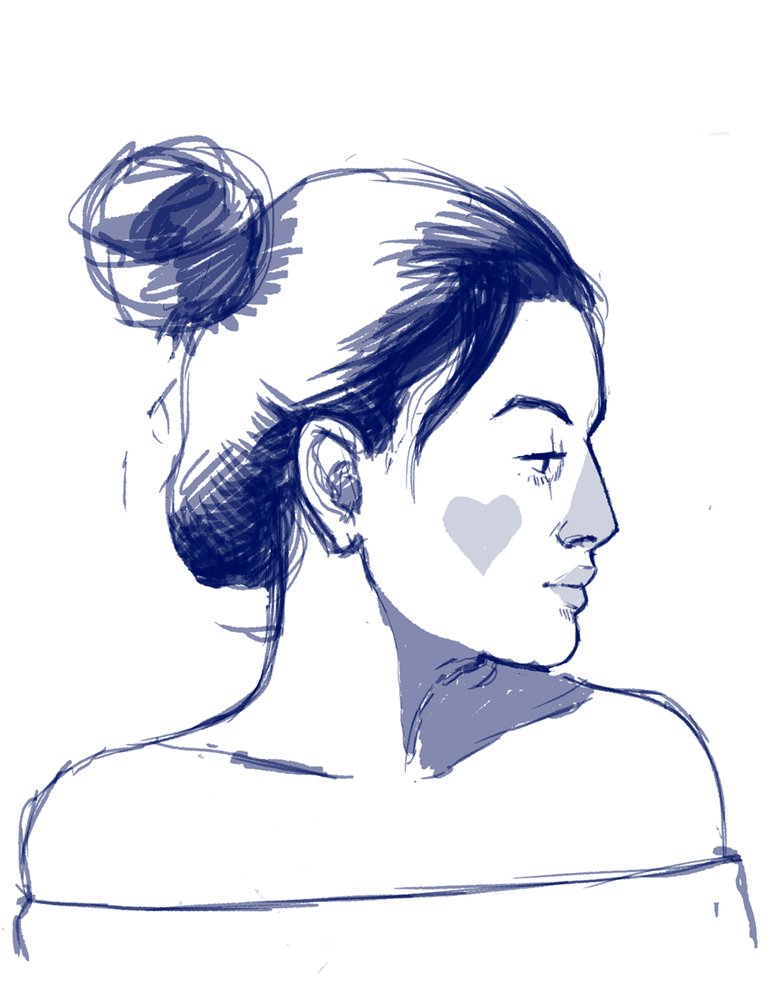
Step 2 - Paso 2
Here I changed the process a bit to what I had previously. In this case what I did after having the sketch was inking.
Aquí cambié un poco el proceso a como lo tenía anteriormente. En este caso lo que hice desúes de tener el boceto fue entintar.
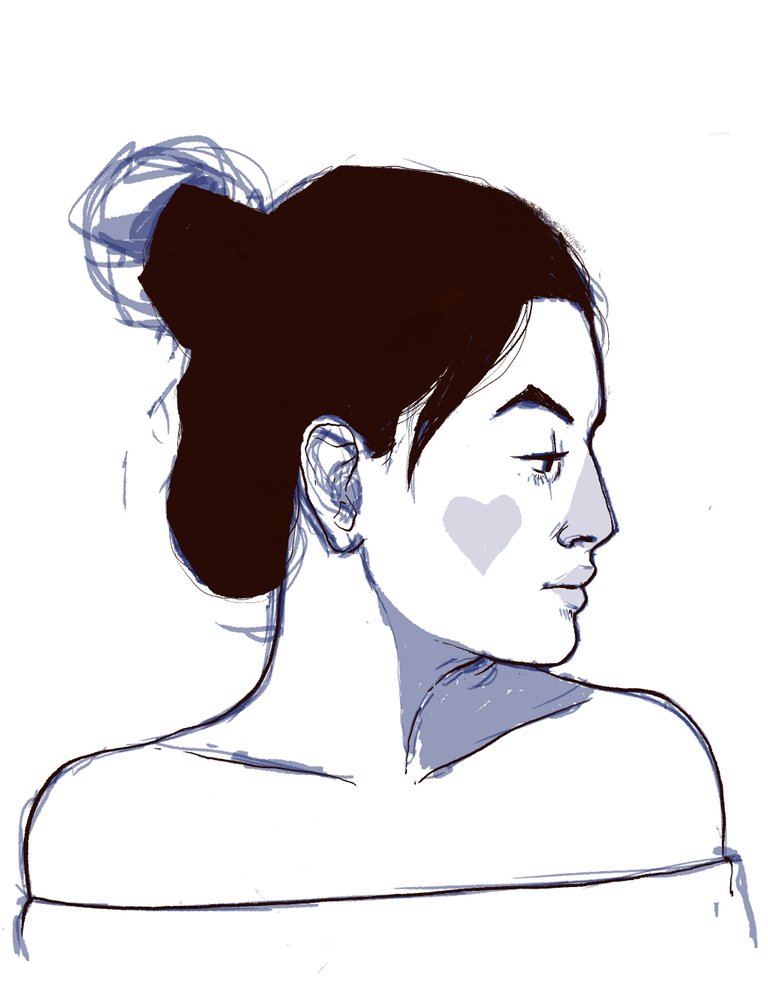
Step 3 - Paso 3
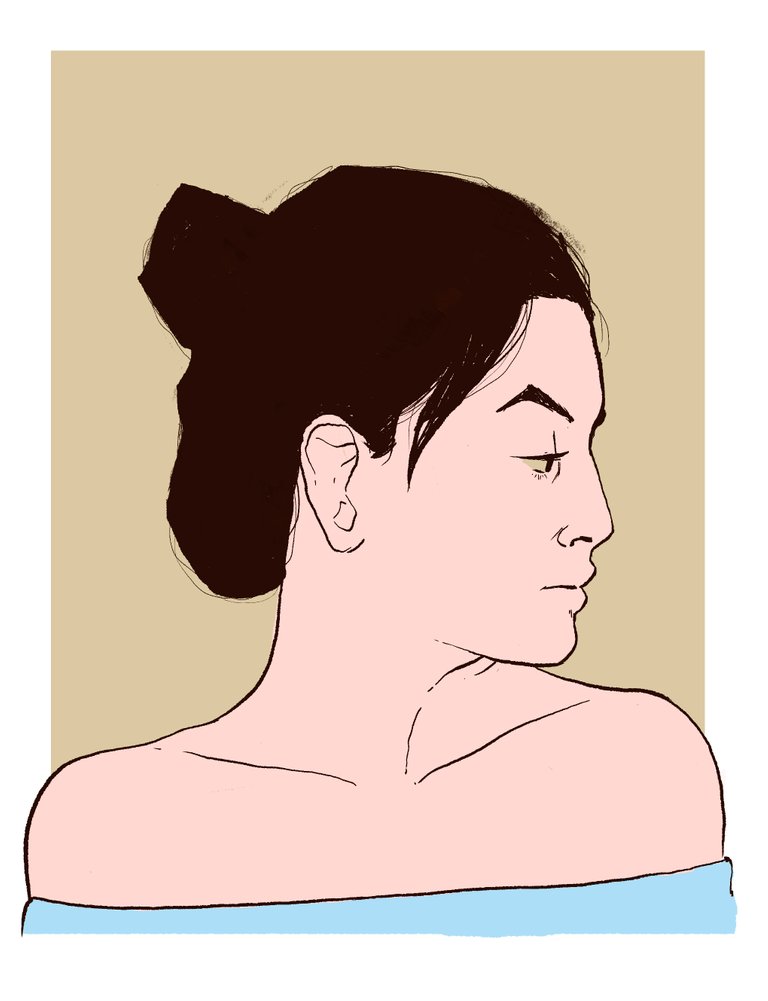
What I did here was put solid fillers, both the skin and the blouse.
Aquí lo que hice fue colocar rellenos sólidos, tanto la piel como la blusa.
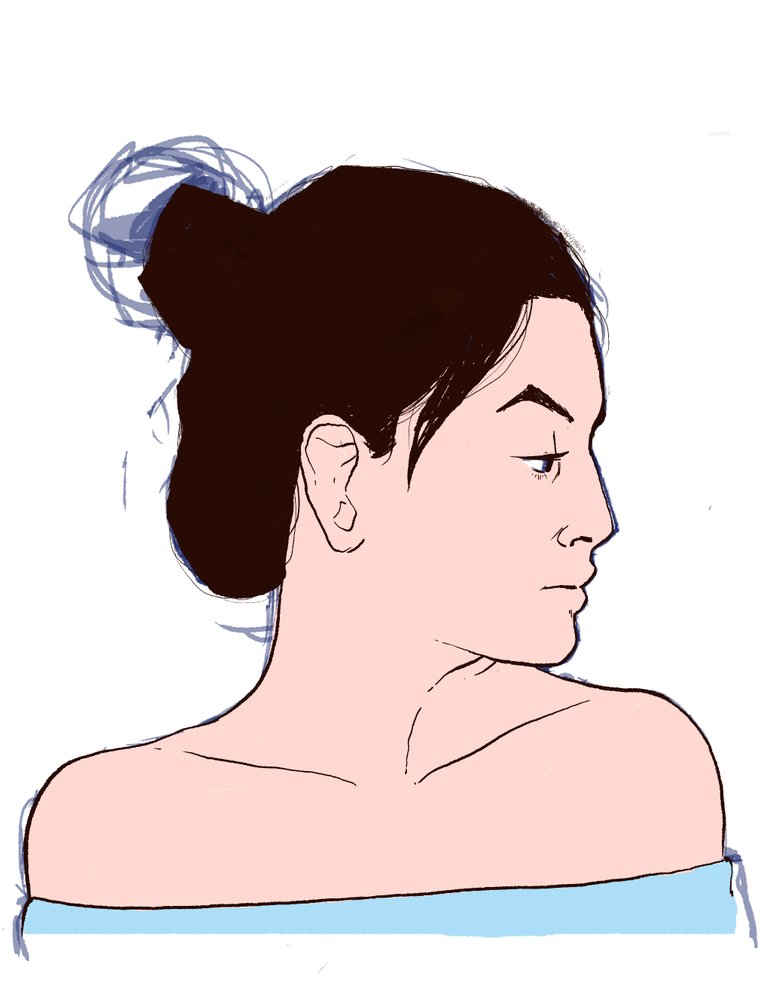
Step 4 - Paso 4
Practically what I did here was choose the background color, here I tried several colors looking for one that was not so vivid and would blend with the main drawing.
Prácticamente lo que hice aquí fue escoger el color de fondo, aquí probé varios colores buscando uno que no fuera tan vivo y se mezclara con el dibujo principal.
Step 5 - Paso 5
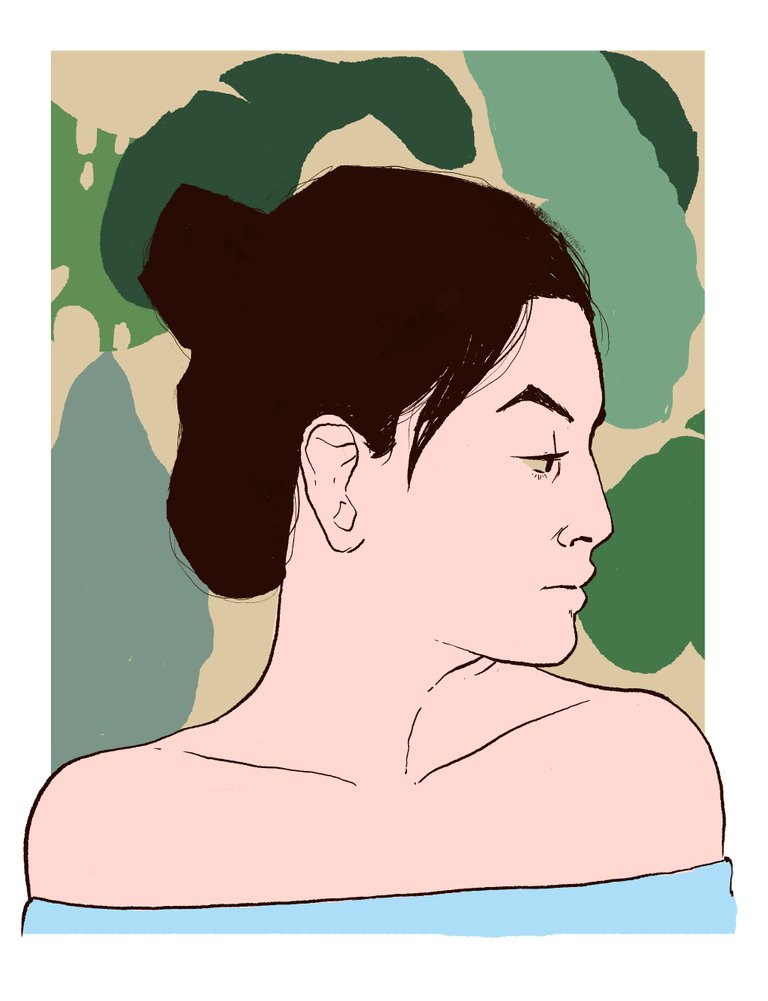
Here I wanted to give it a little natural environment with the use of different plants.
Aquí quería darle un poco ambiente natural con el uso de diferentes plantas.
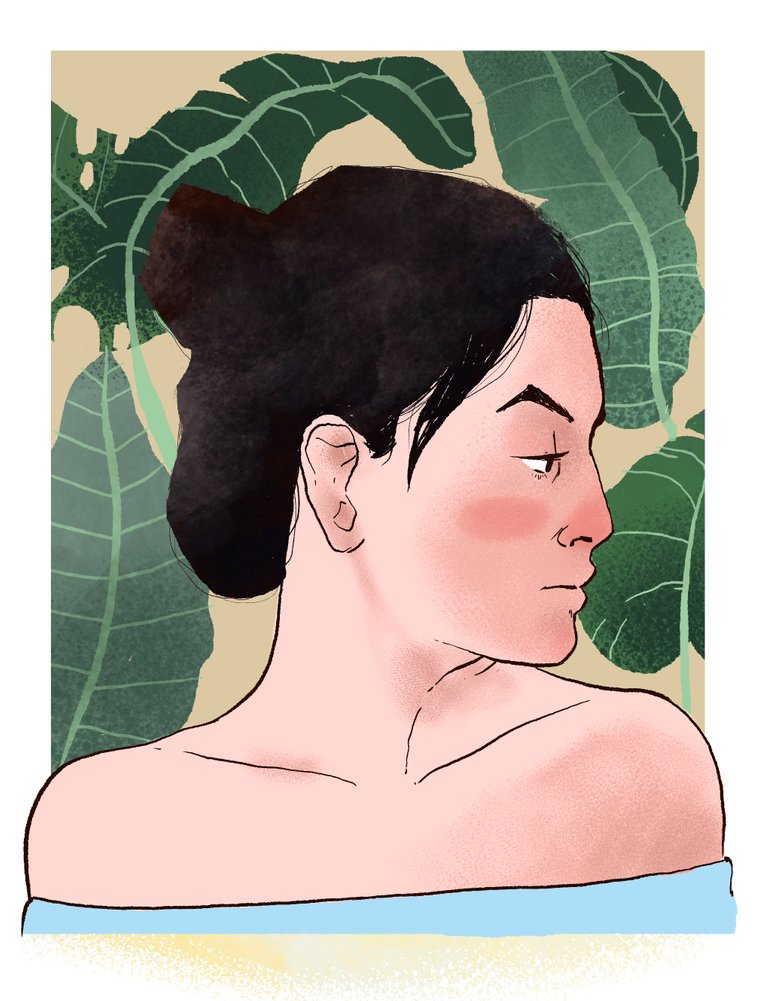
Step 6 - Paso 6
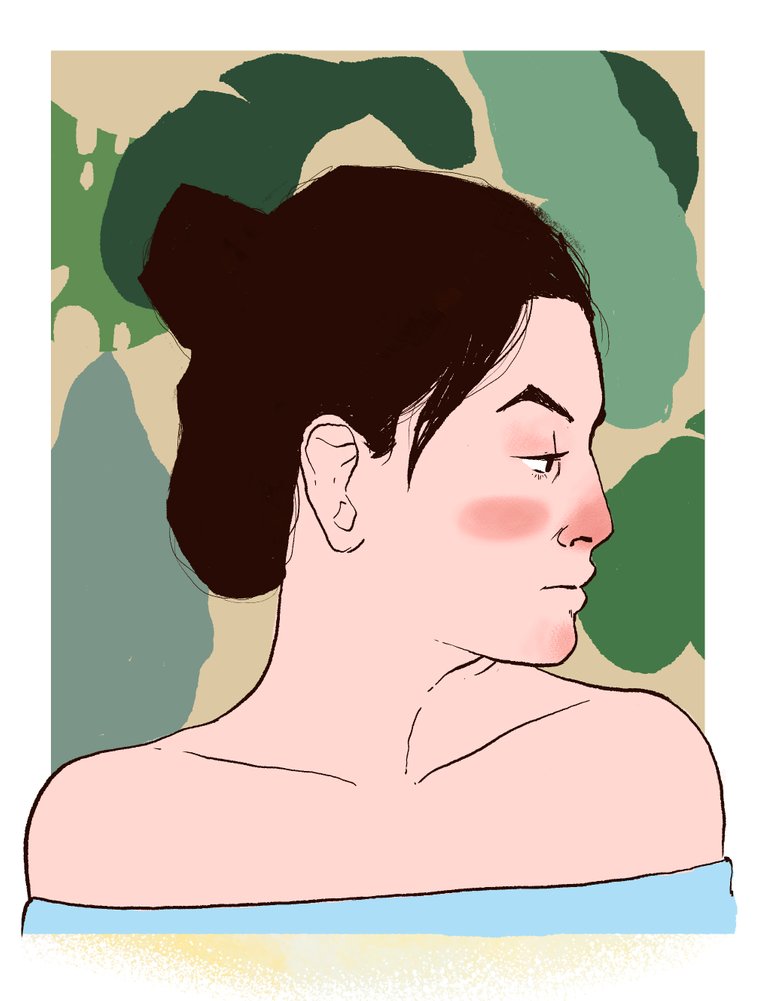
I start to give details to the face like the blush on the cheeks.
Empiezo a darle detalles al rostro como el rubor en las mejillas.
Step 7 - Paso 7
I apply soft shades to avoid saturating the drawing with a grainy brush.
Aplico sombras suaves para no saturar el dibujo con un pincel granulado.
Step 8 - Paso 8
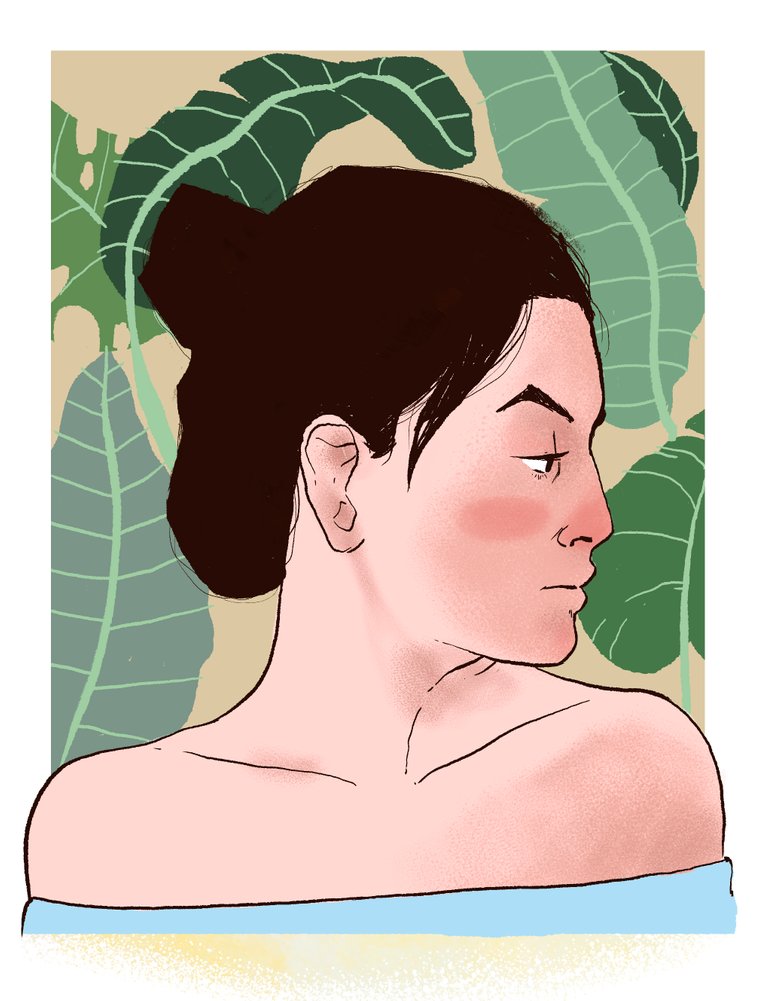
I apply details to the vegetation in the background and aside I start giving texture to the hair trying to simulate a night sky.
Aplico detalles a la vegetación del fondo y aparte comienzo dándole textura al cabello tratando de simular un cielo de noche.
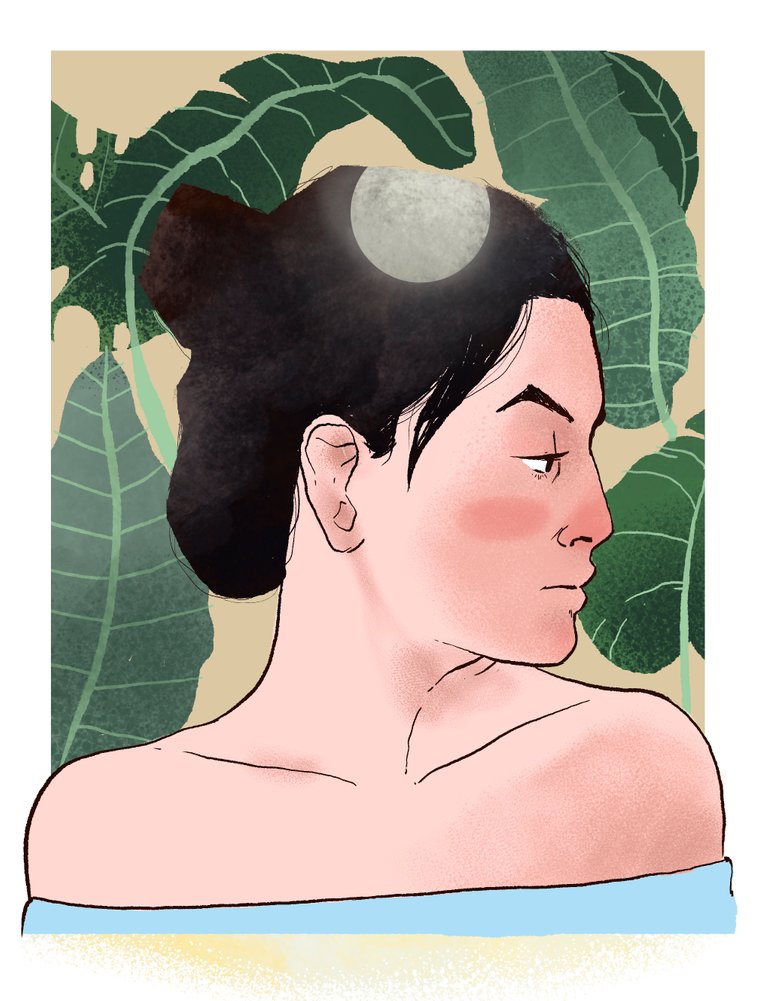
Step 9 - Paso 9
I draw a full moon with its natural shine inside the hair to finish the composition.
Dibujo una luna llena con su brillo natural dentro del cabello para ir terminando la composición.
Step 10 - Paso 10
As a final result, I end up drawing a starry sky in my hair and giving details on my face.
Como resultado final termino dibujando un cielo estrellado en el cabello y dándole detalles en el rostro.
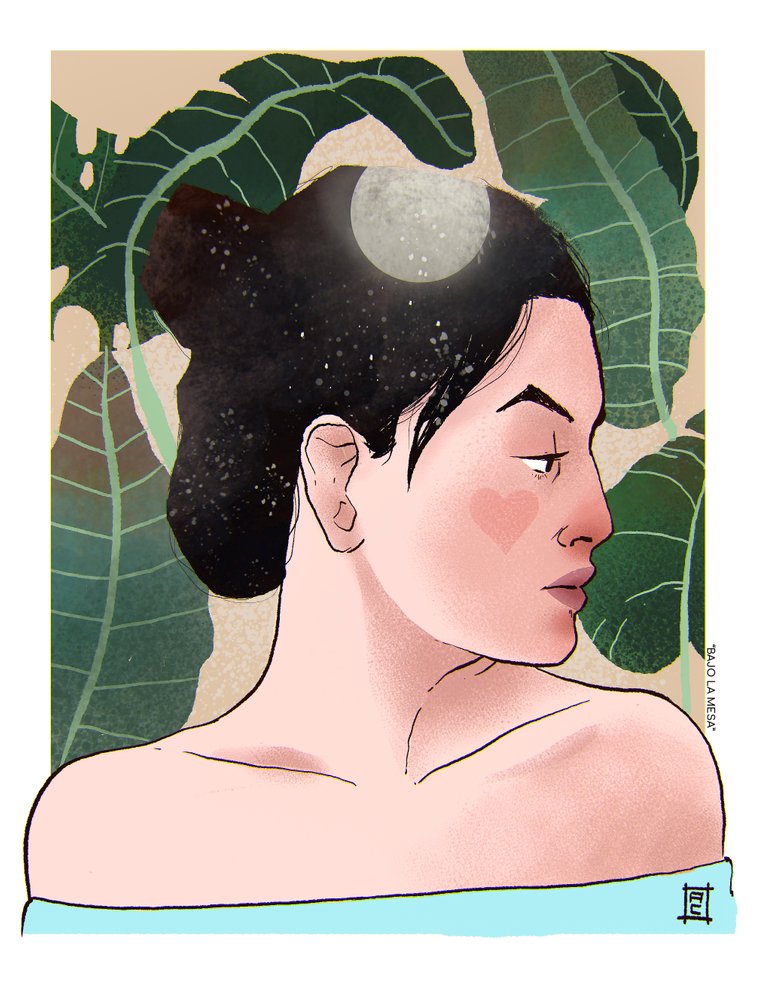
I hope you liked this process in which it took me between 3 to 4 hours of work. Thanks for viewing my post :)
Espero les haya gustado este proceso en el que me demoré entre 3 a 4 horas de trabajo. Gracias por ver mi post :)
Congratulations @pipearq95! You have completed the following achievement on the Hive blockchain and have been rewarded with new badge(s) :
You can view your badges on your board And compare to others on the Ranking
If you no longer want to receive notifications, reply to this comment with the word
STOPDo not miss the last post from @hivebuzz:
Support the HiveBuzz project. Vote for our proposal!
👋 Hi @pipearq95, I was flipping through the blockchain and stumbled on your work! You've been upvoted by Sketchbook / a community for design and creativity. Looking forward to crossing paths again soon.
✅ Join the Sketchbook Community