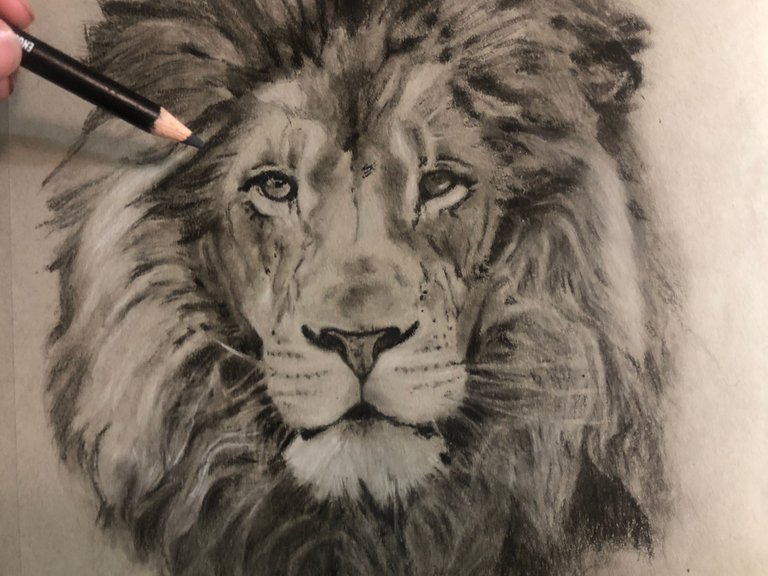
Hello everyone welcomes to my post. Today's I'm going to show you the step by step processes of how I drew this Lion head using charcoal pencils.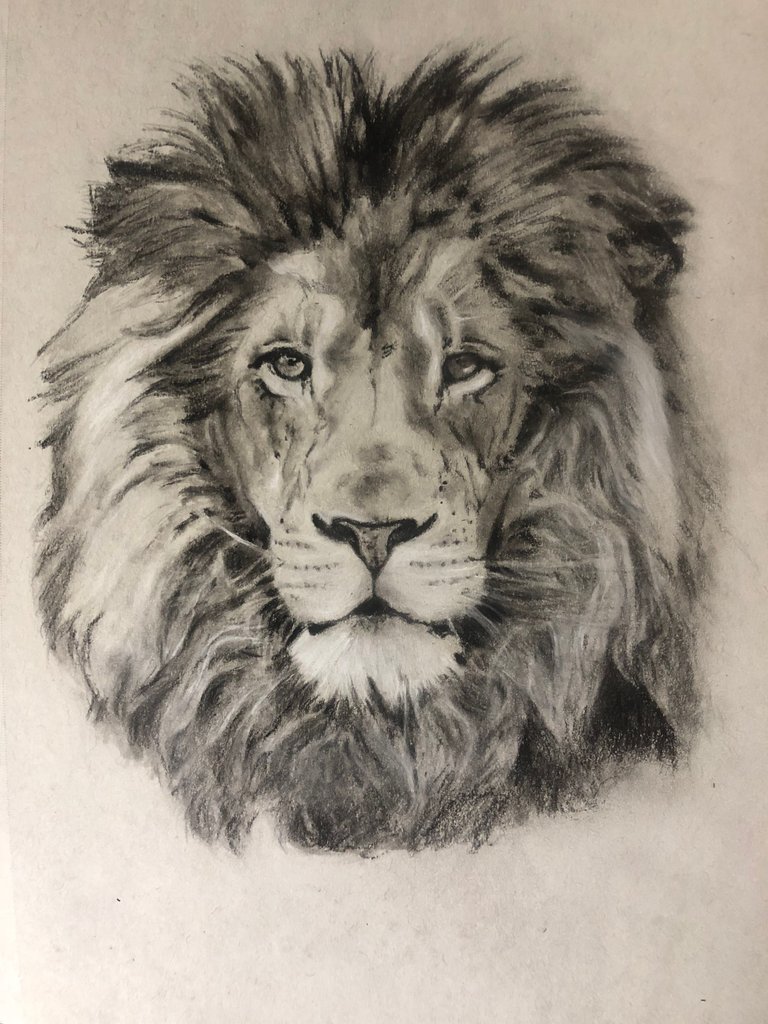
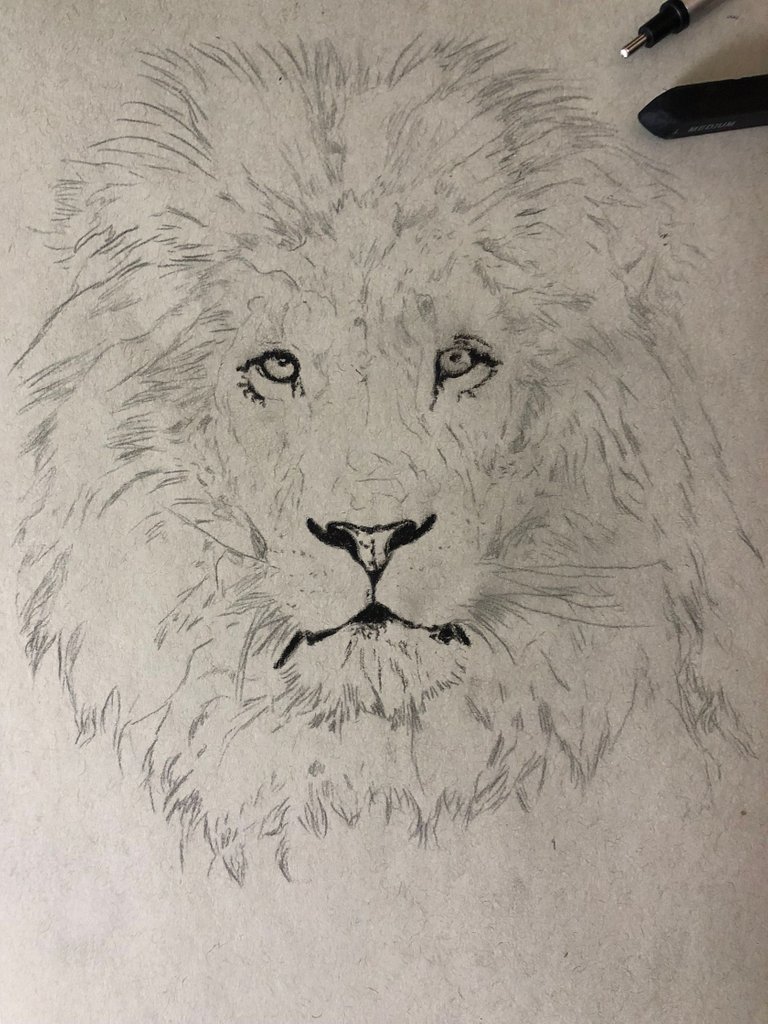
I'm just really following the reference photo. I did use a reference photo for this. You want to use a reference photo if you're trying to draw realistically in order to see all of the details and where all of the shadows are meant to be. I will be using a charcoal and I think that is an extra hard version. I first use that to define all of the main sorts of shadows in the eye and get the structures down and after which, I blend it out with a blending stump. I try to avoid adding charcoal to the highlighted area and keep that as white as possible. I then go over with a 4b charcoal pencil which is slightly darker just to give it more of a dramatic dark kind of shadow to the eye and then I use a little eraser just to pull up the highlights.
Now I'm going on to the fur for the face and what I like to do first is to add the base kind of contours and shadows for the like facial structure of the Lion. I'm also filling in the darkest areas on the nose and the mouth. There's a lot of really dark areas that I used to fill it in around this area especially the mouth. It's just very dark so I used a 4b charcoal pencil for that.
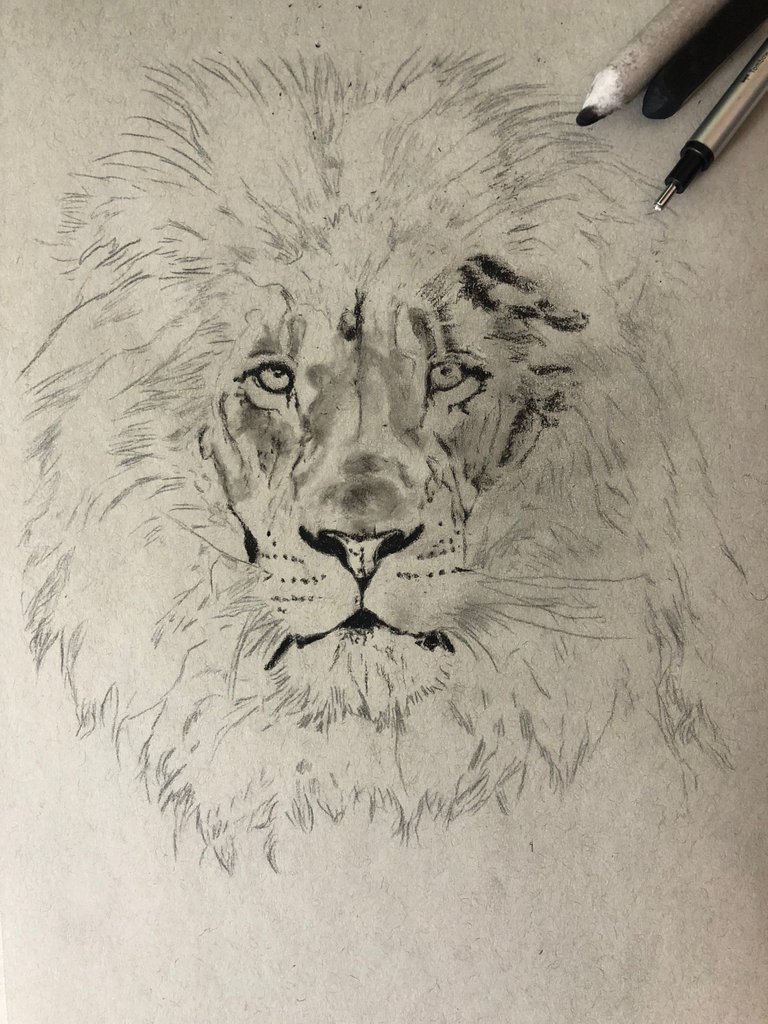
If you're trying to draw something realistically then it's all about contrast and getting the shadows as dark they need to be and then having the highlights as bright as they need to be to create that contrast and give that free dimensional look. So when I add the highlights it will really just make everything pop and really stand out. Just after achieving this, I then go throughout the whole of the
lion's face and then create the same fair strokes to obtain the third texture for the whole of the fur. It's a really simple technique, it's just something that you do for the whole of the fur and these will look a bit too defined at moment and then we can soften them out later on so it's not so defined and not so harsh
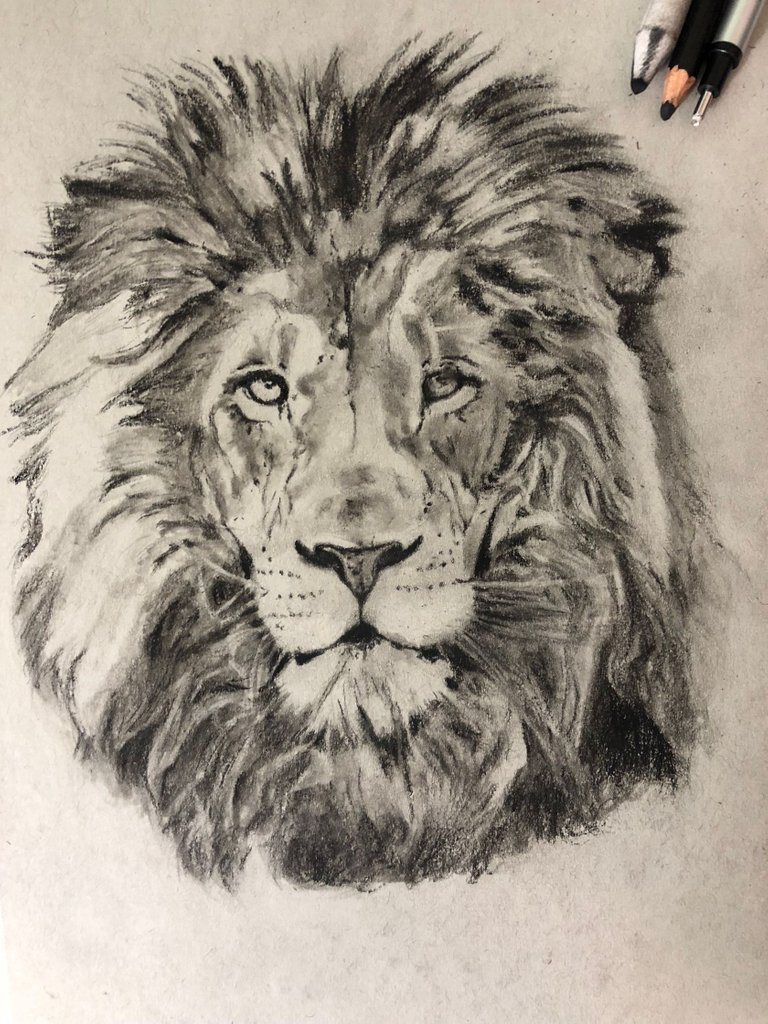
I just finished up adding all of the little fur strokes, it’s just required a little patient so take your time to do it. You really don't want to rush. It's really important that you softening other areas so that we still have some of that fur texture showing through and lightening up the dark shadows in between them so that, it just kind of balances it all out and gives us more of a natural fur texture. Once I did that I'm going back in with the eraser and just pulling the brightest highlights and the brightest kind of contoured areas so just to create more of that 3d structure for the face and to make it pop a bit more
So now what I'm doing is adding more contrast so I'm using the charcoal pencil. As you can see at this stage is really making it pop even more just adding those shadows again and really darkening up those areas. You can also use your blending stick to blend out areas, you don't want it to look too grainy. It's always good to blend with the blending stump.
upvote, comments and resteemed
Beautiful, it's nice that you have shared your process, I love to do that too. This reminds of when I drew a lion too, it was fun.
Upvoted! Kindly follow back
thanks i please u love
I just found out that you copied this post from vaansteam, this is very bad for the blockchain, plagiarism is evil.
This is disgusting! He copied - exactly - the post from @vaansteam
It seems his only talent is in stealing from those who have real talent.
@cheetah please check this poster