"Before anything else, Let's start with the basic"
The key to achieve success in any aspects is to know first the basics. Those are the first things to do, a must-remember stuff that supports what you do, a starting point before starting to do bigger things or the fundamentals of a particular skill or whatsoever.
Same as with pen drawing, there are basic techniques to learn with before dealing with bigger stuff.
And what are those techniques?
The hatching and cross-hatching drawing techniques
Hatching and cross-hatching are linear drawing techniques that is used to create texture, tone and value.They can be considered as a stepping stone to learn more about drawing. Both techniques work well with different kinds of drawing media including pen and ink, graphite, colored pencils, etc.
But this time, we'll just tackle about hatching and cross-hatching in fine-tip pens.
In fact!
Hatching is the first step to cross-hatching. It's either you can mix the two techniques or just use them separately in an art piece.
Before we start hatching, we need to learn how to determine the light source first
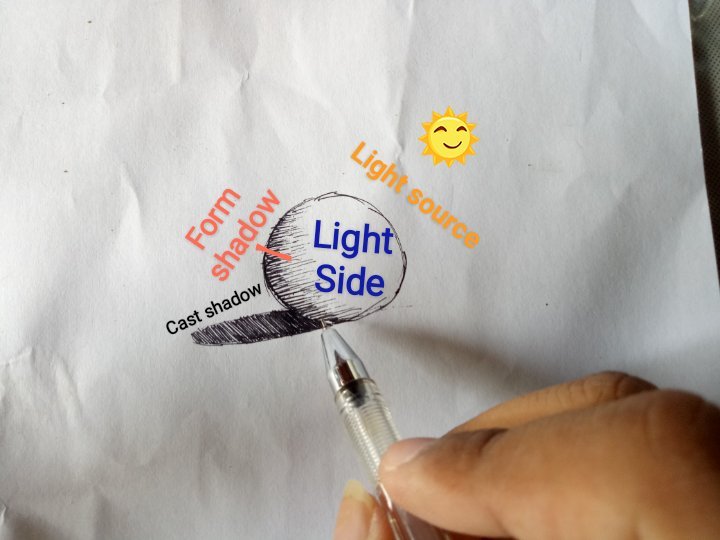
Knowing the light source of your image is actually one of the most important things in drawing.
The different kind of shadows in a drawing
Cast shadow
When a light source hits an object, the object blocks it and cast a shadow - is not a solid shape but varies in tone and value.
"The farther the object to its cast then the lighter and less defined becomes the cast shadow's edges."
Form shadow
It is the less defined dark side on an object opposing the light source. Unlike cast shadows,
a form shadow has softer less defined edges.
The form shadow varies on the image's shape.
So what is Hatching?
Creating varied non-crossing lines while indicating the value of shading. The value added dependending where the light source is located. The area that is opposite to the light source tend to have more and darker lines, this is to emphasize the shading and make the image more beautiful.
It originated during the Middle Ages and generally, its essential to art and many forms of print media, such as engraving, etching, etc.
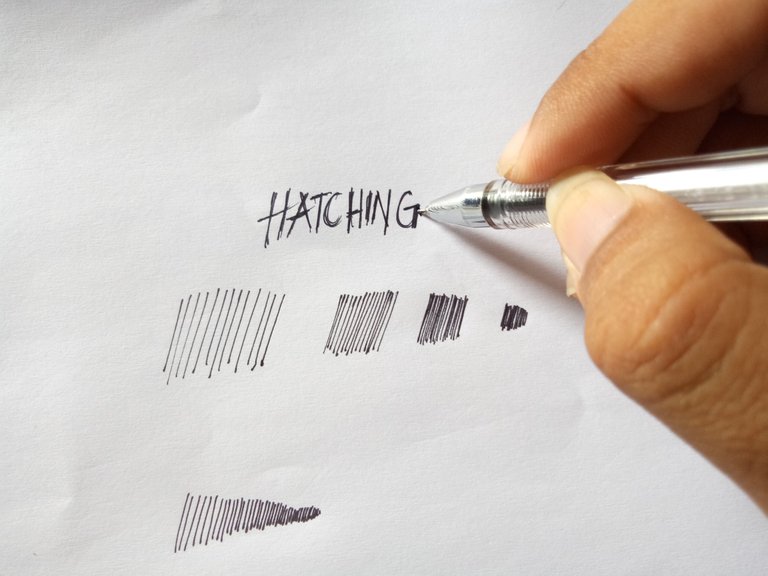
The main point of this technique is quantity. Hatching should have those lines classified with thickness and spacing that would also emphasize a particular point. In this sense, the technique itself can affect the overall image.
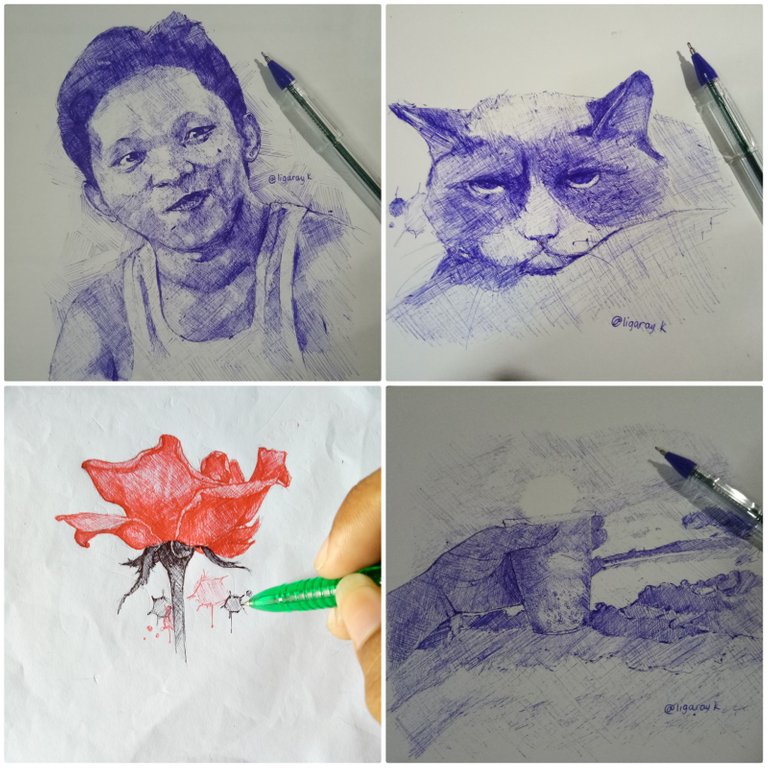
Some of my pen artworks wt hatching and cross-hatching applied
Now, how to start?
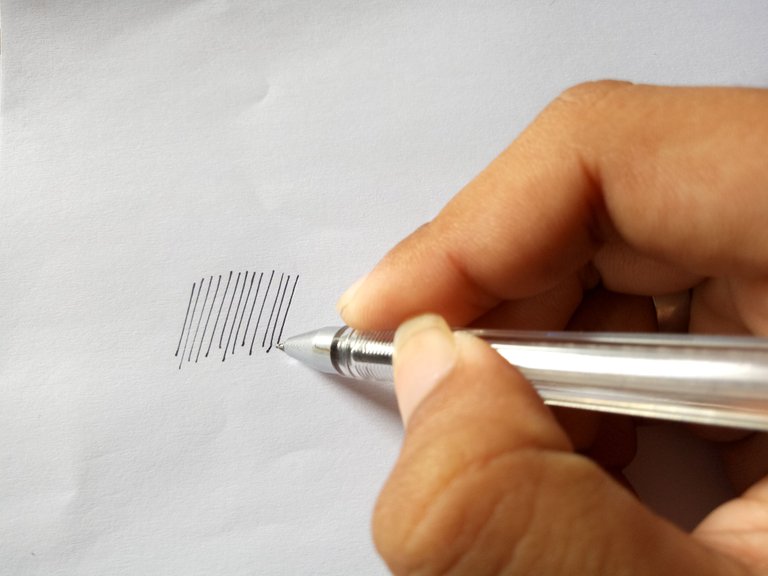
By just creating some non-crossing parallel lines (it can be in any directions), you can actually do the hatching style.
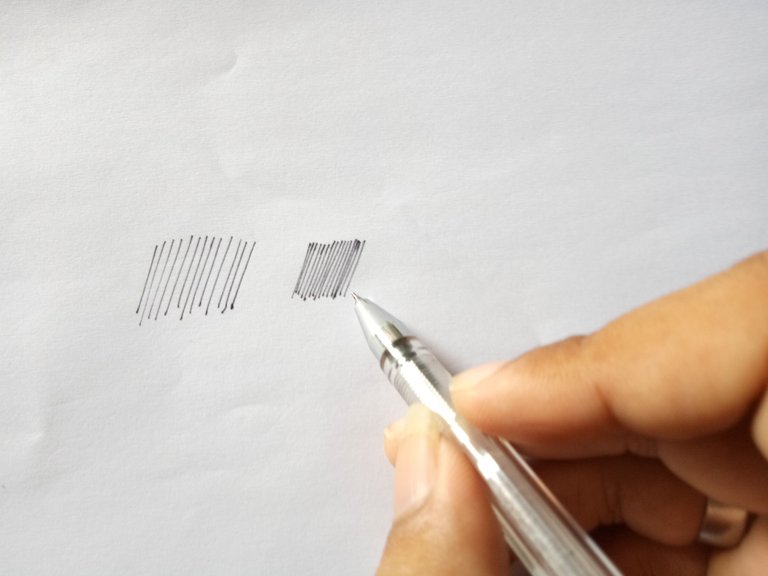
With closer parallel lines
Reveal spoiler
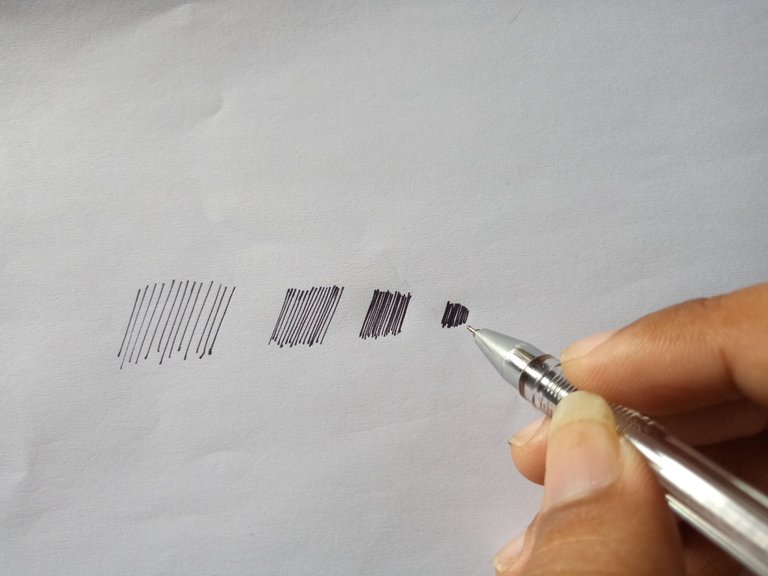
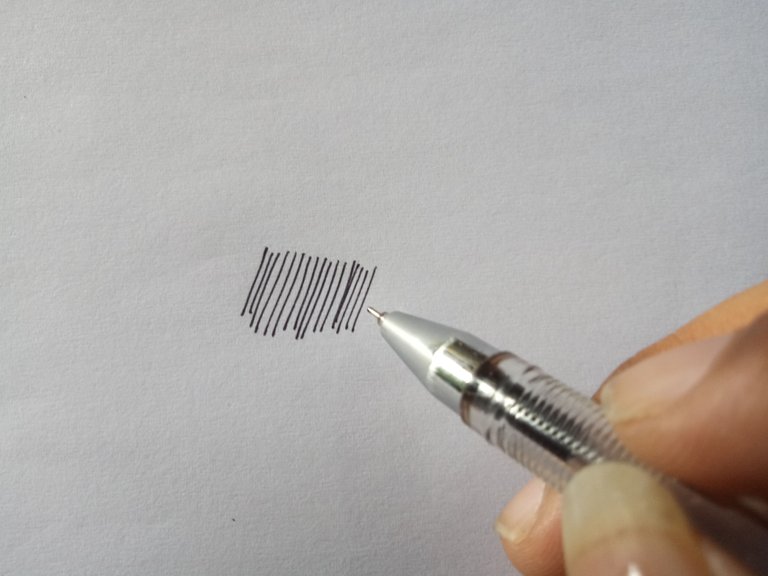
As you can observe how the tone and the volume changes as the distance between the lines decreases. So simply, the closer the lines the heavier the tone will be seen.
An artist once said that “the contrast between light and dark is one of the most expressive and important means of composition. Value contrast can be encountered in both colorful and non-colorful art renderings.”
Hence, when creating an artwork there are a lot of things you need to consider e.g. value schemes, the light source, etc.
By just changing the number of lines, and the amount of space between the lines, you can create ranges of value.
Actually!
You can also do hatching in different directions without intersecting each lines.
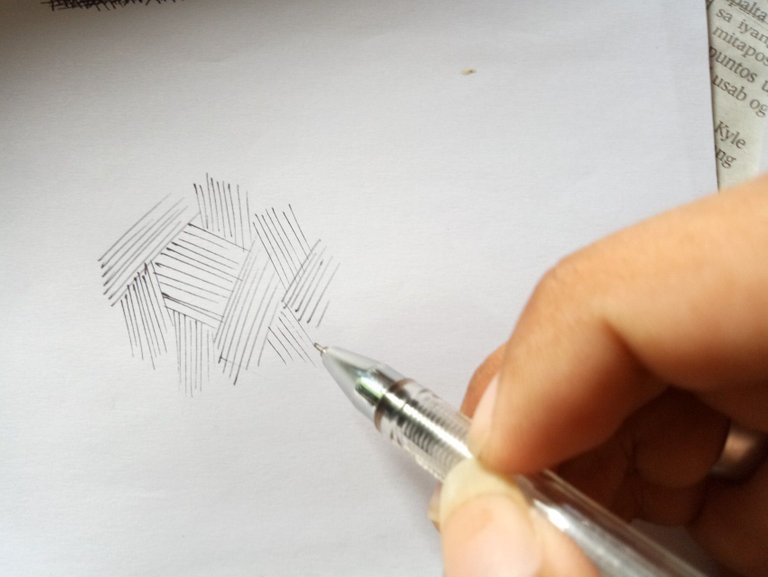
This is often used in objects with texture e.g. basket.
Here's a simple value scale using the hatching technique
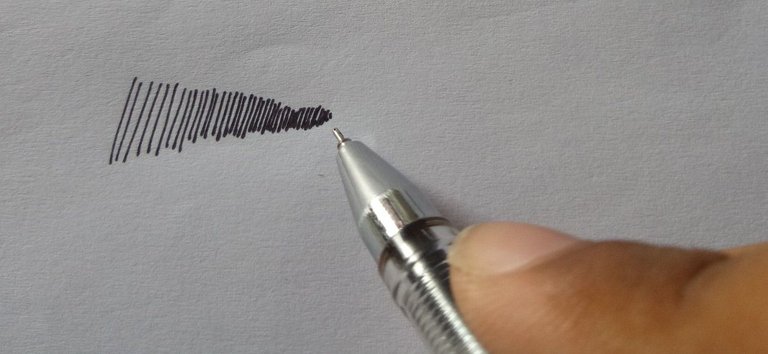
The closer the lines, the heavier the tone.
Application of the technique to a simple sketch
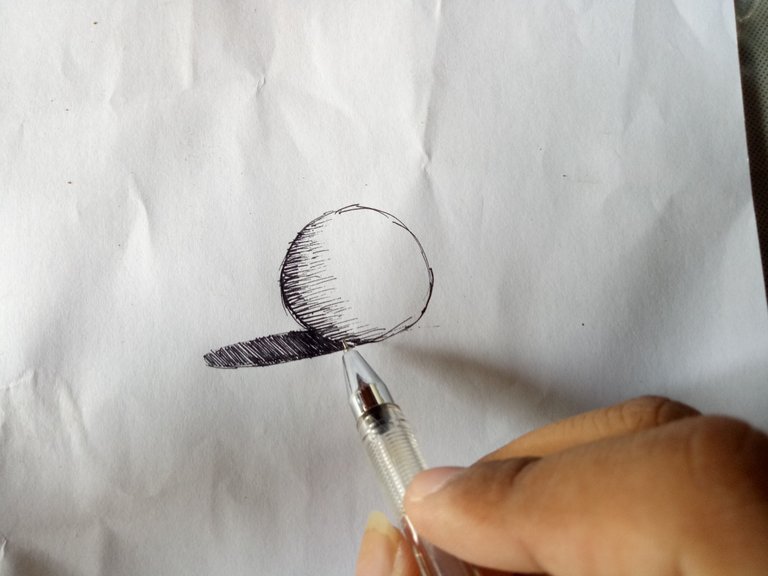
Now let's apply linear hatching in creating a simple drawing.
How I did it?
1. Outlining
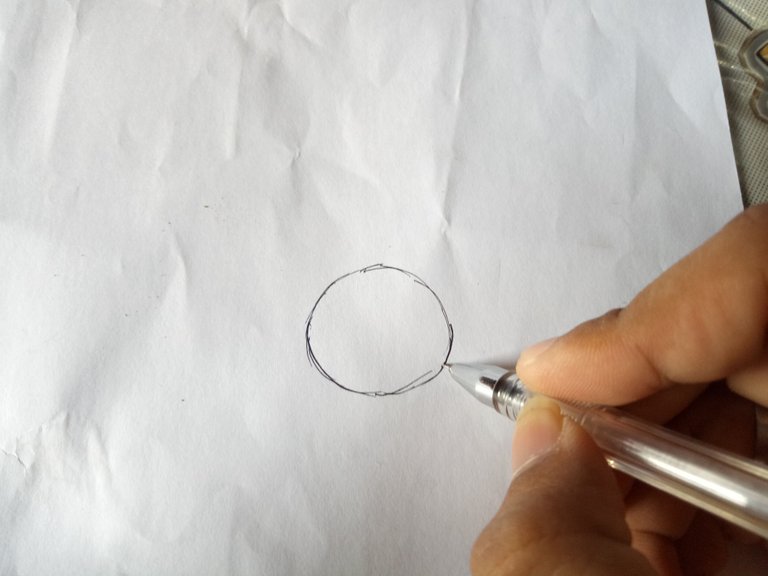
I created a circle since its much simple and the value is easier to be seen.
2. First layer of hatching
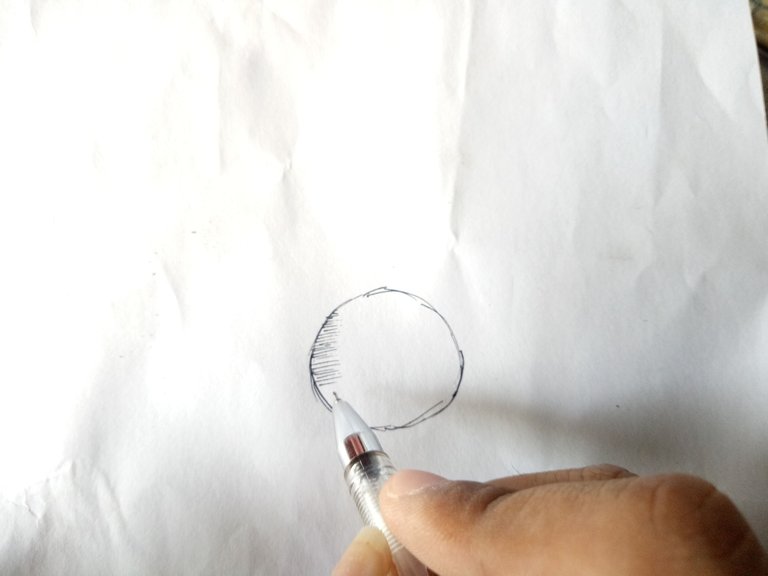
As what I've said above, "creating some non-crossing parallel lines" to do hatching. Here i started to add some light lines since it's still the first layer.
3. Second layer and more
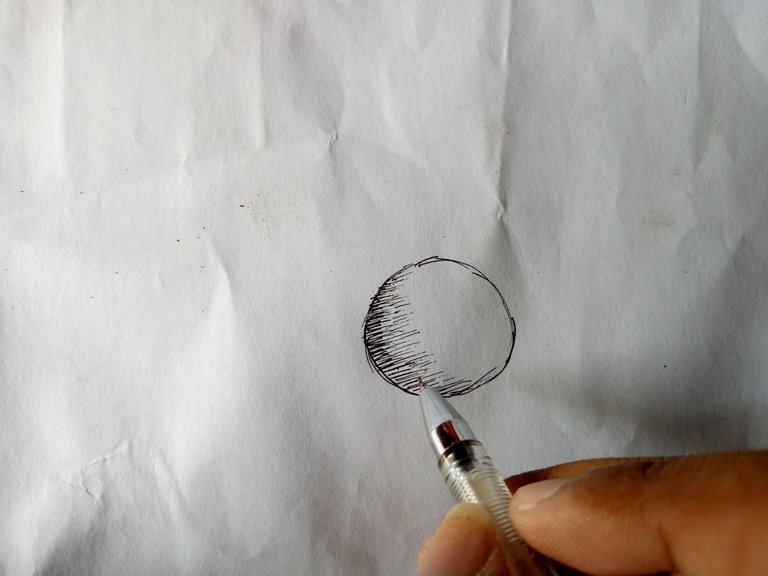
Here, i was able to create the form shadow by doing the hatching technique. As you can see, the side which has the darkest part is the one which is the farthest form the light source.
4. Creating of the cast shadow
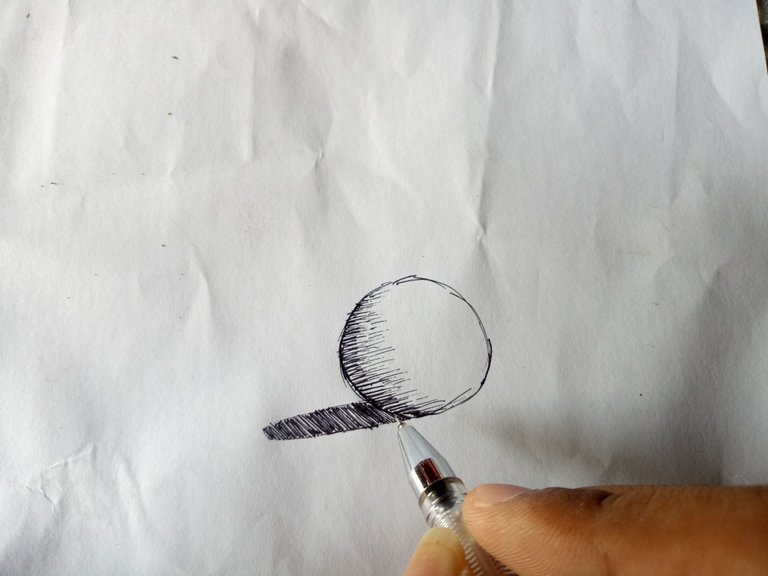
I used hatching in a different direction and one with closer lines.
As easy as 1-2-3 right?
Actually, you can also use other shapes in practicing linear hatching as long as you're comfortable with it.
and now let's explore the cross-hatching technique
Cross-hatching
"Cross-hatching? Simply the next step after the basic linear hatching."
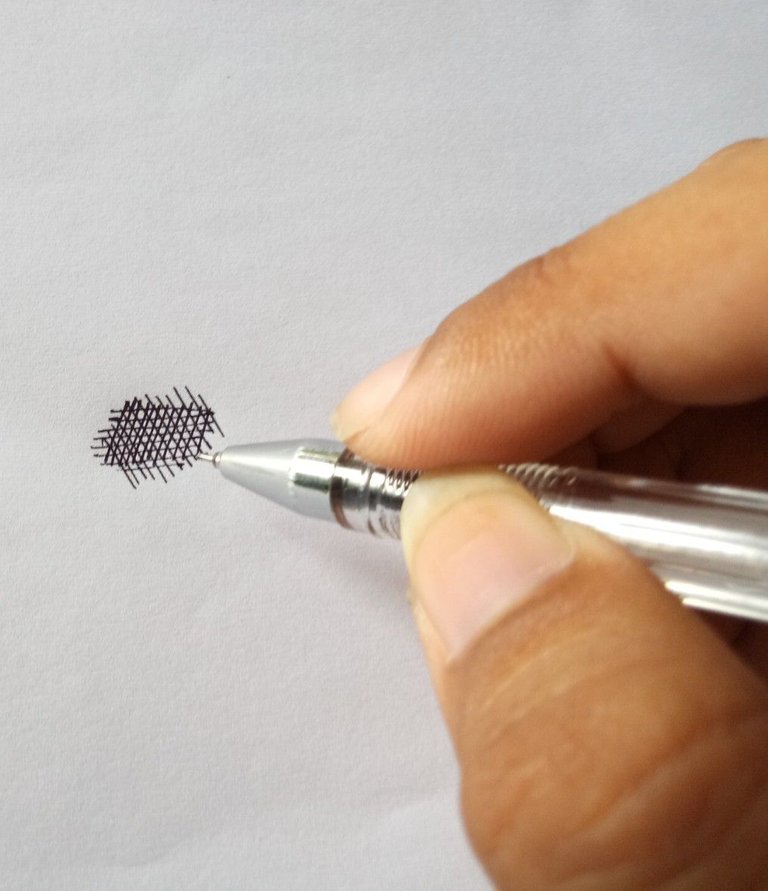
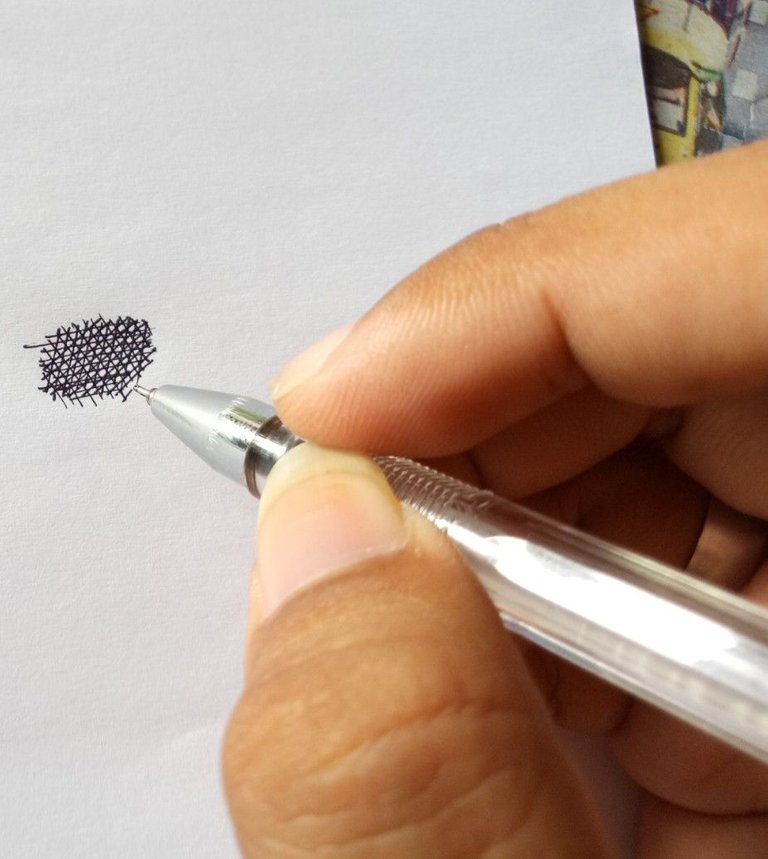
A technique used to add value, tone and dimension to drawn images. Unlike linear hatching, cross-hatching technique involves with at least two sets of lines crossing over the first layer to create a darker tone.
A lot of artists are following a specific order of adding crossing lines in every layer of hatching. There are vertical lines, then next is horizontal lines, followed by diagonal lines, and so on and so forth.
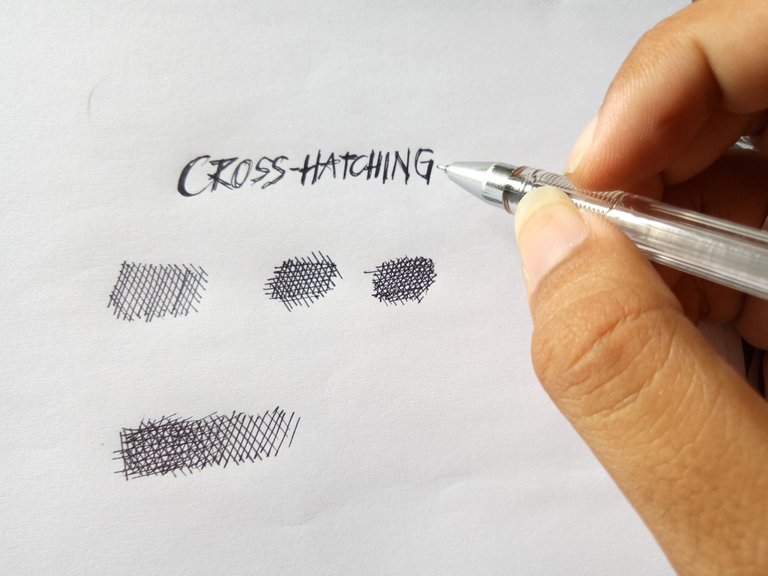
Now how to start?
By creating basic parallel hatching as the first step, we can now start to add more and more layers of lines which I'll be discussing to you later on.
The main principle of this technique is creating multi-directional hatching lines to create variety of tones and value. In order to emphasize a particular spot with a darker background, cross-hatching technique has a very essential role in creating one - The one with the darker background should have more layers of hatching than the object itself.
So here's how to add layers of hatching
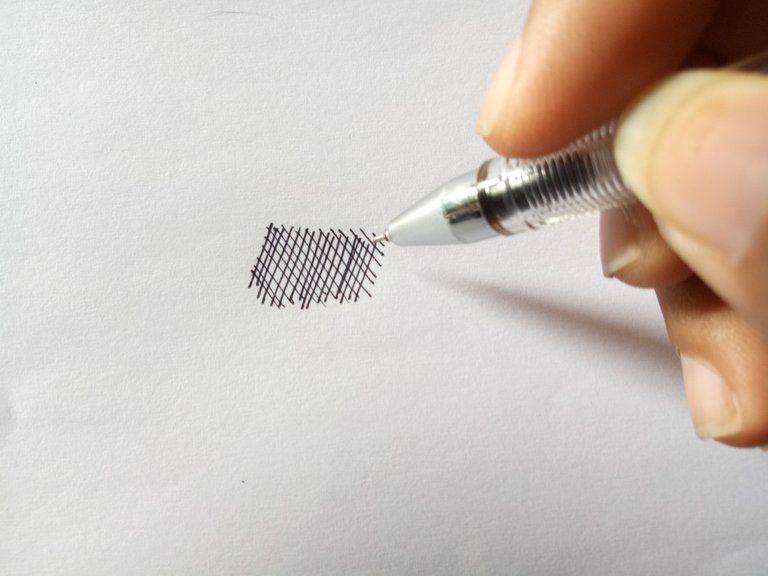
After creating the first layer of hatching and in order to do the cross-hatching technique, layers of hatching should be added.
It can be in any direction, but definitely shouldn't be the same as with the first layer.
Second layer added
With lines opposing the first drawn lines - just simply draw parallel lines over the first layer.
Cross-hatching with 3 layers
In order to attain thicker tone you can add another layer of parallel lines but this time, the direction of the third set of lines must be different from the previous layers.
Cross-hatching with 4 layers
Now, Actually you can add more and more layers of cross-hatching, its just up to you how you will do it and how thicker the tone you would like to make. Here, I just did up to 4 layers.
As usual, the lines on each layer must be unique from the rest of the layers. Meaning, each layer must contain parallel lines that would be different from each other.
And here's a simple value scale using the cross-hatching technique
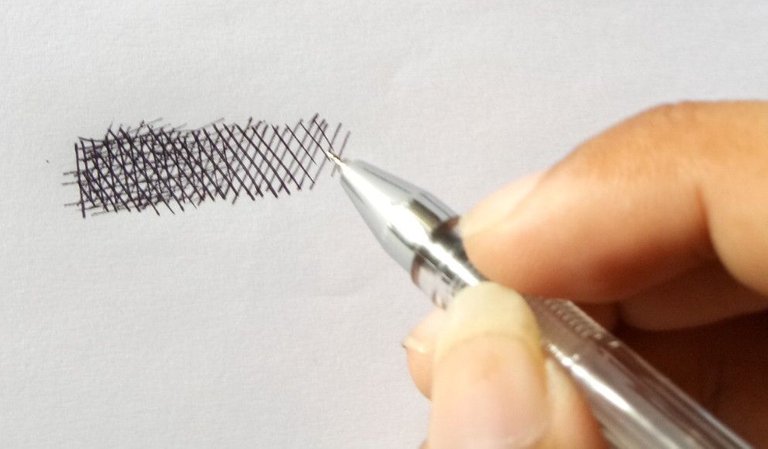
Again, the closer the lines and the more number of layers, the heavier the tone.
Application of the technique to a simple sketch
Now let's apply cross-hatching to a quick drawing.
Now the steps?
1.Outlining
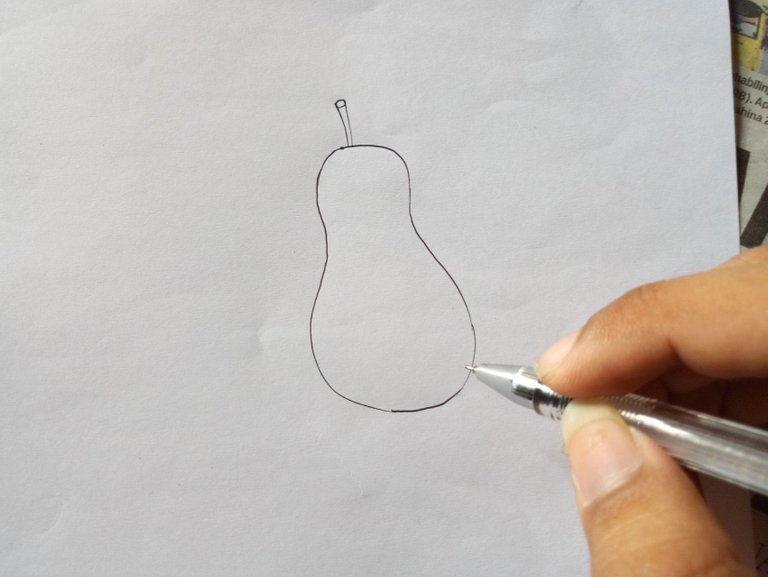
I first drew the shape of the object, which is a peach fruit.
2. Shading using the cross-hatching technique
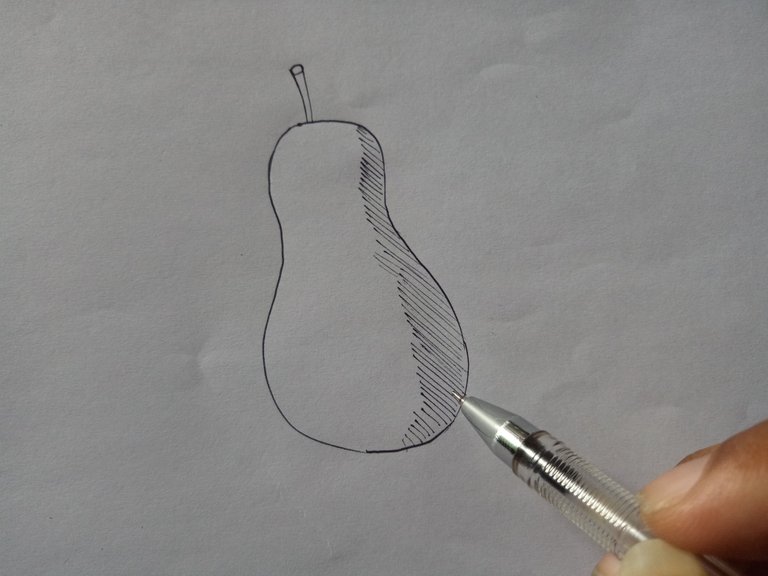
Firstly, I started with the basic linear hatching. I drew some light diagonal lines
3. Adding the second layer...
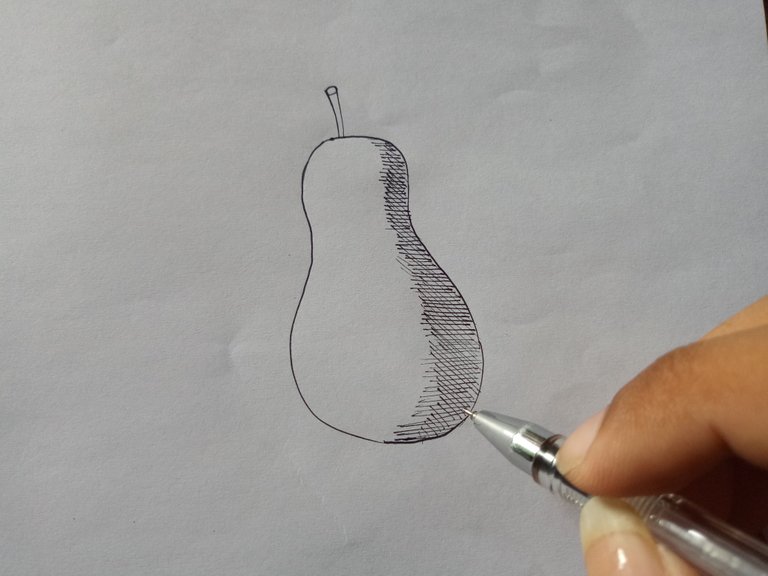
Then added straight parallel lines as the second layer of the shading.
4. Adding the third layer, so on and so forth

Since i liked it to be darker, i added more and more layers of cross-hatches.
5. Creating of the cast shadow
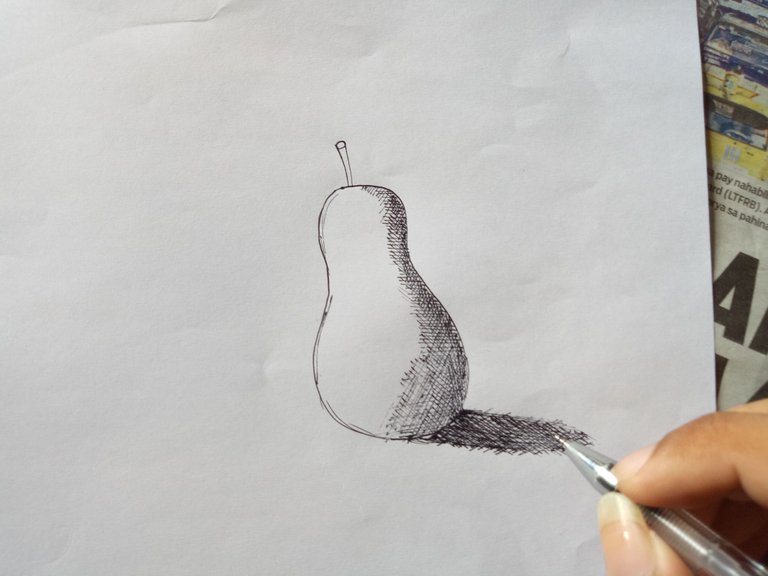
Here, i made up to 5 layers of shading which has closer lines. That's why i looked darker than the other part.
We have now applied cross-hatching to a simple and quick pen sketch
Again, you can use any shape you like as long as you are comfortable with it, its okay.
Bet you have already known each technique and have learned about how both hatching and cross-hatching works on a fine-tipped pen
which you can also apply in any form of art media.
But, how does the two techniques differ from each other?
or what's the best to use?
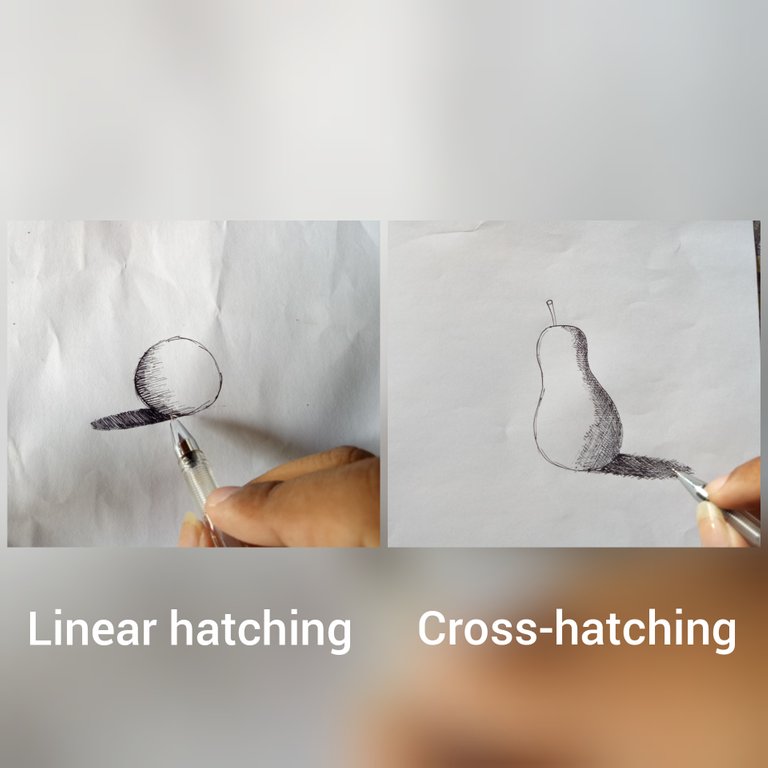
The answer is...
Honestly, the only difference is the direction of the lines and you can actually use these two techniques together in one art lol
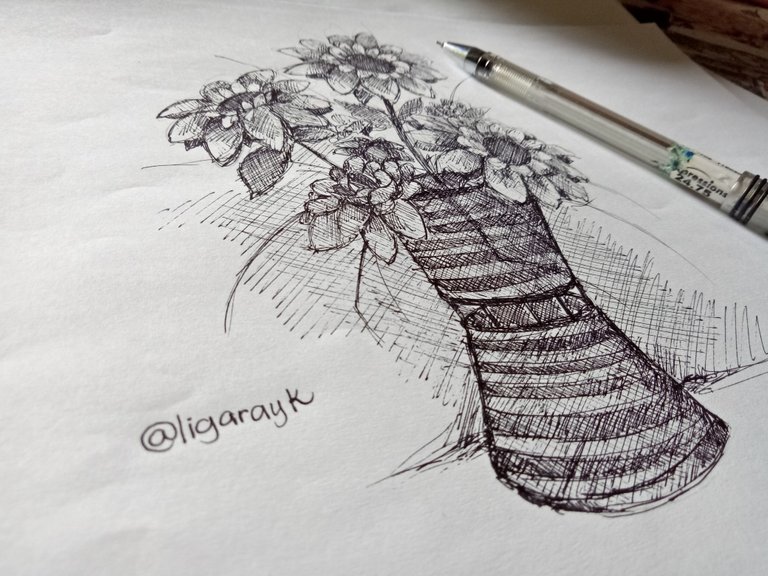
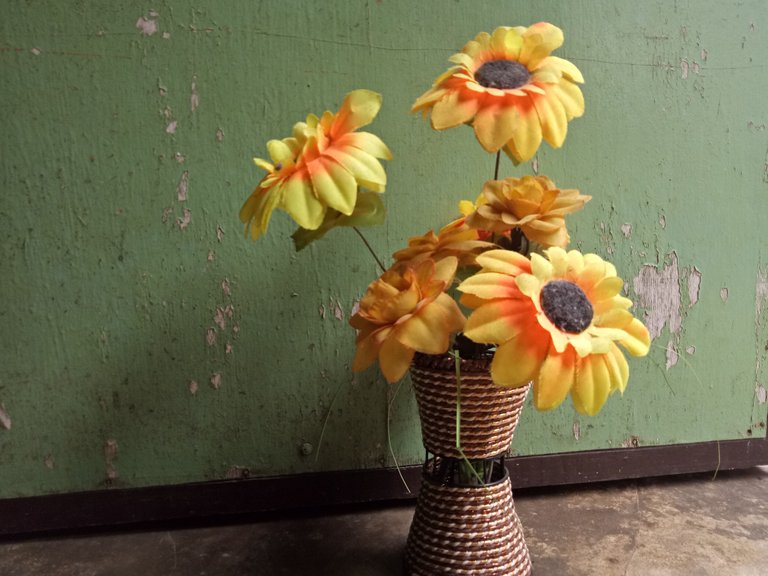
And here's an example of the combination of the two techniques in one art piece using a fine tipped pen - A drawing of flowers in a vase.
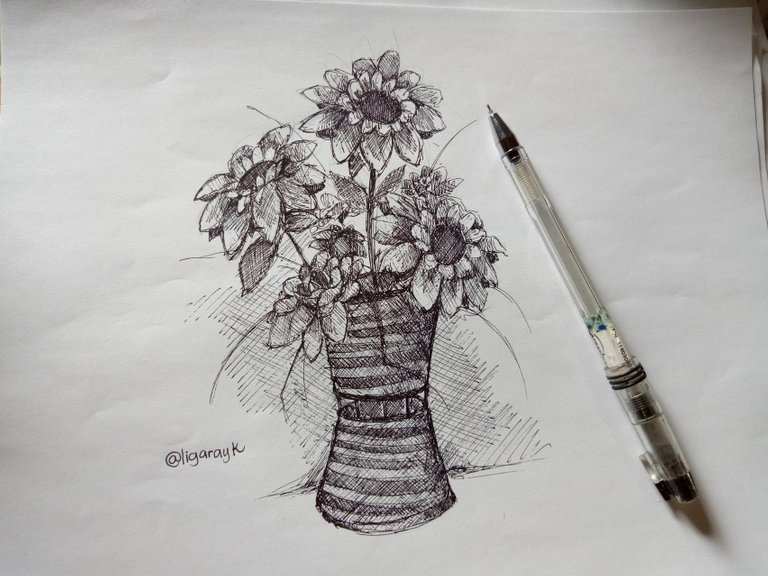
The reference object
Haha yea this ain't real, this is just a plastic flower set.
and a time-lapse video on how I did the drawing...
https://m.youtube.com/watch?v=KpC8T69hRGk
See? You can really use hatching and cross-hatching all together! You just need to familiarize these two techniques first and then, after that? Probably, i would expect amazing pen artworks from you :)
Actually!
There's no better or best technique to use, it's just that how you use them wisely. Because in art, there's no such word as perfection or the best, it just matter on the perspective of people.
"Art is abstract and subjective, there is no one right or wrong way to do it."
If your having a hard time learning these techniques, dont worry mate! You can do ut in your own unique way, as long as you're comfortable wt it becuase these are just the basic thoughts about the techniques and these are just my ways to do it, that i want others to get some information out from it. .
But in the long run, you'll follow where you're comfortable with :) If you'd like to do these ways of mine, i would be glad but if you'd like to do it in your own unique ways, i would also be more glad :)
Because i believe that all people have that creativity inside them, they just need to see how to show it and that's what im trying to do.
Thanks for spending your time guys! :) Peace y'all! 😁🙌
I hope you have learned something from this post, i wouod be glad reading some feedbacks and comments from you guys :)
But before I end ths, i shall leave you this quote...
Nice educational post.
Thanks bro @christianyocte 😊
Congratulations! This post has been upvoted by the communal account, @steemph.cebu by ligarayk being run at Teenvestors Cebu (Road to Financial Freedom Channel). This service is exclusive to Steemians following the Steemph.cebu trail at Steemauto. Thank you for following Steemph.cebu curation trail!
Don't forget to join Steem PH Discord Server, our Discord Server for Philippines.
Great post! Love the flower and vase art and timelapse. I like how you added in the part about lighting and shadowing. Great work.
Wow! Thank you very sir! I am very glad that you liked my post 😊
I love this masterpiece
Thank you bro 😊😊
Love your post. Very educational. Thanks for sharing @ligarayk. Will ask my daughter to read it coz she's into art too.
Ohh my pleasure friend 😊 and thank you for the appreciation 😀
Listo dibujo!!
Congratulations @ligarayk!
Your post was mentioned in the Steemit Hit Parade in the following category:
Wooah thank you sir 😀😀😀 i just saw it!