Hey everyone! I noticed it's been a few days since my last post, and that's because I've been doing a lot of work for school. I figured I may as well share some progress shots on a piece I did a couple weeks ago with charcoal on paper. The assignment was to draw and inside area looking outside, where the inside is dark and the outside is bright. This ended up being my result:
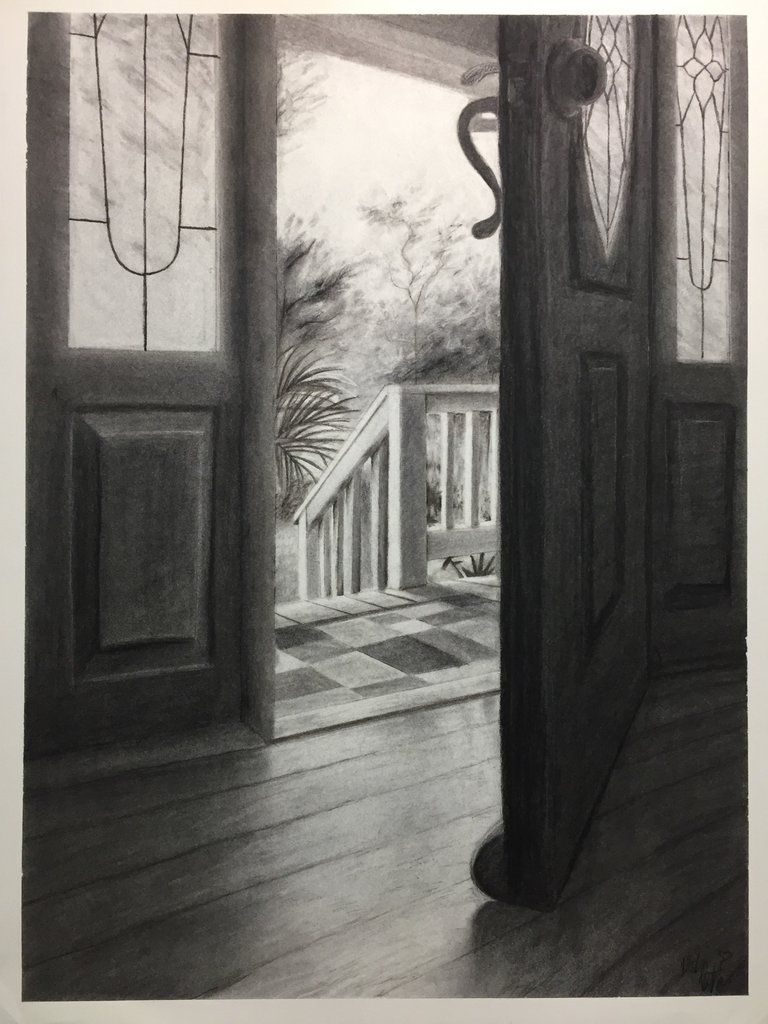
So, let's break down my process!
STAGE 1 - THUMBNAIL SKETCHES
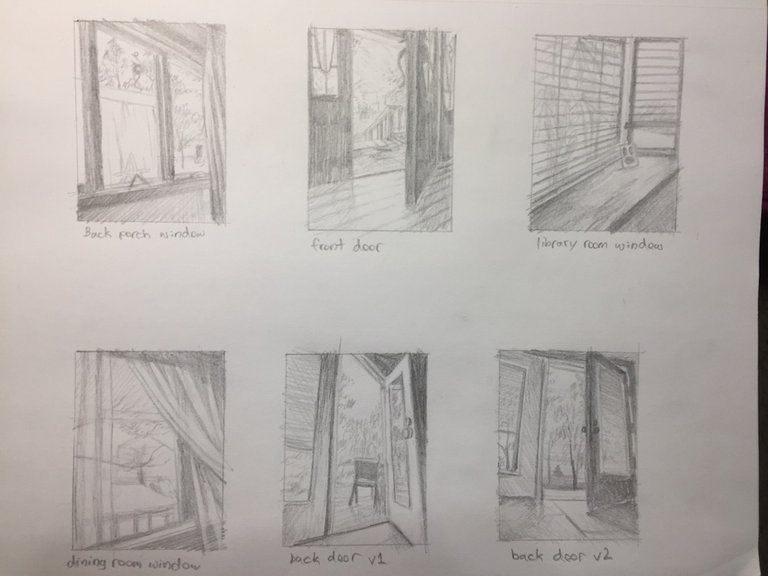
Before starting on my piece, I first had to choose a subject. So, I went around to various areas and sketched out some concepts in my sketchbook for ideas on what I might want to use for my final composition. I was stuck between the front door and back door drawings, but decided to go with the front door for my final piece.
STAGE 2 - BEGINNING
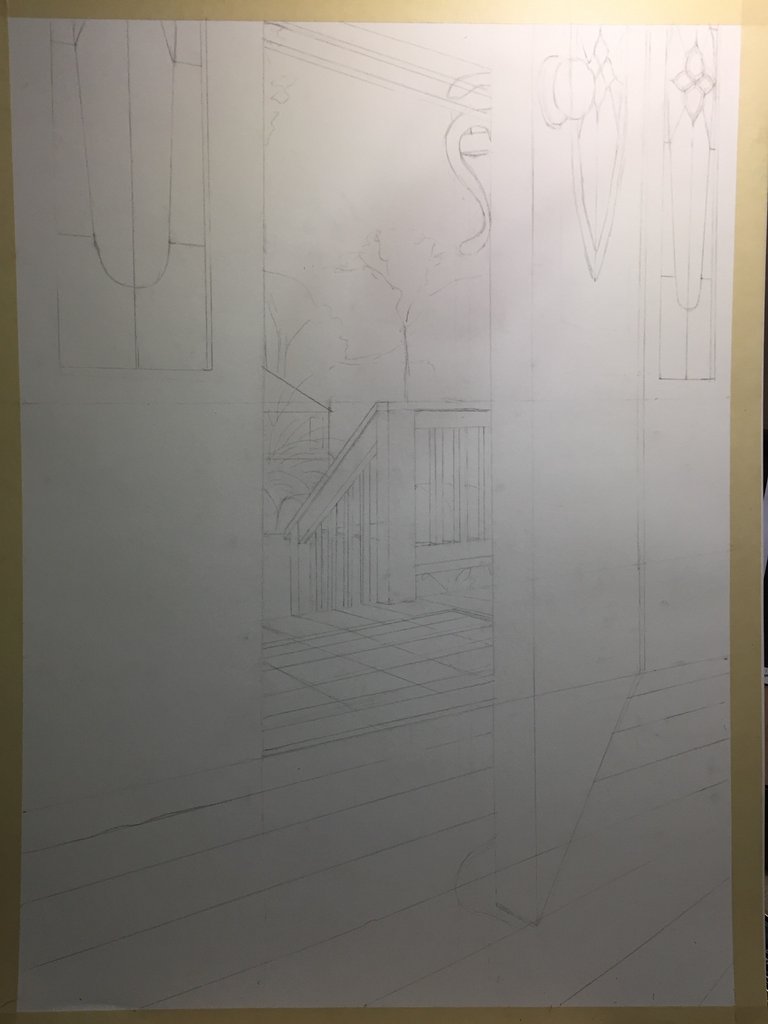
This is where I started roughing out my drawing, planning where objects will be in the image. You might notice a line going across the paper just above the porch. This was my horizon line. I put vanishing points wherever I needed them on this line to ensure I got the correct perspective for every object I drew. I used a ruler to measure objects and make straight lines with accurate perspectives.
STAGE 3 - FORMULATING
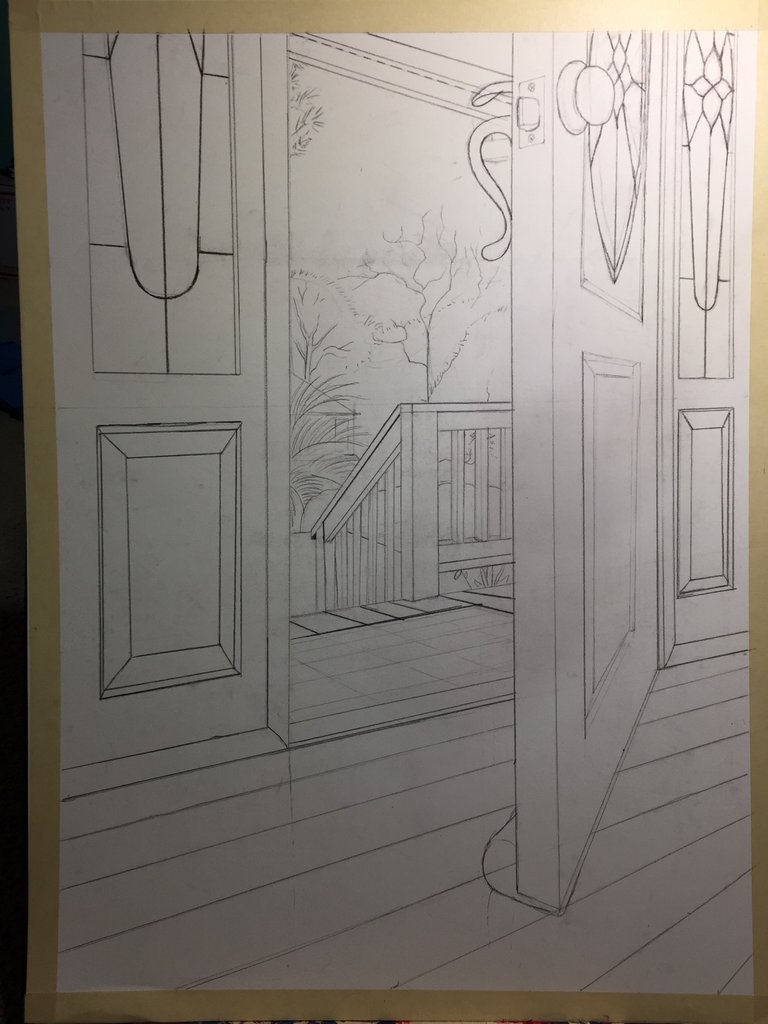
This is the stage where I started adding more detail to my objects and defining my lines. At this point in the process, I had a more solid idea on what I wanted the final piece to look like and cleaned up my line work accordingly.
STAGE 4 - DEFINING
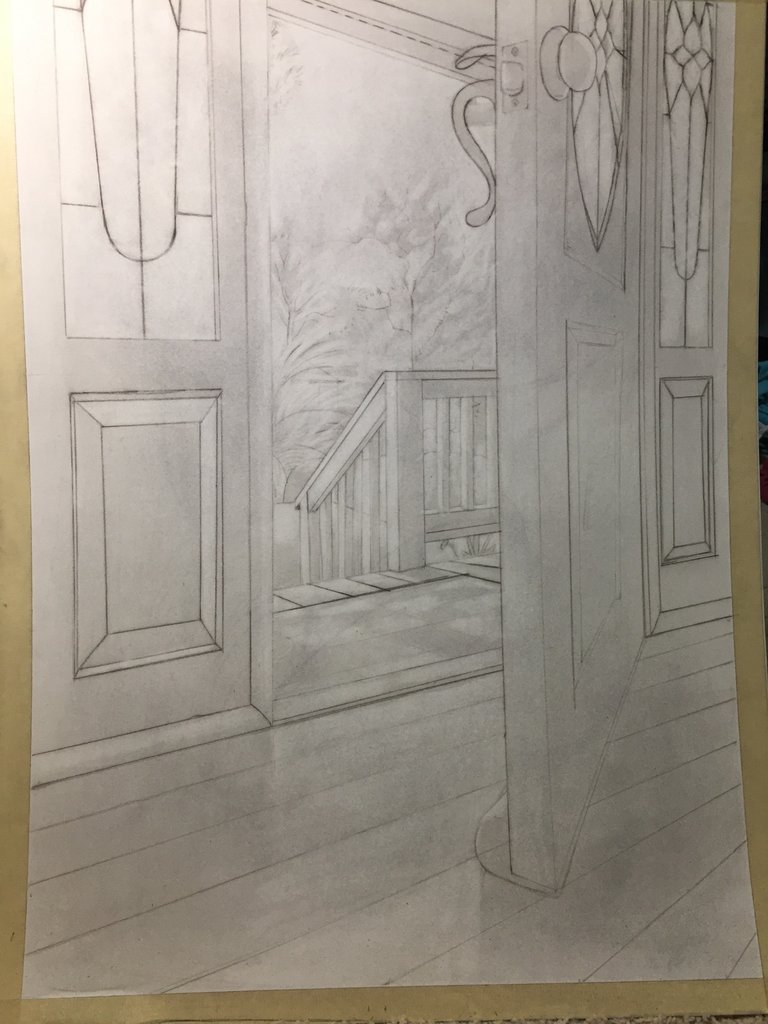
In this stage, I spread a light layer of charcoal powder on the paper and erased this powder wherever I want light to hit in order to create shadows, also know as the "subtractive" method. This allowed me to further define and plan out my lighting and shading in the piece before making it so dark that I can no longer return.
STAGE 5 - REFINING

This step looks like a gigantic leap from stage 4, I know. Unfortunately, I don't have any photos from between these two stages. However, what I did is rather simple in concept. I mentioned how in stage 4 I was planning out my shading and lighting, correct? So in stage 5, I'm refining these plans by darkening shadows and adding in smaller details like textures, etc. This stage can last for a vast amount of time. It just depends on how detailed you're willing to go!
Anyway, I hope you enjoyed this blog! If you did, don't forget to toss me and upvote, and follow if you want to see more content like this! If you have any questions, feel free to ask below. I'll get back to you as soon as I can.
Have a nice day!
Wow seeing the steps is great!! It turned out so fantastic, amazing contrast 0.0
Thank you very much!
omg this is so lovely * __ * love the step by step, also ! love the details and the shading and how you really deliver on that initial idea of dark spaces indoors and bright spaces outdoors... so lovely <3
upvotes
Thank you so much!
Thank you! 👍
Excelente trabajo, muy hermoso, limpio y delicado. Monocromía que destaca muy bien sus luces y sombras. Me encanta encontrar personas con tanto talento y gusto por el dibujo y la pintura como yo. Te seguiré y si lo deseas me sigues y compartiremos arte.
Muchas gracias! No hablo espanol muy bien, pero aprecio tus cumplidos.
Excellent work, very beautiful, clean and delicate. Painting that highlights its lights and shadows very well. I love finding people with as much talent and taste for drawing and painting as I do. I will follow you and if you wish, you will follow me and we will share art.
Will definitely do research on the subtractive method. I love how it gave your drawing a huge kick start. Will try it!
Thank you! It's definitely a big help when you have lots of shadows and ark areas and want better control over how you place them. I use it a lot for my shading technique in digital works as well.
This is pretty amazing! It looks sooooo real!
Thank you!
nice, best friend steemit let's follow and votes me @wannis