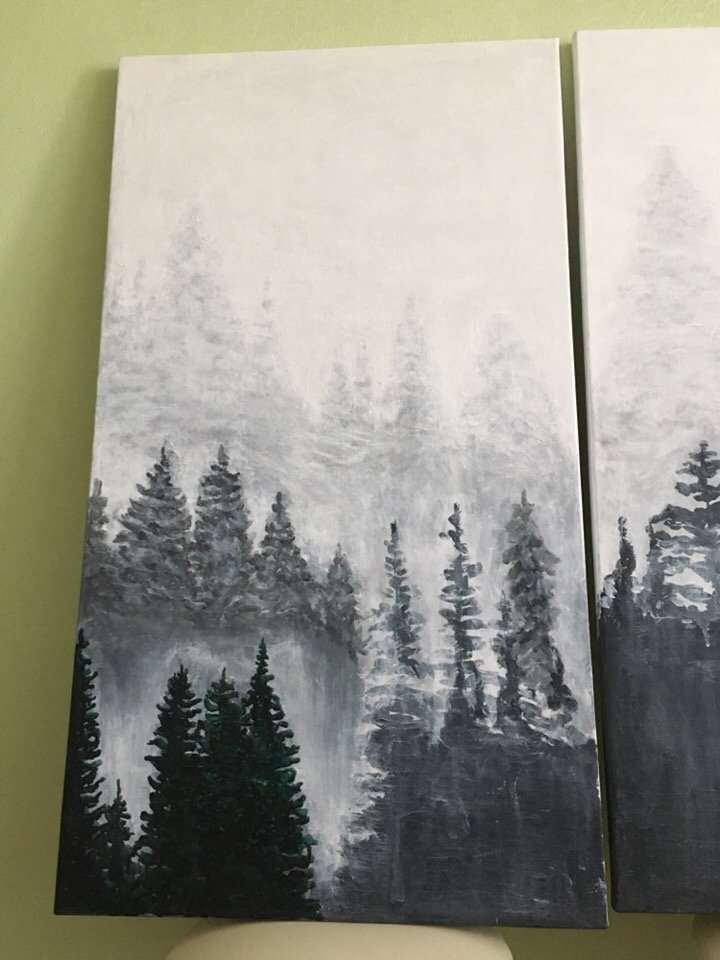
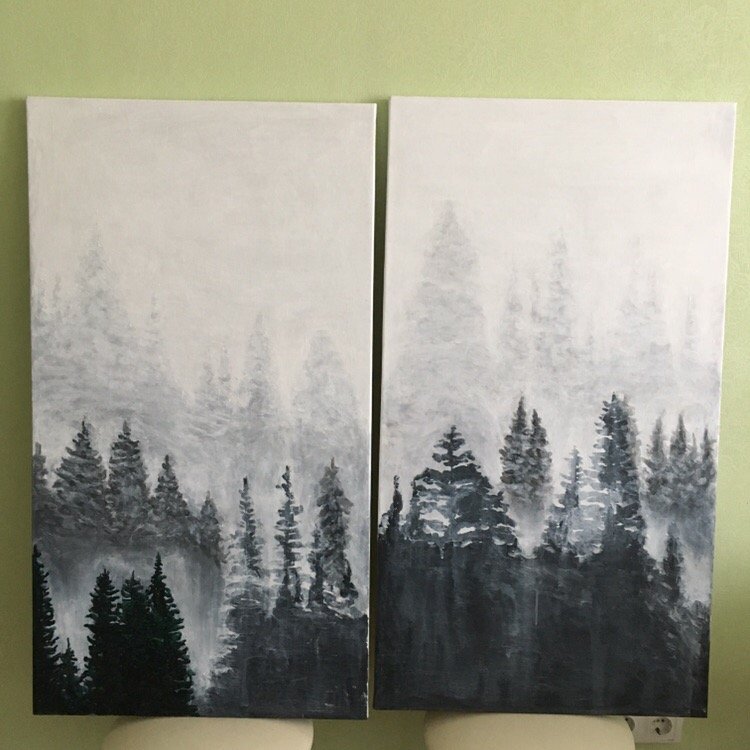
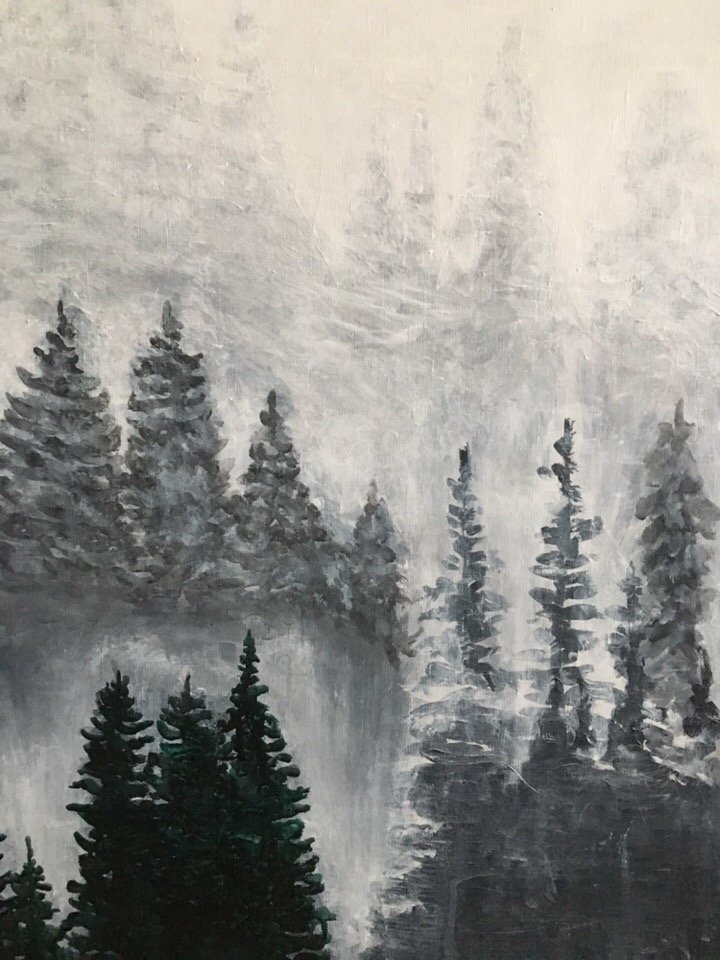
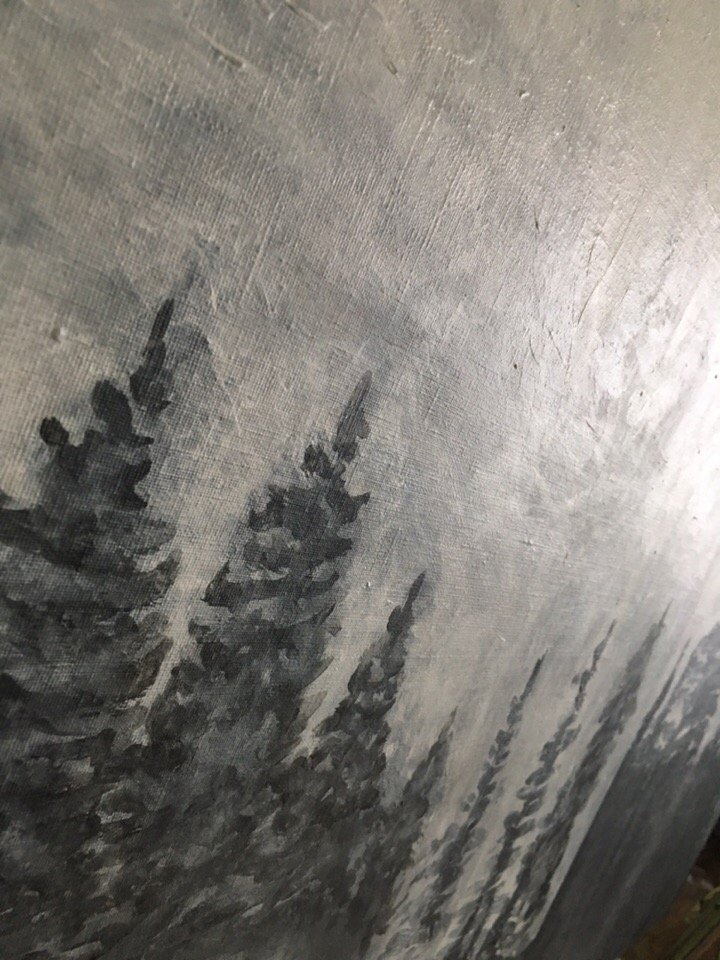
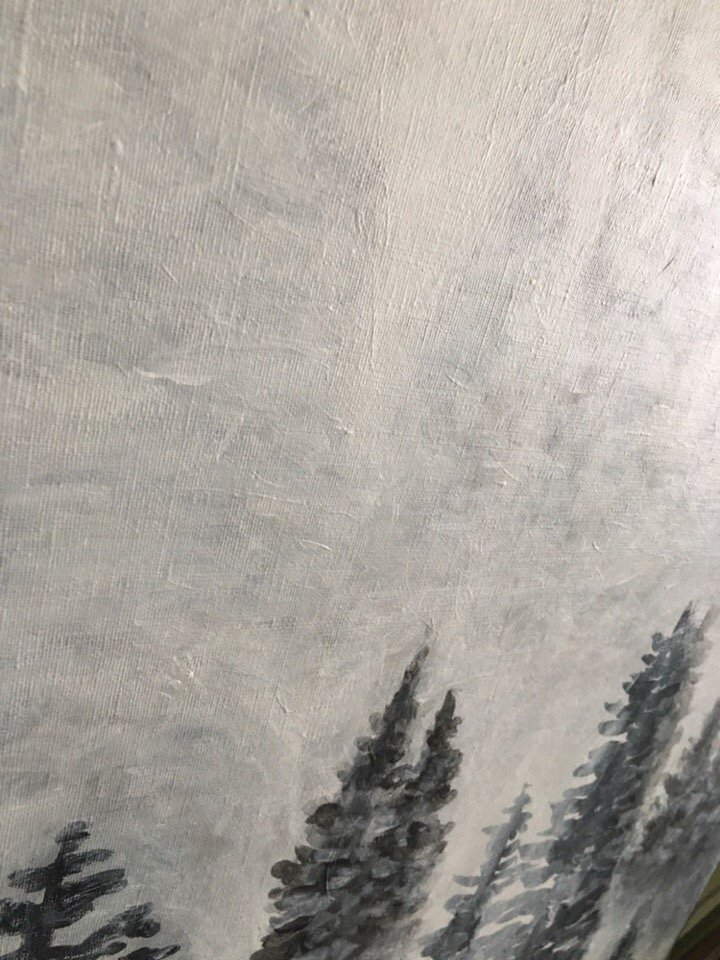
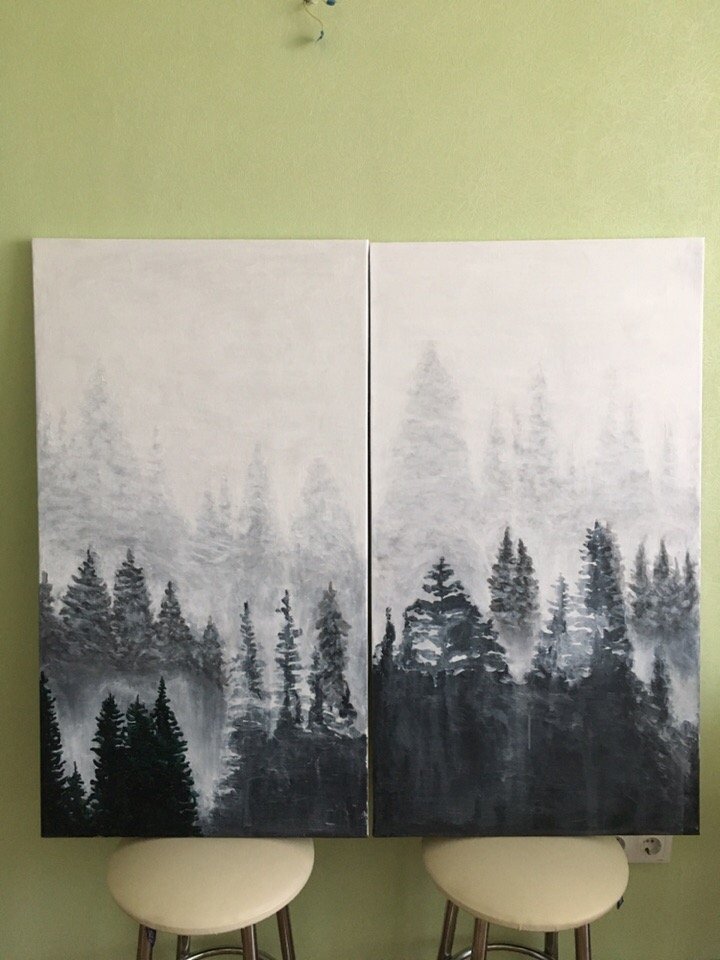
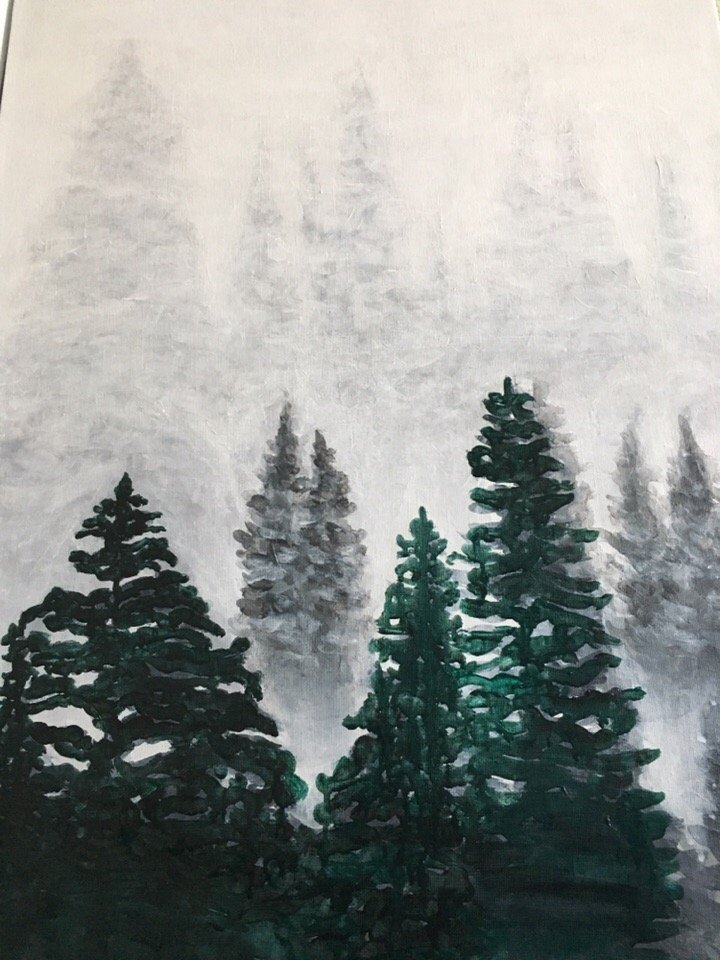
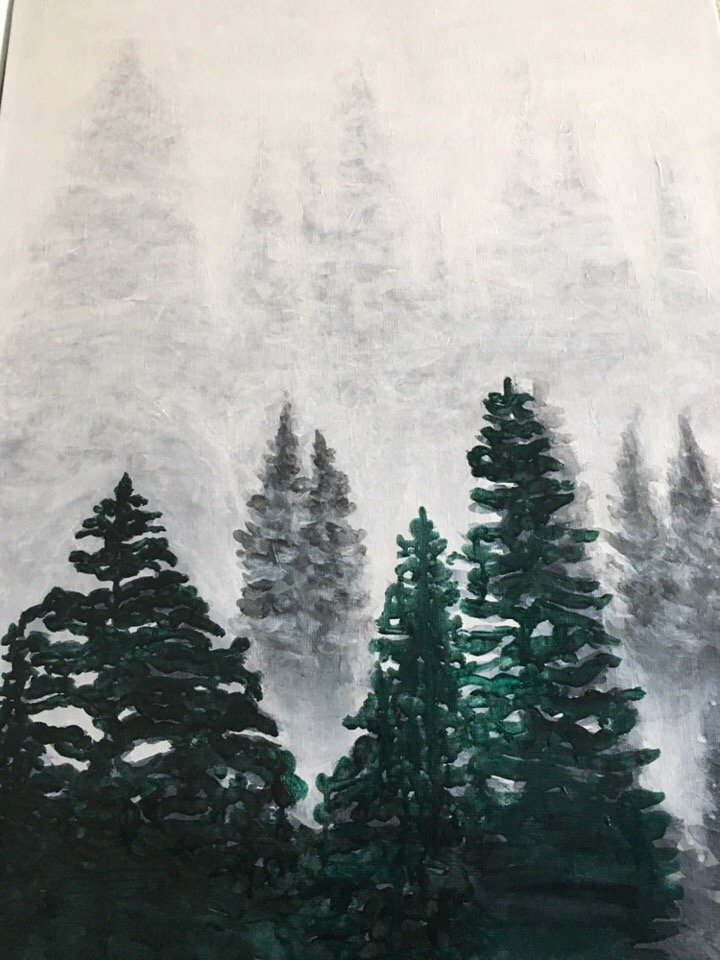
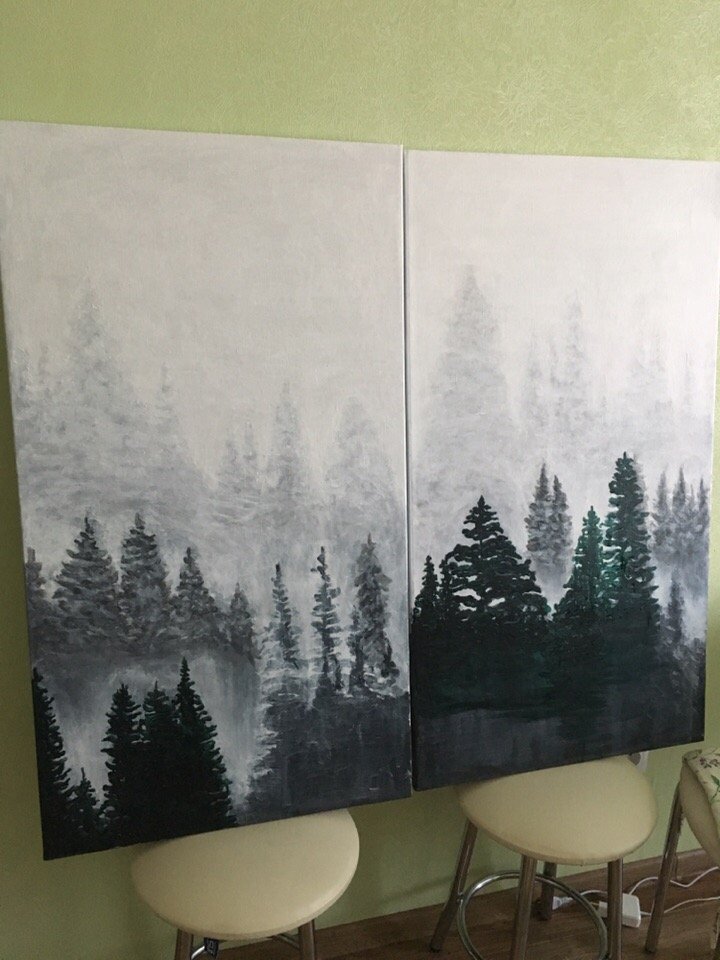
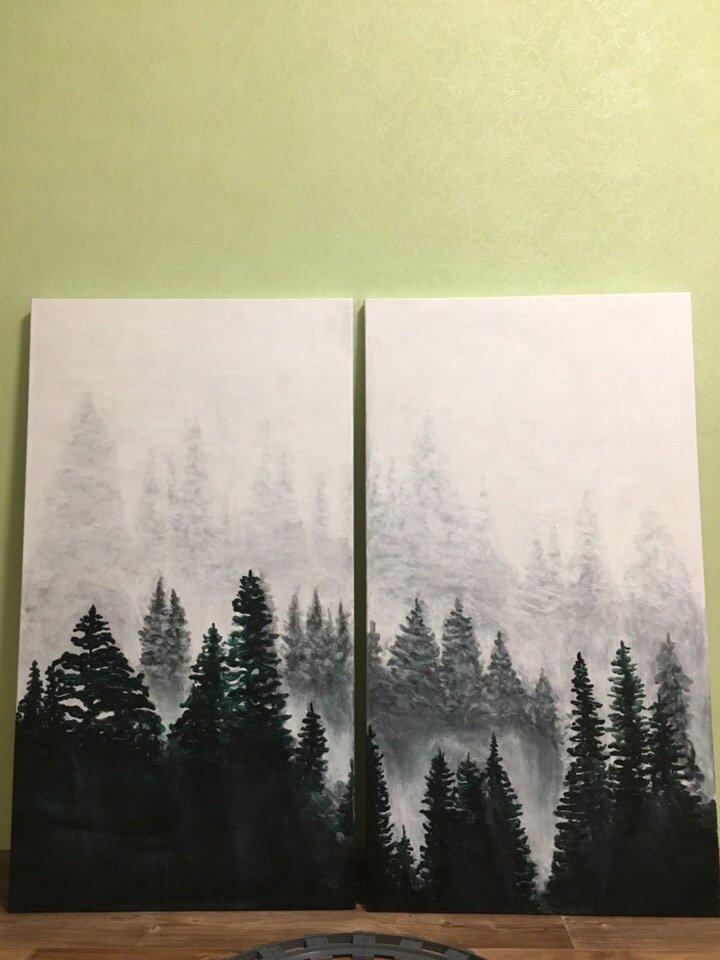
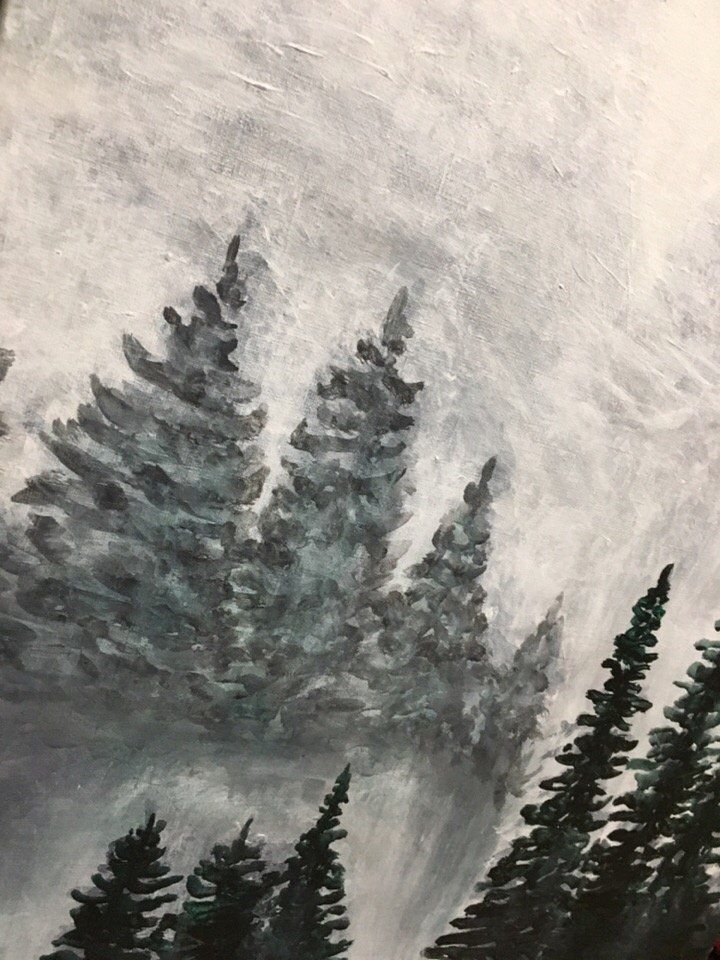
Hi guys! I continue to write a new picture. another 20% and the picture will be ready
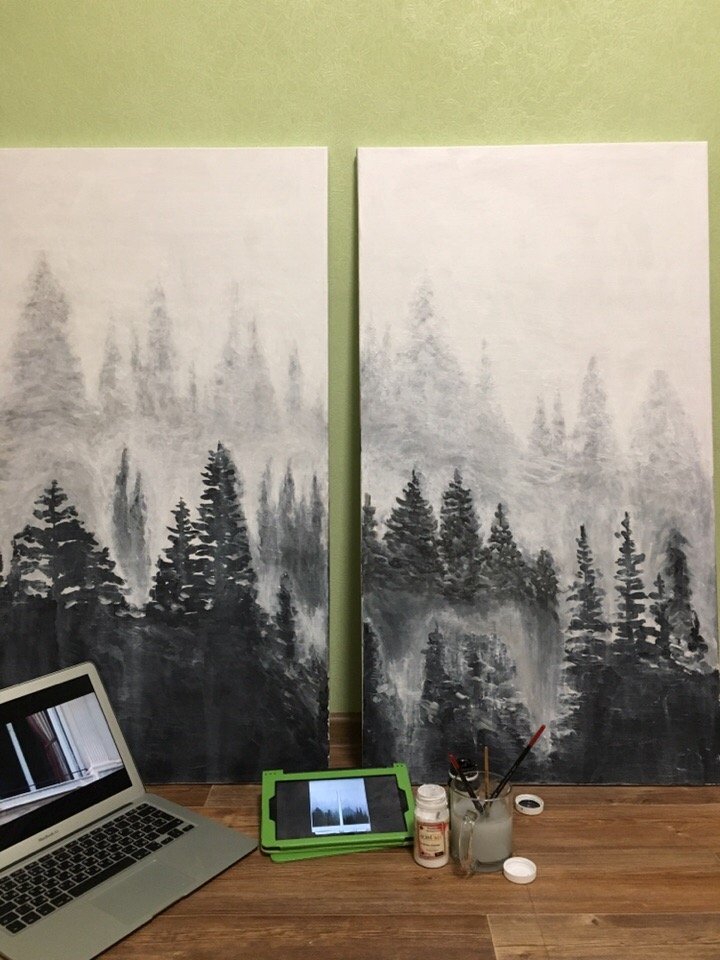
Oil Painting Technique
To create an oil painting, you first need to prepare the canvas, securing it in the fence fence and refilling it.
The next step is to mix colors in different colors on the palette to get the desired shade. Then it is applied with a brush on a vertically standing canvas. Each layer must be completely dried. Otherwise the colors will mix with each other and the image will be “dirty”. The drying process is rather slow: sometimes it takes at least three days before the moment when you can apply a new layer. In total, you can work with oil up to 12 hours in a row. Then you want to postpone the work so that it can dry. In painting paintings and landscapes in oil there is no specific system. All these rules about what you need to write from top to bottom or vice versa from top to bottom, in fact, have no reason. Experienced artists say that it is better to draw a picture with separate color spots in order to immediately assess their compatibility with each other. It’s good to immediately identify the darkest place in the picture, and compare the lightest and other color accents with them: not darker than the darkest place and lighter than the lightest?
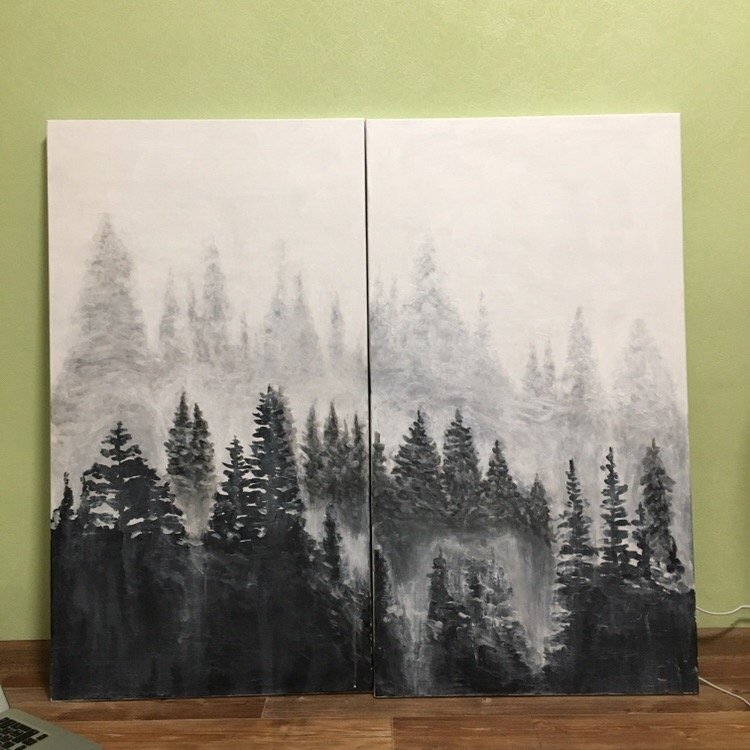
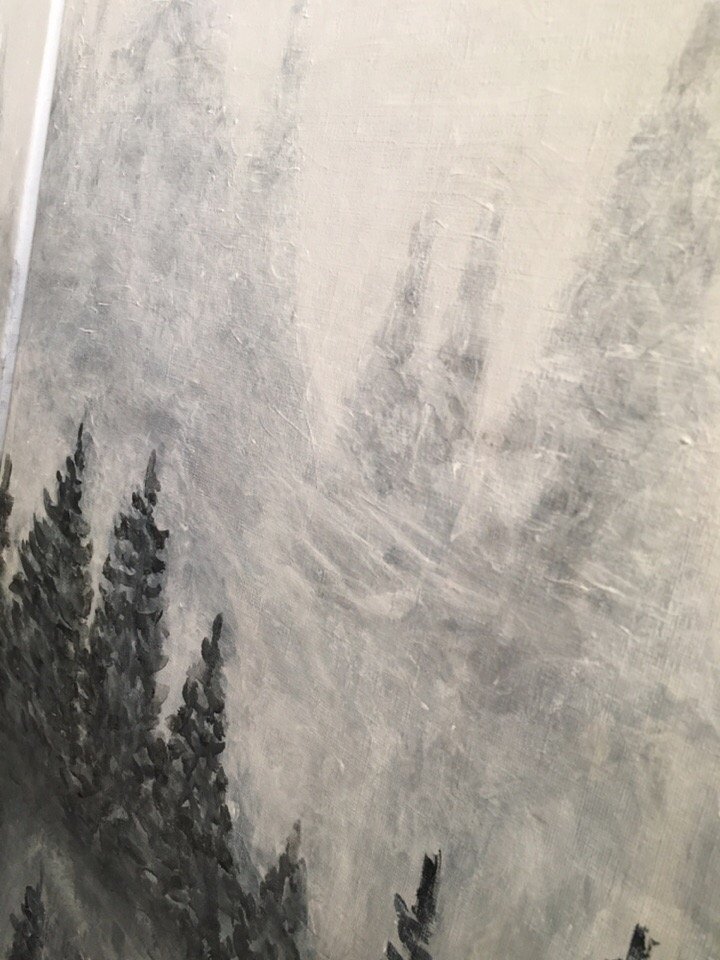
Features that are important to understand
Each new layer must be the same thickness or thicker than the previous one; otherwise the oil painting may cause cracks. Three to six months after the image is completely dry, the image should be fixed with a lamar-lamar. While wet paint is very easy to make a gradient. To do this, apply the hues of the strips that you want to translate one into the other, and then use a dry brush to start blending them together, moving in the horizontal or vertical direction, respectively, the rest of the strokes. You need to work with an average brush and go from the darkest color to the lightest, and then come back with a clean brush from the light area to the middle. Add a pair of parallel stripes of the desired colors to correct the result. When working with oil paints, the fastening layer must in no case be adhesive. No need to abuse paint thinners. Despite the fact that the creation of oil painting is much easier if the paint is a little liquid than in the pipe.
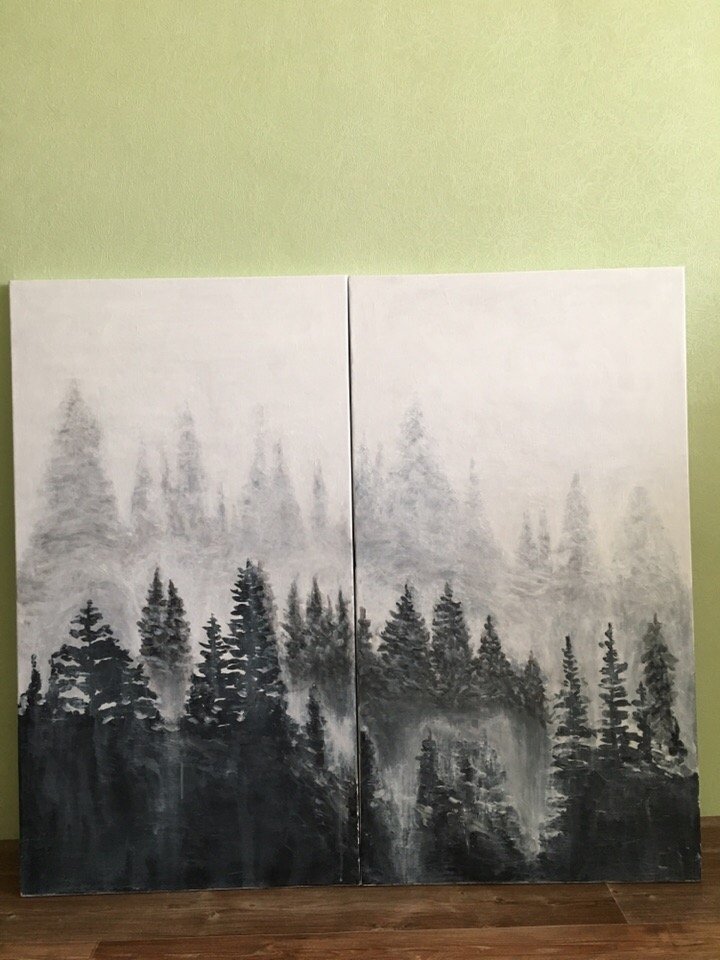
Where to begin
Before you create your first creation, you must understand that you draw and draw a sketch with a pencil. Drawing is better to choose with great details. All small parts can be “lost” even with the most accurate oil bumps. If you want to repeat any image that you like or motive, you can transfer it to the canvas in advance, using copy paper. To do this, it will need to be transferred to a thin tracing paper and only then transferred to the canvas. Your sketch should be fixed with a fabric primer or a thin layer of fixing fluid that is sold in any shop for creativity.
How to create a sketch
Experts advise you to apply the draft of the future drawing on a carbon pencil, because it is easier to remove it from the primed surface, just wiping it with a damp cloth. The true coal sketch must be fixed on the composition for fixing the canvas. Otherwise, it will mix with paint and give it a dirty tint. In addition, coal dust will prevent the dye from fixing on the fabric. In addition, to create an outline for painting with oil on canvas, you can circle the charcoal sketch with a simple pencil, sanguine or liquid paint with turpentine, and then clean the coal dust.
Work with color
If you know something about the ratio of colors and their shades, then most likely you can cope without a color wheel. Otherwise, it will help to more competently approach the choice of the color palette for his picture. All colors are divided into warm and cold, depending on the subtone that is present in them. Colors include yellow with a subtone for warm and cold colors for cold. All colors that are located in the color circle opposite each other are called complementary, for example, yellow and purple are complementary colors relative to each other. If the image of such colors is next, they will increase the brightness of its and the next shade. If they are applied one on another, they neutralize each other.
To get the desired shade, you need to add a little extra color to the original color and experiment with the proportions. For example, to create a muted yellow-orange color, it is not enough just to add an orange pigment to the yellow paint. You will need to reduce the intensity of both shades with a drop of violet paint, which is extra for them. In order not to get lost in these subtleties for the first time, get a color wheel. After writing a few photos you will already be working on the machine, forgetting about the circle. To teach your eyes to recognize a greater number of different shades, as well as learn to find the best colors, it is better to go on courses in oil painting. An experienced teacher will tell you what you should pay attention to, how to “curb” the color rendition and what exercises will help you to become a more sensitive artist.
Almost all great artists worked in oils.
Their paintings and hundreds of years later look impressive. To achieve the same landscapes and oil painting, you need to know a lot of nuances of working with this material. This article will give only a glimpse of the technique of working with oil paints. A fundamental understanding and creation of your own style will intuitively develop as you write your masterpiece.
What are oil paints?
Before you start working with oil paints, you should know that they are a mixture of dry pigment and linseed oil, which dries and oxidizes in air. This oxidation causes the coloring agent to crystallize, therefore, after complete drying, the oil cannot be removed. The paints are packaged in metal tubes, of which they must be caught on the palette and mixed with the palette knife. Oil is a rather thick material. It is not easy for an unprepared person to cope with it for the first time.
What tools are necessary for painting with oil? Brushes for painting with oil should be chosen special. They should be quite stiff and elastic. They are ideal for applying various strokes and adding paint to the image of the volume, but they are quite inconvenient for interfering with the oil.
For these purposes, it is better to buy a knife for the palette: a small metal spatula with a wooden handle. You will also need a tool with which you can adjust the drawing before it even dries. It can be the same palette knife, wet cloth or rubber scraper. To make it convenient for drawing, it is better to buy or make your own easel, on which you can put a canvas.
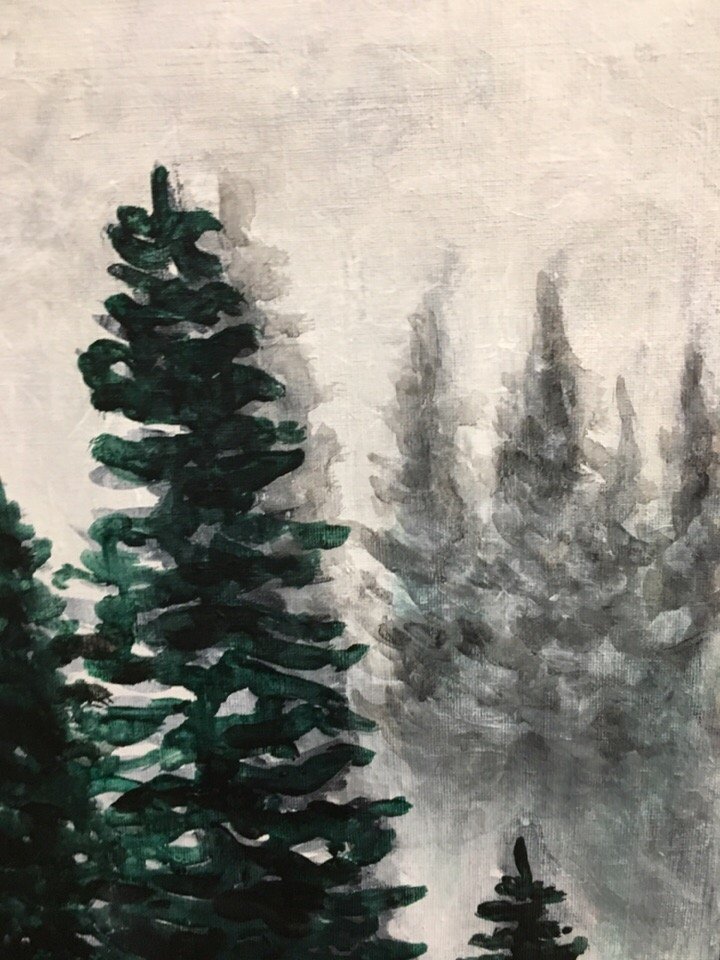
The fabric itself is stretched onto the frame, which also needs to be taken care of in advance. For the colors in the image to be bright as long as possible, they must be fixed with varnish.
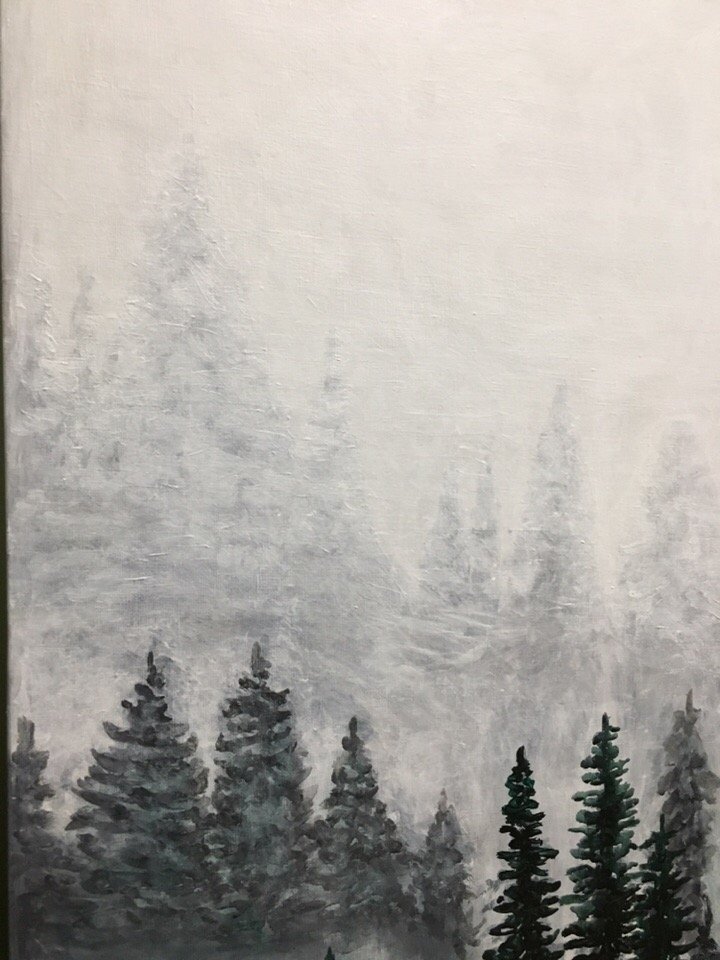
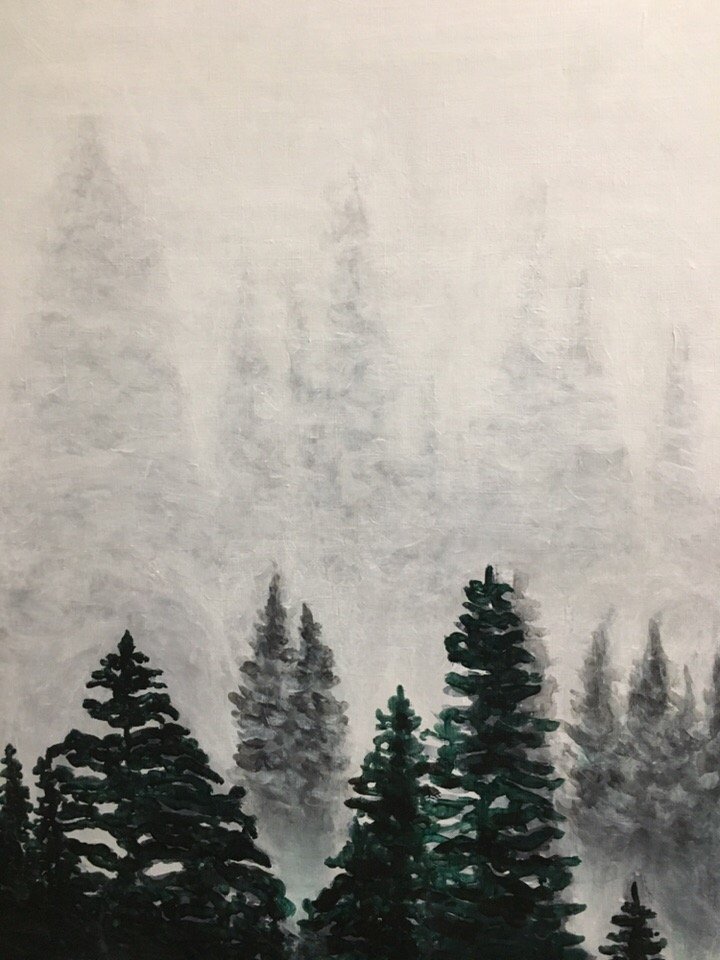
Here are just a small part of what you need to know about oil paints and the nuances of working with them. The oil painting on the photos is always impressive and beautiful. Even if at first you do not succeed in everything, do not give up! Be creative and perhaps your picture will be admired not only by relatives, but also by visitors to world-famous art galleries.

I honestly thought the first picture is a window. Looks so real.
Amazing piece of work
hahah)
many thanks)))))
Dear Artzonian, thanks for using the #ArtzOne hashtag. Your work is valuable to the @ArtzOne community. Quote of the week: Art, freedom and creativity will change society faster than politics. -Victor Pinchuk
What an Amazing piece. Looking good.
Posted using Partiko Android
thank you very much!
Beautiful
many thanks))
very nice and beautiful painting... very appreciable... God bless you
rhank you))
A very interesting photo in your blog, very fun when enjoying your painting
thanks)))