Greetings Fellow Humans,
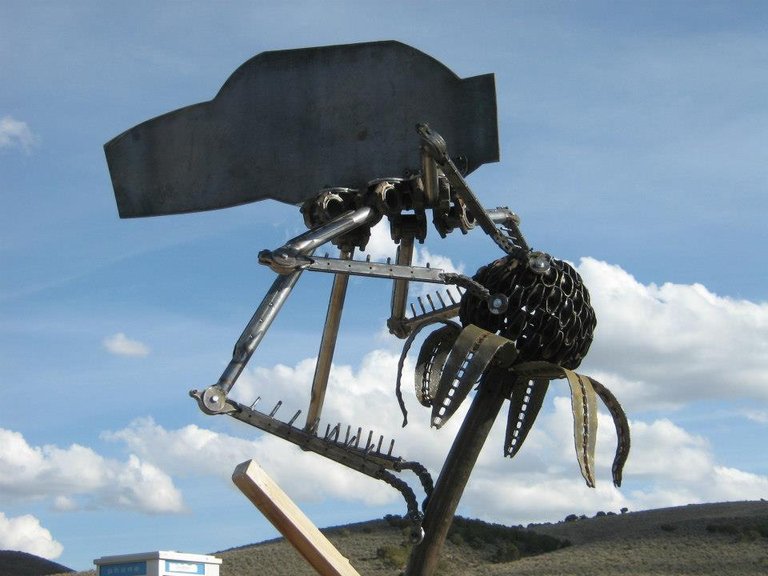
Today I am going to share with you some of the photos of the construction of my first Burning Man sculpture, Helicopter Dragonfly on Mechanical Plant, along with some commentary about the photos when I feel there is something interesting to be said.
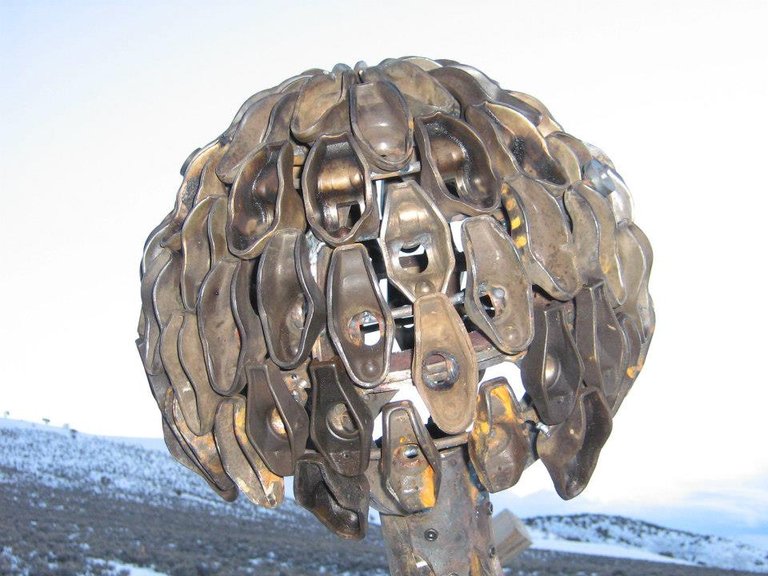
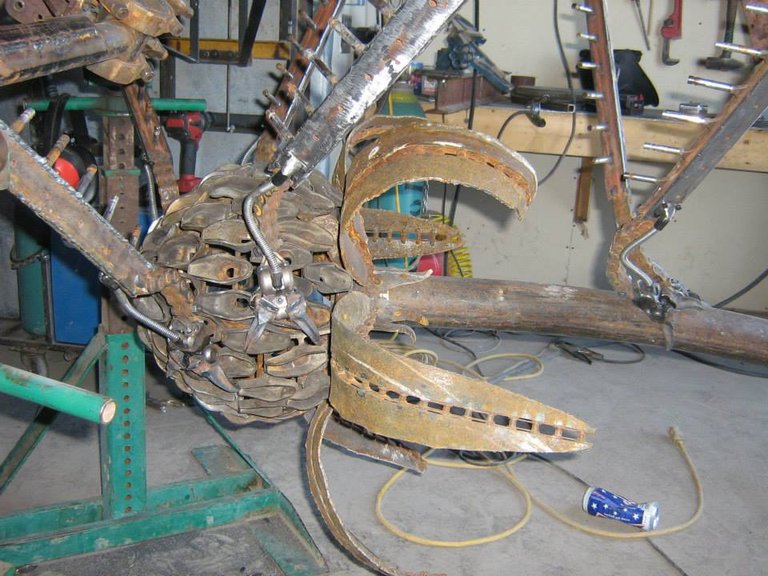
The plant is inspired by a dandelion seed head after the seeds are blown away. It is made up of rocker arms of different sizes over the top of a fabricated framework.
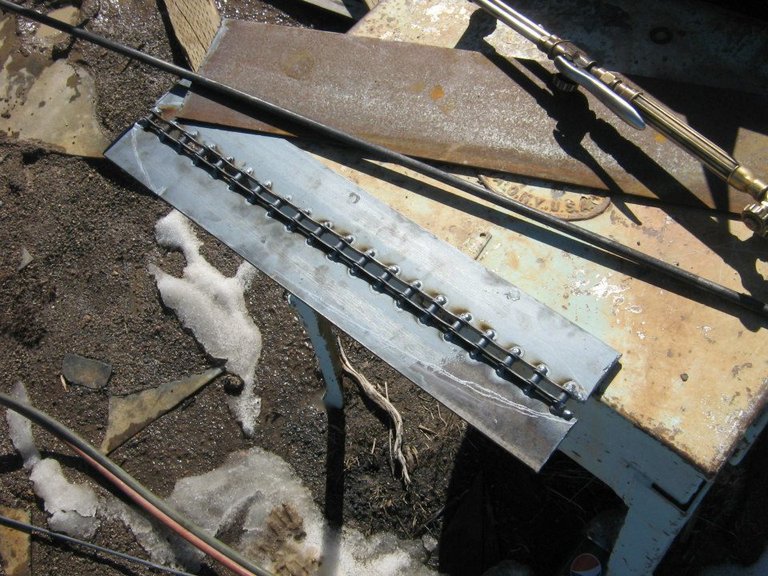
The leaves started as two pieces of flat strap welded to a large sprocket chain.
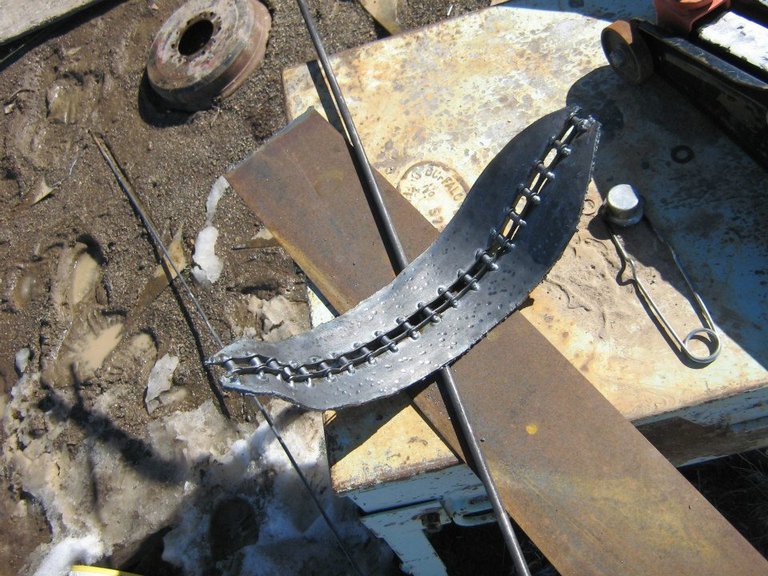
I then trimmed and beat on them until they looked like dried up twisted leaves.
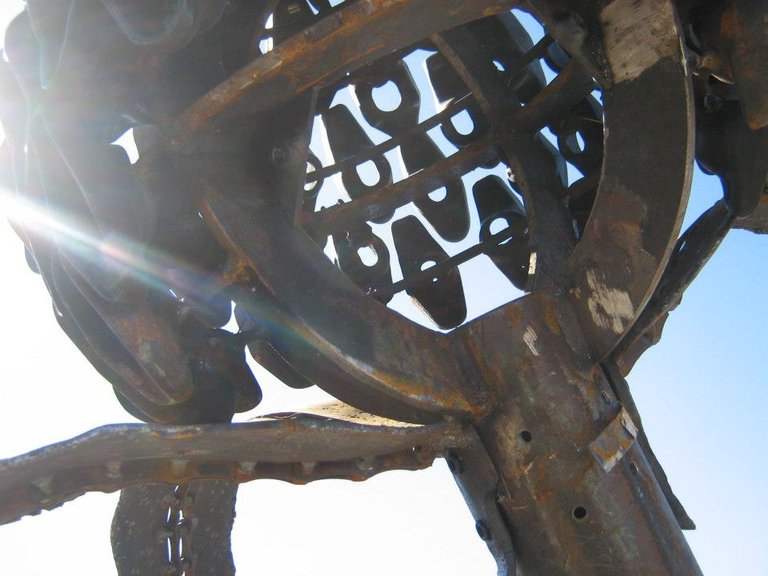
Part of the seed head was removable so that lighting could be installed later.
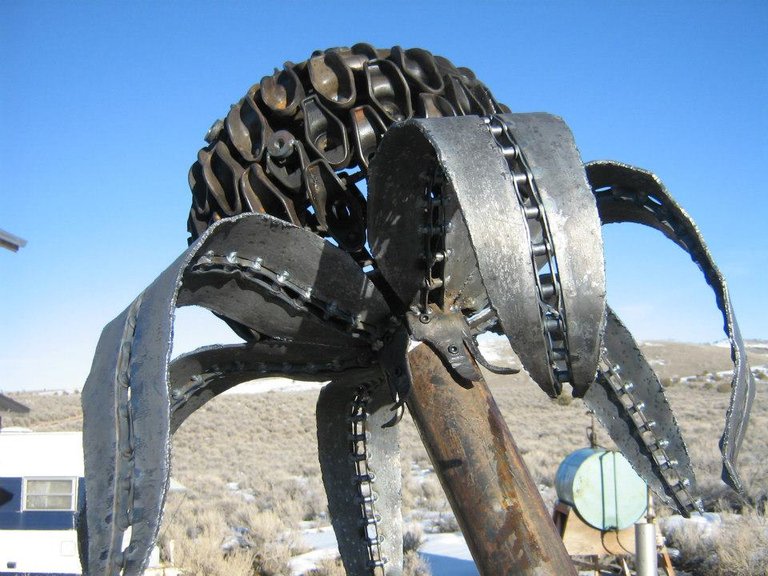
Once I had the plant to this point I began working on the legs.
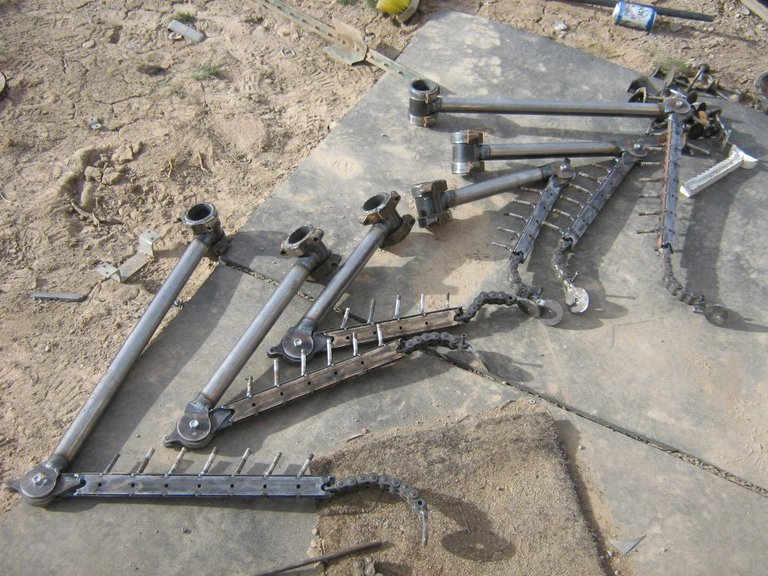
When building the legs, I made many of the joints movable so that I could adjust them until they were in a natural looking position.
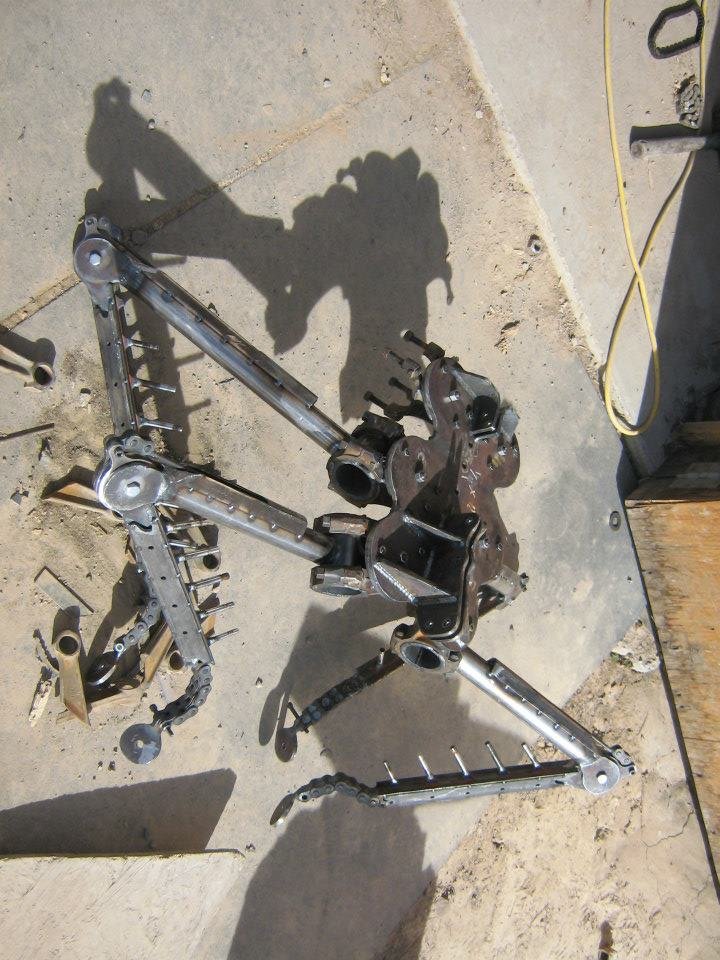
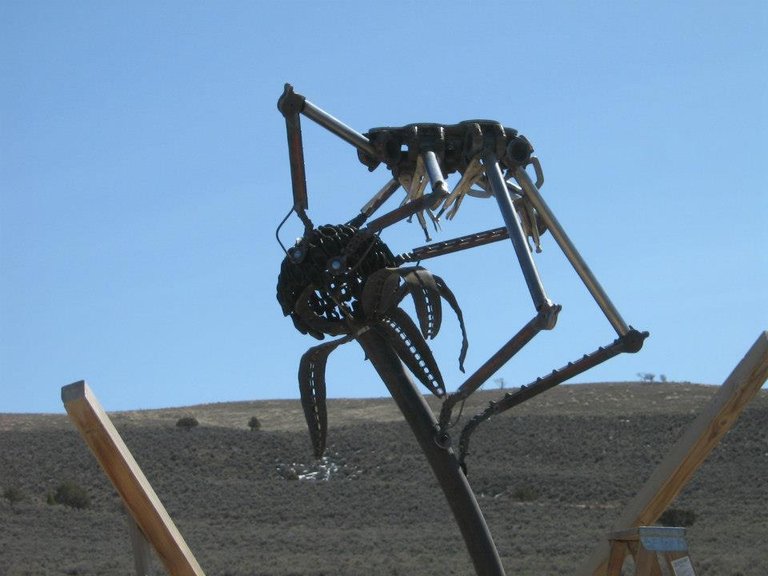
After I was satisfied with the positioning, I welded and/or drilled bolt holes in the joints to keep them from moving any more.
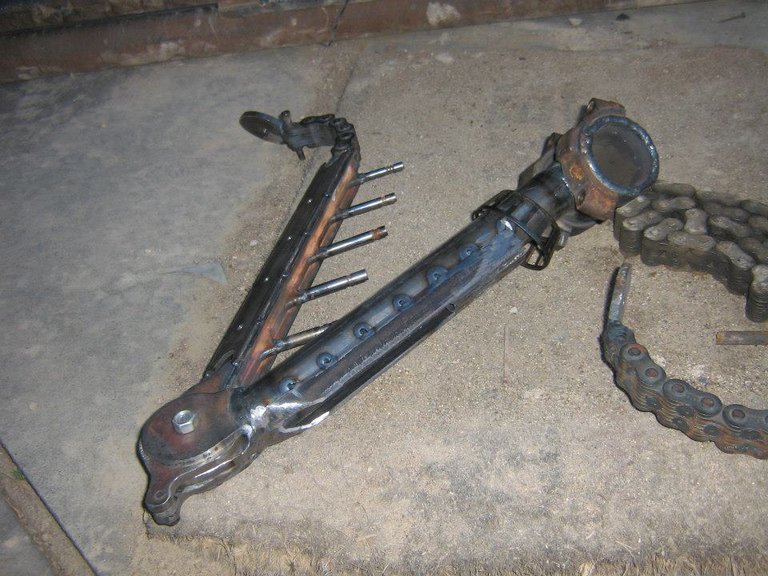
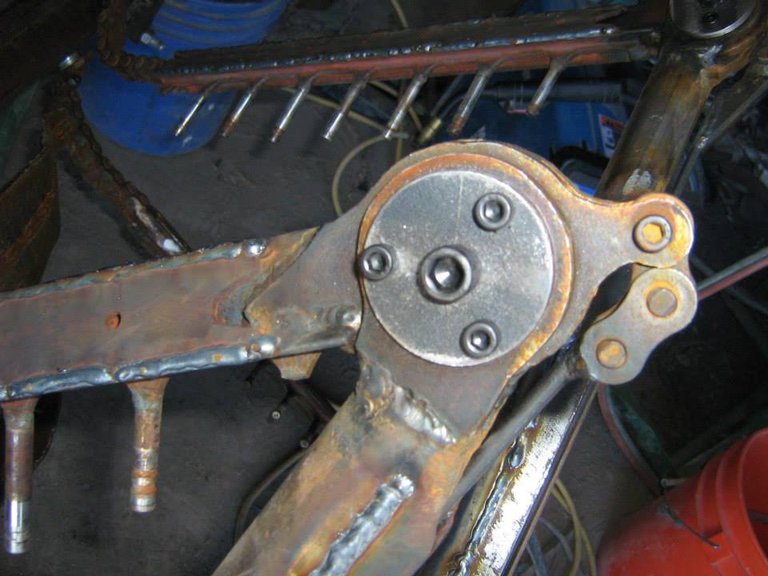
Then I added on some fake mechanical parts to make them look better.
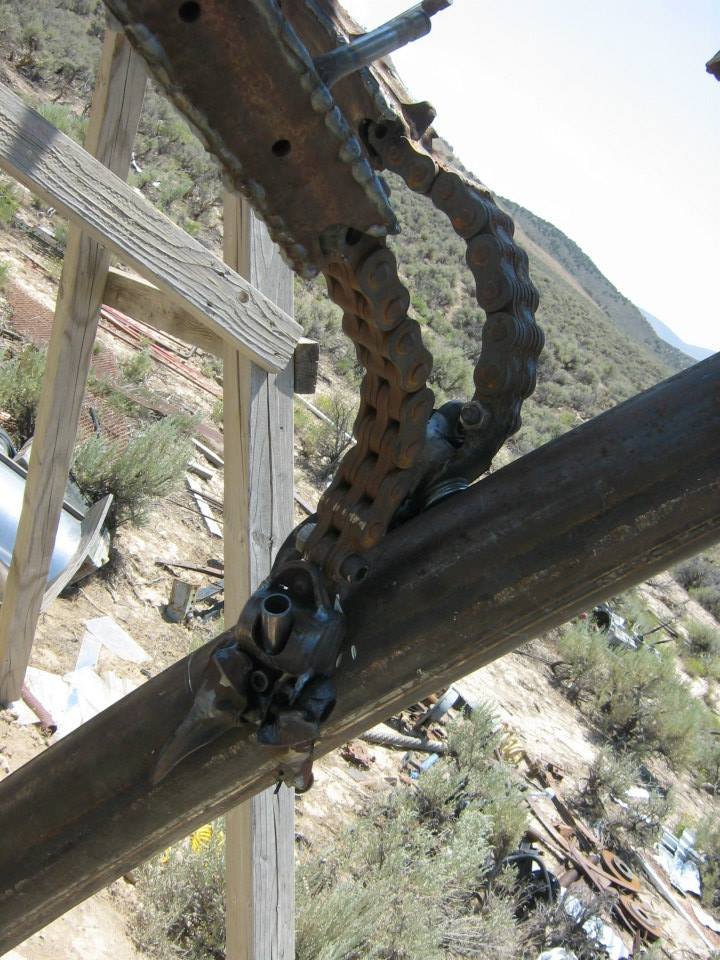
And of course some feet.
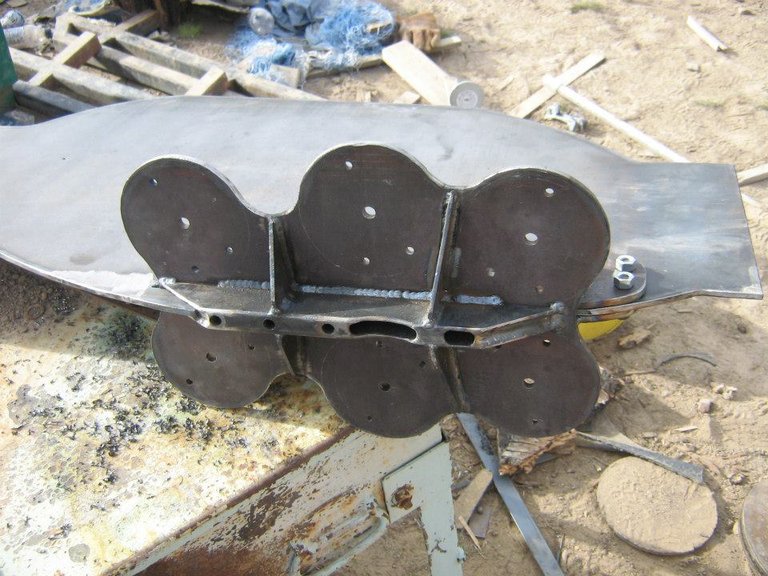
The body the dragonfly started out as a simple plate, which I cut material out of as needed to fit in the mechanical parts.
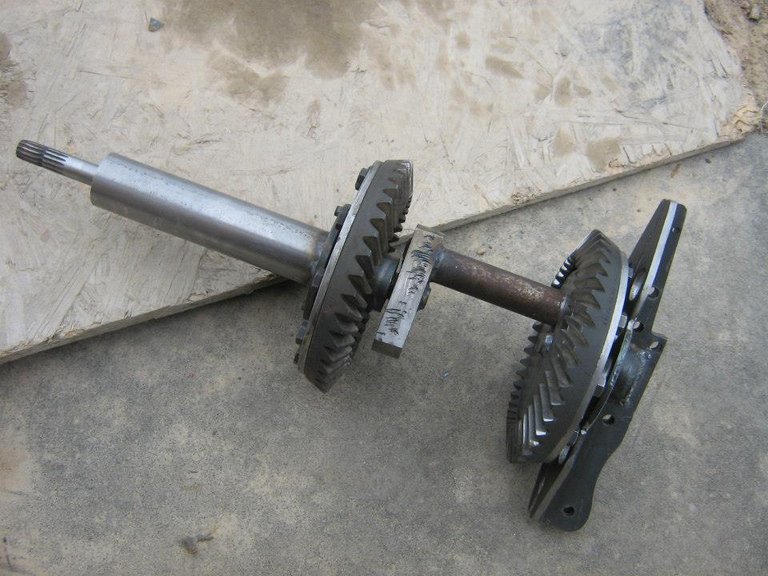
The crankshaft was quite a chore to build without a metal lathe. The shaft had to be aligned just perfectly so that it wouldn't bind, and the ring gear had to be perfectly centered and square to the shaft. The upper ring gear is on a hollow shaft which spins the opposite direction to create the counter-rotating wing effect.


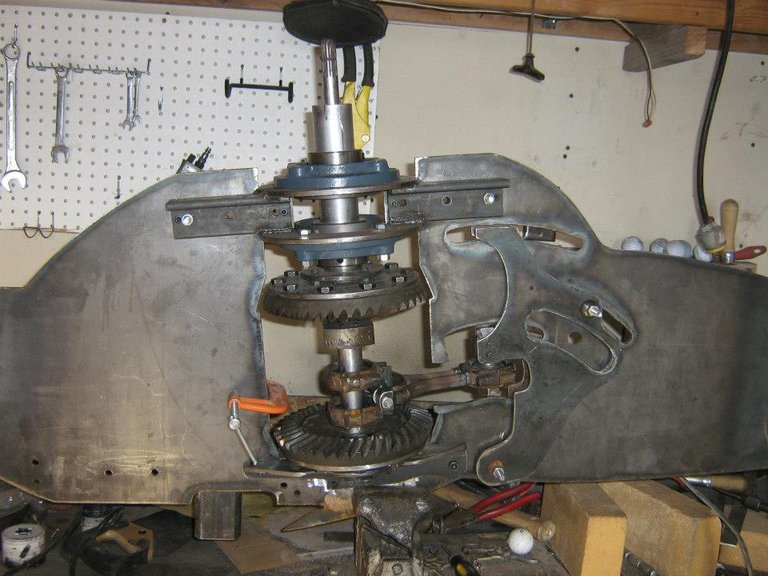
I then cut out a space in the body plate for it and built the linkage system that drives the tail and body panel movements.
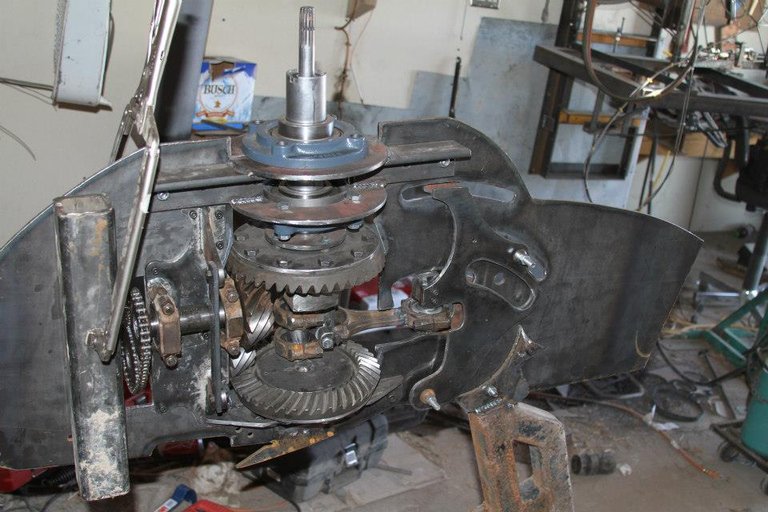
These sprockets keep the pinion gears in time, which in turn keep the wings timed to each other. Without them, the wings would frequently end up in odd looking positions.
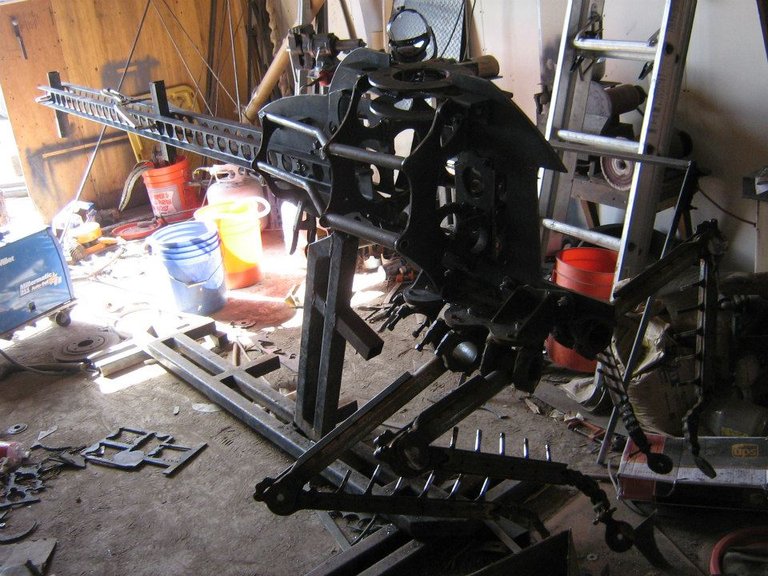
A piece of 1/4 inch plate is certainly great for shear strength, but it isn't nearly strong enough side to side, so I built this tube frame, which stiffened things up nicely. As you can see, I had also made a frame for my tail and started figuring out where it would be mounted before building the frame.
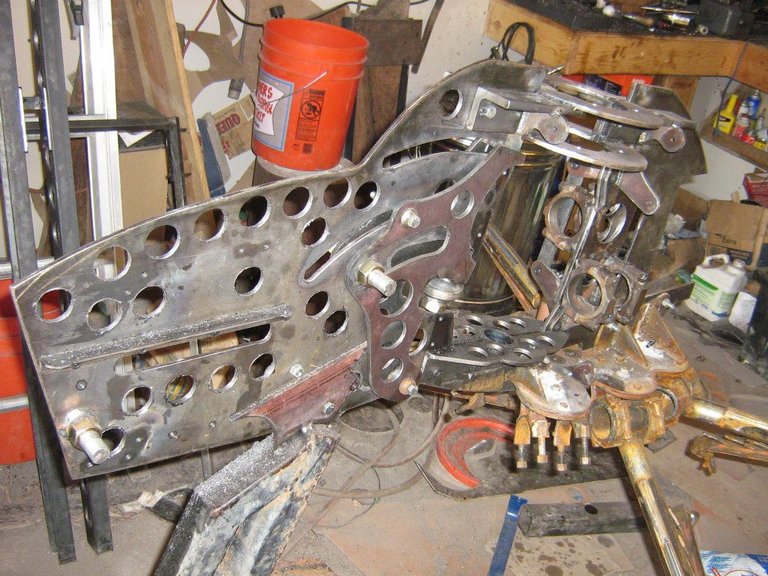
A few hours with a drill and a hole saw kit made the body a lot lighter. It makes it look a lot better too.
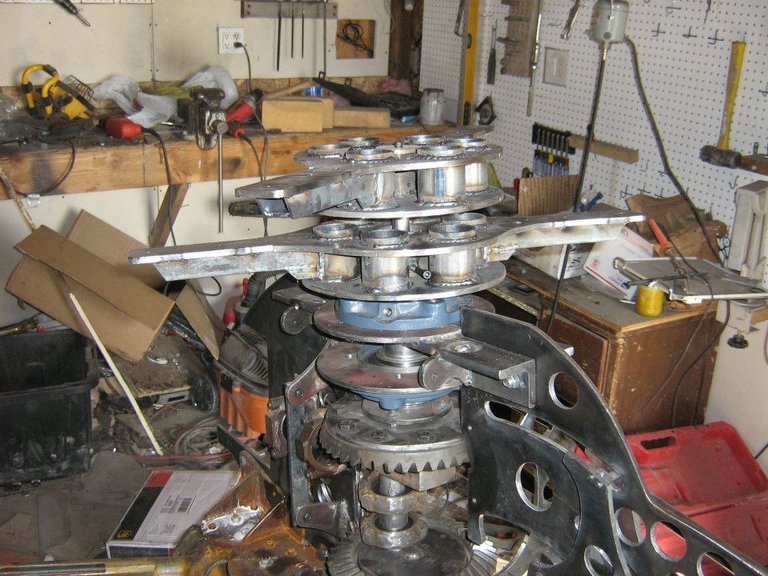
These hubs on top are what the wings mount on.
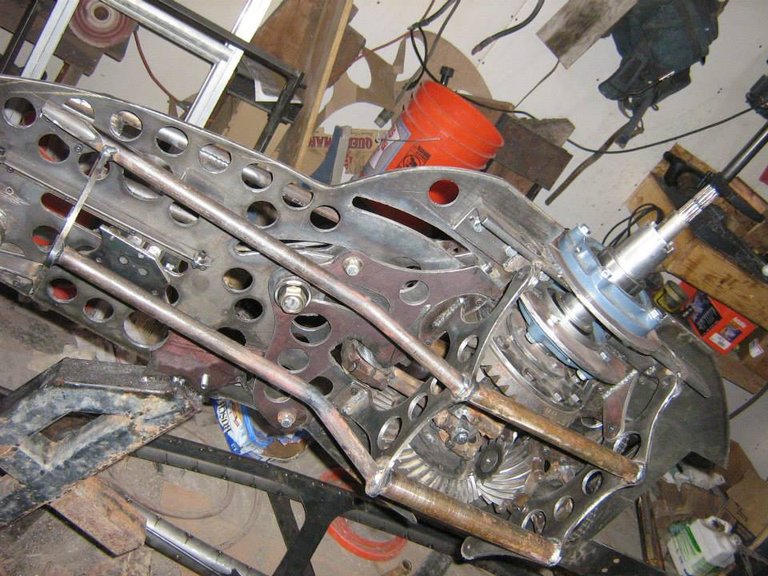
The body assembly is now ready for testing. Here is a video of the gears being tested:
Thanks for reading!
You need a sign that says 'Don't run up and jam your whole arm up into the chassis of the machine while it's operating'. Gotta keep your eye out for those ones. Maybe they think it's full of candy, or maybe scalding hot goulash, but whatever the motivation, we all know the outcome.
Indeed. That's why I made these parts ten feet in the air.
Amazing. I love the way your mind works and that you can get such precision. Do you use tig, mig or arc welder?
Thank you. I use mig and tig, depending on which is best for the weld I am doing.
impressive work man! im just about to have a browse through your other posts as i have a feeling i will like them.
weldings on my 'to learn' list this year as ive only ever worked small scale with metal, that and i have an old van that has some rust that needs attention!
Thanks! I am glad you liked it. Have fun learning to weld, it opens up some interesting possibilities.
That's impressive lovely metal work my friend
Thank you!