Digital art tutorial - How to paint icecream step by step
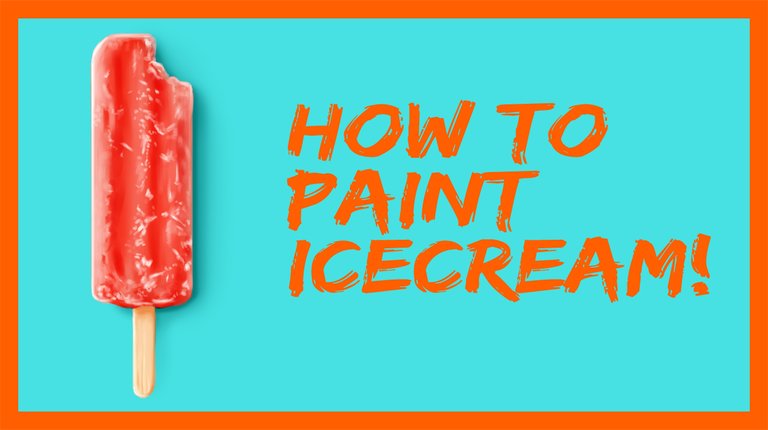
How I miss the summer! I really hate the cold, but I love icecold popsicles! In this digital art tutorial I'll be showing you how to paint icecream using digital painting software and (preferably) a drawing tablet.
STEP 1 - Make a sketch
The first step is of course to make a sketch! I used a photo from Adobe Stock for reference.

STEP 2 -Base colors
The next step is to lay down the base colors of the popsicle. You can easily make straight lines in Photoshop by pressing the shift key on your keyboard. This way you can make sharp edges on your popsicle and on the stick.

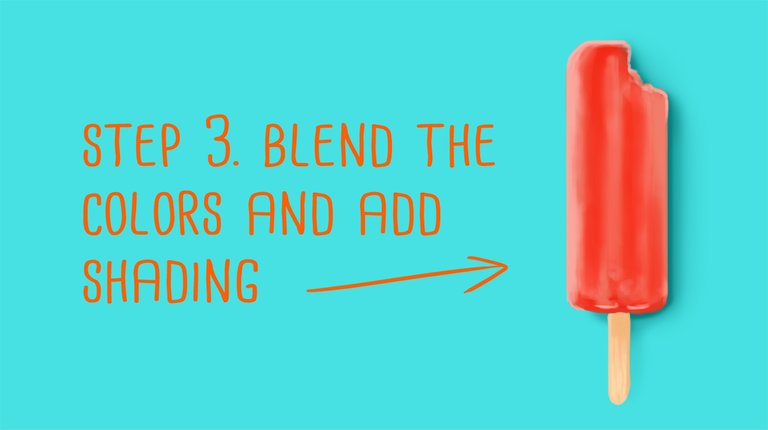
STEP 3 - Blending colors and add shading
It's time to define the shape a bit more by adding shadows and highlights, make the surface smoother by blending with a soft round brush.
STEP 4 - Adding details
This popsicle is icecold! So it definately needs some icecold details. Keep working til you're satisfied :) You can do it!

Wanna paint a popsicle too?! Be sure to show me your final result and tag me in your post.
Here is a little recap of the steps taken
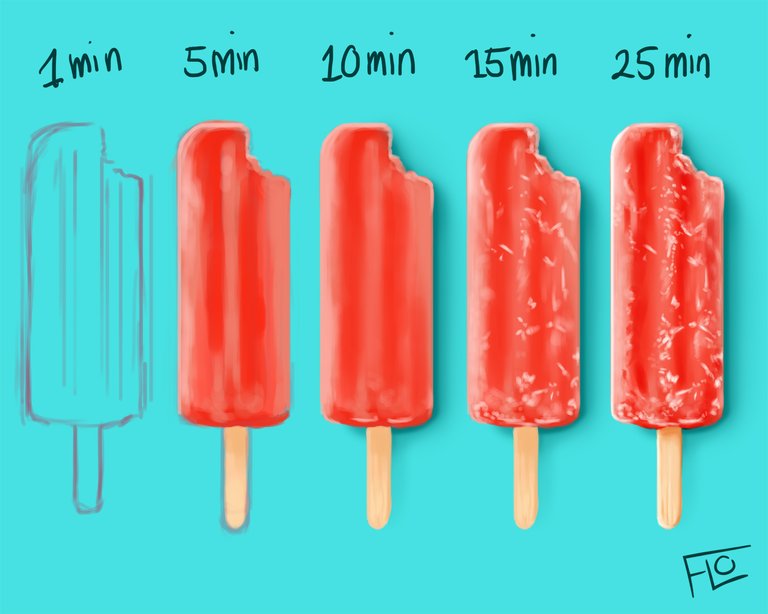
Or watch the timelapse video of the painting process!
Have fun practicing and be sure to share your work once you're done!
Follow my account for digital art tutorials every week!

Looks delicious!!
Wow, you make it look so easy but it's pretty photo realistic, especially with those icy highlights. Thanks for sharing!
beautifull art. thank you
woah. this is stunning. I really wish I was better at graphic design.
Thank you!!!!!!!!!!