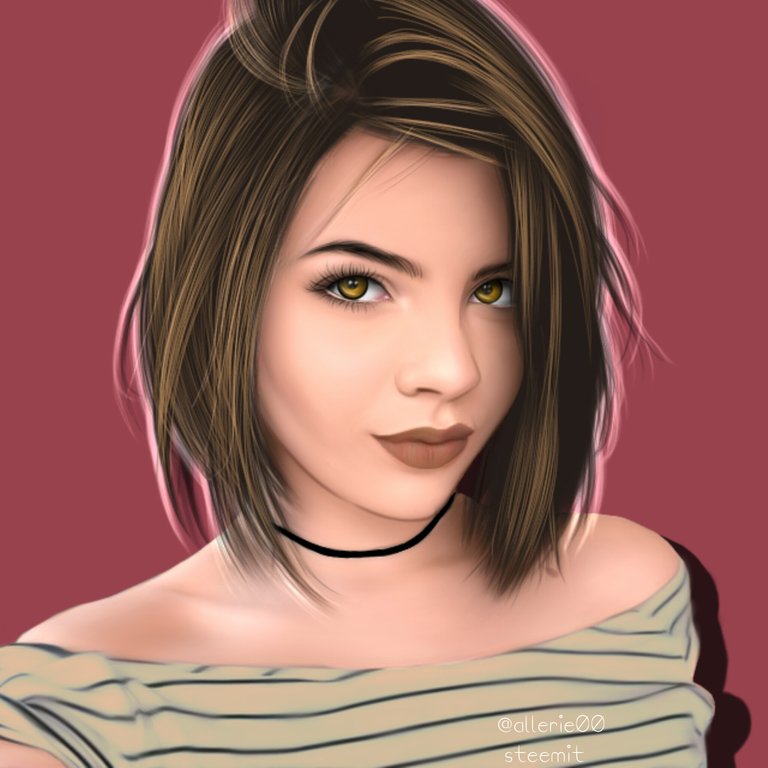
"You are just wasting time and electricity! You're not even earning a little in making those arts!"
"Well first of all, I'm going to post it on steemit so I know I'll earn even just cents!" lol
Classmates, neighbors and other people who can notice me seriously facing my phone usually say those words. Am I really wasting?
- Art relieves stress. Yes it does! Is sets aside everything that's been bothering us. It focus our minds to something that we enjoy doing and gives relaxation that we deserve.
- Art motivates creative thinking. It exercises our brain to think and finally to come up with an idea or solutions.
- Art gives a feeling of accomplishment. Like, who doesn't? If you have created your own and have seen your art hanging on a wall it makes us feel good and proud of ourselves that we are the one who made it!
Those are some of the benefits that I can get from making my own artwork. So now, am I really wasting time and energy? Even only from those said benefits above I can say I am not wasting anything.

So for that, I have here my recent artwork and I have also made a full tutorial out of it.
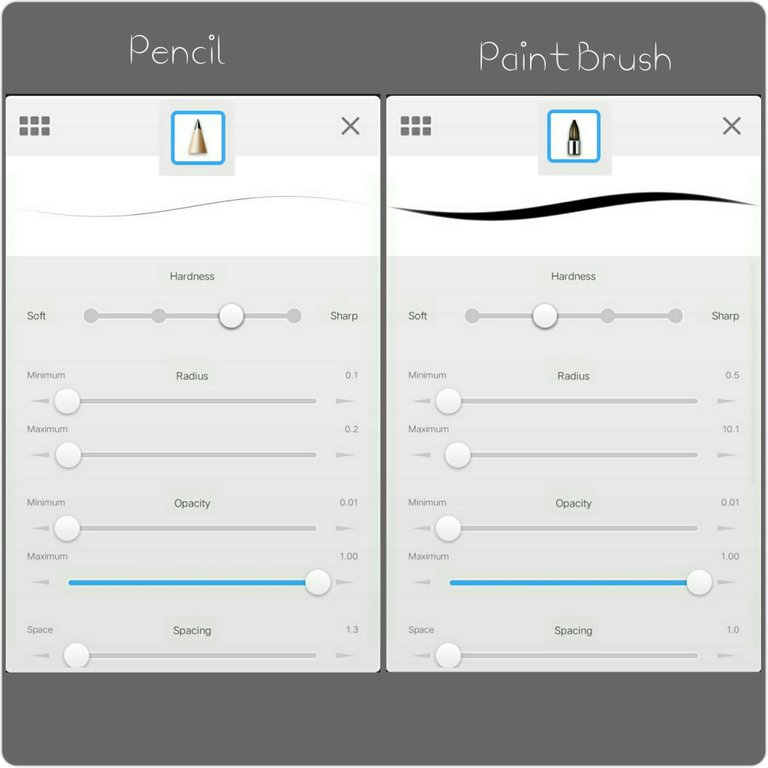
Let us start with the settings of the tools that I used. Set the settings first before starting to draw so that your work will be continuous.
For the following tools, the settings are fixed except the maximum of the radius, the one that is responsible for the size of the tool that you want you use.
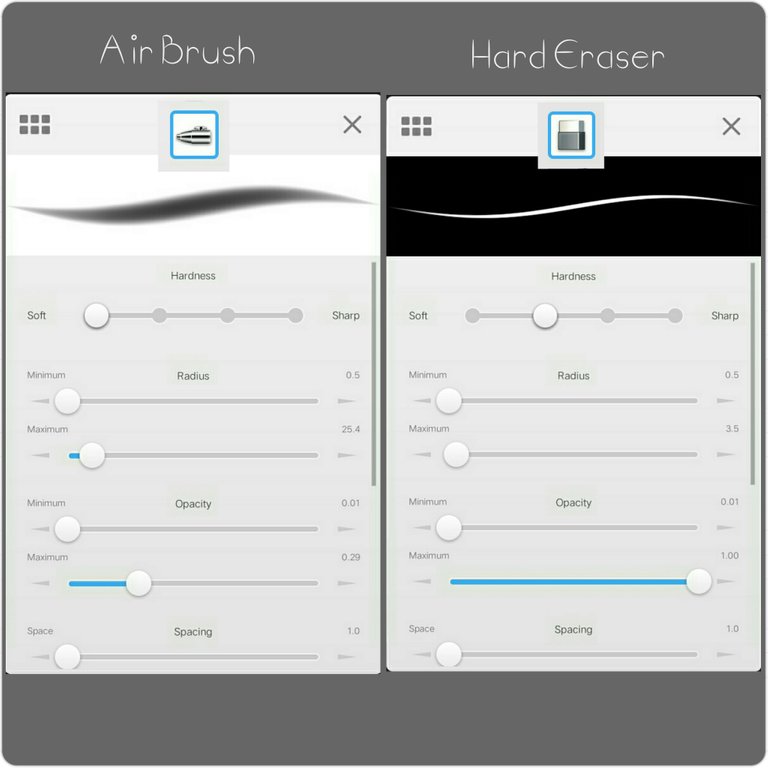
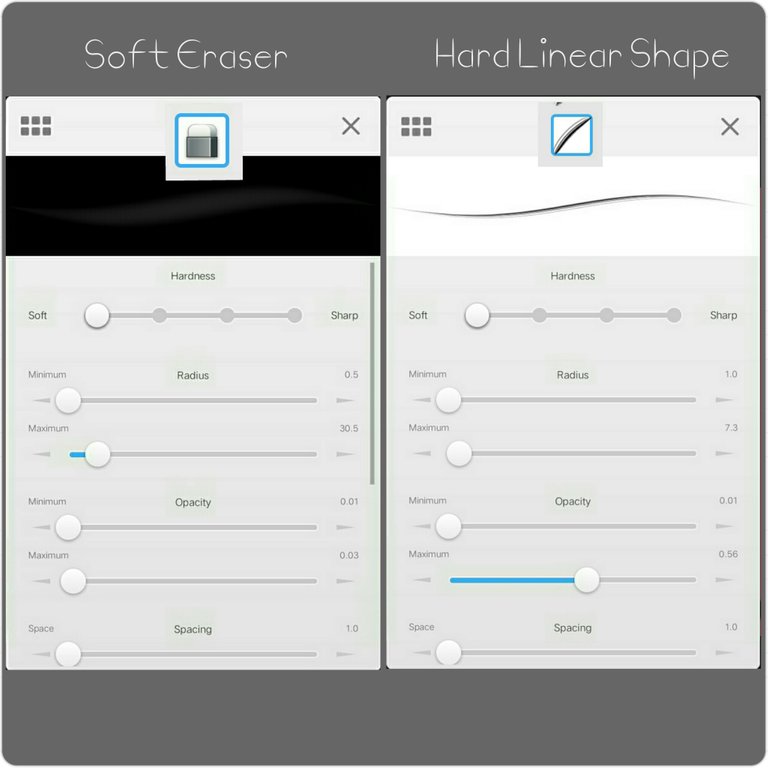
The following tool, the same as the others, the settings are fixed but this time the size will be the only one that needs to be adjusted.
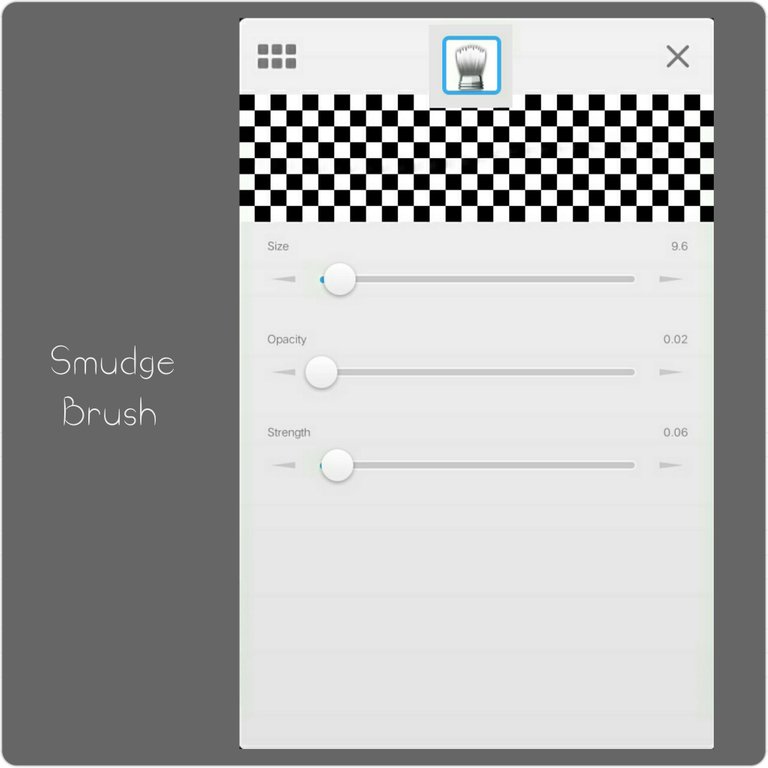
Every step should be done in different layers. You can only merge it when you done the whole part, and you can only merge the certain part alone.
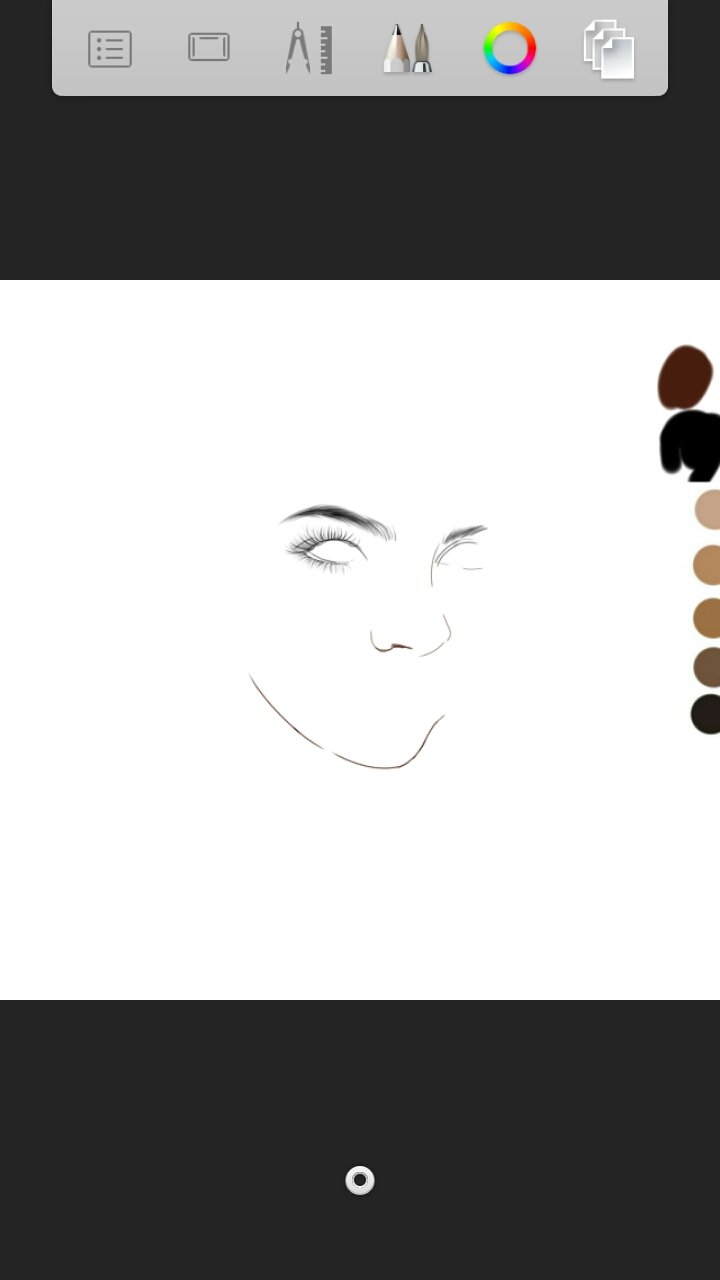
Now let us make the line art using the pencil (pick it in the tools section). Draw the face, lashes, eyebrows and other details of the face. Do not fully draw the nose, just the details of it like what I did in my lineart.
Next, let us make the hair. This part, you can use a hair pallet if you are not really familiar with the color combination that fits well for the hair. Start it with color for the base of the hair.
First, draw the outside part of the hair using the pencil with the base color.
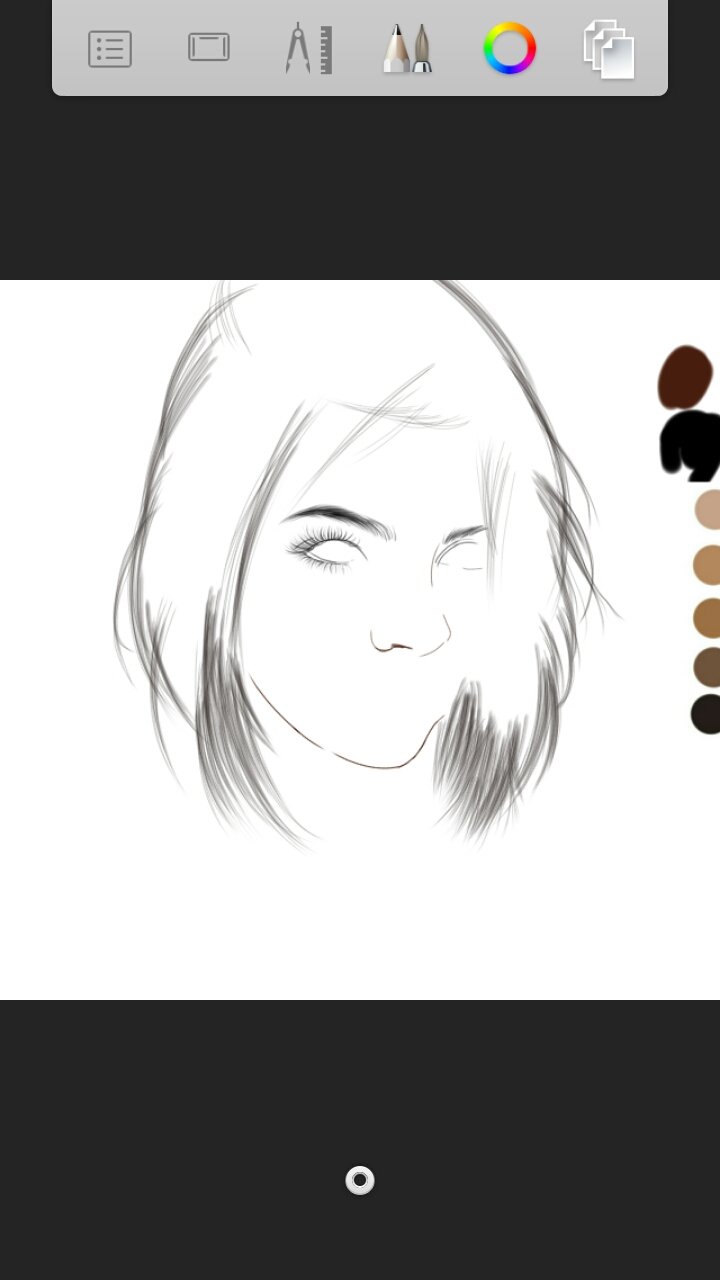
Second, thicken those strands using the linear shape brush.
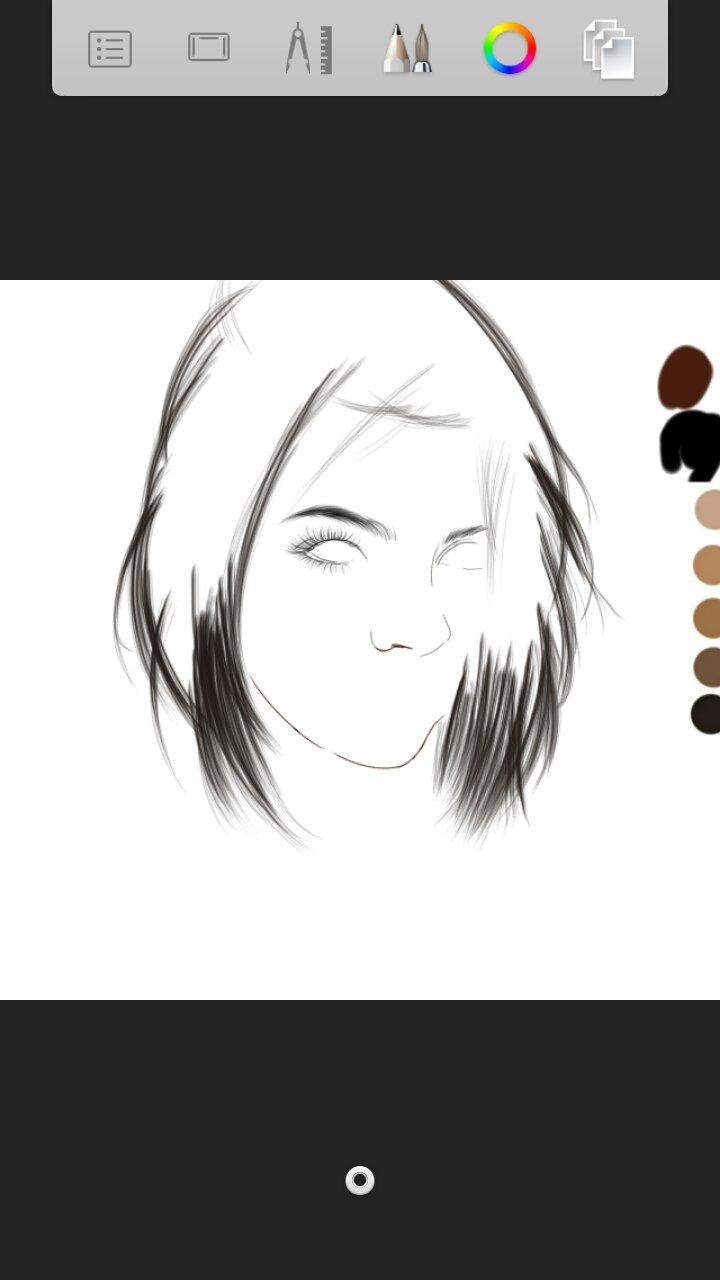
Now that you have thicken it, fill it using the airbrush.
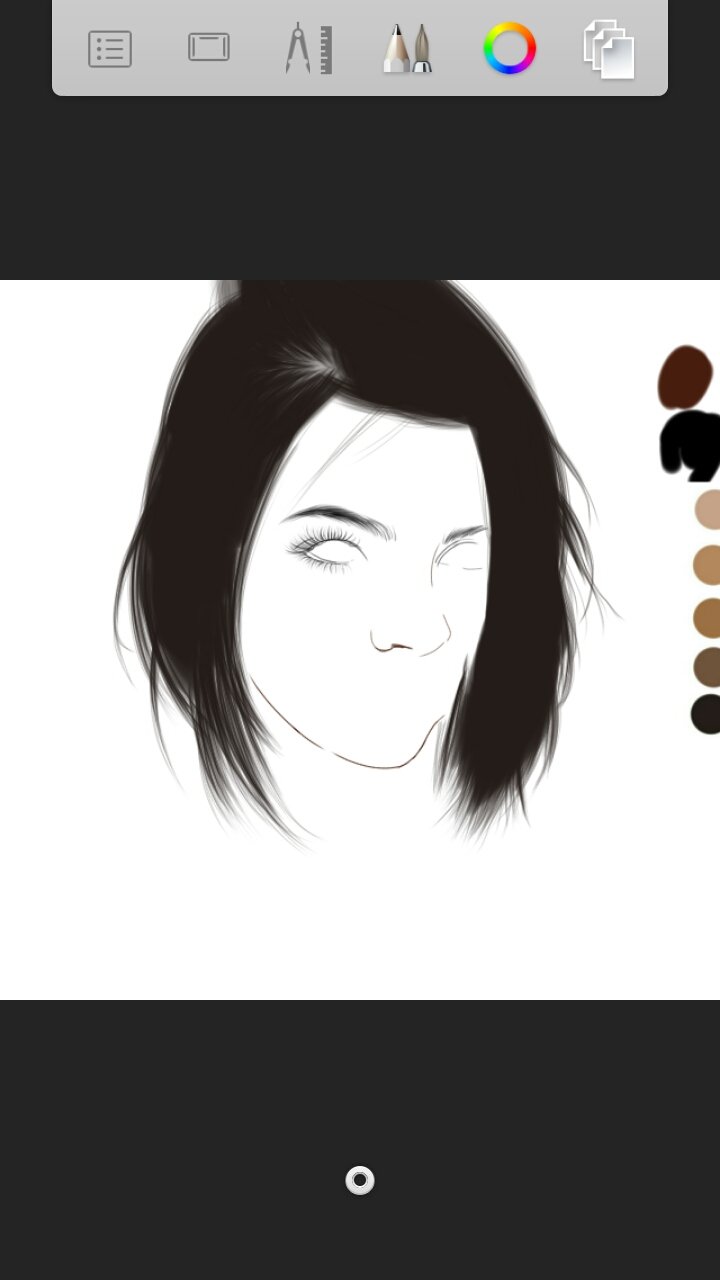
Now draw the hairstrands. Follow the flow of the hair using the pencil. The thickness of the strand will depend on how close the reference is to the camera. The closer the reference the thinner the strands.
The following is the process from the first level of strands up to the highlights.
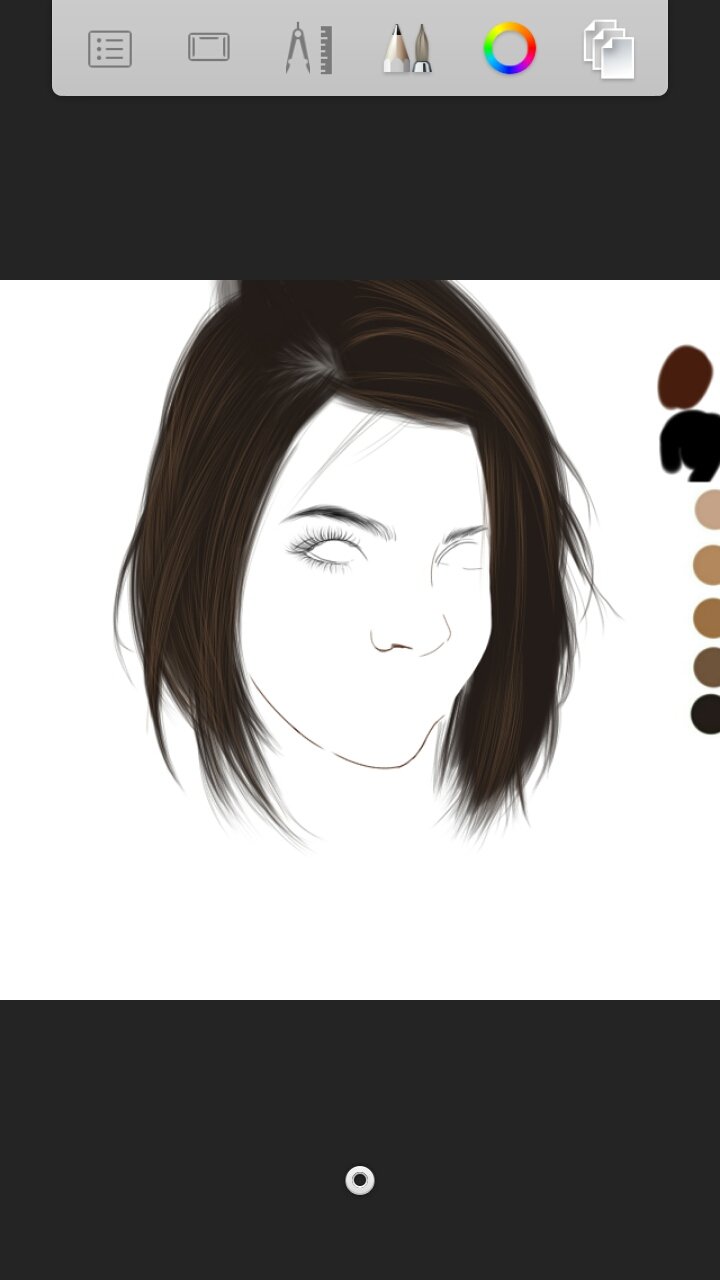
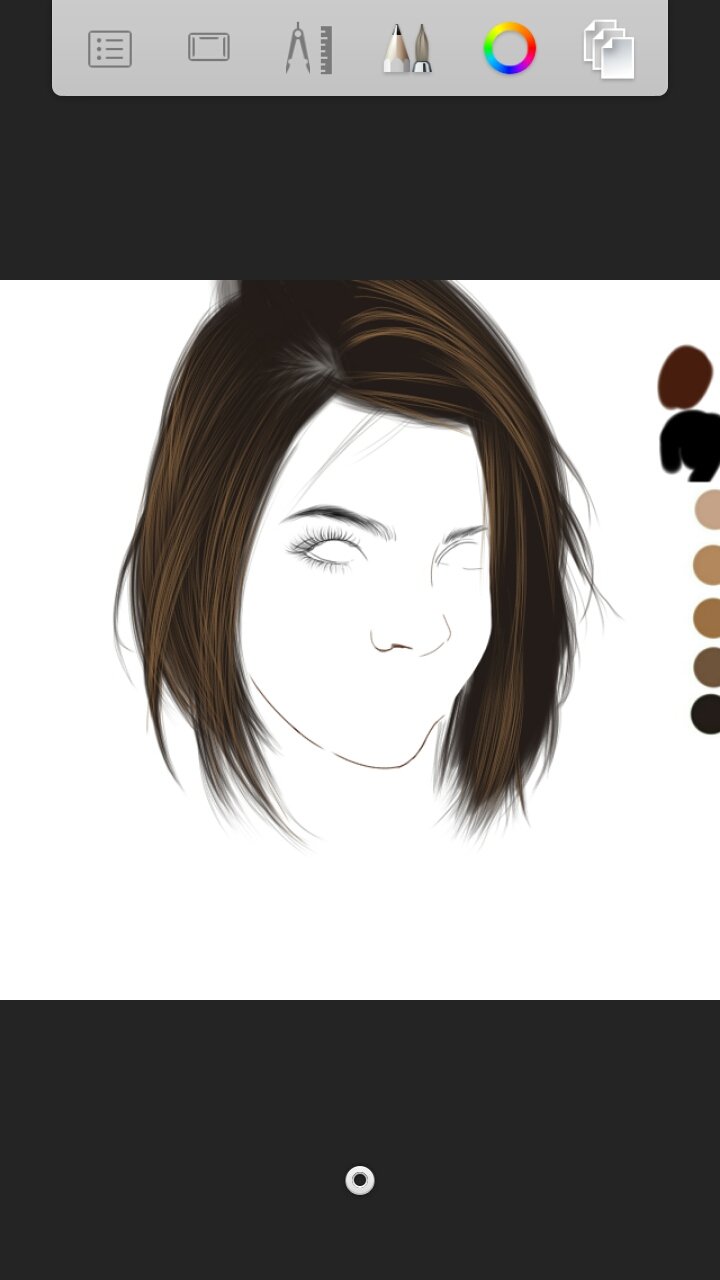
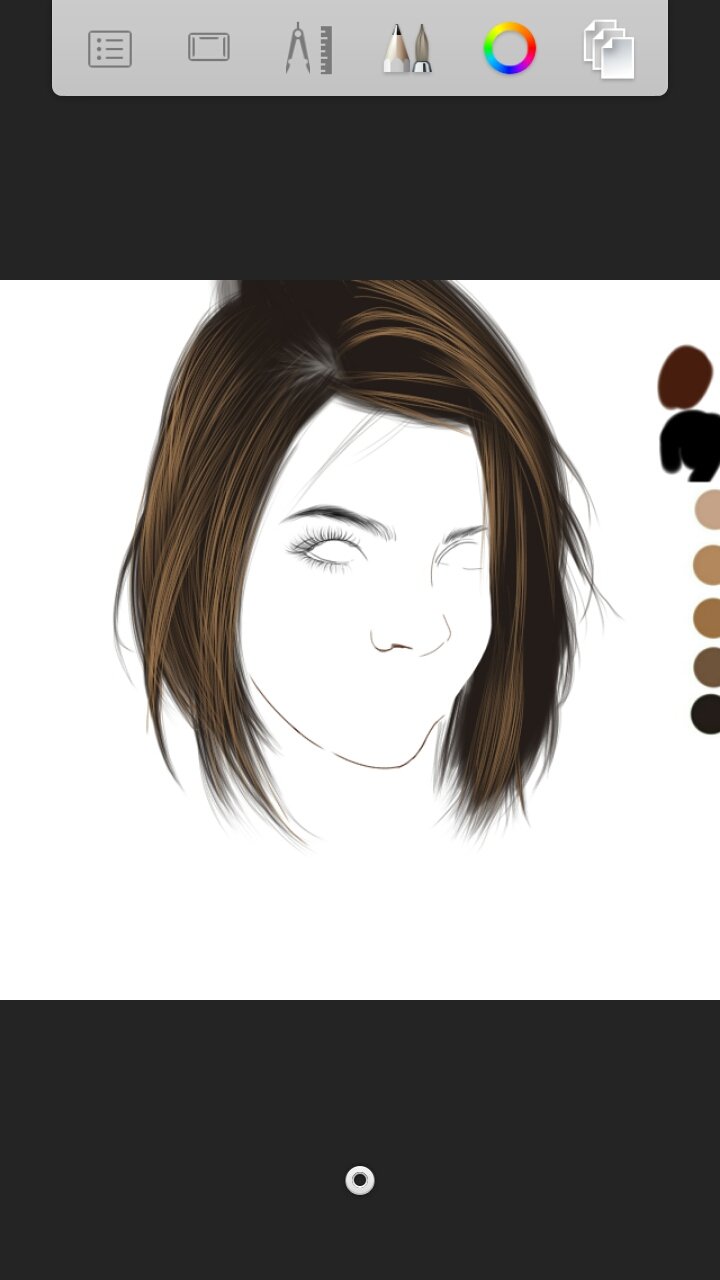
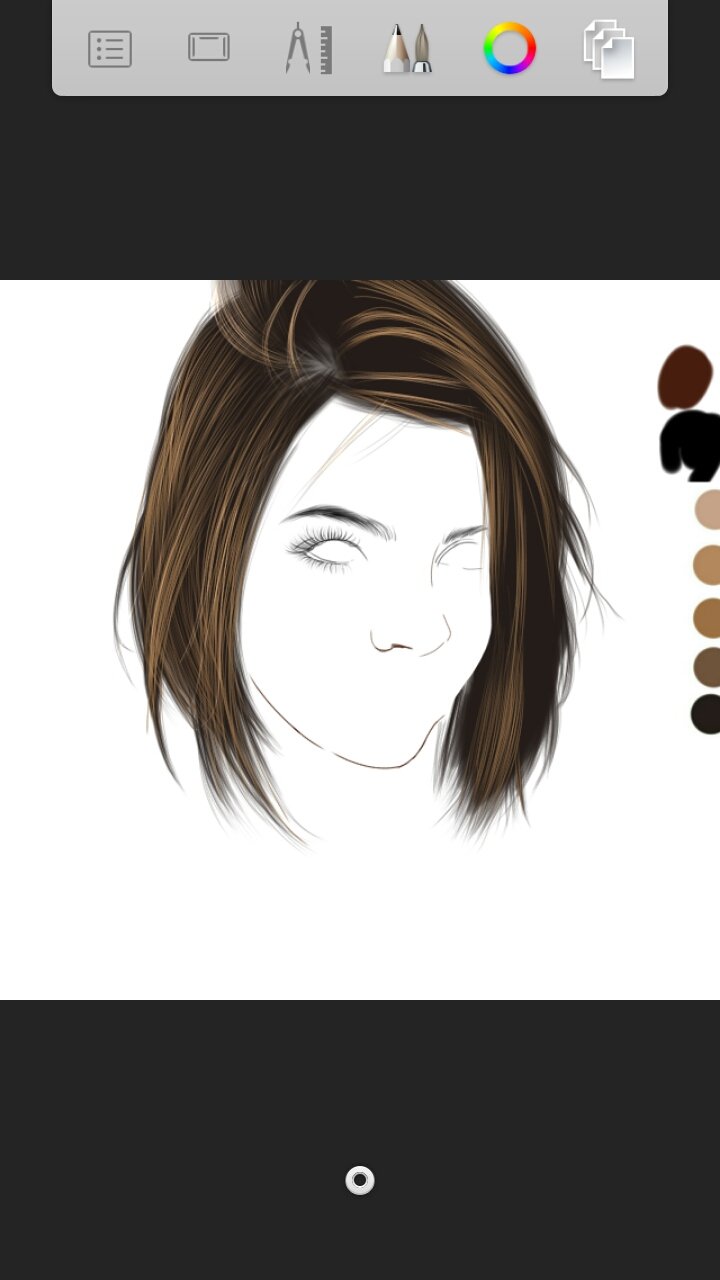
Do not forget to use soft eraser and erase smoothly the end parts of the strands so that it wont look very pointed. Do it in all layers of the hairstrands.
Next is the making of the eyes. This part, you will learn a little bit of science haha! First step is make the sclera of the eyes. You just have to fill the eyes with a color white using the paint brush.
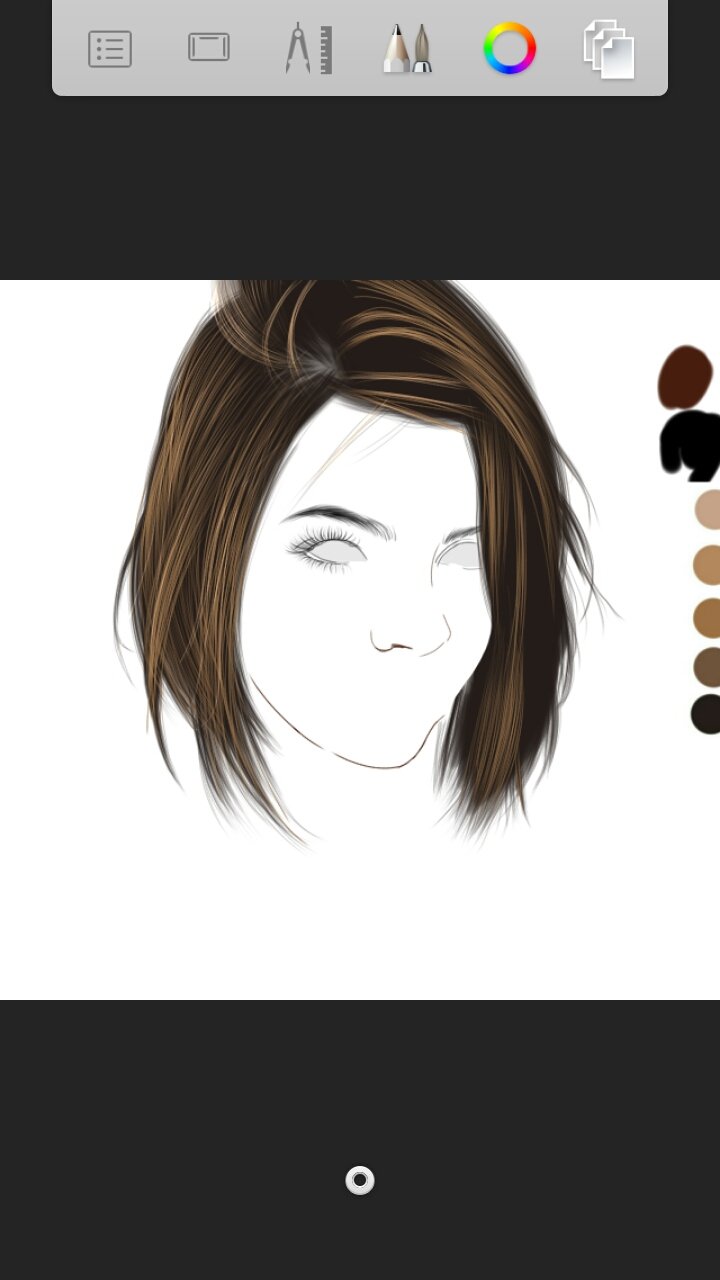
Now draw a black circle that will be the iris and to apply color to it, draw another smaller circle to the first one with the color that you want.
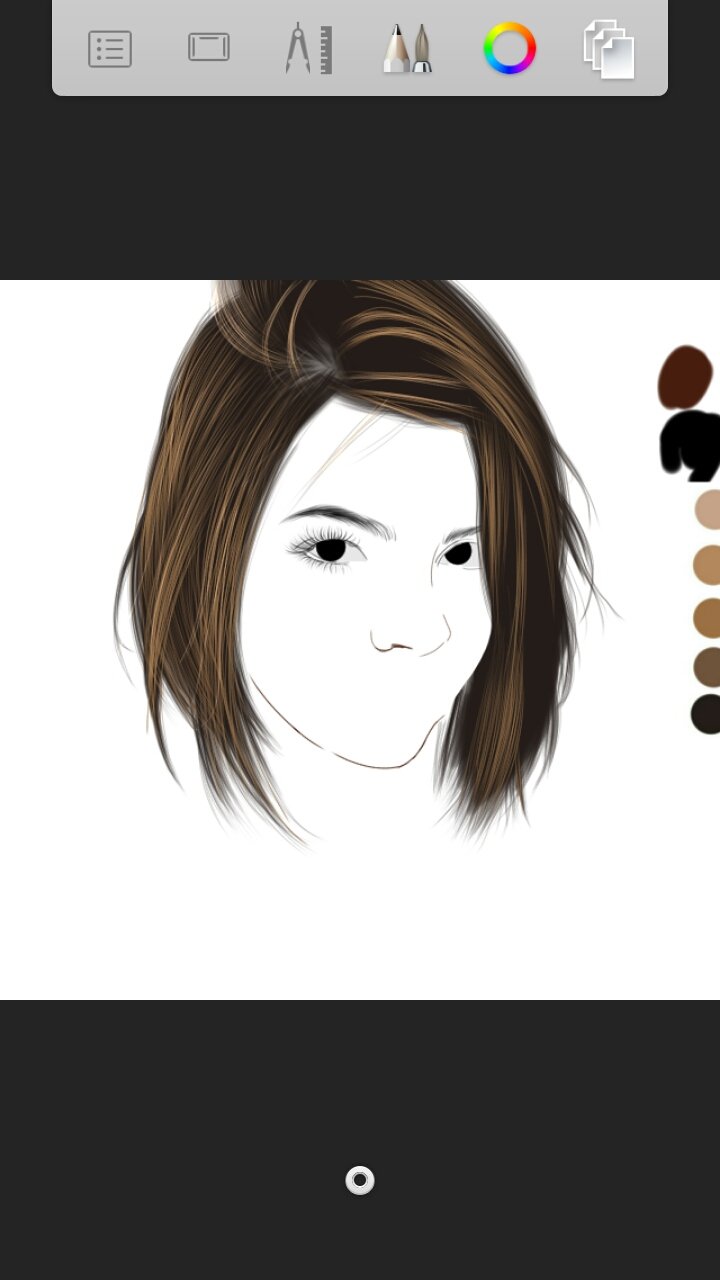
Soft erase the edge of the second colored circle.
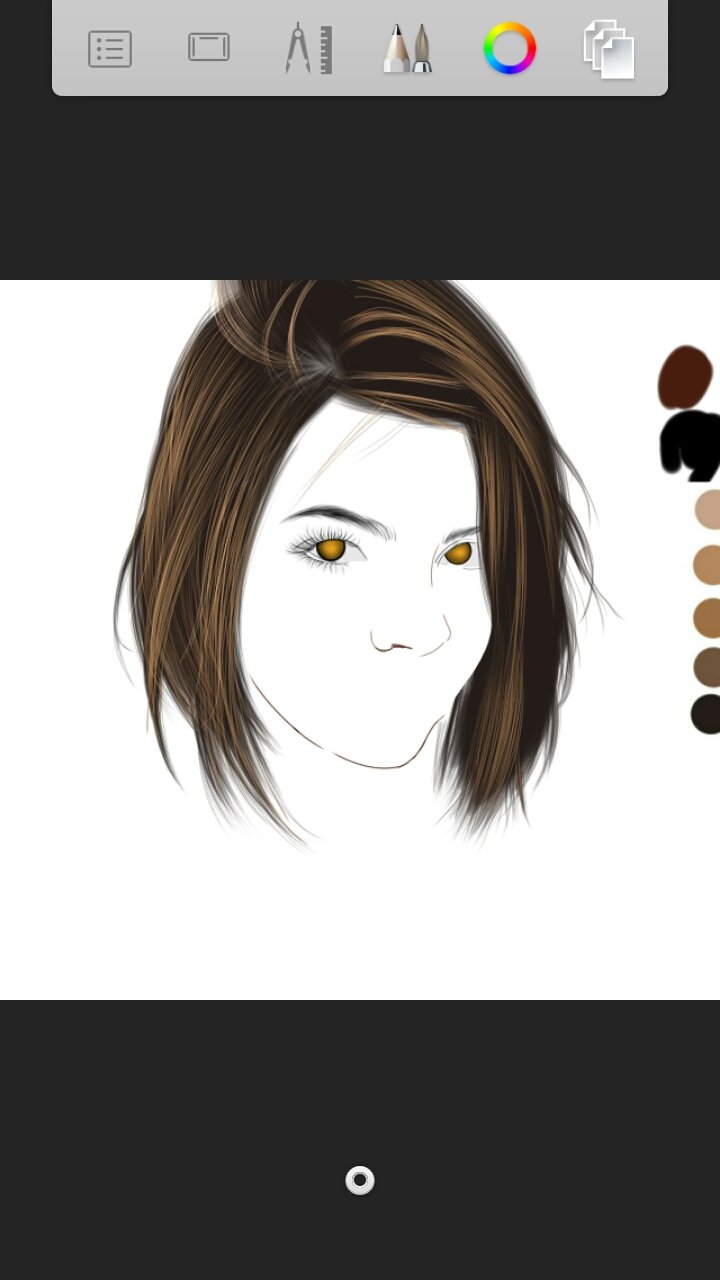
Now draw again another black circle that is again smaller than those previous circles and that will be the pupil.

Soft erase the edge of that circle.

Next, draw white dots and lines on the eyes using the pencil and then smudge it a little using the smudge tool.
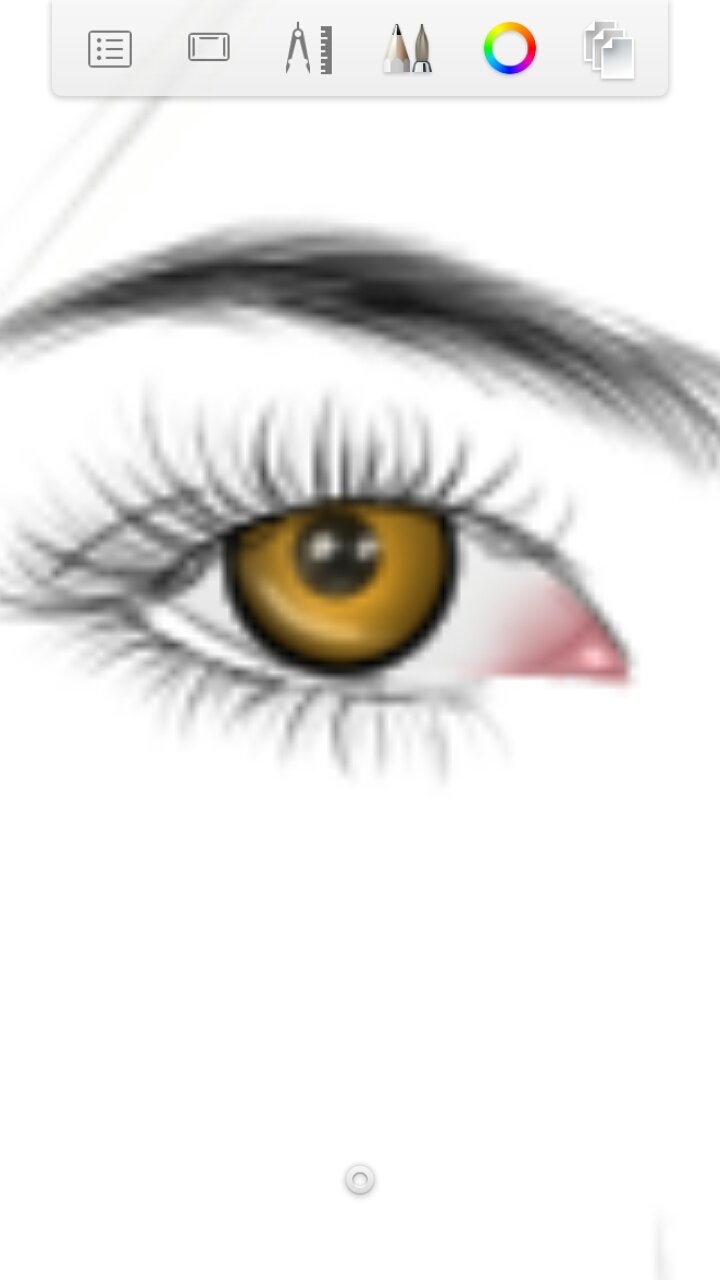
Add layer then set the blending into multiply. This time use a gray color and an air brush to make the shadows of the eyes on the upper part so it won't look dilated.
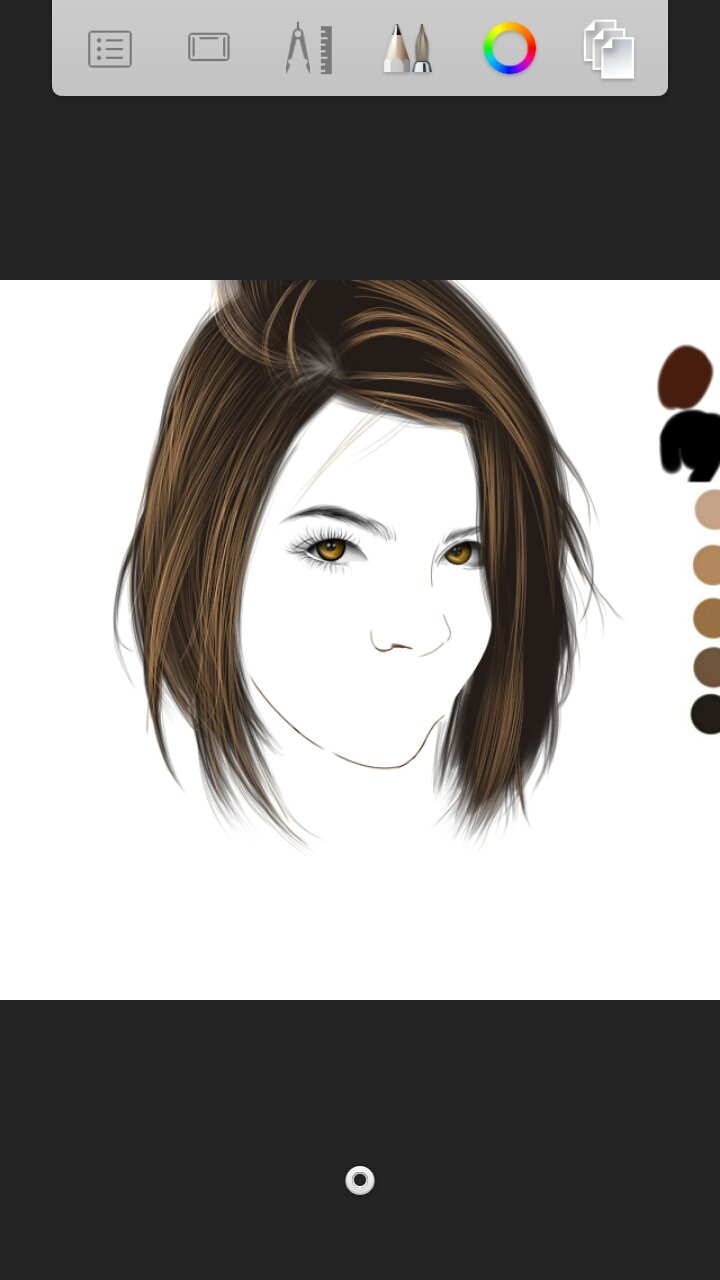
Lastly, apply red color to the eyes as the caruncle. Smudge it and if it's too red, use soft eraser to slightly erase and make it lighter.
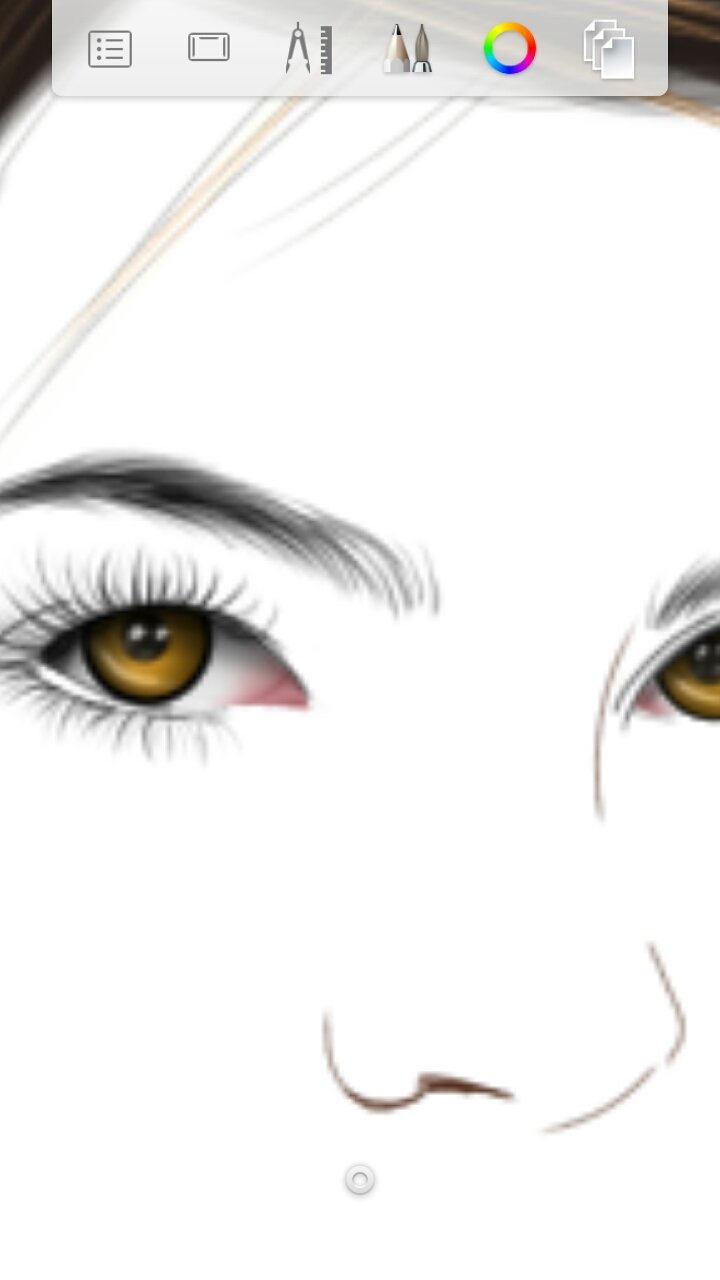
Now for the skin I have here a video tutorial so you will exactly know how to smudge it.
After smudging the skin, it's time to apply skin blending to it and of course do it by layer. Pick a color (I usually use fruit pink and violet) then color all the skin.
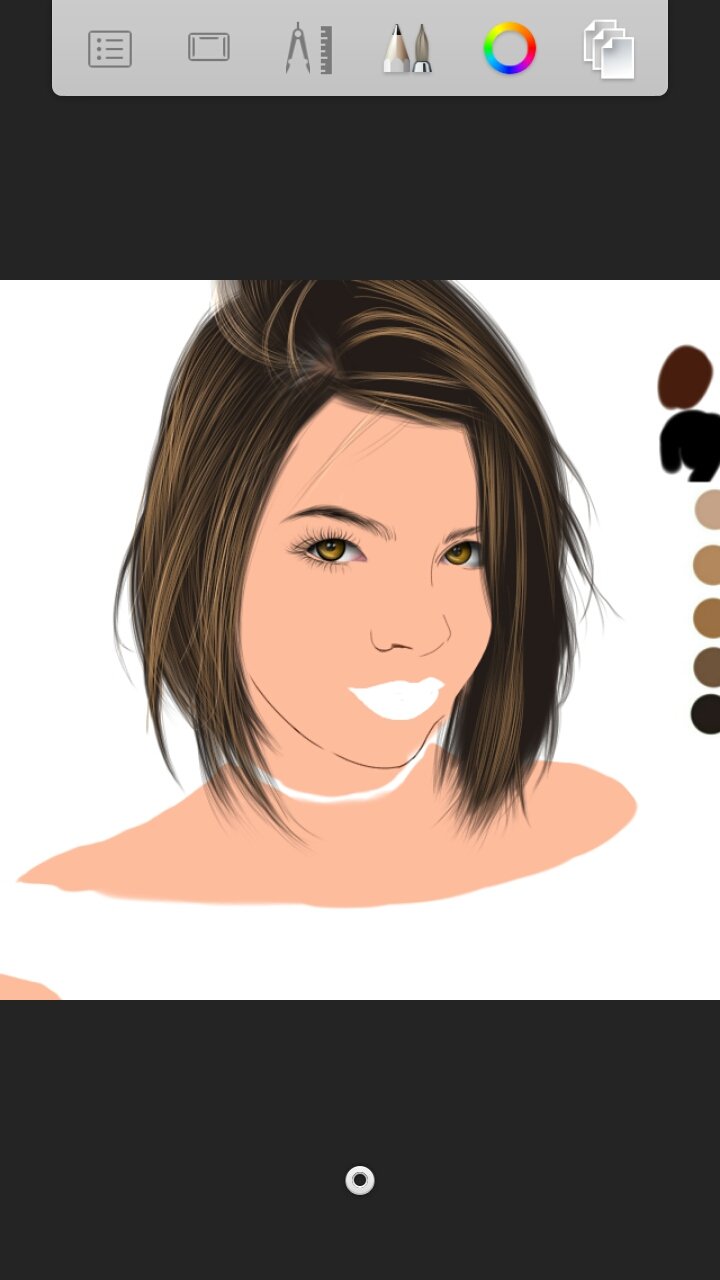
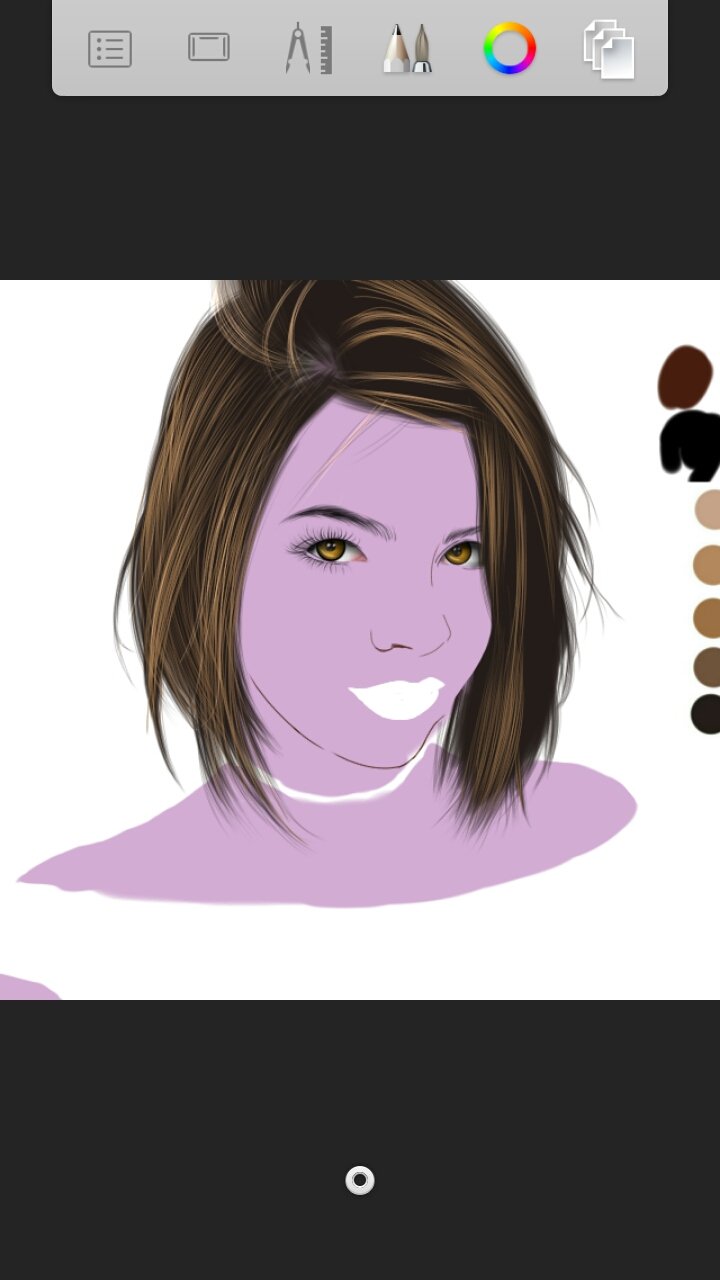
In this artwork, I had two layers of fruit pink and one violet. Set the layer blending into color and soft glow
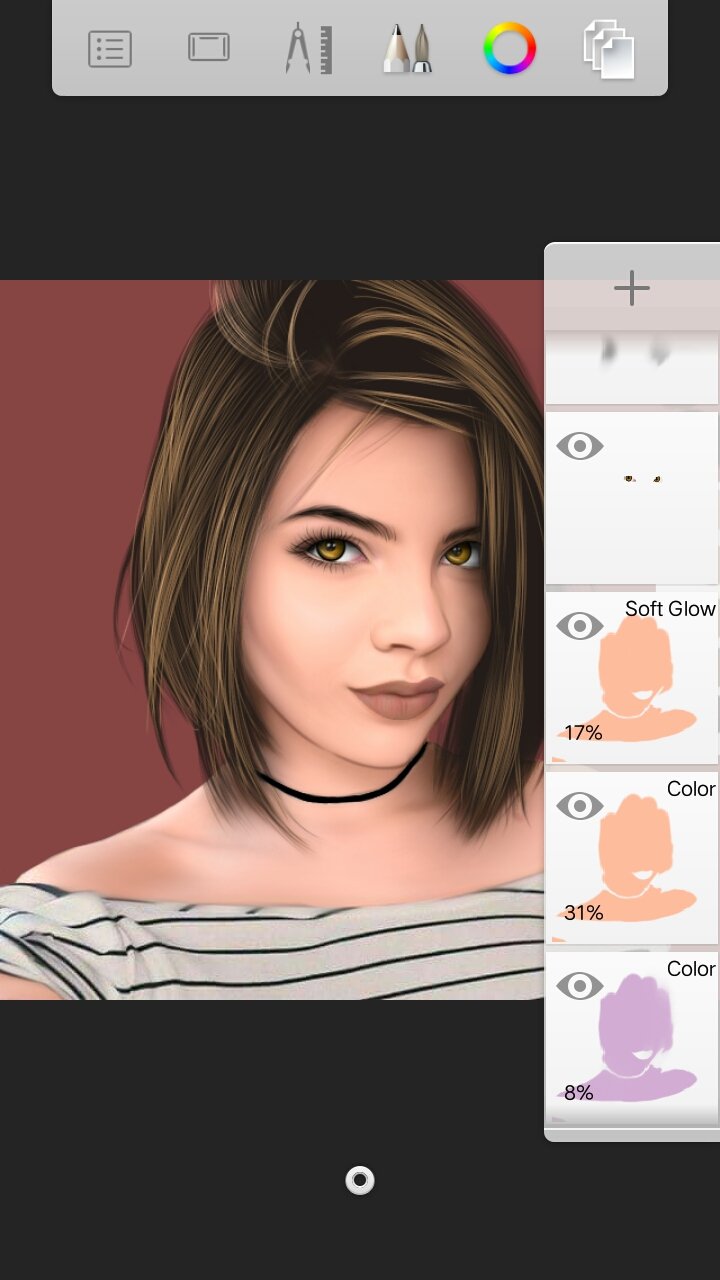
Take note! The color, layer blending, opacity percentage of the layers of the skin is not fixed. You may also add layers and set it into different blendings. You should be the one to balance it for it always depends on the reference. Do not be scared to experiment. Adjust it until you reach your desired skin blending.
Now let us proceed to the skin highlights. Using the pencil, draw white lines on the parts that need to be highlighted then set the layer into soft glow. In my case my reference needs highlights on the parts shown on the picture below.
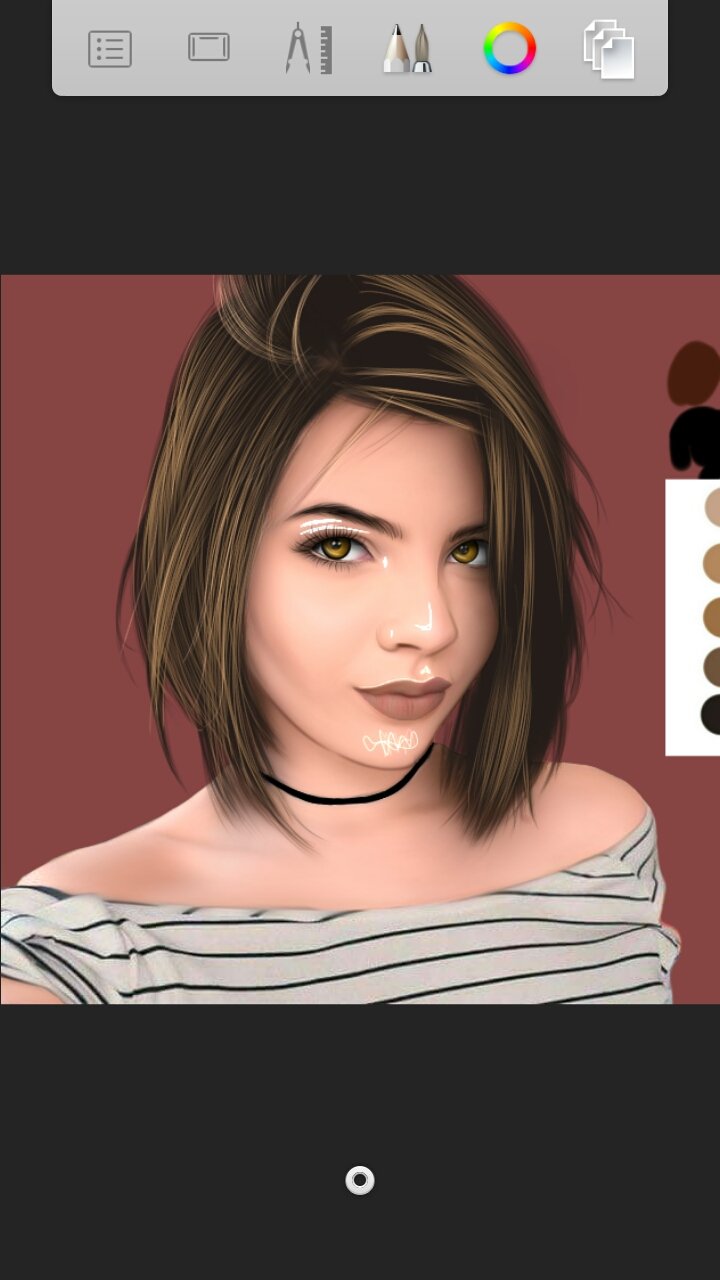
Smudge those lines until the lines will not be clearly seen, only the glow will remain.
Make your desired background and booom! Finished product!

I hope you have learned something from this tutorial. If you have questions feel free to ask in the comment section below.
Thank you and have a great day everyone!



Hi allerie! =p NOT a waste at all! it's pretty awesome. let's see.. $2.34 (thats sbd, so even more than just cents!) at current rate.. 1 sbd = $1.74 usd, and 1 usd is converting to 52 php. so 2.34 X 1.74 X 52 = 211 php. sure, u lose some when converting, but still.. isnt the average wage in PH about 200 php per day? and u made that how? by sharing ur ARTWORK?! :) HOW ABOUT THOSE STREET KIDS THAT WORK 10 HOURS A DAY BEGGING OR SELLING FLOWERS?? DO THEY EVEN EARN 200PHP?
Wow! Great art! What a talent. I bet you can also draw beautifully using just pencil and paper. :)
I sometimes do but only doodle arts.
This post was shared in the Curation Collective Discord community for curators, and upvoted and resteemed by the @c-squared community account after manual review.
Wow thank you so much!
It's really amazing!!! Good job!!!
Absolutely stunning.
And nice that you shared. Thanks on the process!!
absolutely amazing! at the first glance of the thumbnail I knew that it was something. I'm really impress on your technical skills and I bet it you deserve more than what you are gaining. Keep it up
Very well done!
wow amazing arts!!! thumbs up:)
OMAYGHAD!😍😭 Grabe ka lodi. I'm a fan na.
sobrang detalyado ng pagkakagawa at napakalaking tulong ng ginawa mong tutorial 😊wow! grabe! napakahusay mo palang gumuhit @allerie00
Waahh very extensive process and so amazing! Kaiyak yung process grabe hirap magsketchbook.