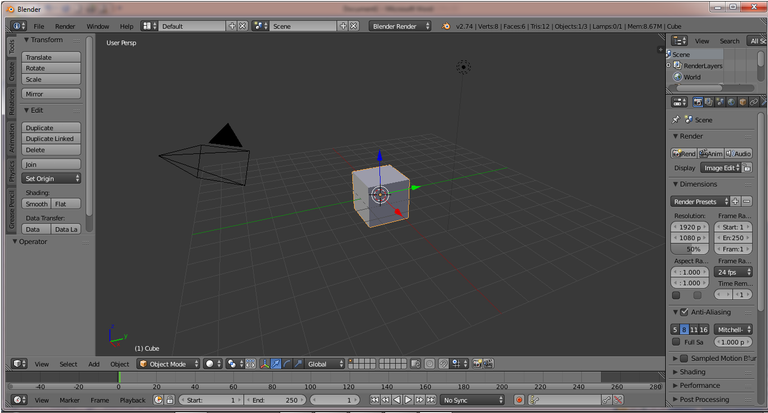
Flashlight
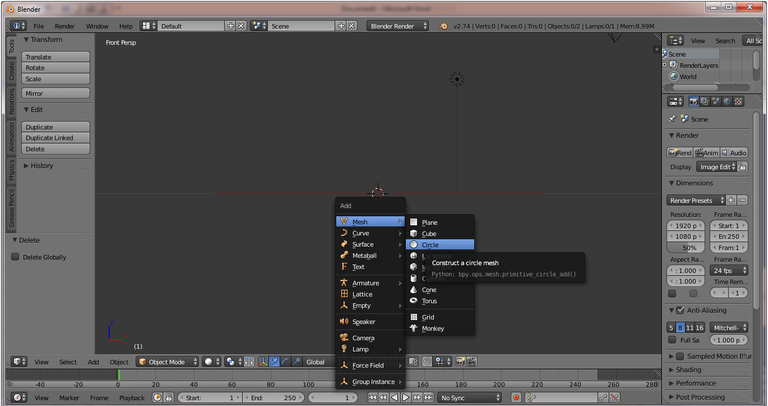
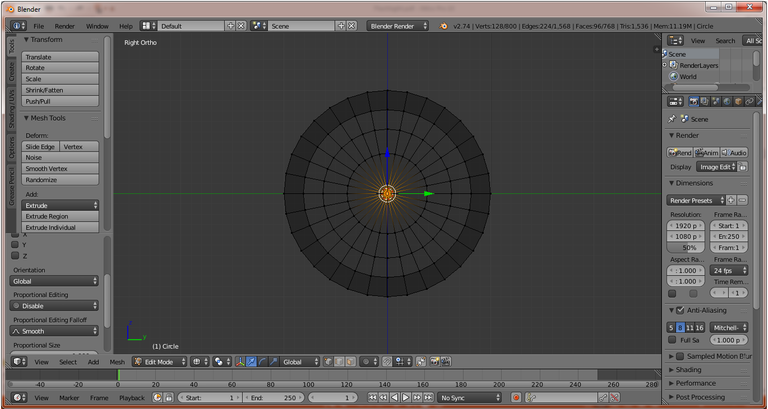
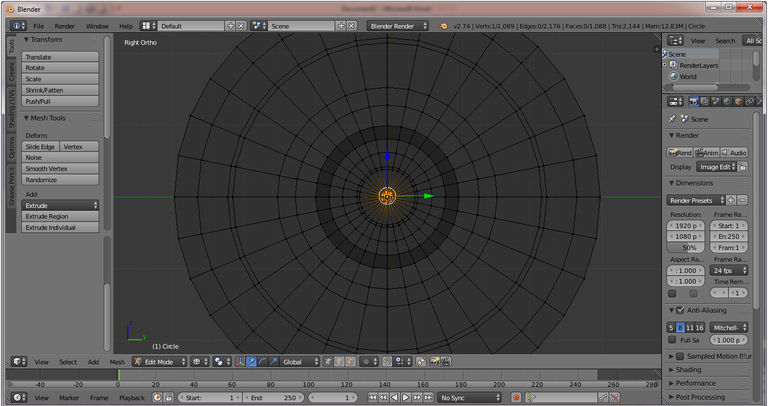
Then add Circle by press Shift + A on Keyboard and select Mesh> Circle.
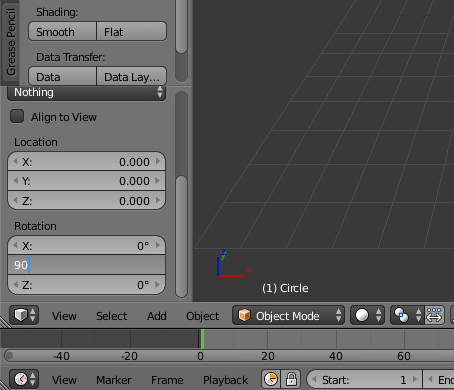
After the Circle appears, in the left panel in Rotation change the Y angle to 90 degrees and press Enter on Keyboard.
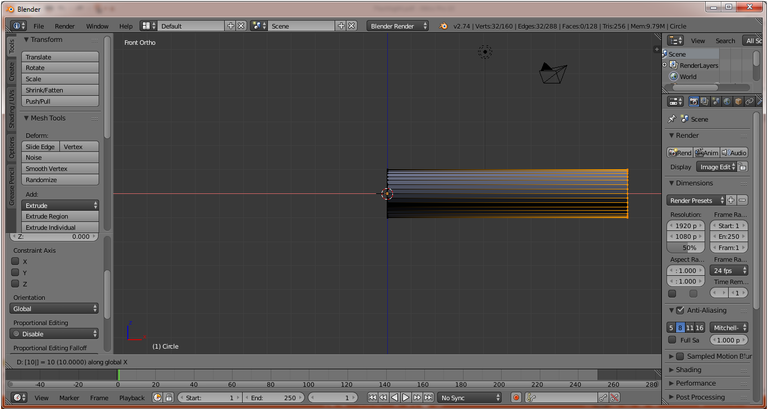
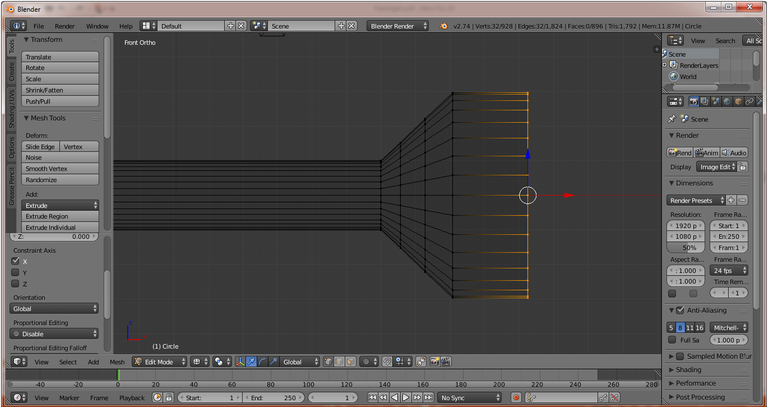
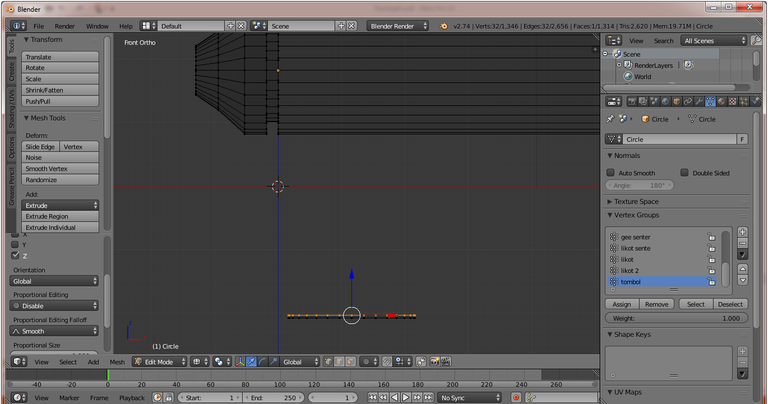
Next change the view to Front Ortho by press Numpad 1 on keyboard, change to Edit Mode by pressing TAB and do Extrude to corner X on Circle object by press E + X then adjust the shape like the following image :
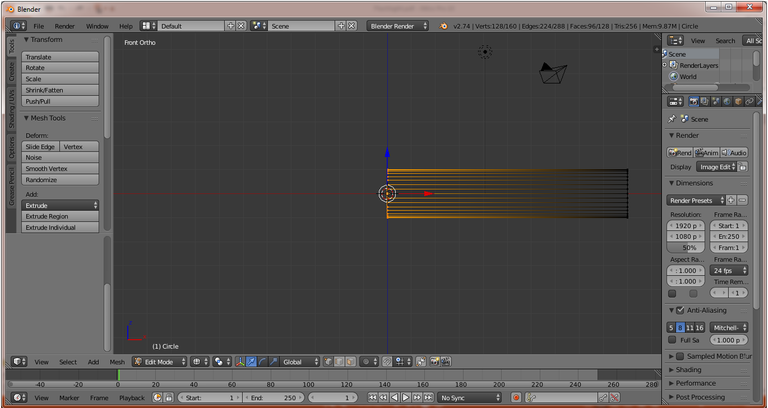
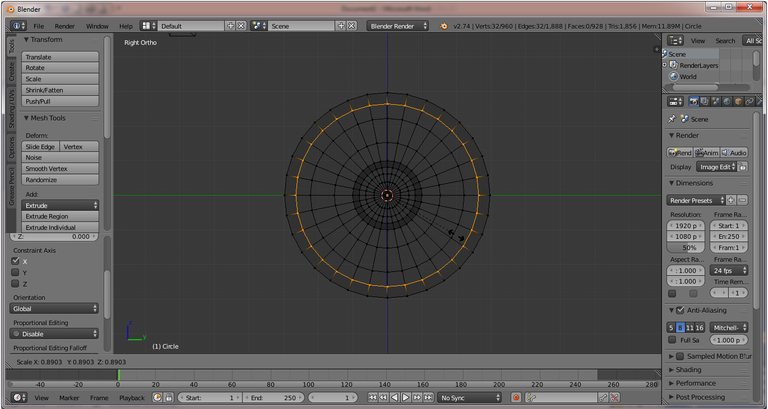
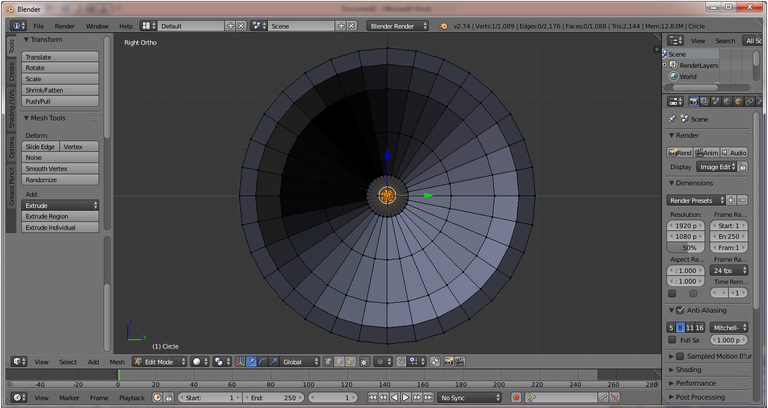
Change the look of the object to Wireframe by pressing Z, then Press A on Keyboard to Unselact, then press B and hold to select the section as shown below :
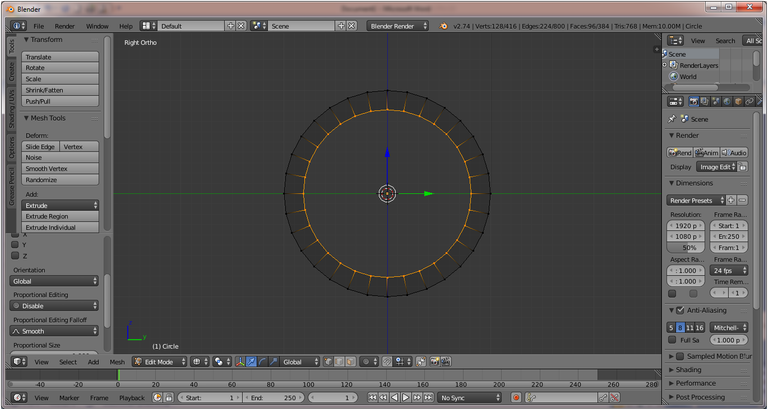
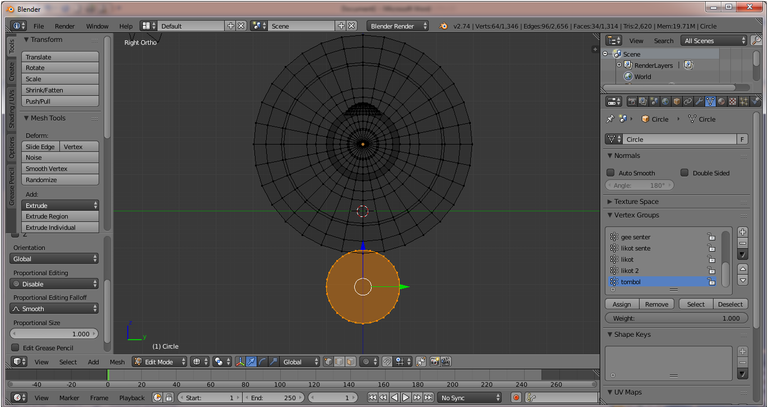
Change the view to Right Ortho by pressing Shift + Numpad 3, then Extrude the selected part by pressing E + S (Scale) and adjust as shown below :
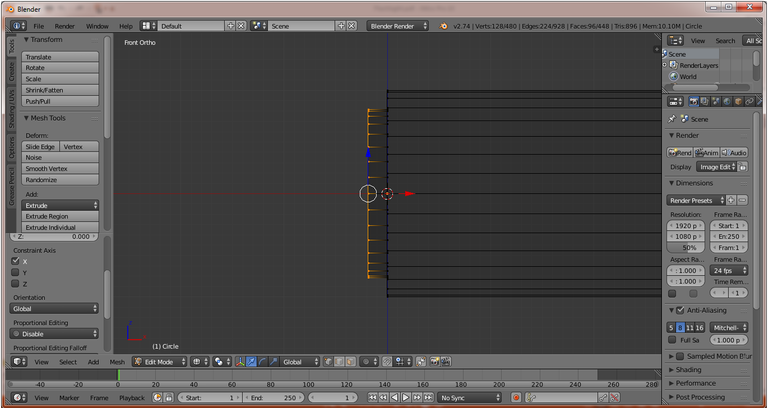
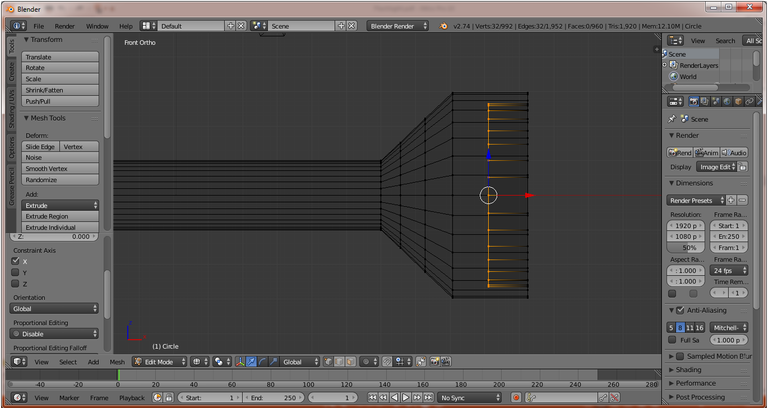
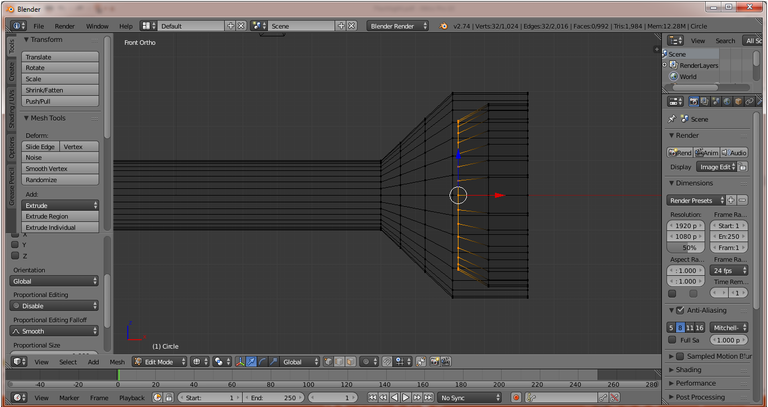
Change the view to Front Ortho by pressing Numpad 1 Then do Extrude the X corner by pressing E + X on Keyboard then adjust as following image :
do extrude by pressing E + X to extrude angle X and E + S for extrude and Scale, form object like following :

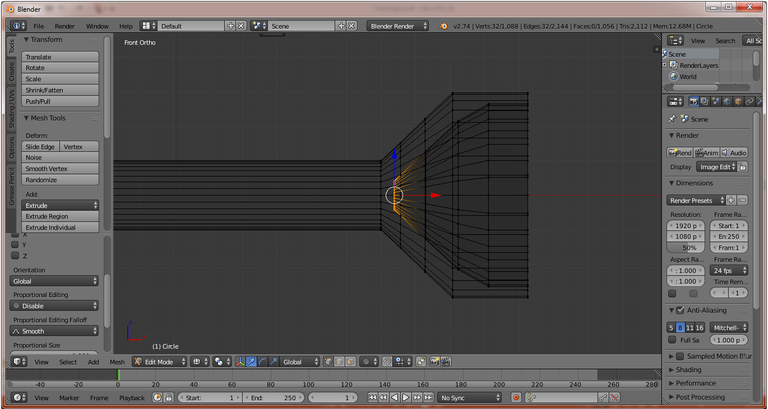
Next form the front of the flashlight, the same as before use E + X and E + S to form the front object of the flashlight to form as follows :
Form the inside of the flashlight, change the view to Right Ortho by pressing Numpad 3 then press E + S and adjust the shape like the following image :
Press Numpad 1, extrude the X corner by pressing E + X and adjust as shown below :
Extrude again by E + X + left click, then do scale by press S on keyboard shape like this image :
Doing Extrude and Scale so as to generate object shape as follows :
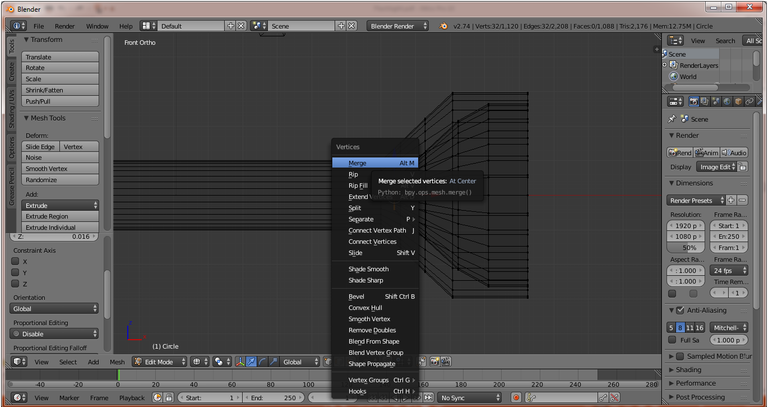
At the end do extrude it by E + Right click, then press Ctrl + V select Merge then Collapse.
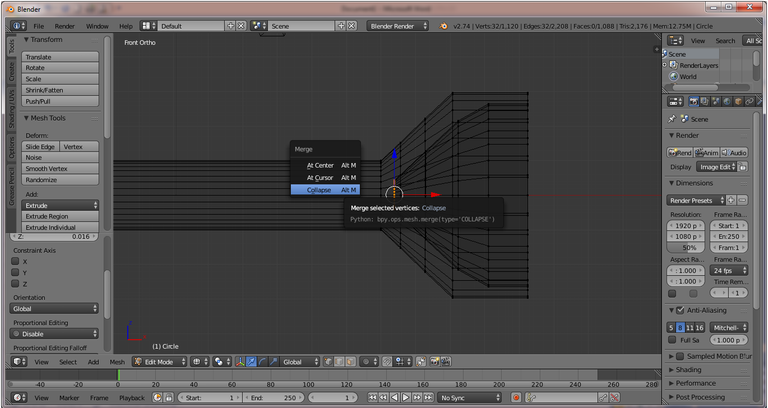
So the results of the last part in extrude to be like the following image :
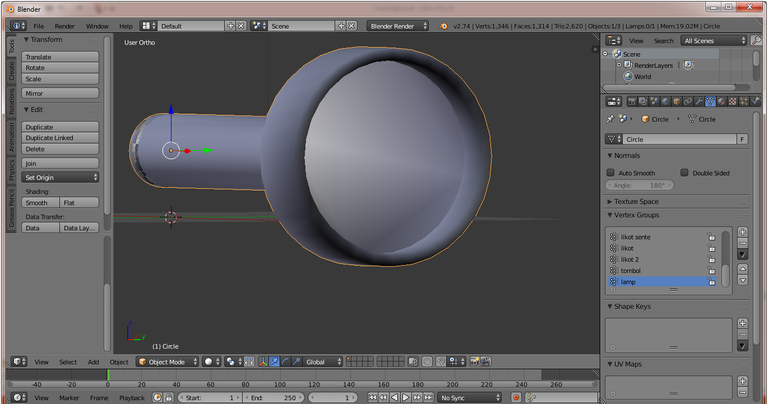
Press TAB to return to Object Mode then in left panel click Smooth.

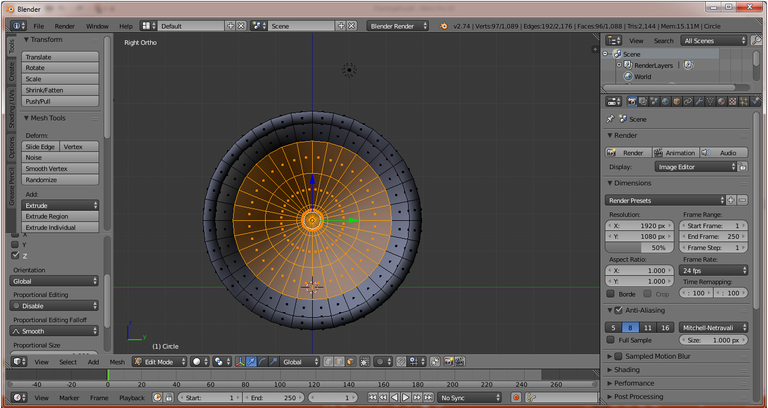
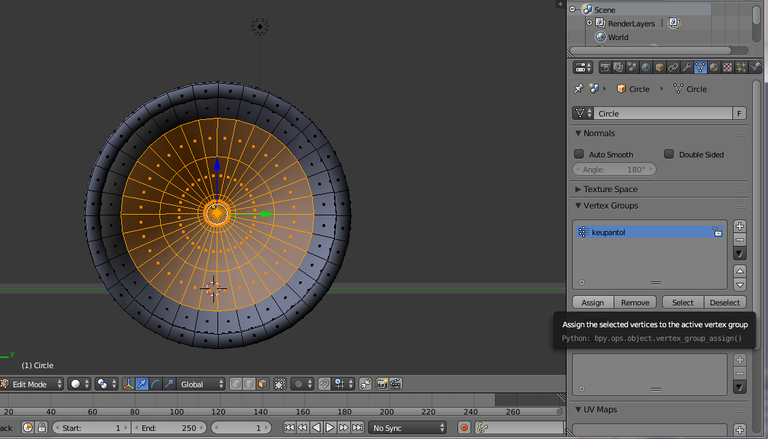
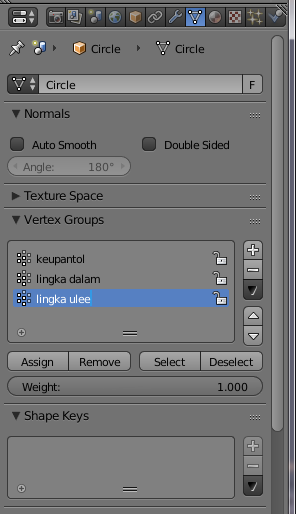
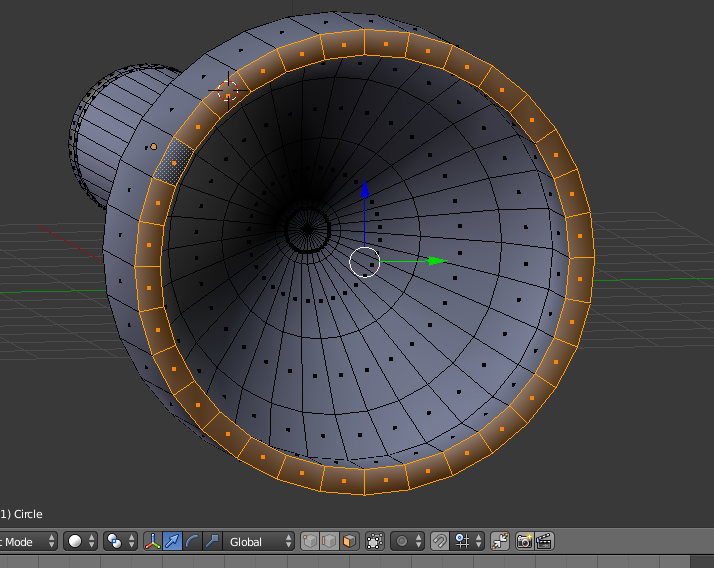
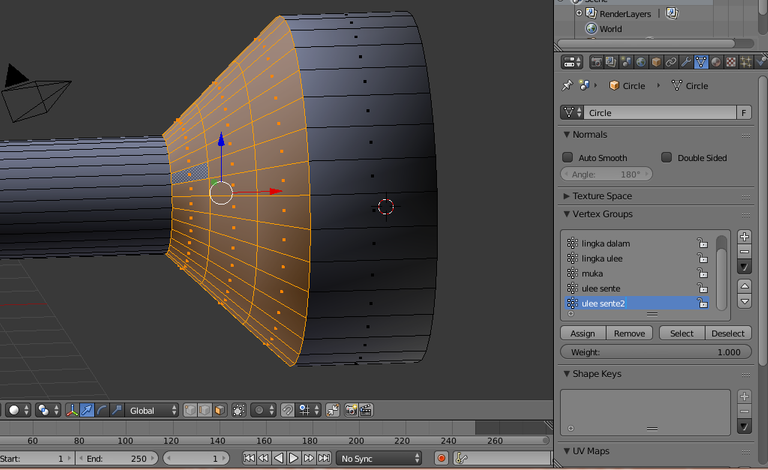
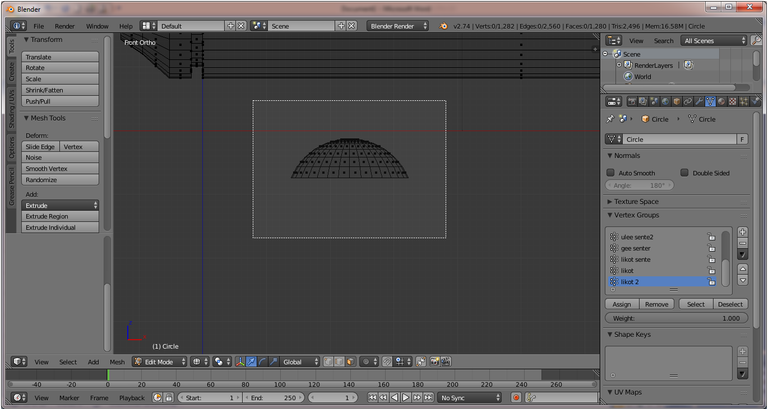
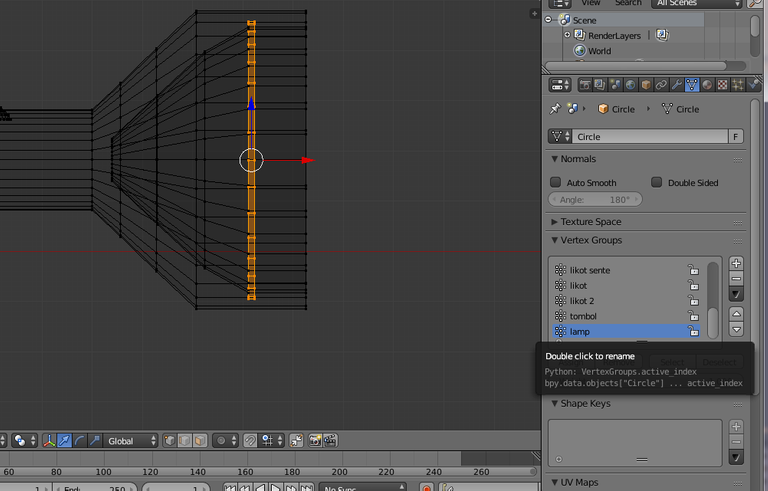
Next set the Vertex Group for easy coloring and material settings also simplify the object modification by grouping vertex, press TAB then change the view to Right Ortho, then the selection of the front by pressing Alt + Shift + Left click on the part that will be in selection so that appear such as the following :
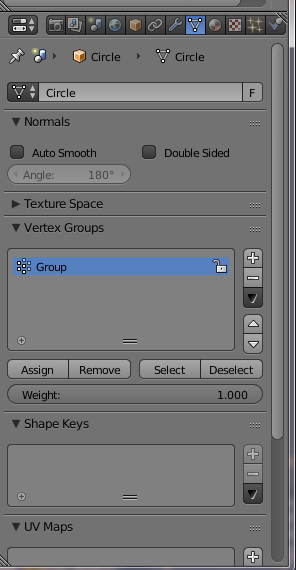
In the right panel select the Data Menu and then in the Vertex Groups press the + sign so that in the Vertex Groups out Group like the following image :
Change the Group name to keupantol then click Assign, then the selected vertex has become group, try press Deselect then press Select on Vertex Groups menu then automatically the selected part like the following image :
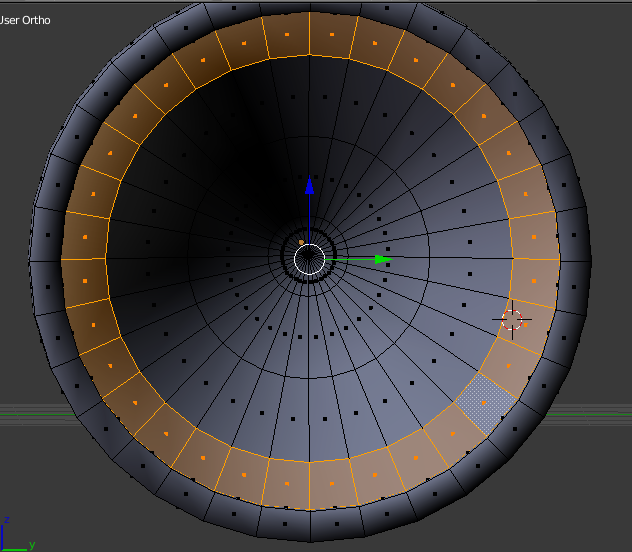
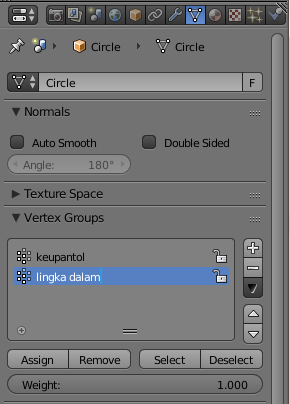
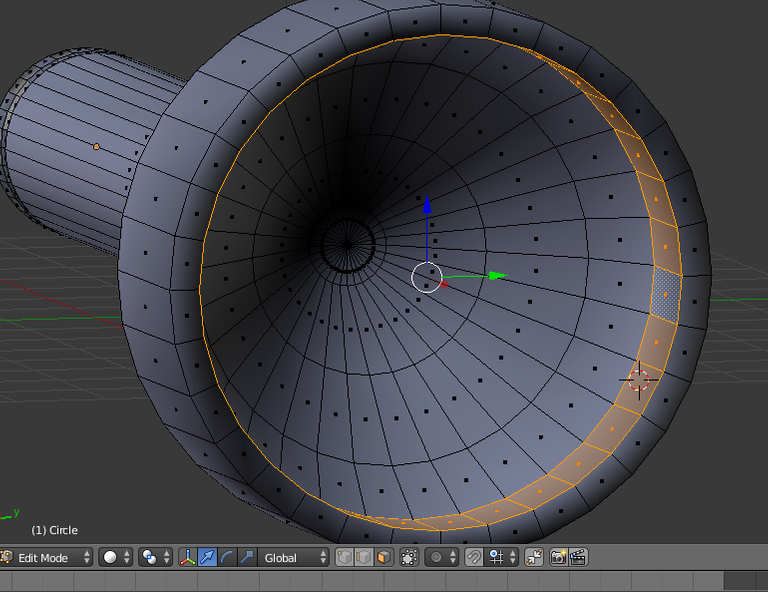
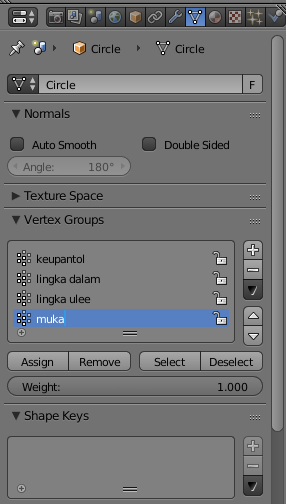
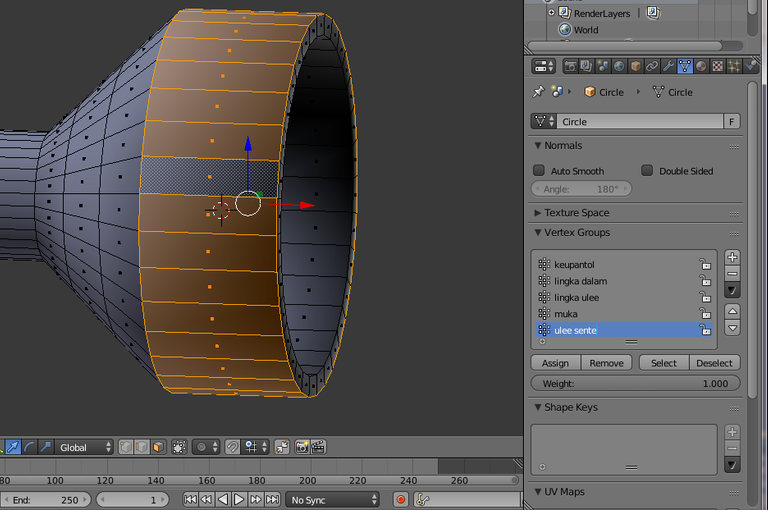
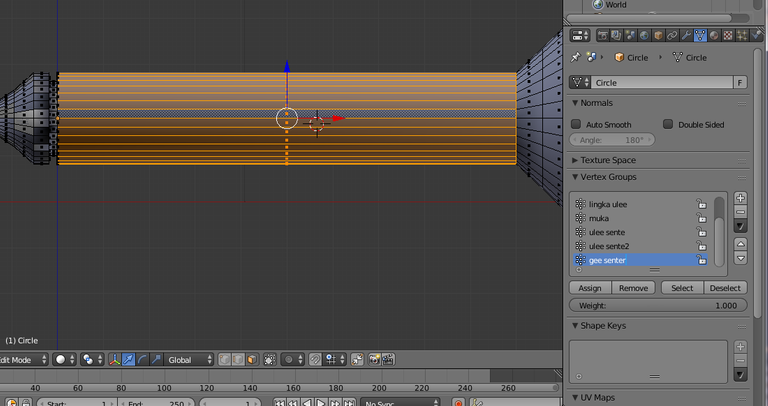
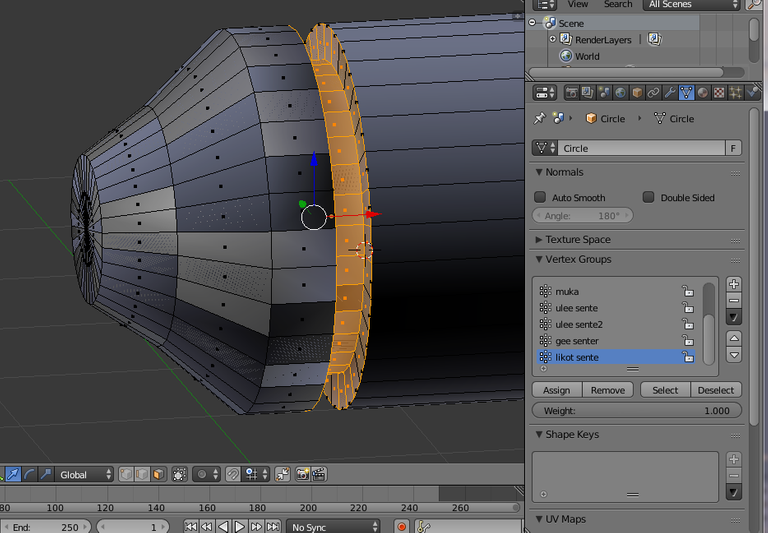
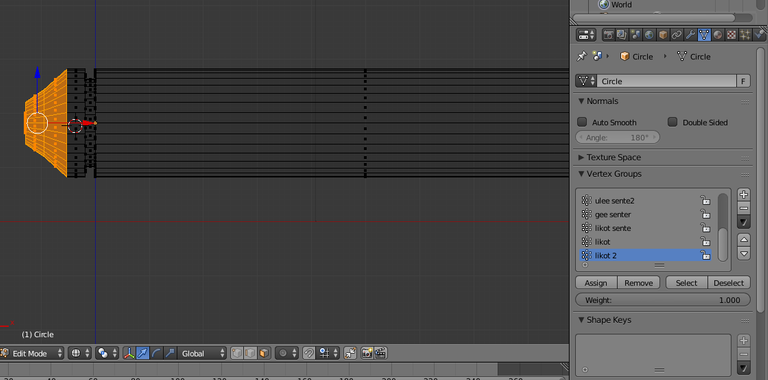
Reseat the vertex grouping and rename the group in the following sections :
 |  |
|---|
 |  |
|---|
 |  |
|---|

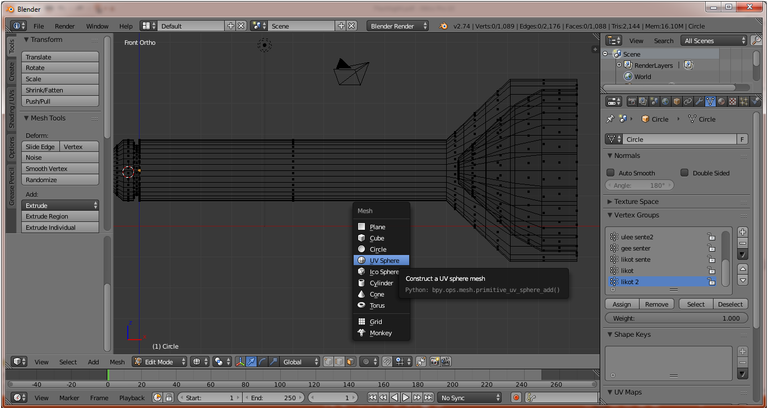
Adding a flashlight button by pressing Shift + A and select UV Sphere.
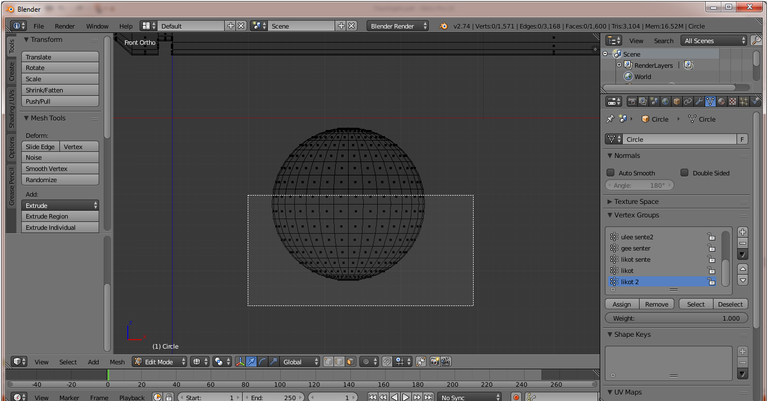
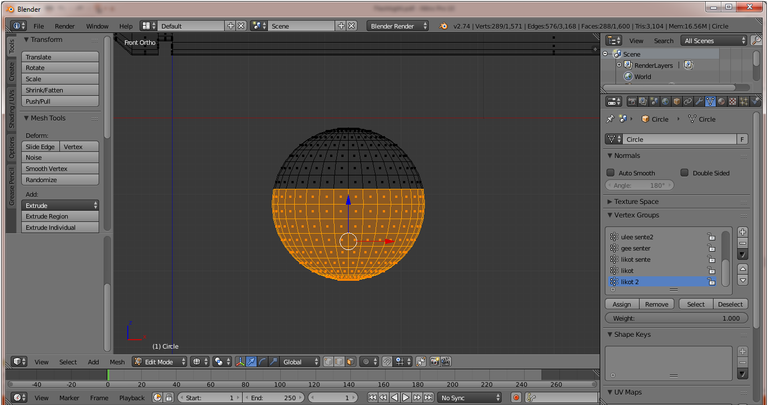
After Sphere appears, move the sphere under the flashlight so that when making the change does not interfere with other objects, then press A to Desalect the Sphere object then by pressing B then left click and hold to select the part like the following image :
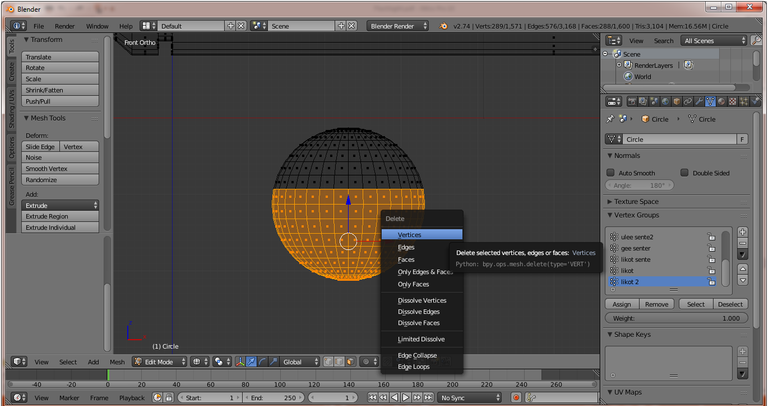
Then press Delete on the keyboard and select Vertices like the following image :
Selection of Sphere section by pressing B then left click and hold like the following image :

Move the Sphere to the top of the flashlight and set the group by giving the name "button" like the following image :
Press A on the keyboard to deselect, then add Cylinder by press Shift + A and select Cylinder
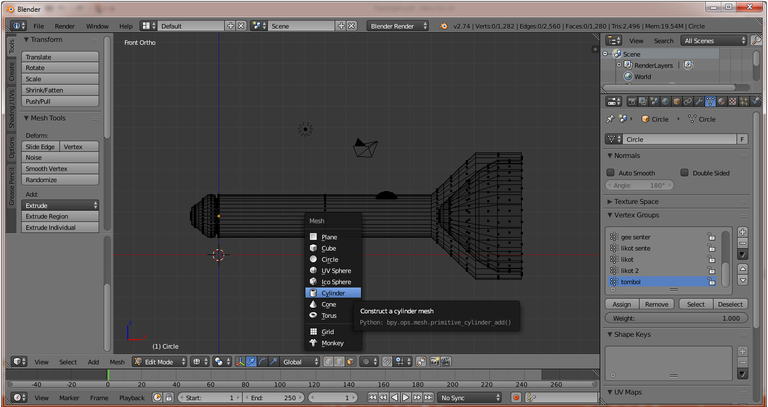
After the cylinder appears, move the cylinder to another part for easy change, press A for Deselect then press B and hold to select the top of the cylinder
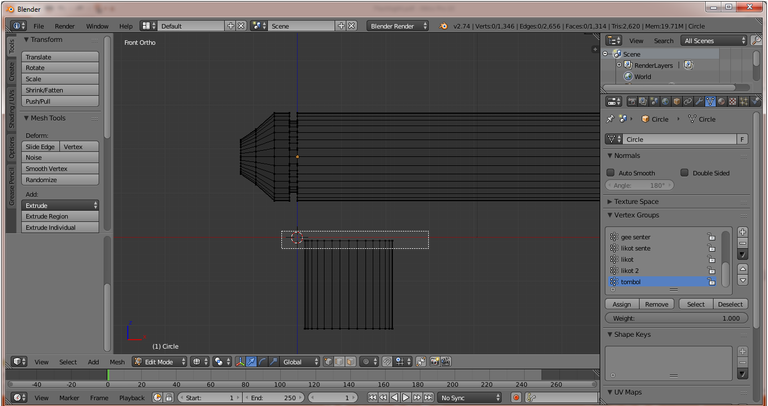
Next form the cylinder as shown below :
Cylinder selection then do the rotation by press R + Y + 90 so that it looks like the following image :
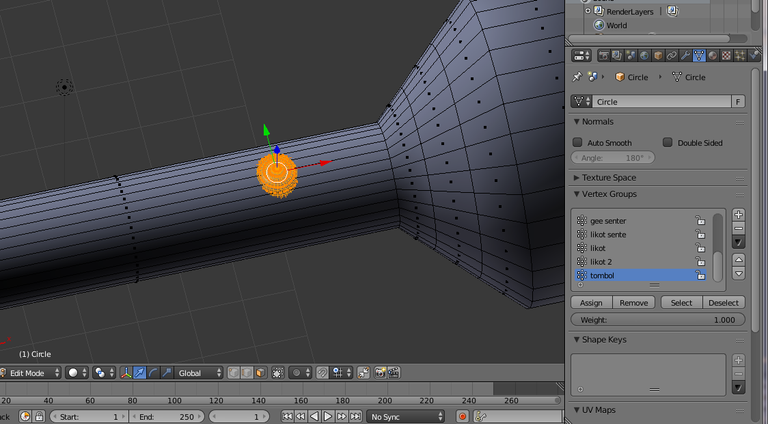
Next move the cylinder to the front of the flashlight and set it by using S (Scale), then add the group and name "lamp" as the following image :
Go back to Object Mode then in the left panel click Smooth
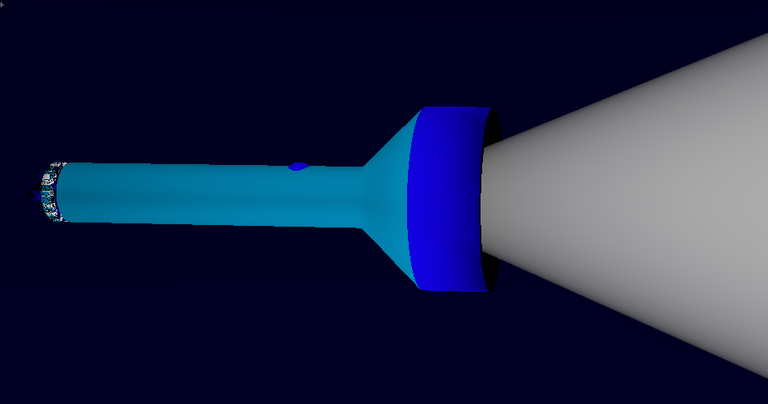
For the next from the flashlight tutorial will discuss coloring and lighting, look forward to my next tutorial
I saw a steemit member who wrote about 3D animation that started posting a lot of 3D works in steemit, so to make it easier to see 3D animation works from my steemit member create a tag for the author about 3D animation and propose that this tag is in the launch. the name of the tag that I will create and I use for the seconds time is #steem3D tag, hopefully with #steem3D tag can make it easier member steemit to see results and tutorial 3D animation. for writers who write about 3D animations please use #steem3D tags for writings and 3D works.
Join @Adsactly Community
Adsactly is a Autonomous Decentralized Society Acting Cooperatively to Leverage You.

Follow Me @muftykutink (ADSactly ACEH)
I'M TEAM ACEH STEEMIT
Gif creation by @rituparnaghosh
My Recents Post :
Simple 3D UV Mapping - Danbo
Modeling 3D Candle
ColorChallenge - ThursdayGreen : 3D Animation
Trying Modeling 3D Planets Colliding
Simple 3D Animation Modeling - Dining Tables #7 Combine Object Tables, Chairs, Plates, Glasses, Bananas, and Breads
Simple 3D Animation Modeling - Dining Tables #6 Bread Object
Simple 3D Animation Modeling - Dining Tables #5 Banana Object
Simple 3D Animation Modeling - Dining Tables #4 Glass Object
Simple 3D Animation Modeling - Dining Tables #3 Plate Object
Fantasy 3D Animation
Simple 3D Animation Modeling - Dining Tables #2 Seat Object
Simple 3D Animation Modeling - Dining Tables #1
Children, What We Can Learn From Hime
📷 ColorChallenge ThursdayGreen - Historic Place
3D Modeling of Compost Grinder Machine
3D Modeling Steemit
Great tutorial! Lots of great information on how to use the program Blender. Keep up the great work! Followed and upvoted :D
thank you @xametaldudexa, i will continue to give my best to steemit and steemians
Congratulations @muftykutink! You have completed some achievement on Steemit and have been rewarded with new badge(s) :
Click on any badge to view your own Board of Honor on SteemitBoard.
For more information about SteemitBoard, click here
If you no longer want to receive notifications, reply to this comment with the word
STOP@muftykutink Its very interesting info.. Excellent post keep it up.