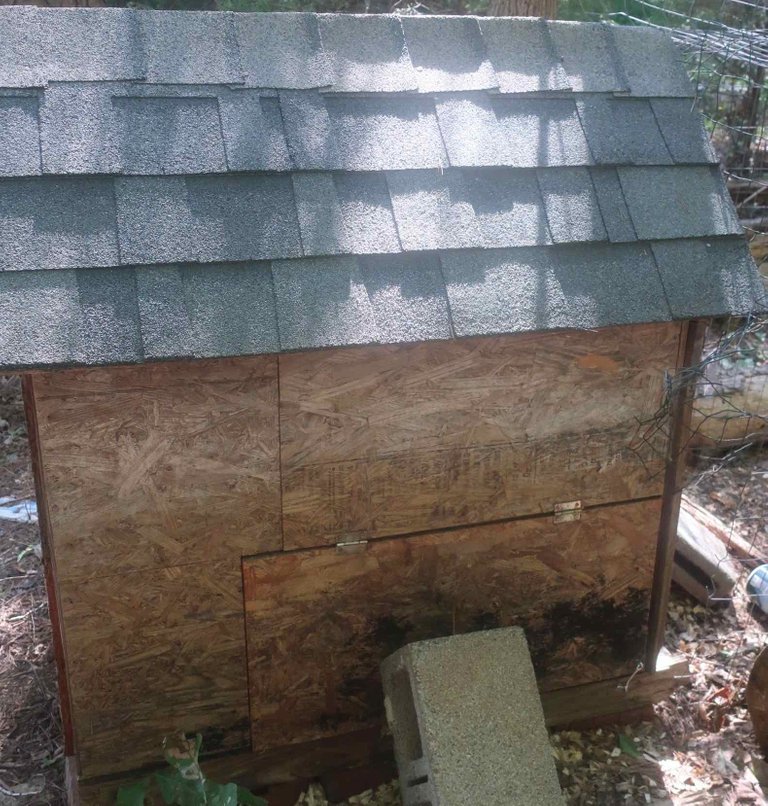
For my first effort at raising chickens, I simply converted an old dog house that I got for free and made a run out of scrap fencing. Doing so, I made the mistake I always seem to make: go cheap at the beginning and pay for it at the end. After 12 weeks of feeding the chickens, I lost 3 to a raccoon (probably) that pulled out 2 fence staples that were 2” inch long.
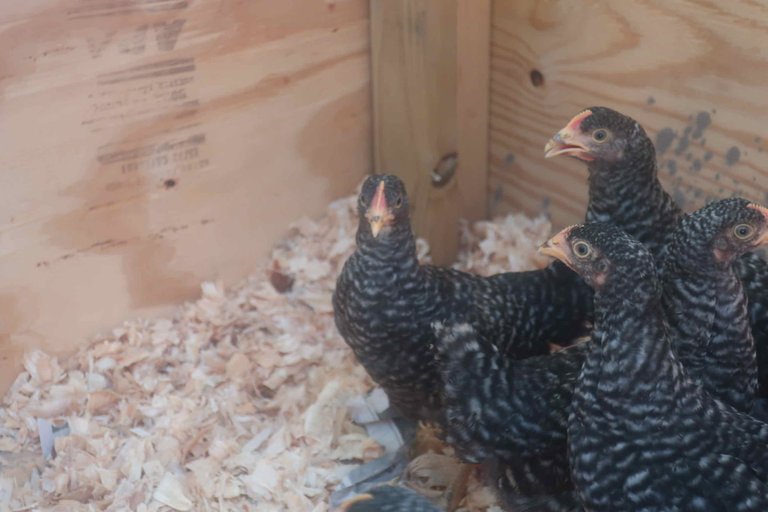
We have been raising a new brood of Barred Rock pullets, and this weekend I did it right and made a secure, economical coop. Here is how I built it, errors and all, since I am a poor carpenter and my motto is “measure once, cut three times, go back to the store because you are out of wood.”

Our new Barred Rock pullets
Design
I am tired of ducking my head into a pop door to clean out the coop. So for this time, I elected to hinge the entire roof so it lifts like a chest. The dimensions are 8’x4’ which I chose to minimize wasted wood since it matches the dimensions of a standard sheet of plywood. For the height, one side is 2’ and the other side is 2.5’ which gives the roof a slight pitch. I tried to make it look nice since it is in prominent view from the back deck.
Materials
I spent $120 USD on the following materials, which is a lot but is still less than a prebuilt coop. I put in around 8 hours of labor. It would have been less if I was working solo but I did it with my boys so there was a lot of teaching and fixing.
- 1/2” plywood
- Primer and exterior paint (I already had)
- Corrugated sheet metal for roof
- Pressure treated 2x4 for base
- Untreated 2x4 studs for interior
- Fasteners including galvanized roof nails, 2” galvanized framing nails, and 3” galvanized deck screws (hardware sure has gotten expensive so I used the bare minimum for each stage)
Base
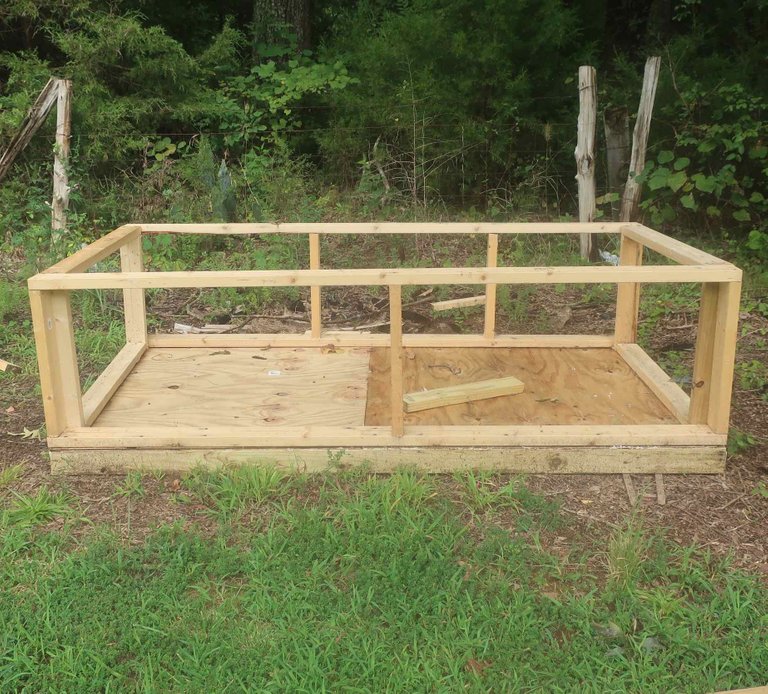
For the foundation, I used the pressure treated 2x4. I originally planned on putting it up on cinder blocks but got nervous about how heavy it would be so I laid it on the ground. I nailed a sheet of plywood onto this ground-contact crib. I painted primer on the ground facing side of the plywood to protect the wood from incidental moisture.

Sides
I framed the sides using the untreated studs. I used nails rather than screws since I was confident all the sides would reinforce each other once I got it together. I guess I made a measurement error on the base with a slight difference in ends so I had to make the walls to fit this size.
I primed and painted the plywood siding before sheathing in the coop. This was the one smart thing I did. I tacked the painted plywood boards in using galvanized nails.
Roof
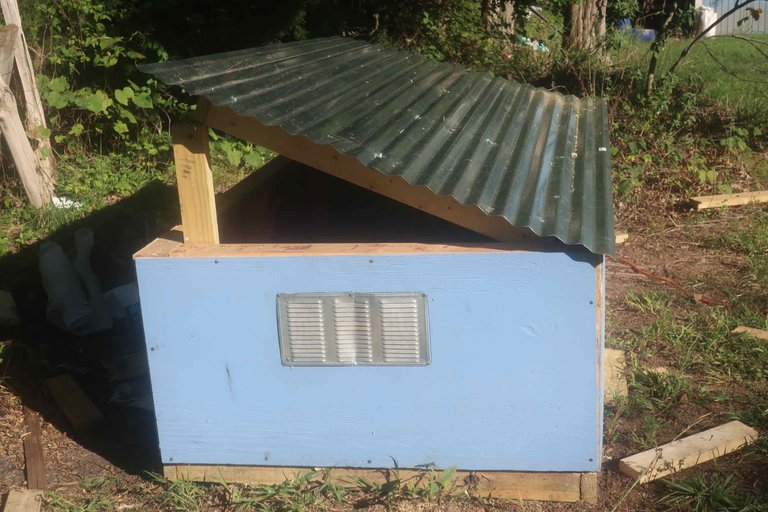
I nailed together the frame for the roof and then used scrap ends of 2x4’ as a rest for the roof frame inside the coop. I screwed the hinges in and once I was able to lift the roof frame to my liking I nailed the sheet metal to the frame. I caulked the nail holes and between the plywood sides that didn’t fit exactly flush.
Mistakes
At this point, I had put the kids to bed and I was working in the dark with a headlamp. I was tired and thirsty since we were out of homebrew Hefenweizen. After I got the roof on, I realized I had forgotten ventilation access. With the metal roof and the southern weather, the coop will get very hot even with an open pop door. I went to sleep and the next afternoon I pried the ventilation port off the old coop and drilled a hole big enough to get a hand saw in. I threw some drill holes in around the top too.
New home
The barred rocks pullets now have room to stretch their fledgling wings. I still need to put in nesting boxes and a fenced run. But no rush on these now since I wouldn’t let the pullets out in the run for a few more weeks, and they won’t lay until early spring.
Before and after

First coop made from scavenged materials, super secure cinder block against door

Next steps
We made the decision to not harvest the boar raccoon until the winter. Right now, it would simply be a waste since its summer fur is not usable and the meat is likely infested with an unsightly parasite. This is a calculated gamble, but I feel secure enough in the new coop to throw the dice. Next post, I will show you how to make shellfish oil from the scraps of blue crabs we caught to use as a raccoon lure.
Cheers,
Briarch

You've been visited by @minismallholding from Homesteaders Co-op.
I hope this one keeps them safe. It's amazing how crafty and determined some predators can be.
A community marketplace of ethical, handmade and sustainable products available for STEEM, SBD (and USD): https://homesteaderscoop.com
follow: @homesteaderscoop
Congratulations @briarch! You have completed the following achievement on the Steem blockchain and have been rewarded with new badge(s) :
You can view your badges on your Steem Board and compare to others on the Steem Ranking
If you no longer want to receive notifications, reply to this comment with the word
STOPVote for @Steemitboard as a witness to get one more award and increased upvotes!
This post was shared in the Curation Collective Discord community for curators, and upvoted and resteemed by the @c-squared community account after manual review.
@c-squared runs a community witness. Please consider using one of your witness votes on us here