.png)
¡Hola lindo día 🌞!un gusto saludarte ,espero se encuentren muy bien queridos y apreciados amigos.
Hello, beautiful day! It's a pleasure to greet you🌞.
I hope you are all doing very well, dear and appreciated friends. I warmly welcome you to a new blog where I will be sharing with you the creative process of what we will do here step by step. Feel comfortable and thank you for being here reading this blog.✨💗
.jpg)
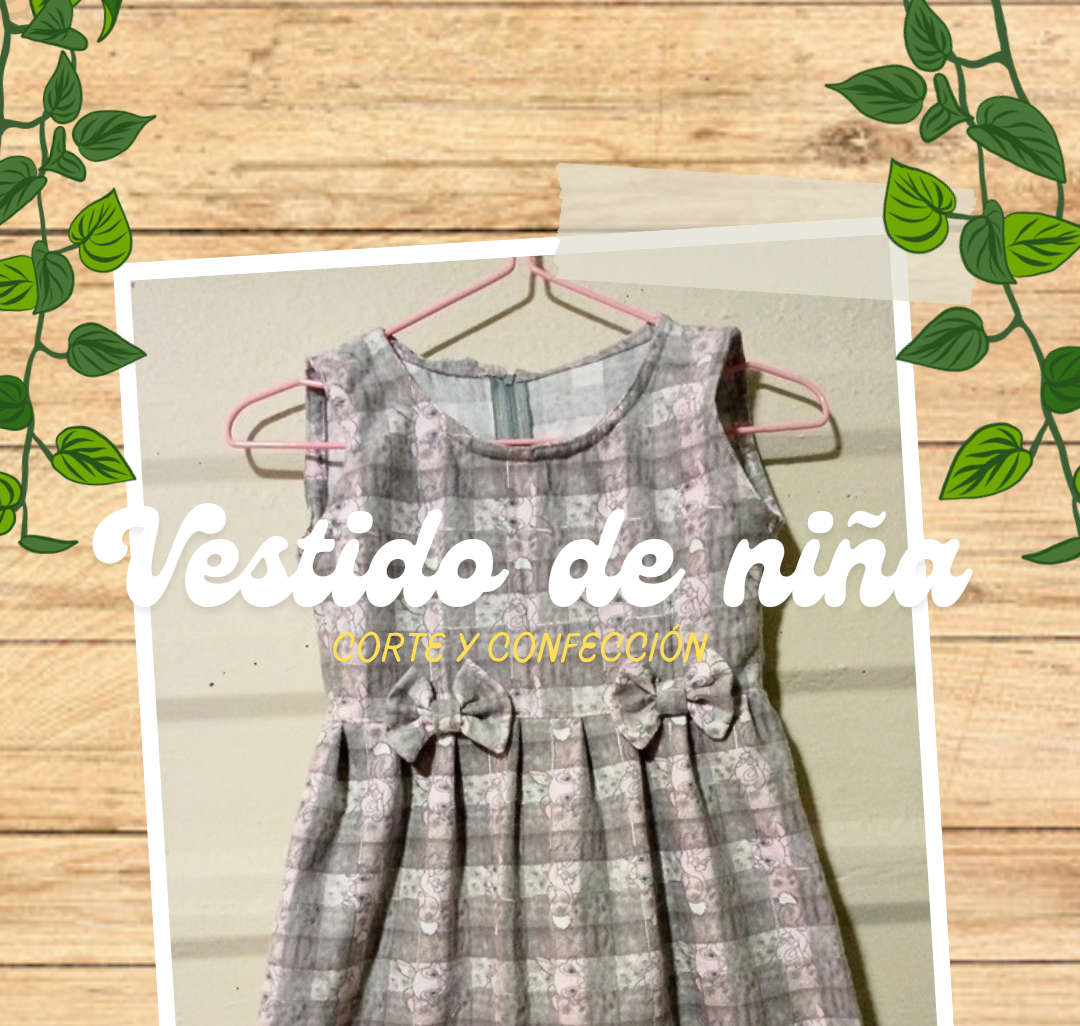
I had never made a dress for girls with a zipper and like all creative friends, everything has its moment, and precisely because it was my turn to make my first dress for a girl. At first I thought I wouldn't be able to do it because even though it is a simple model, it didn't have a hood and when it does, we have to put a bias on the inside of the dresses when you work mainly with fabrics that tend to fray and this one was actually that type of fabric, so it was very necessary for this dress to have it mostly inside, but I said I was going to sew it little by little and that's how it was. In a moment I had already finished it and I was amazed by the results.
Although it was a challenge for me, my expectations for this dress were low, but with effort and dedication I managed to make a well-made piece. At first I underestimated myself, but I continued and trusted in what I was doing. Knowing that this girl will be wearing something that I made makes my heart very happy, and I know that you also feel the same when you make something for someone else. That is why I want to invite you to watch the step by step if you like making girls' clothes.

.jpg)
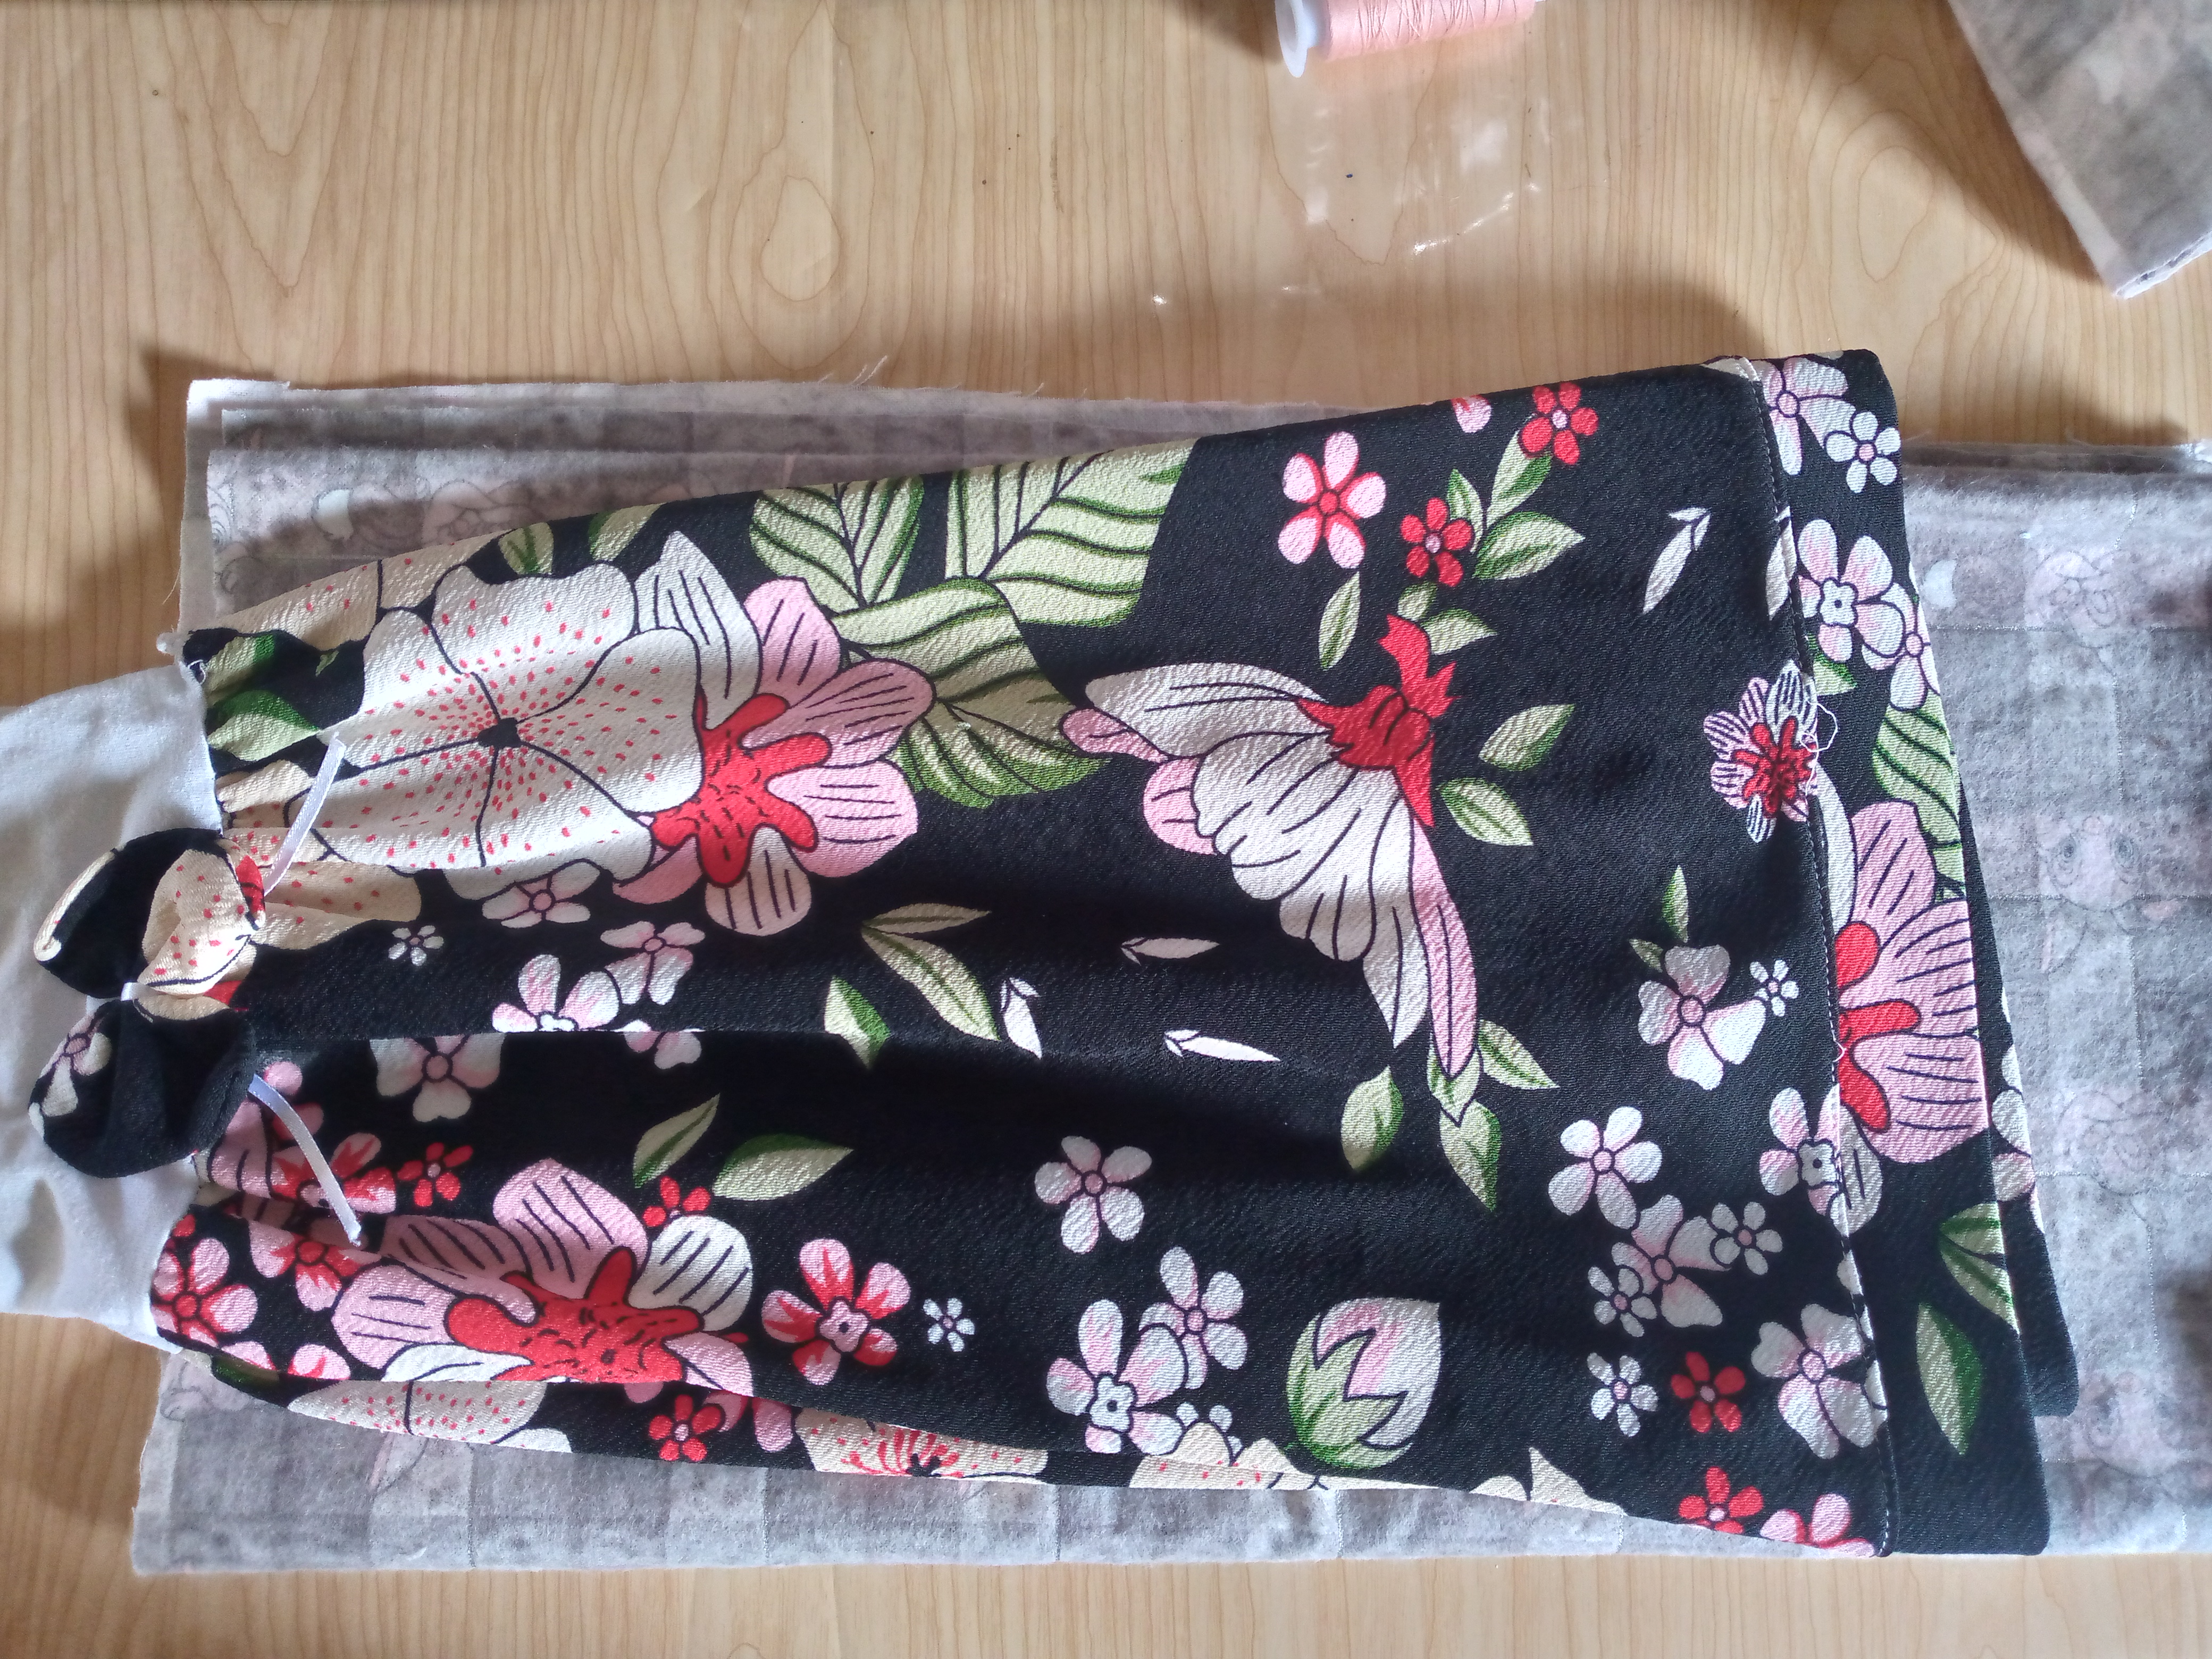
Materiales:// Materials:
- 1 metros de tela de tu preferencia
- Máquina de coser
- Hilo
- Cierre de 30 cm
- Aguja
- Tijeras
- Usaremos una prenda de ropa como medida
- 1 meter of fabric of your choice
- Sewing machine
- Thread
- 30 cm zipper
- Needle
- Scissors
- We will use a piece of clothing as a measure
.jpg)
Pasos a seguir://Steps to follow:
.jpg)
.jpg)

Paso 01
Step 01
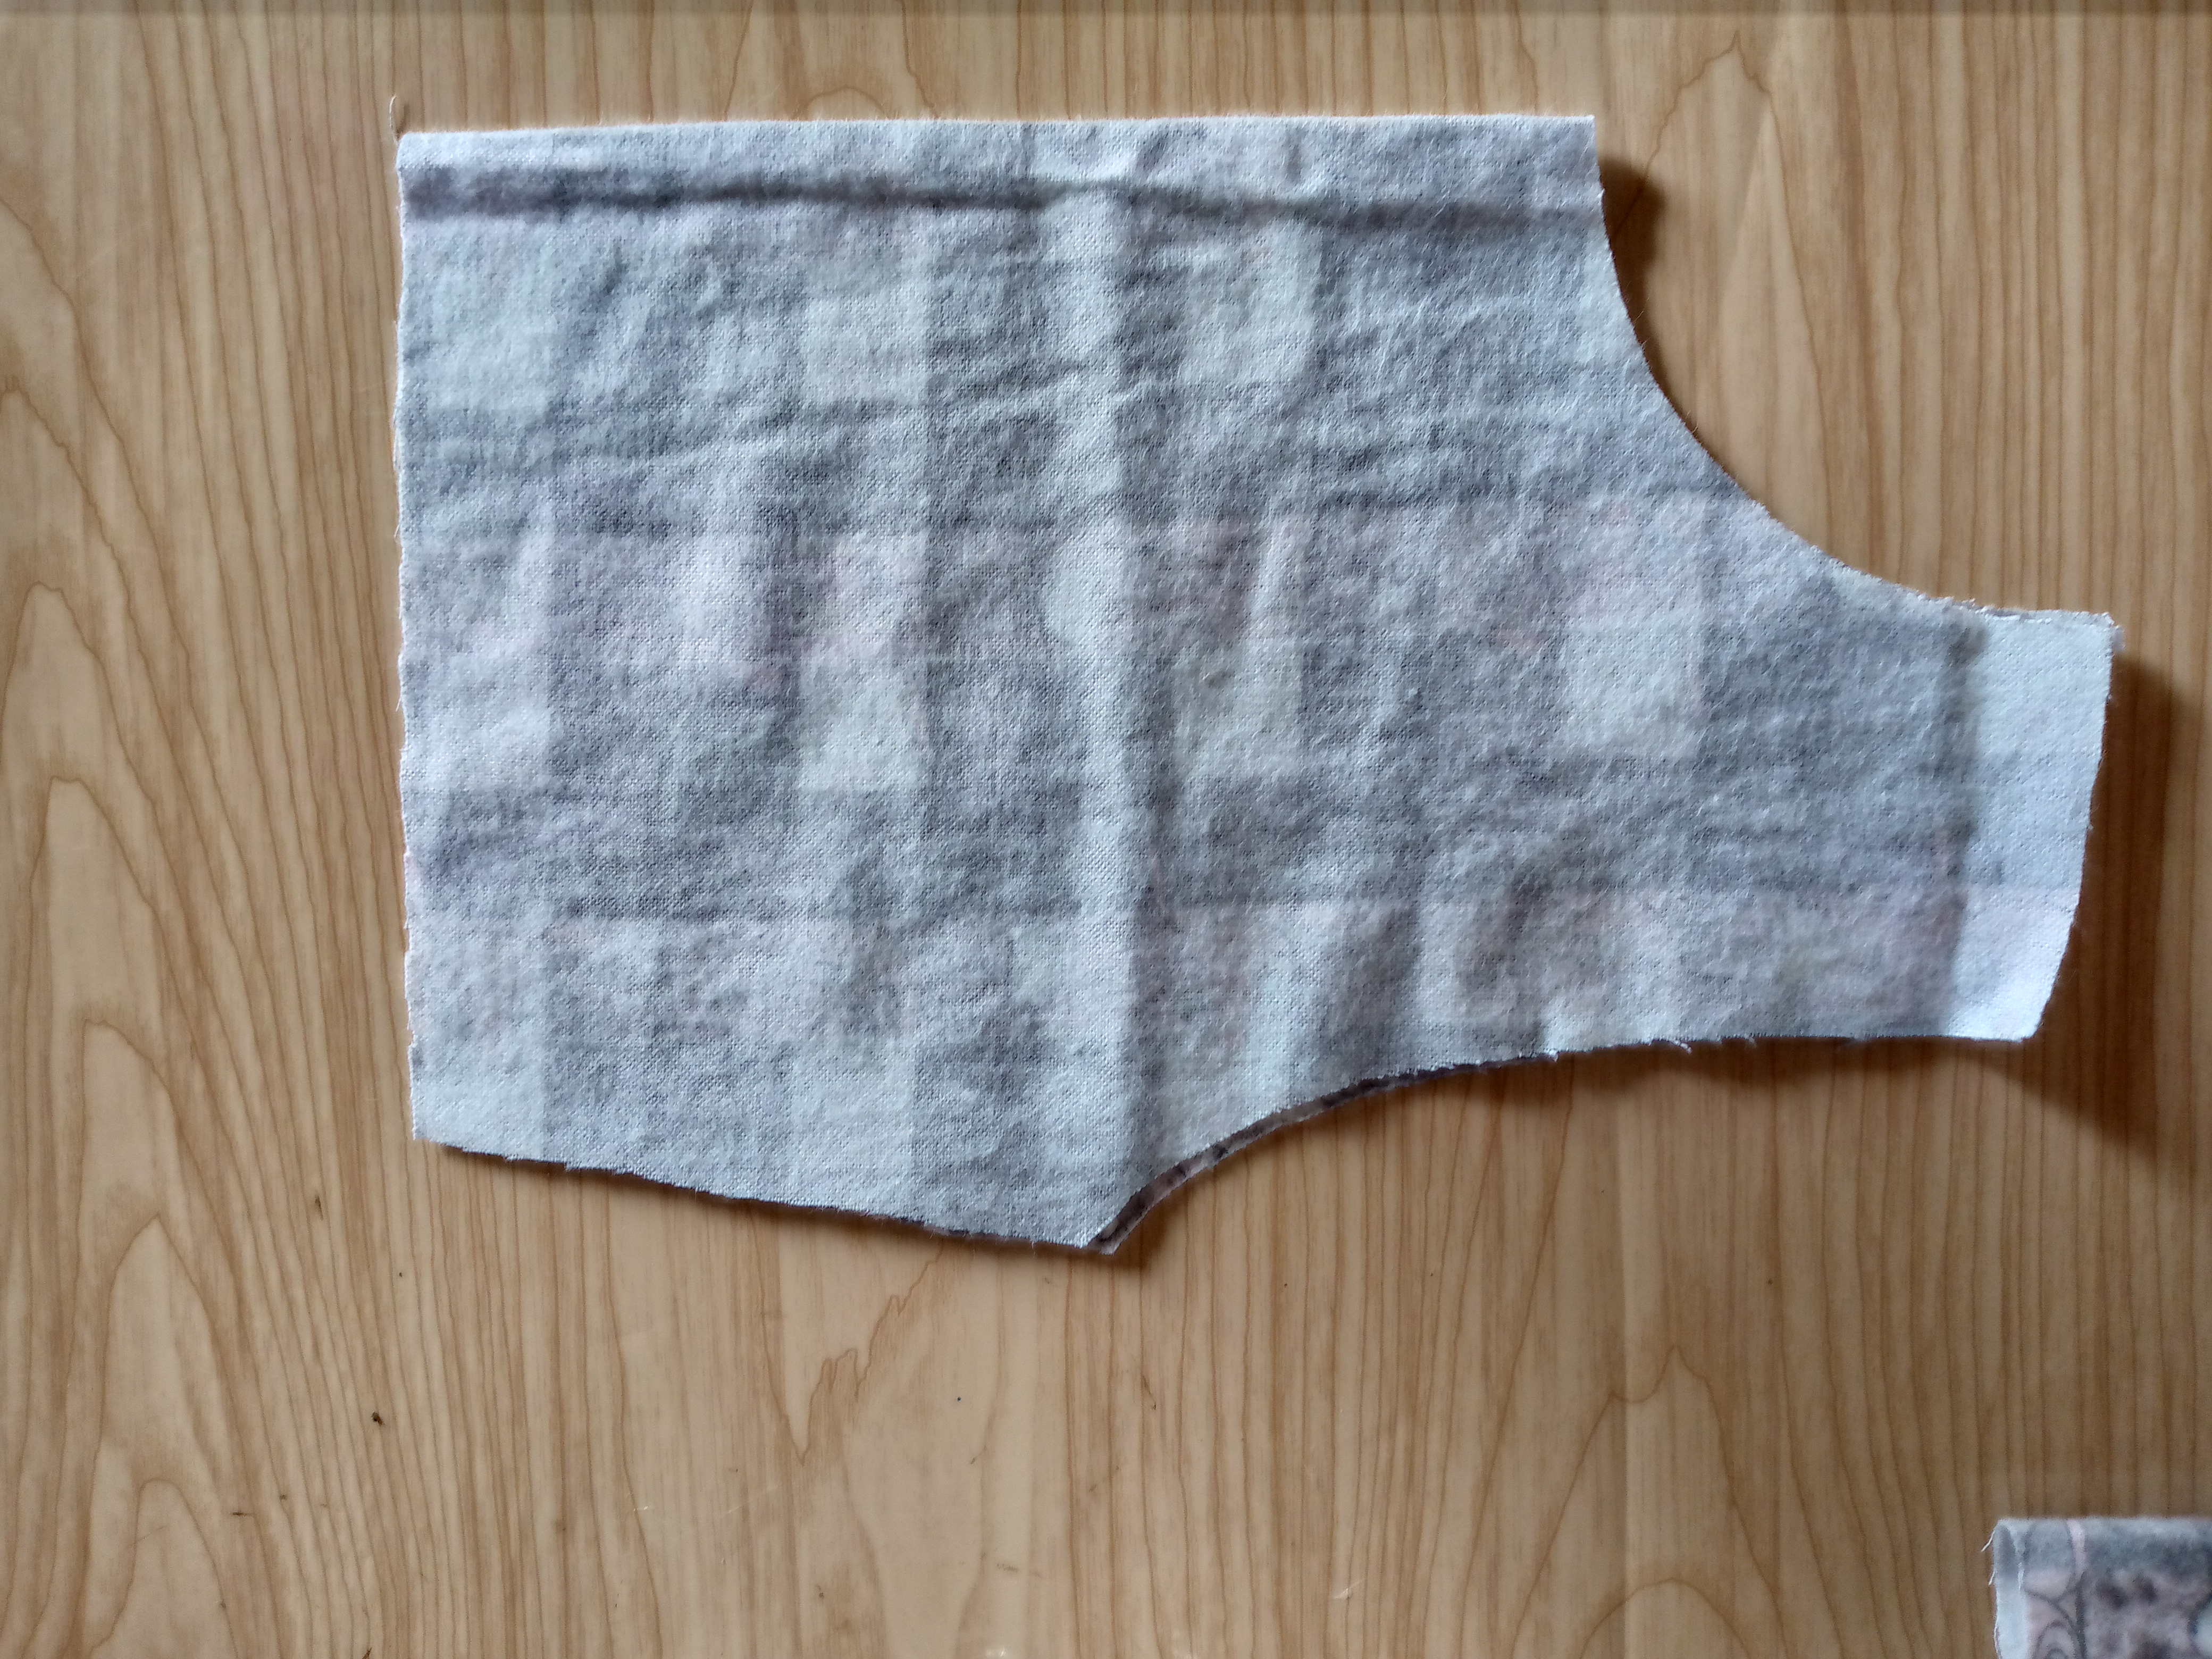
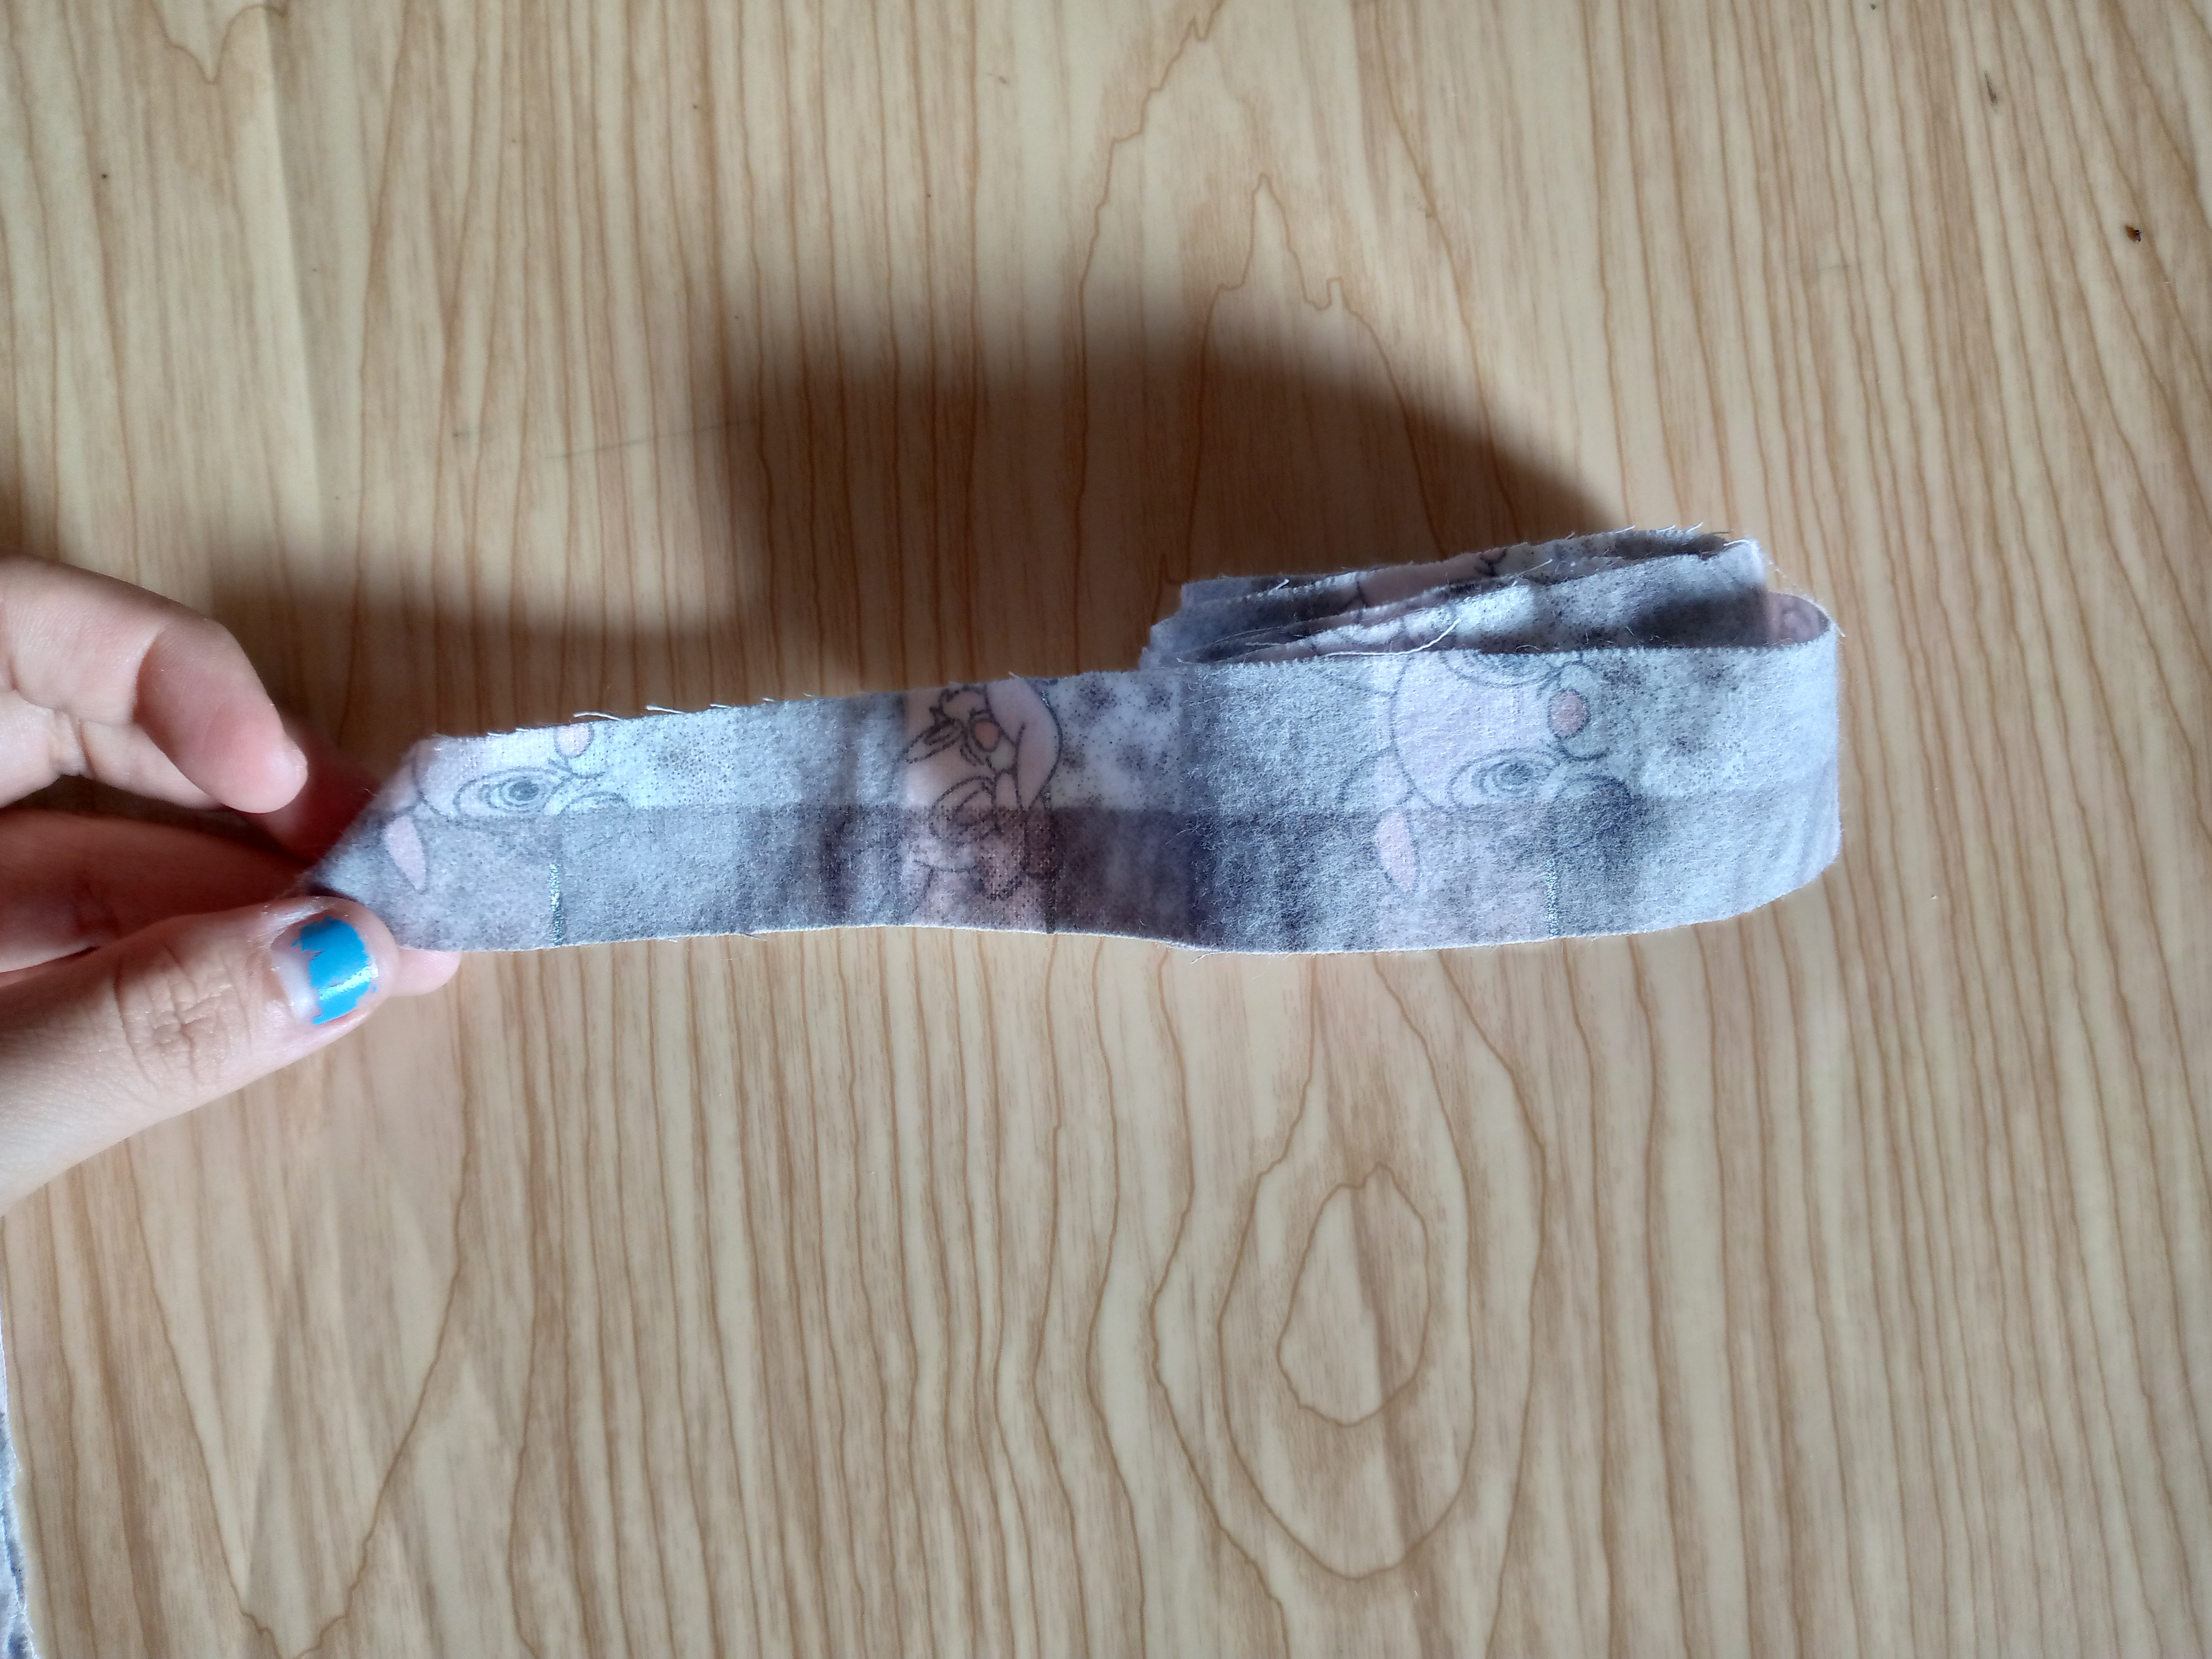
Using the garment measurements as a guide, I cut the pieces: the piece the width of the bottom of the dress, the front and back pieces, the bow pieces, which are two, plus the bias for joining each bow and the bias for the neck, armhole and sides of the dress on the inside.


Paso 02
Step 02
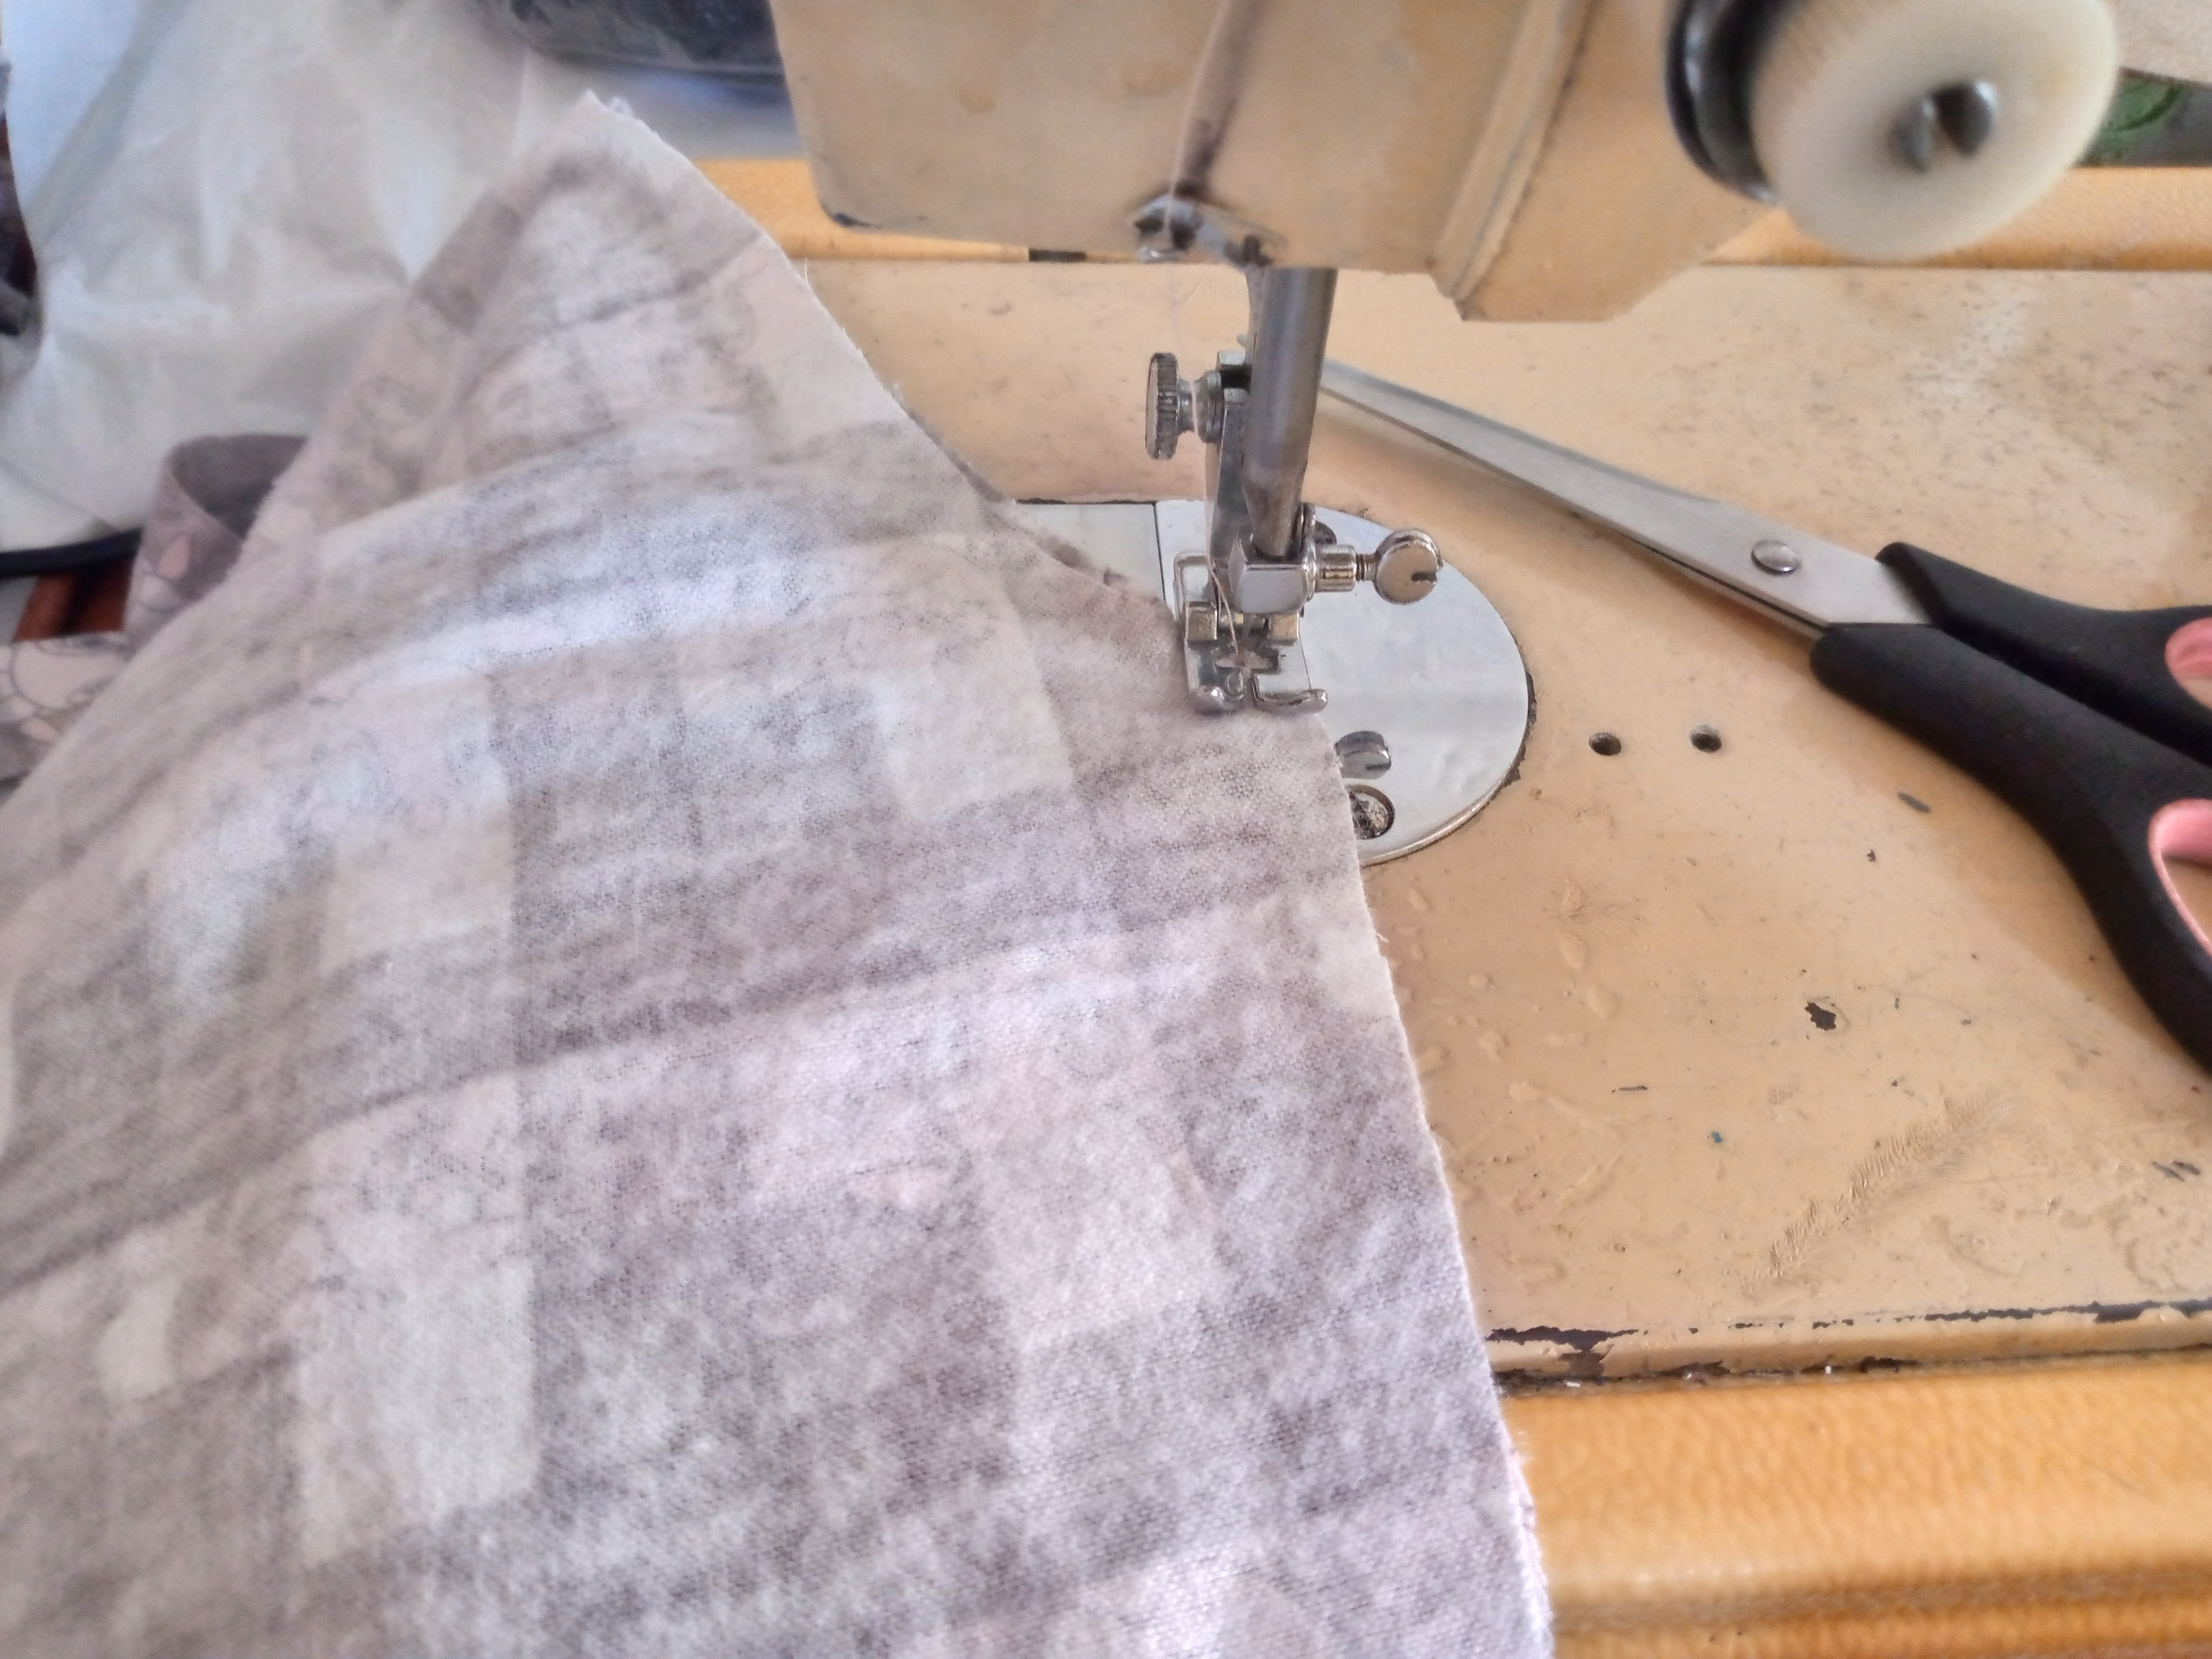
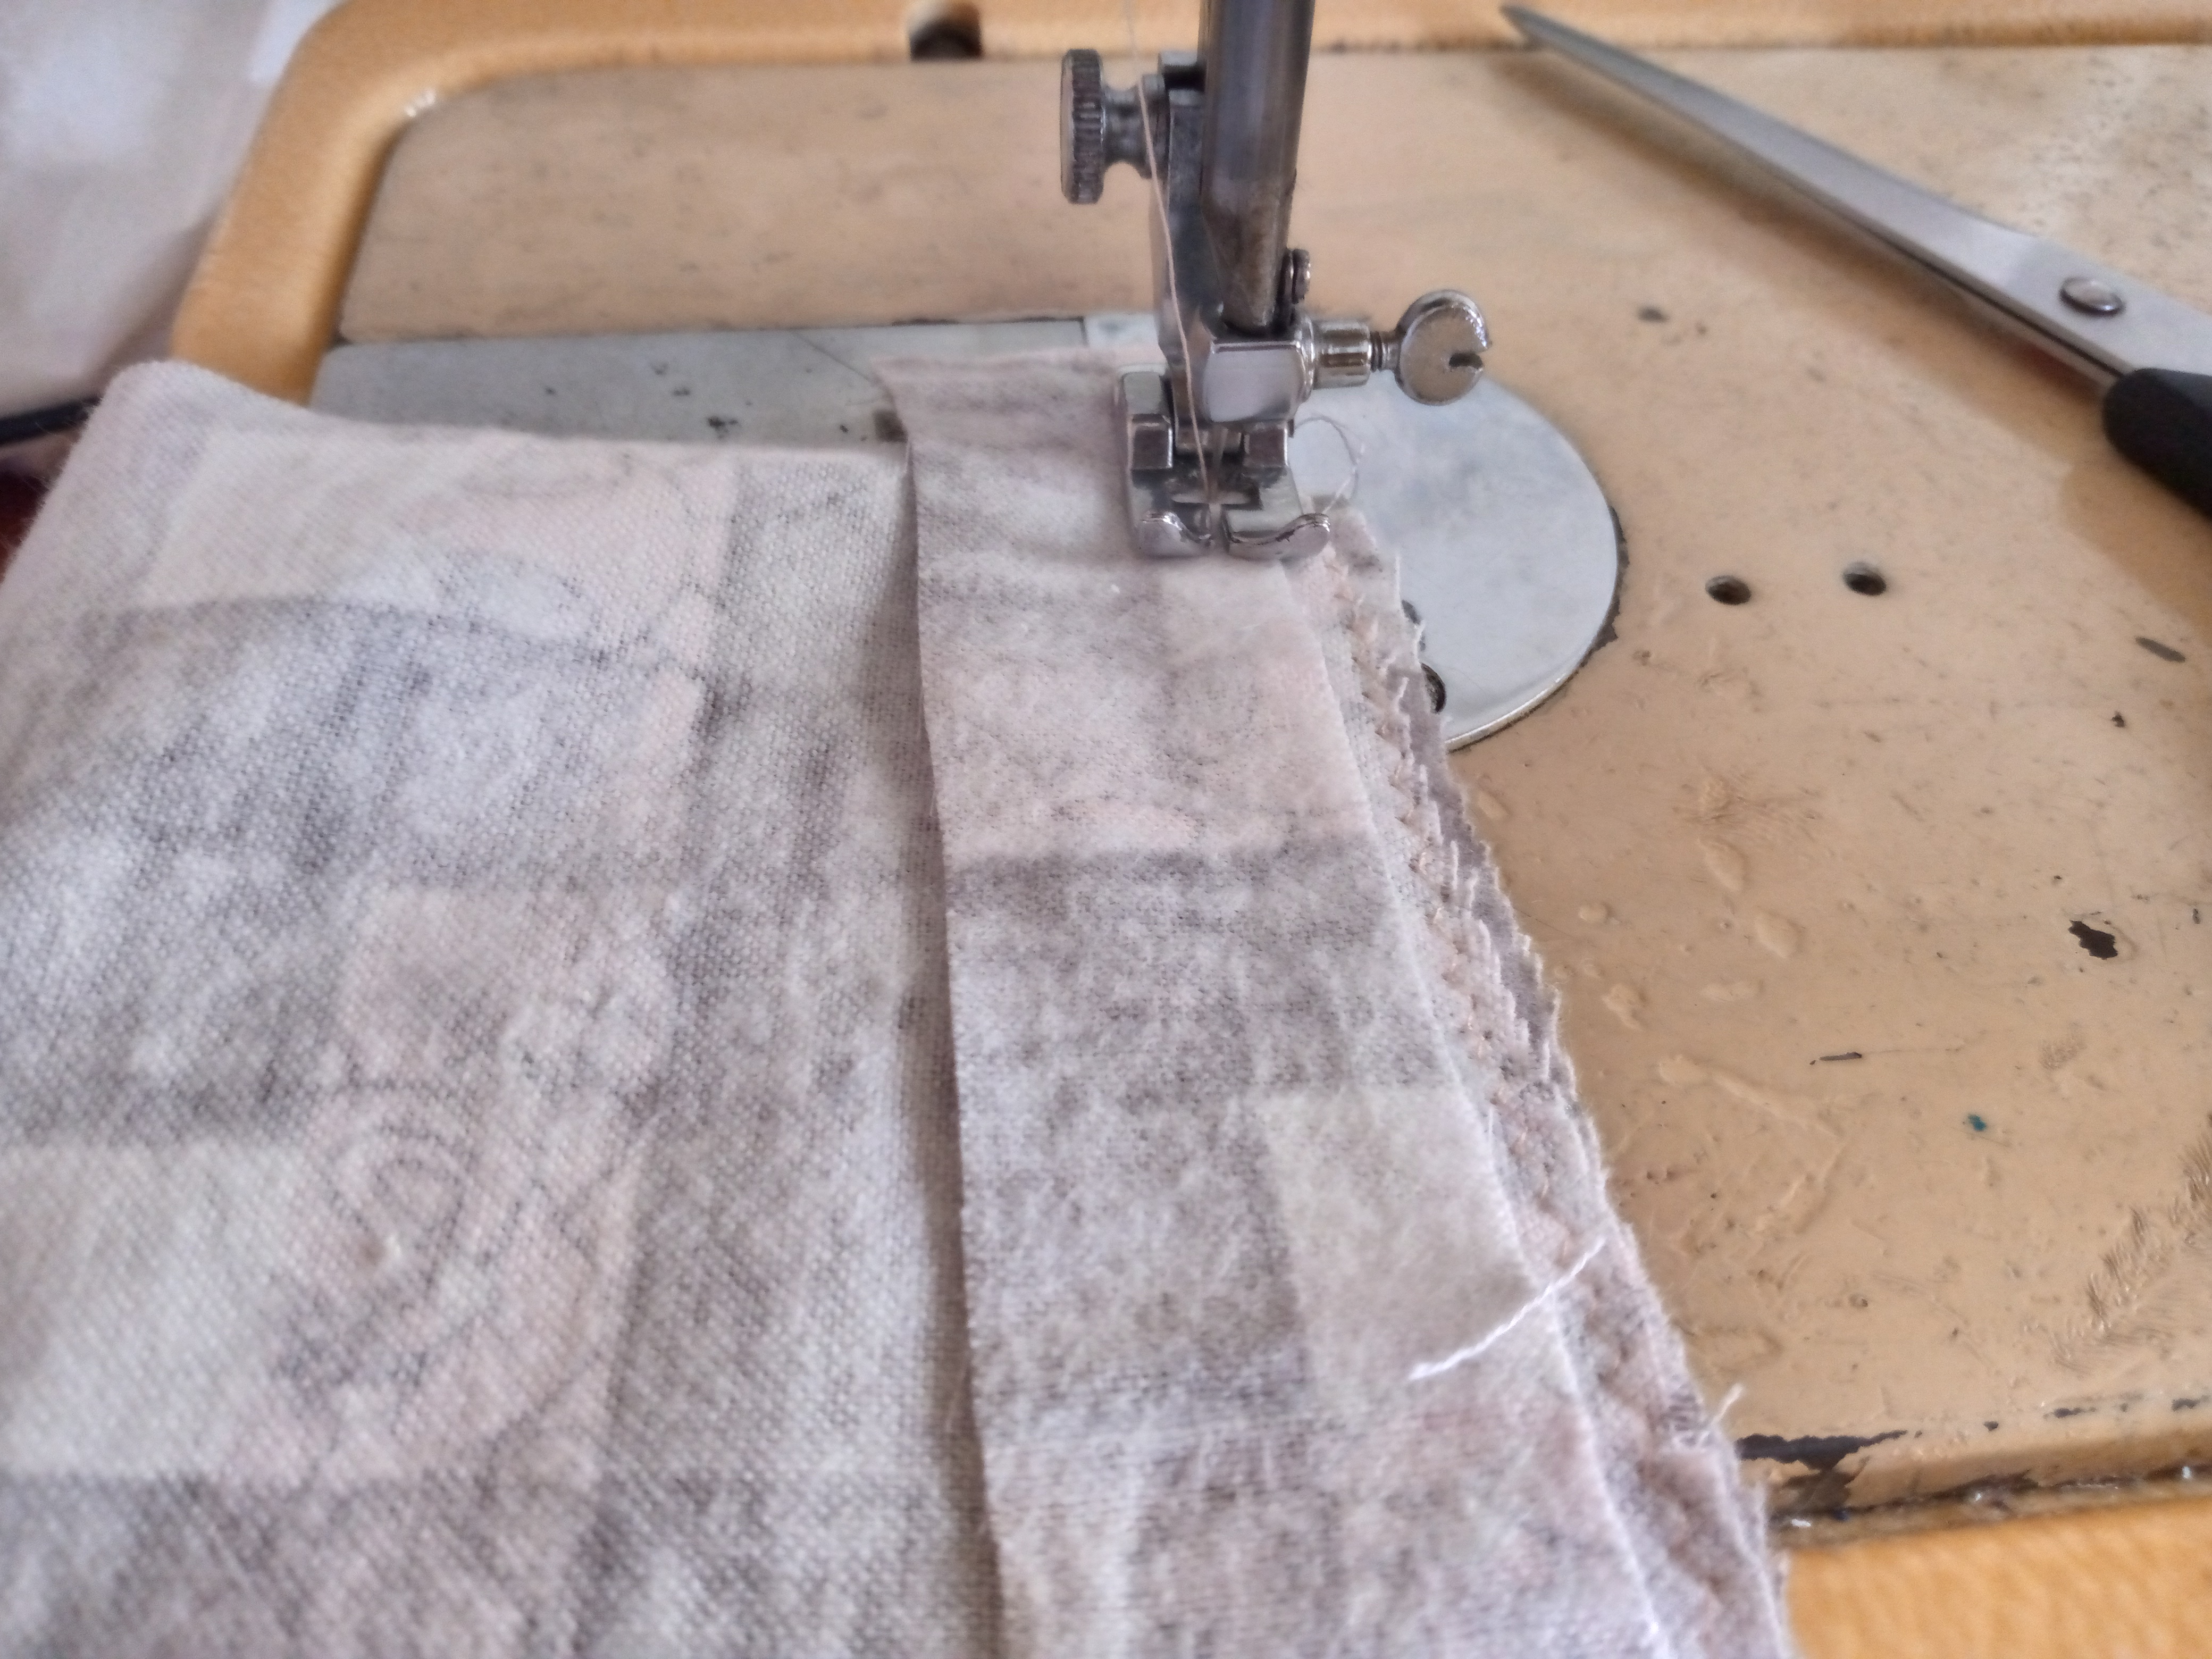
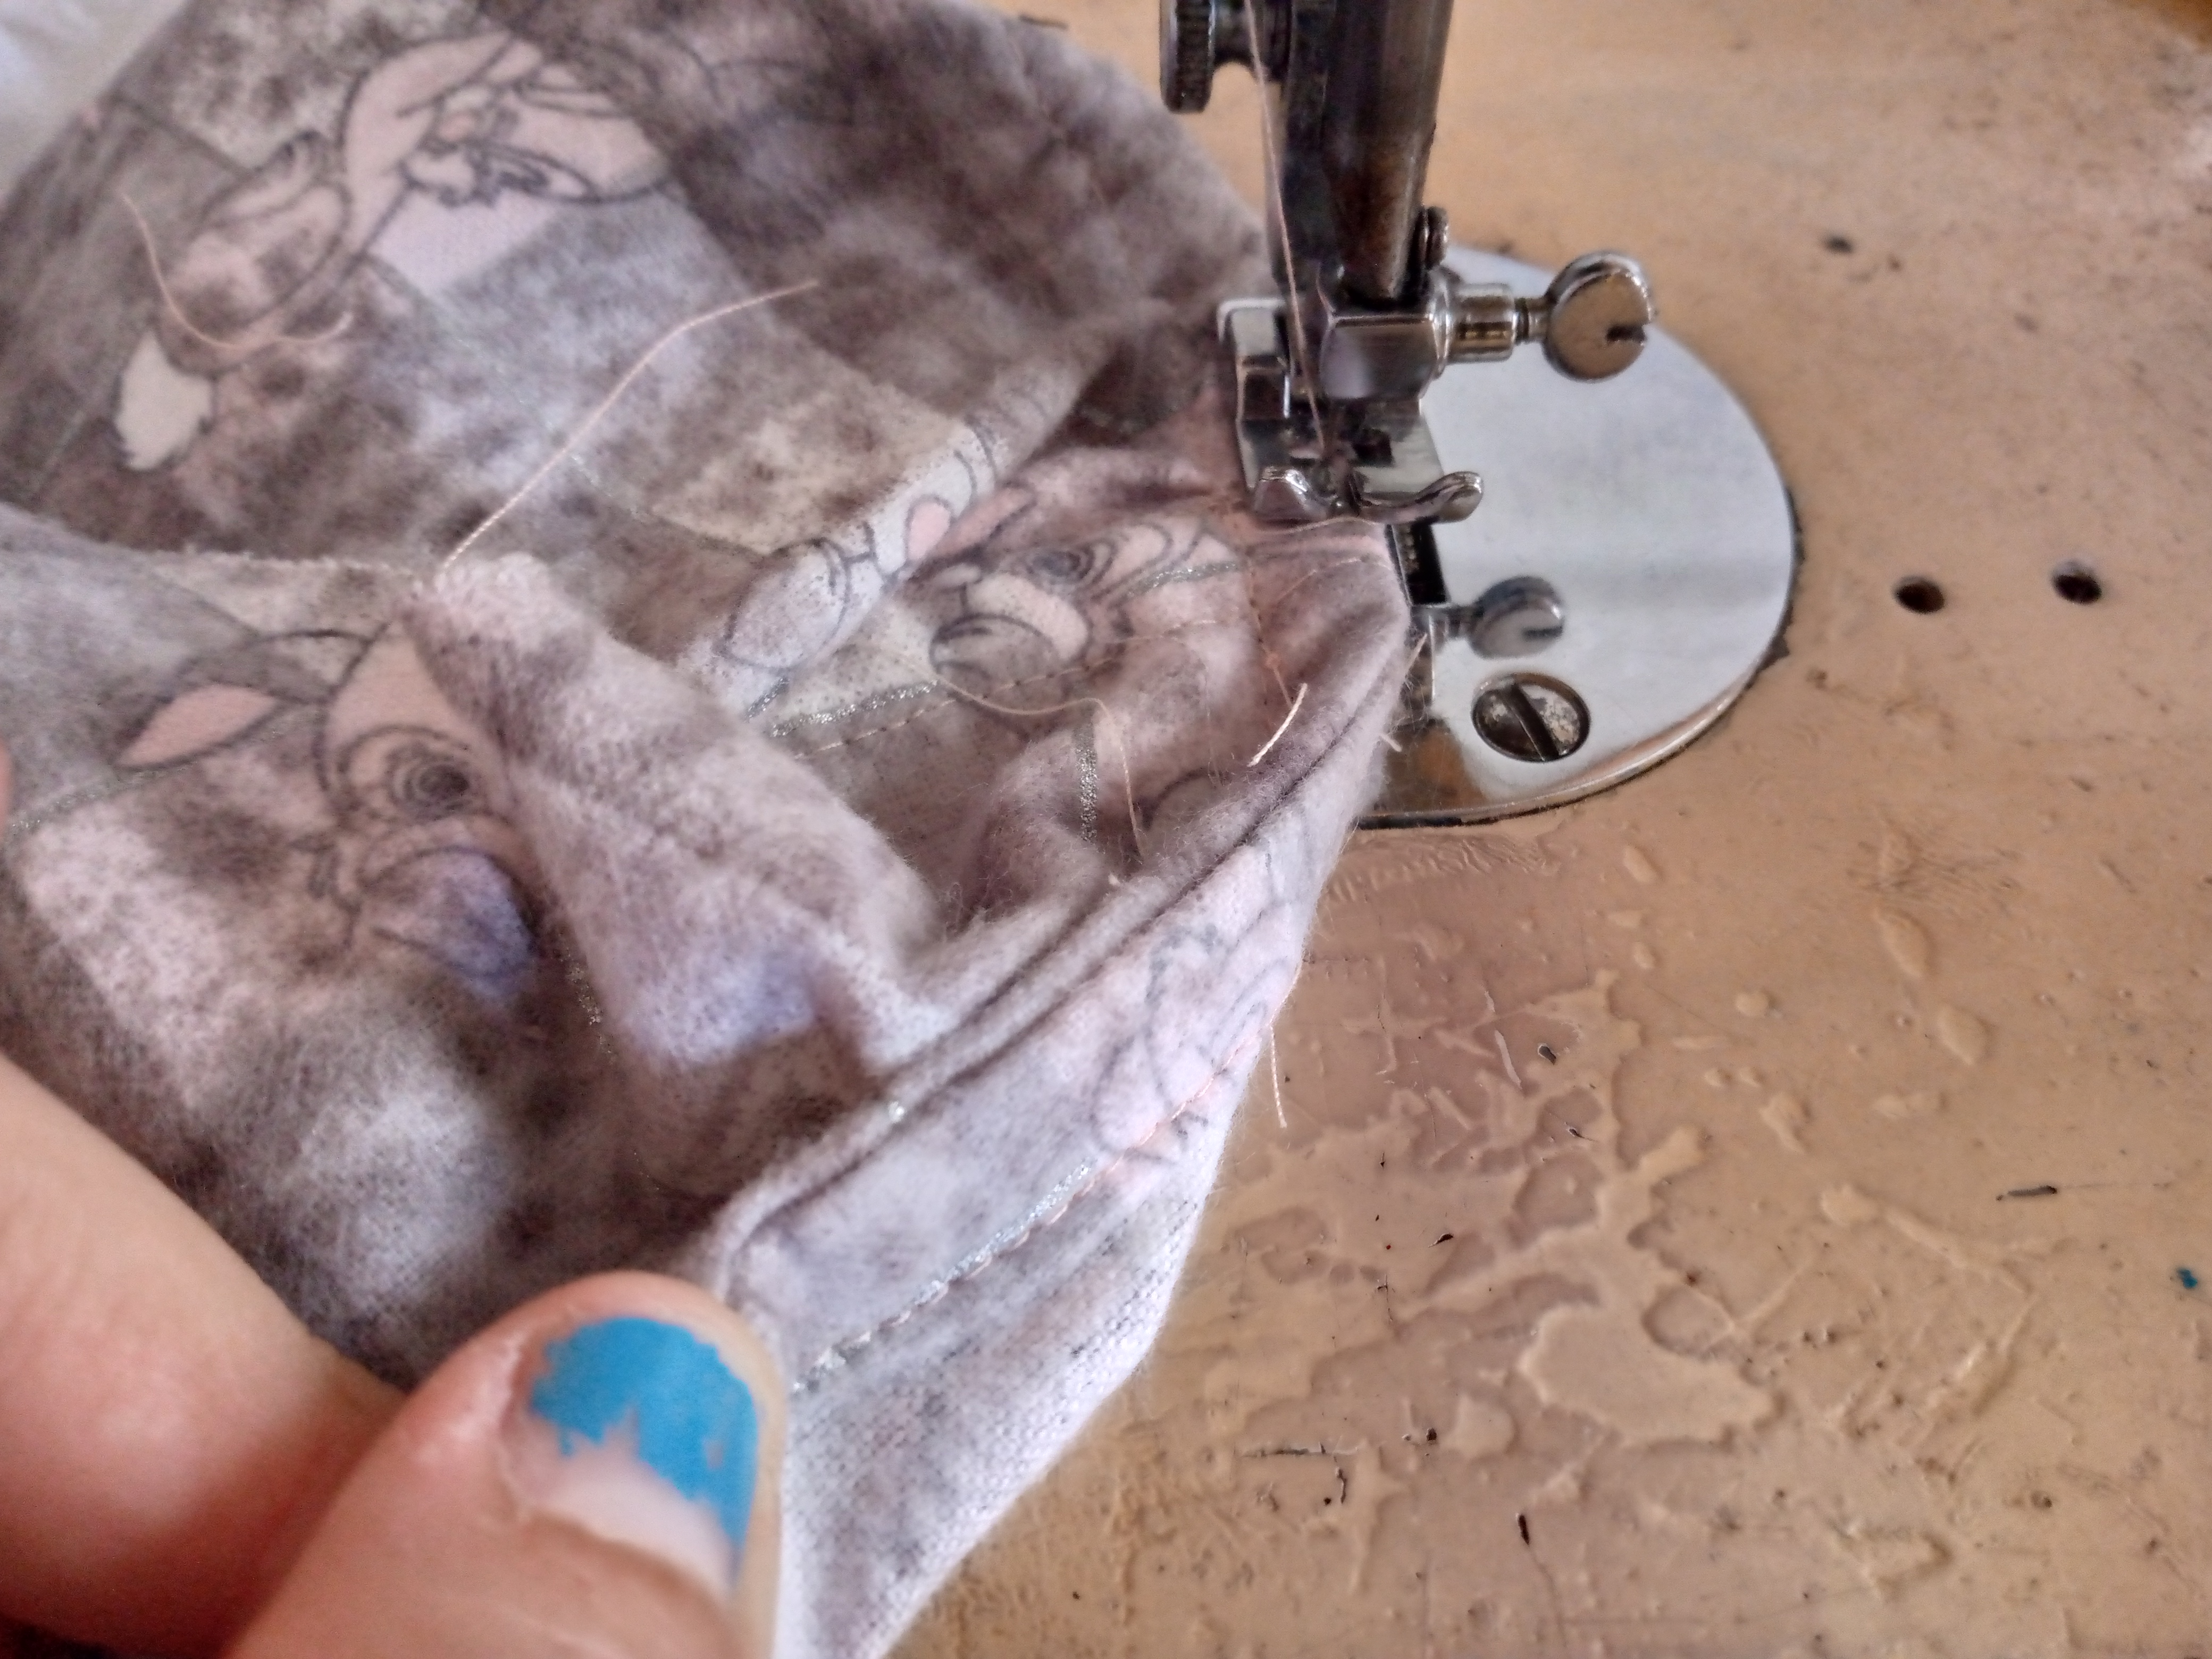
We are then going to sew and join the pieces above the bust of the dress at the shoulders, then at the sides, and we are going to sew the bias on both sides as shown in the images to seal the seam and, as I mentioned at the beginning, so that the fabric does not unravel.



Paso 03
Step 03
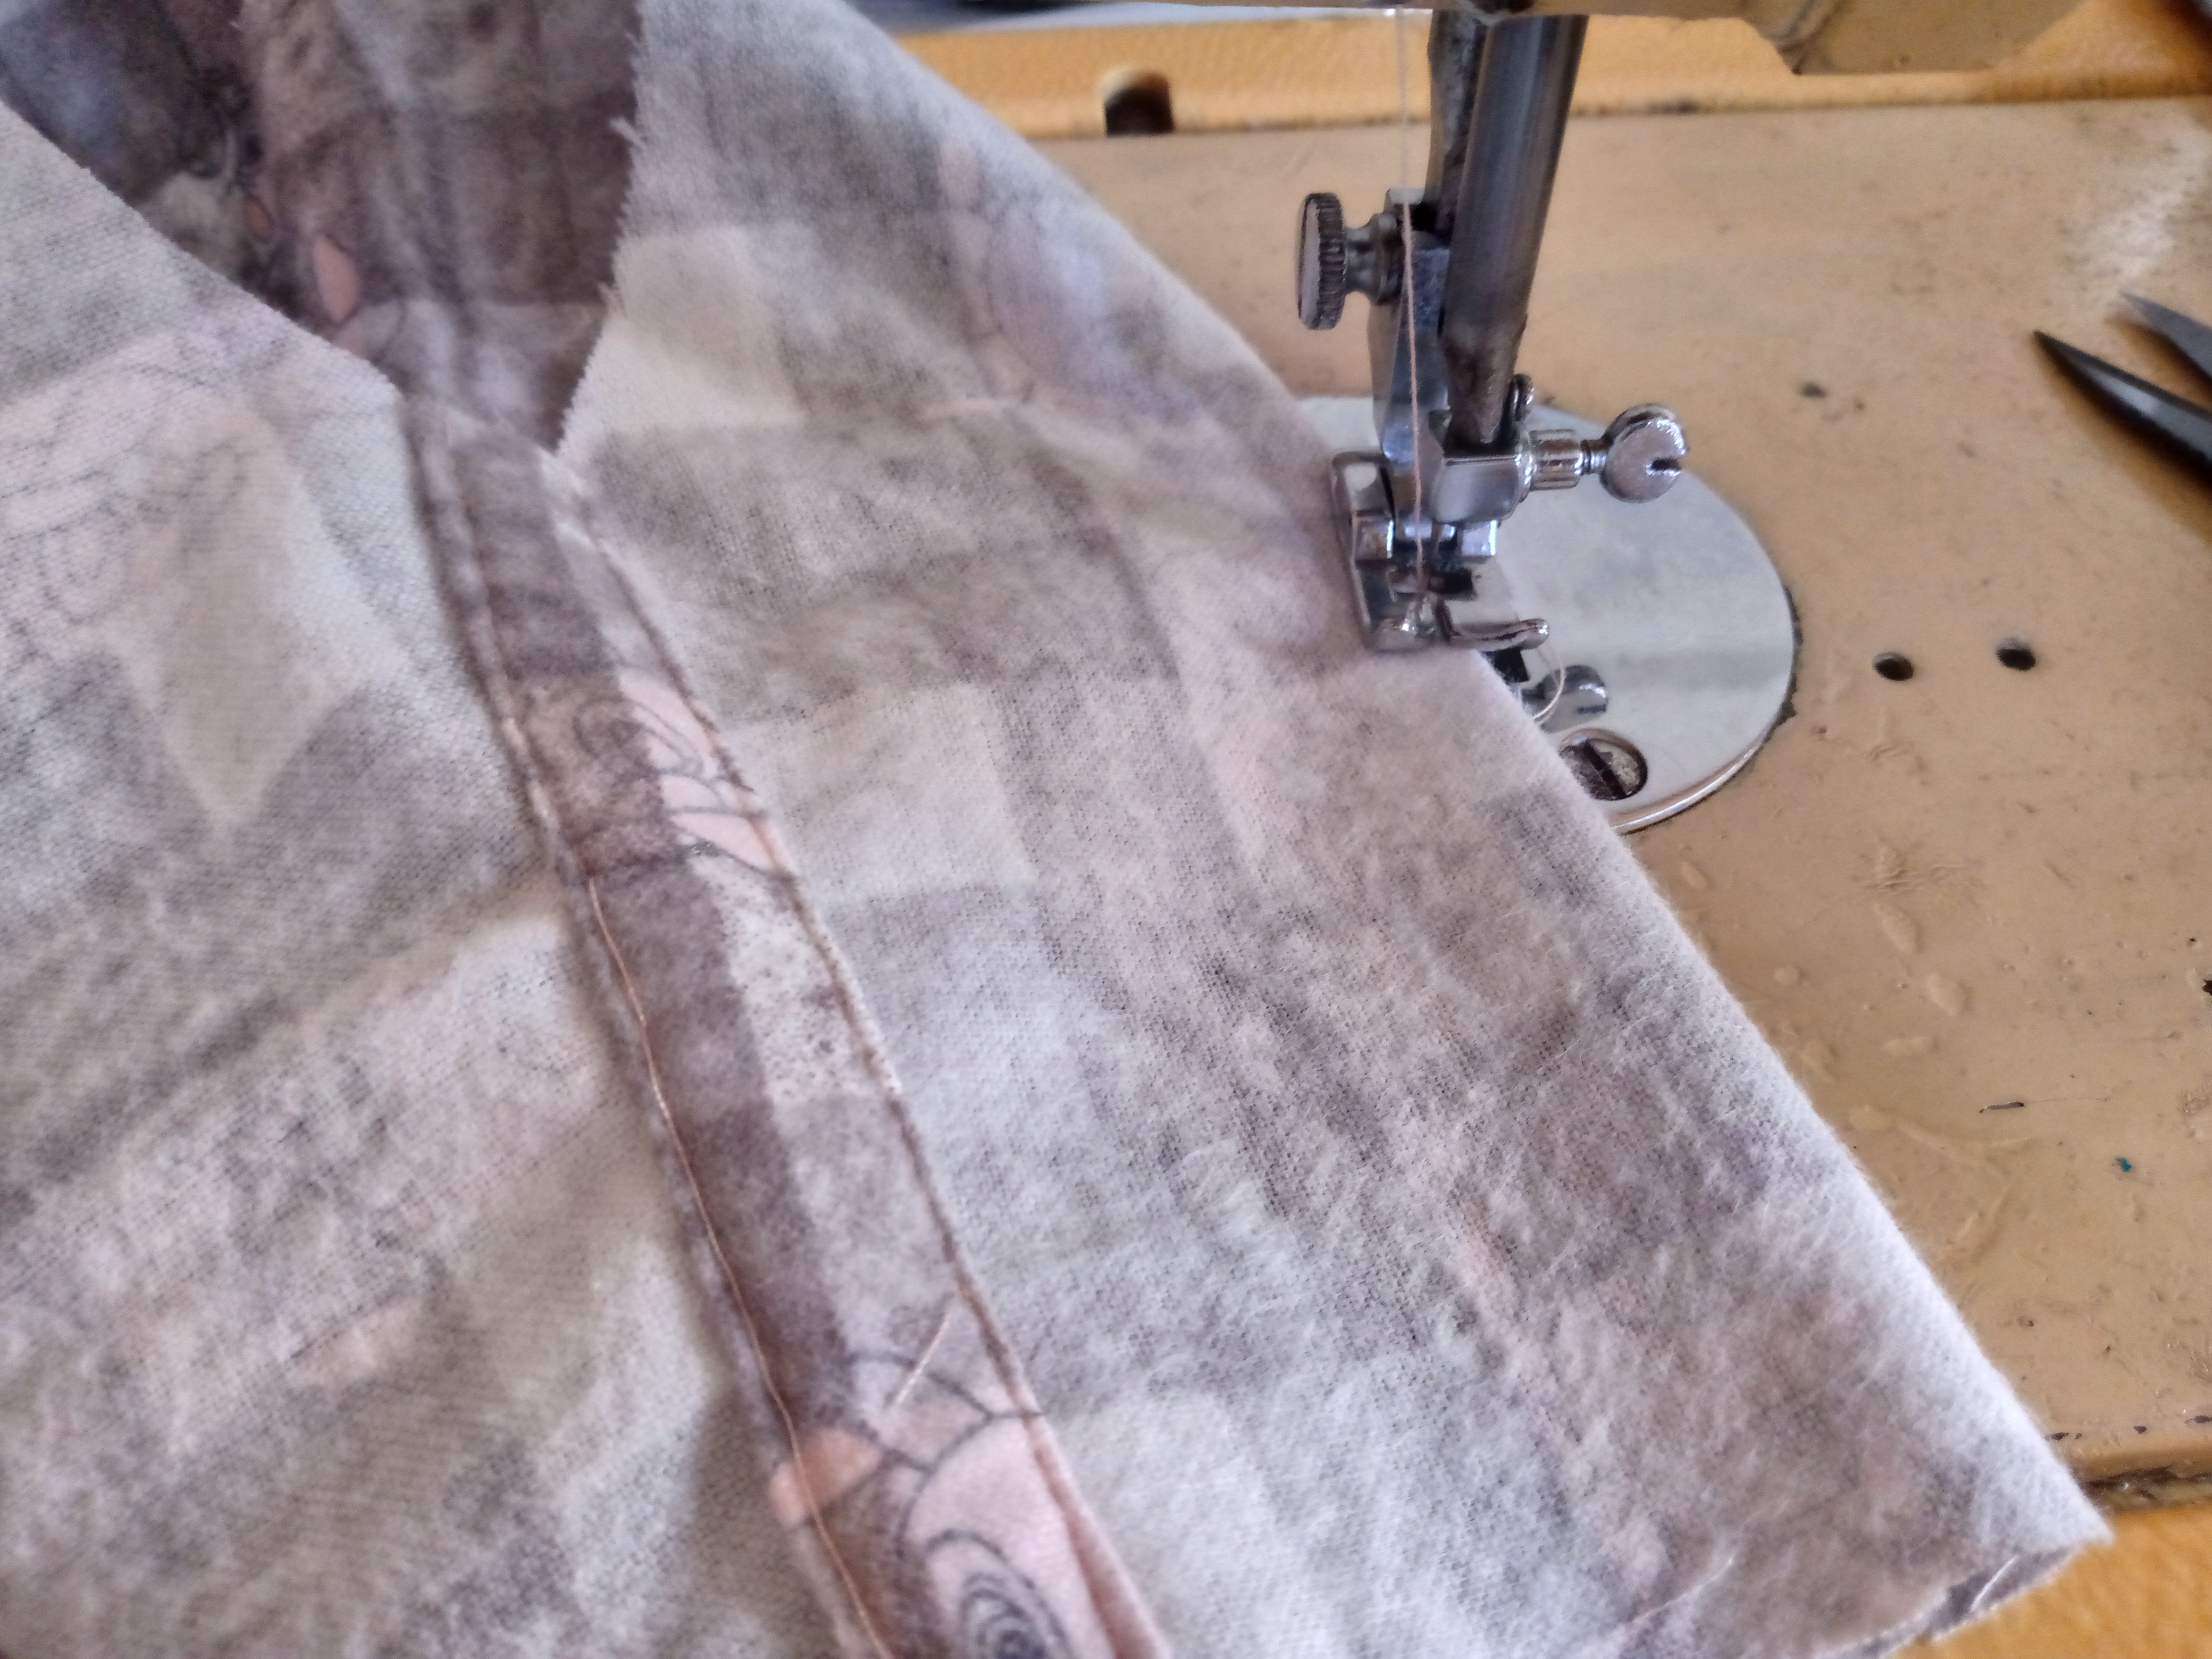
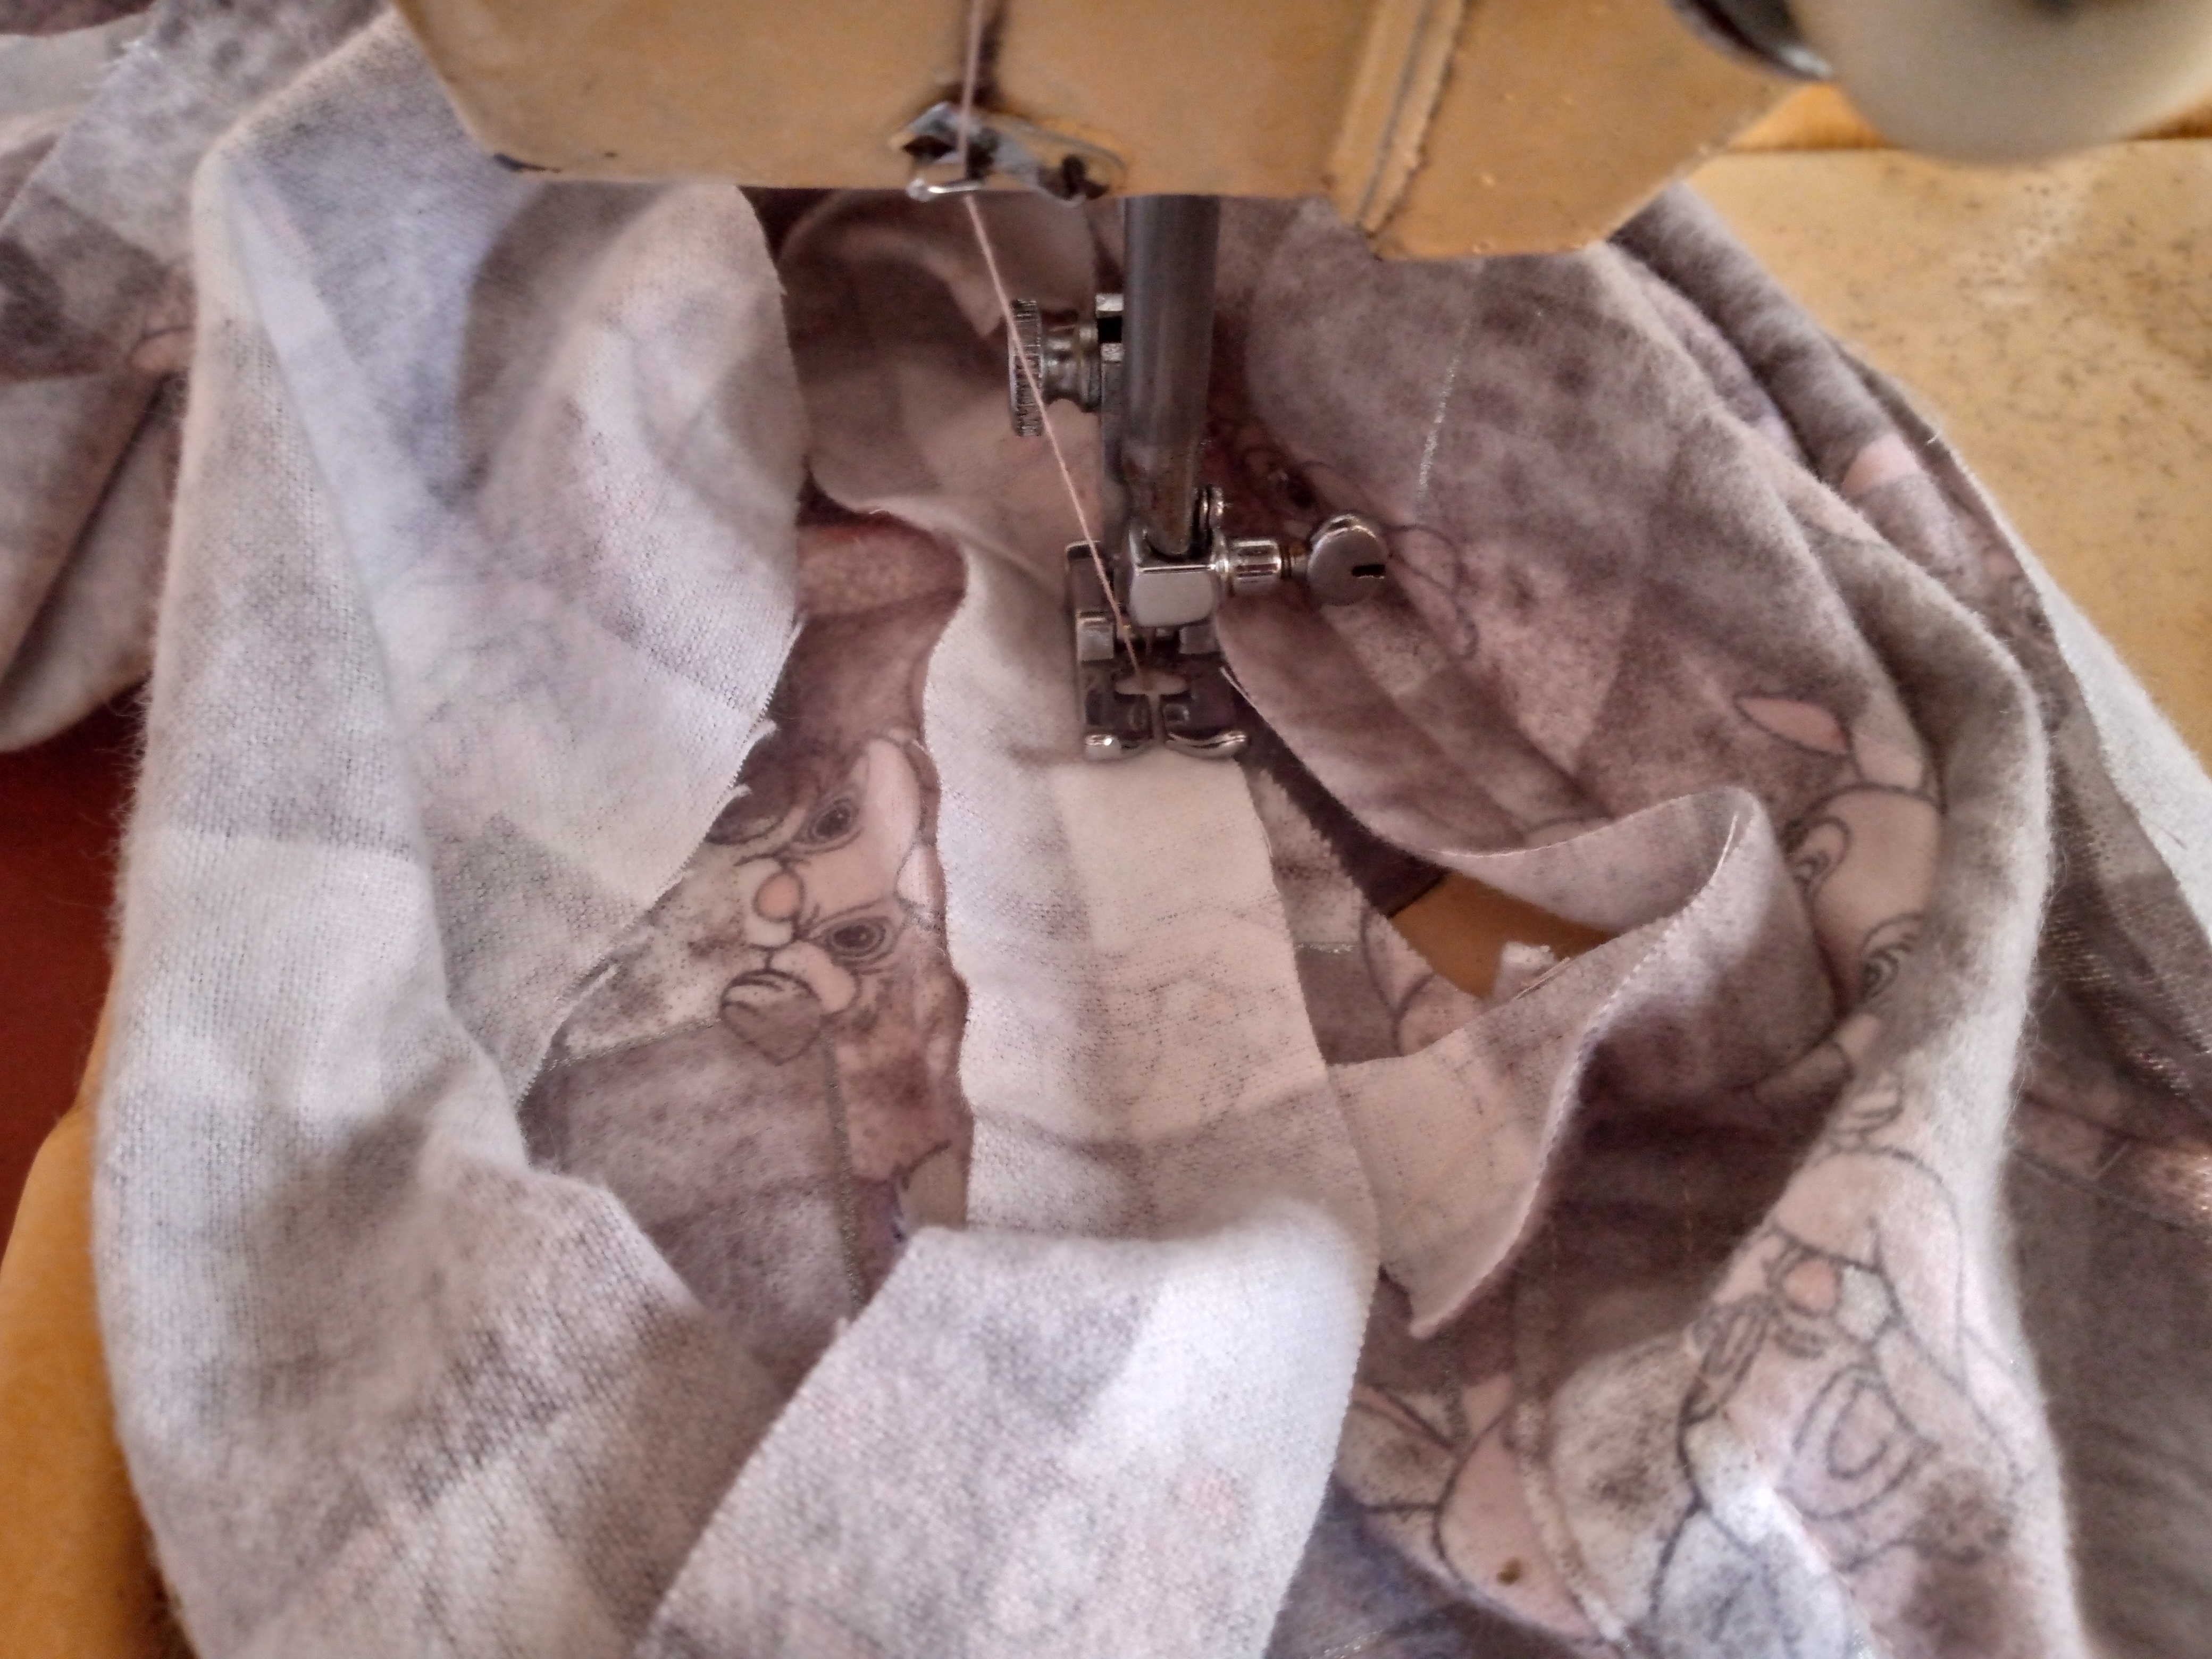
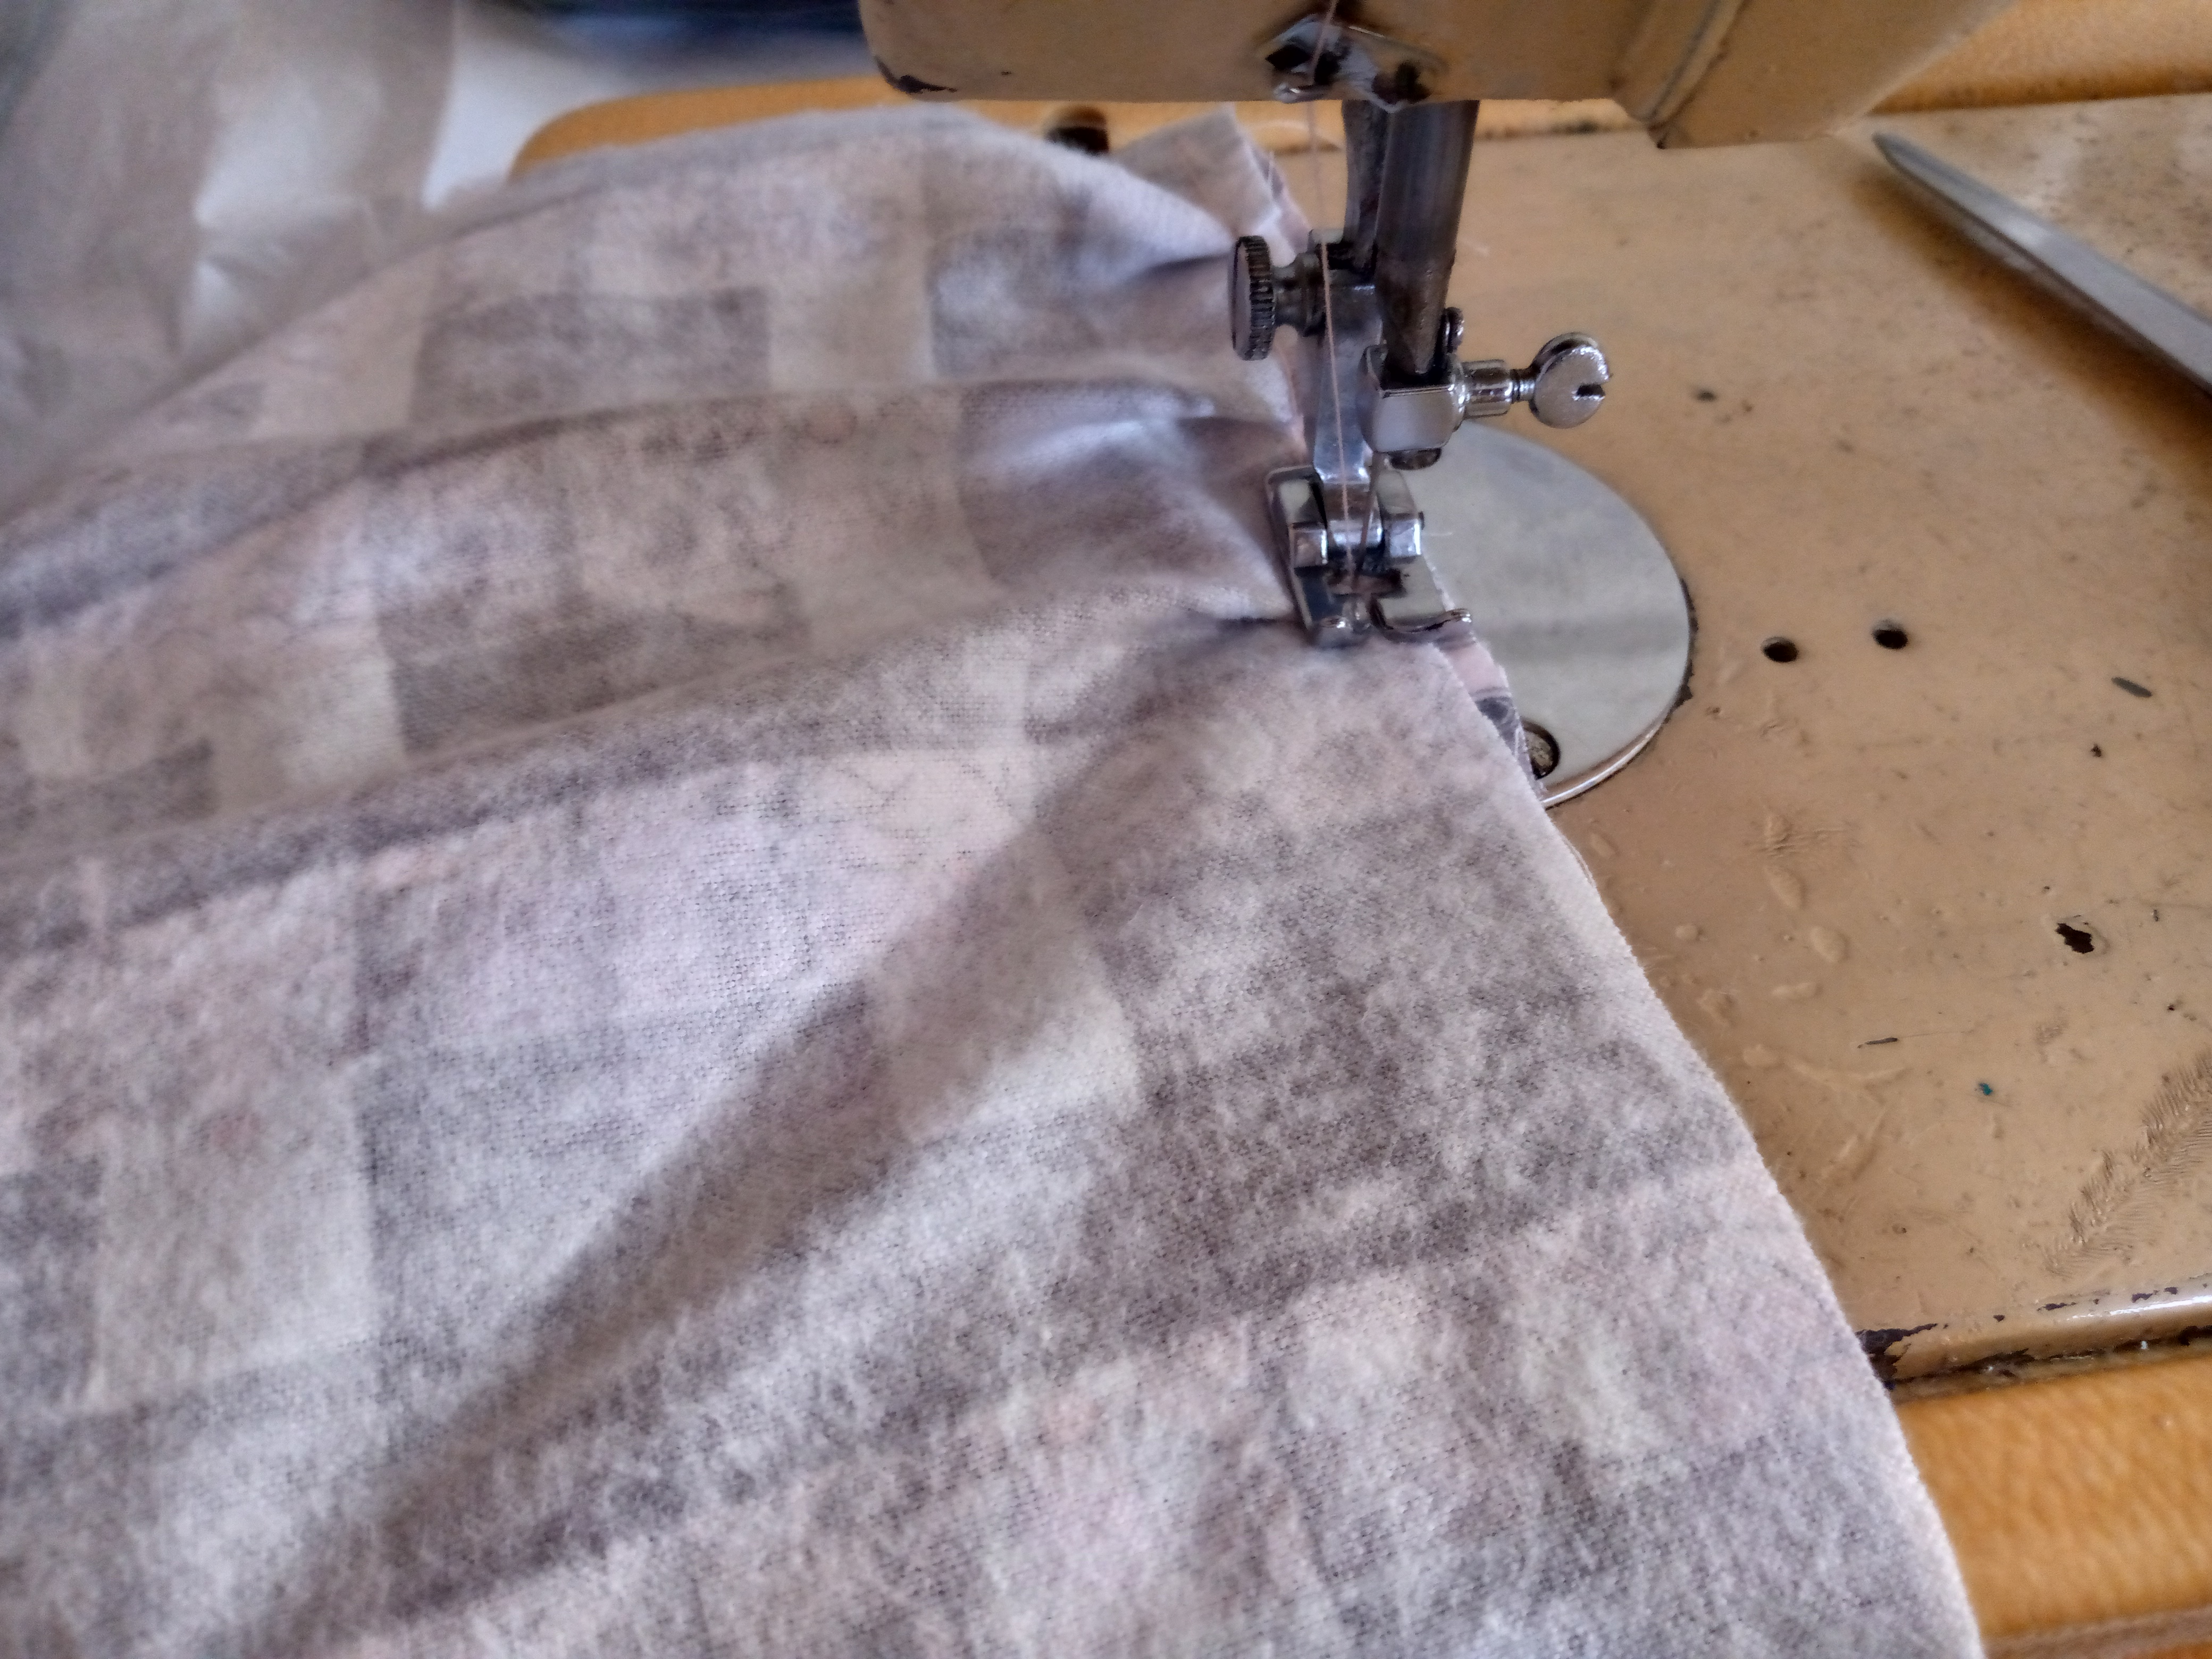
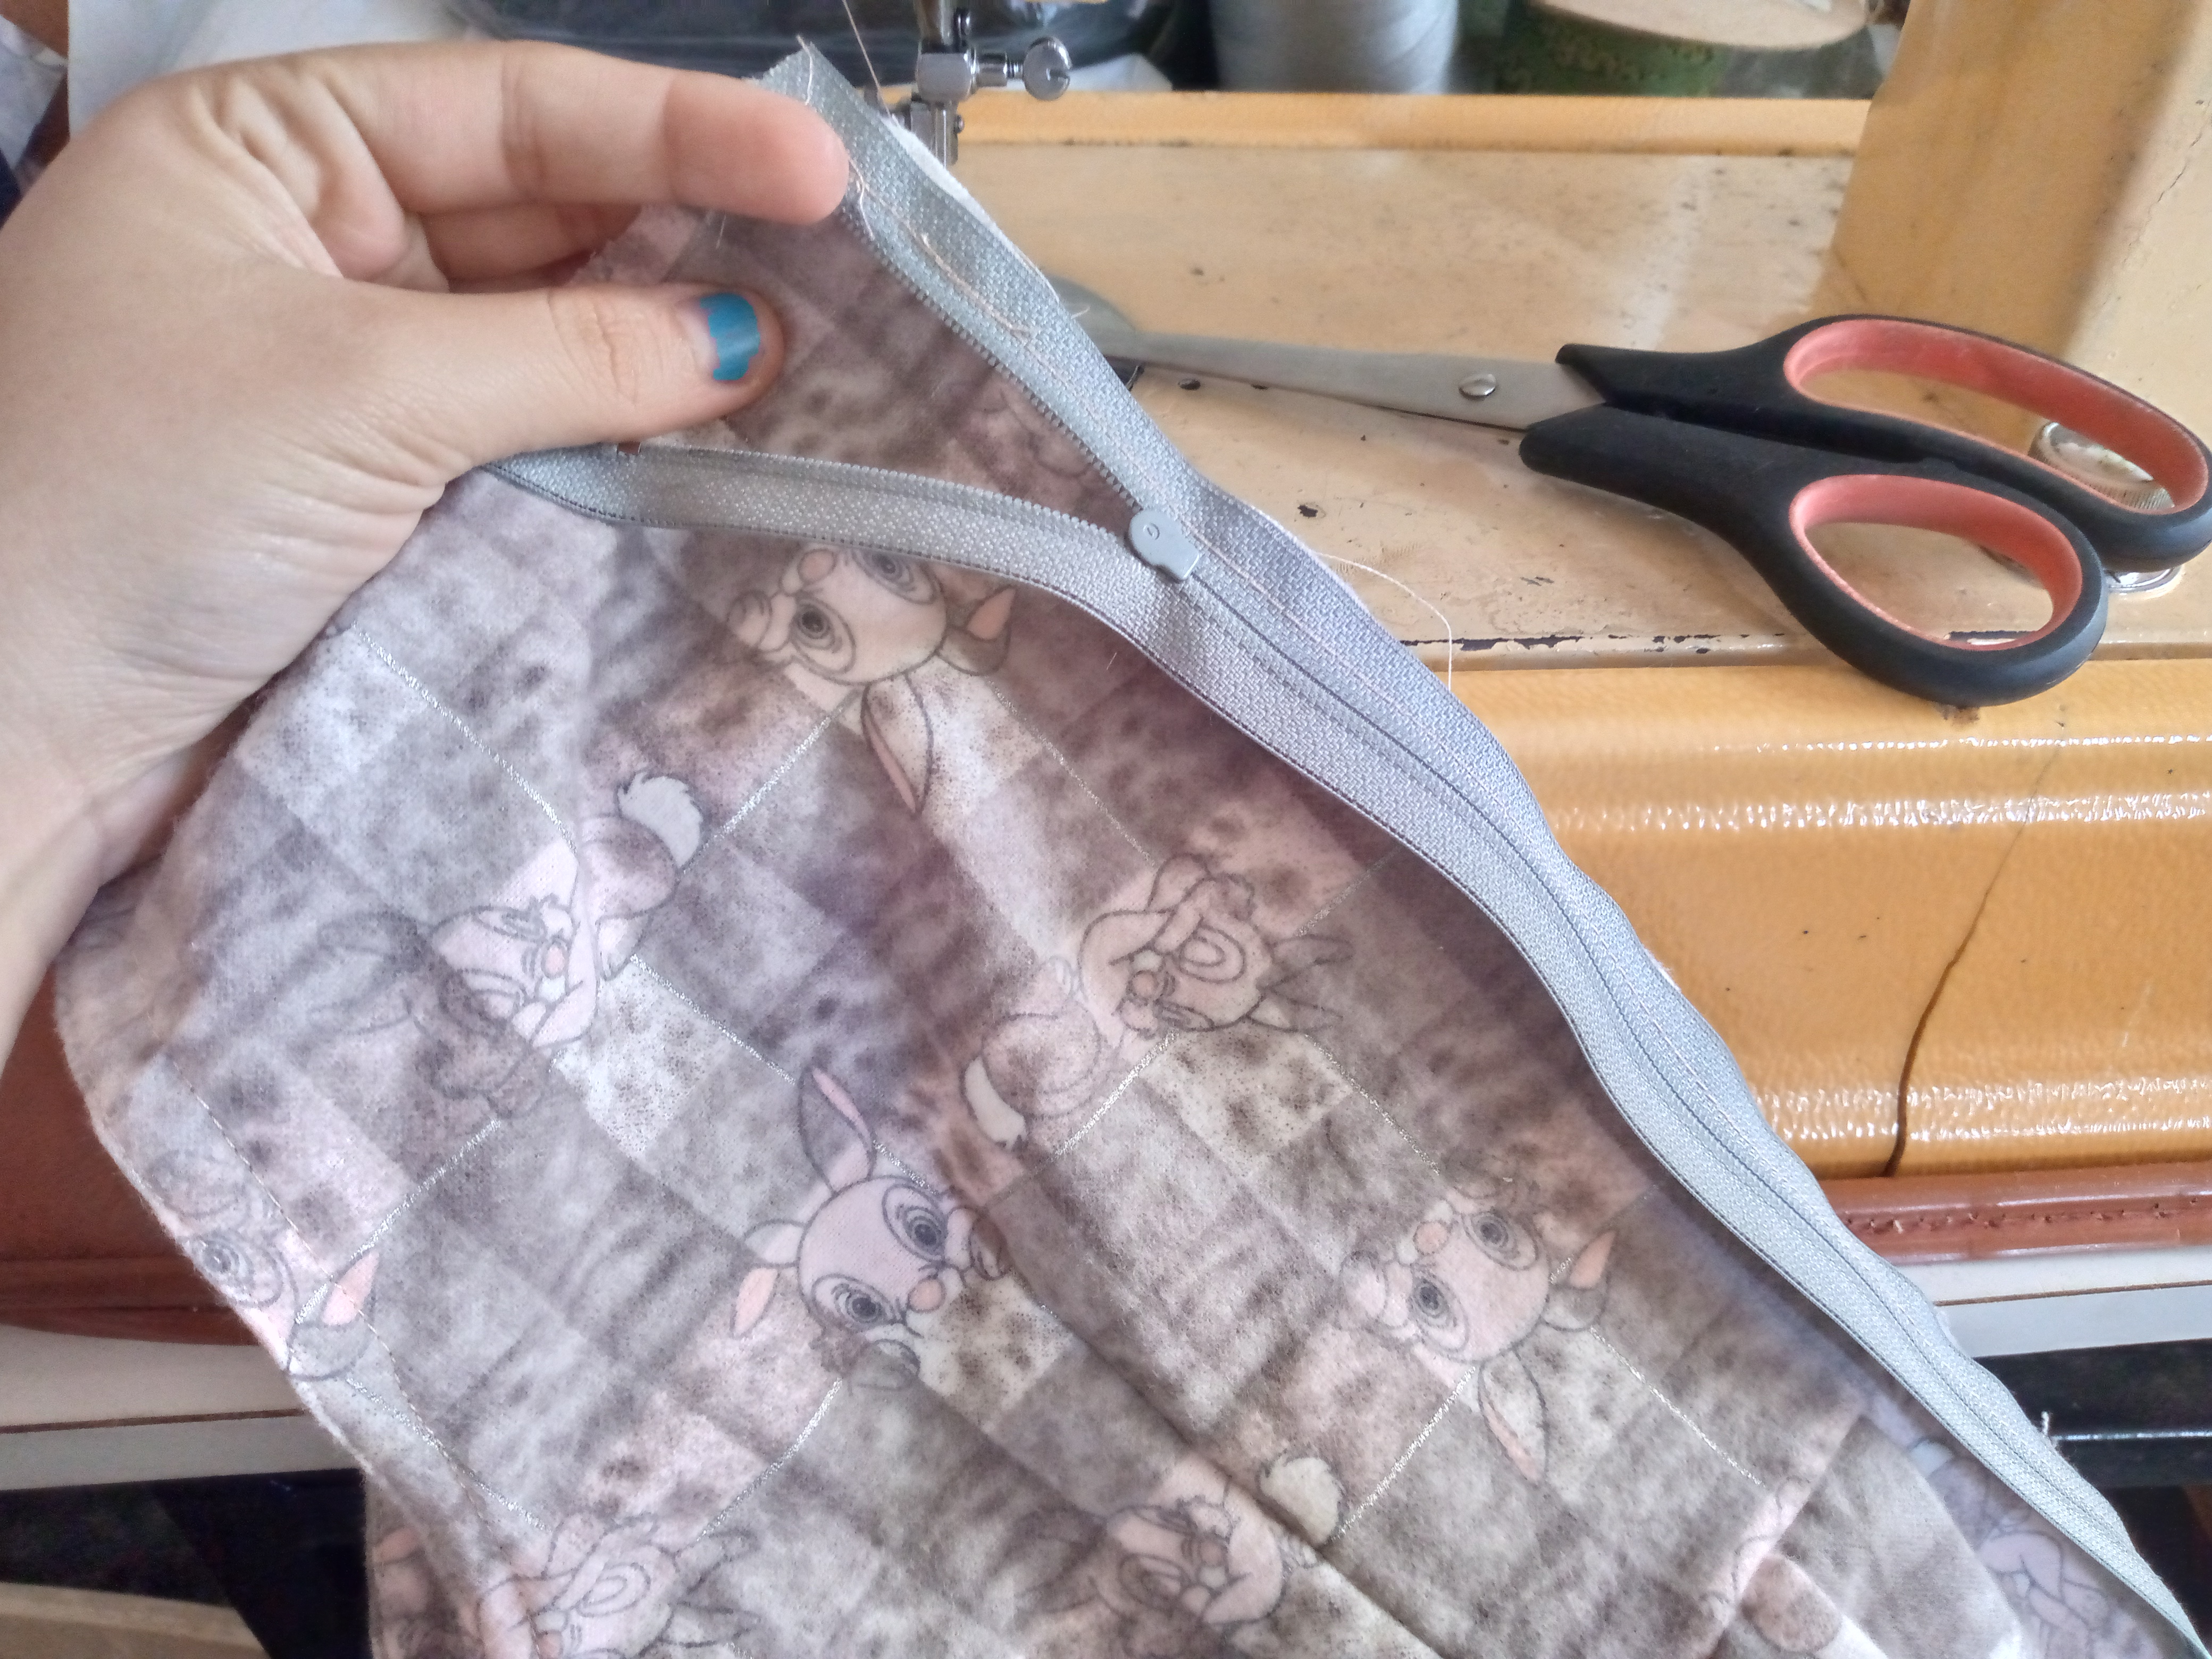
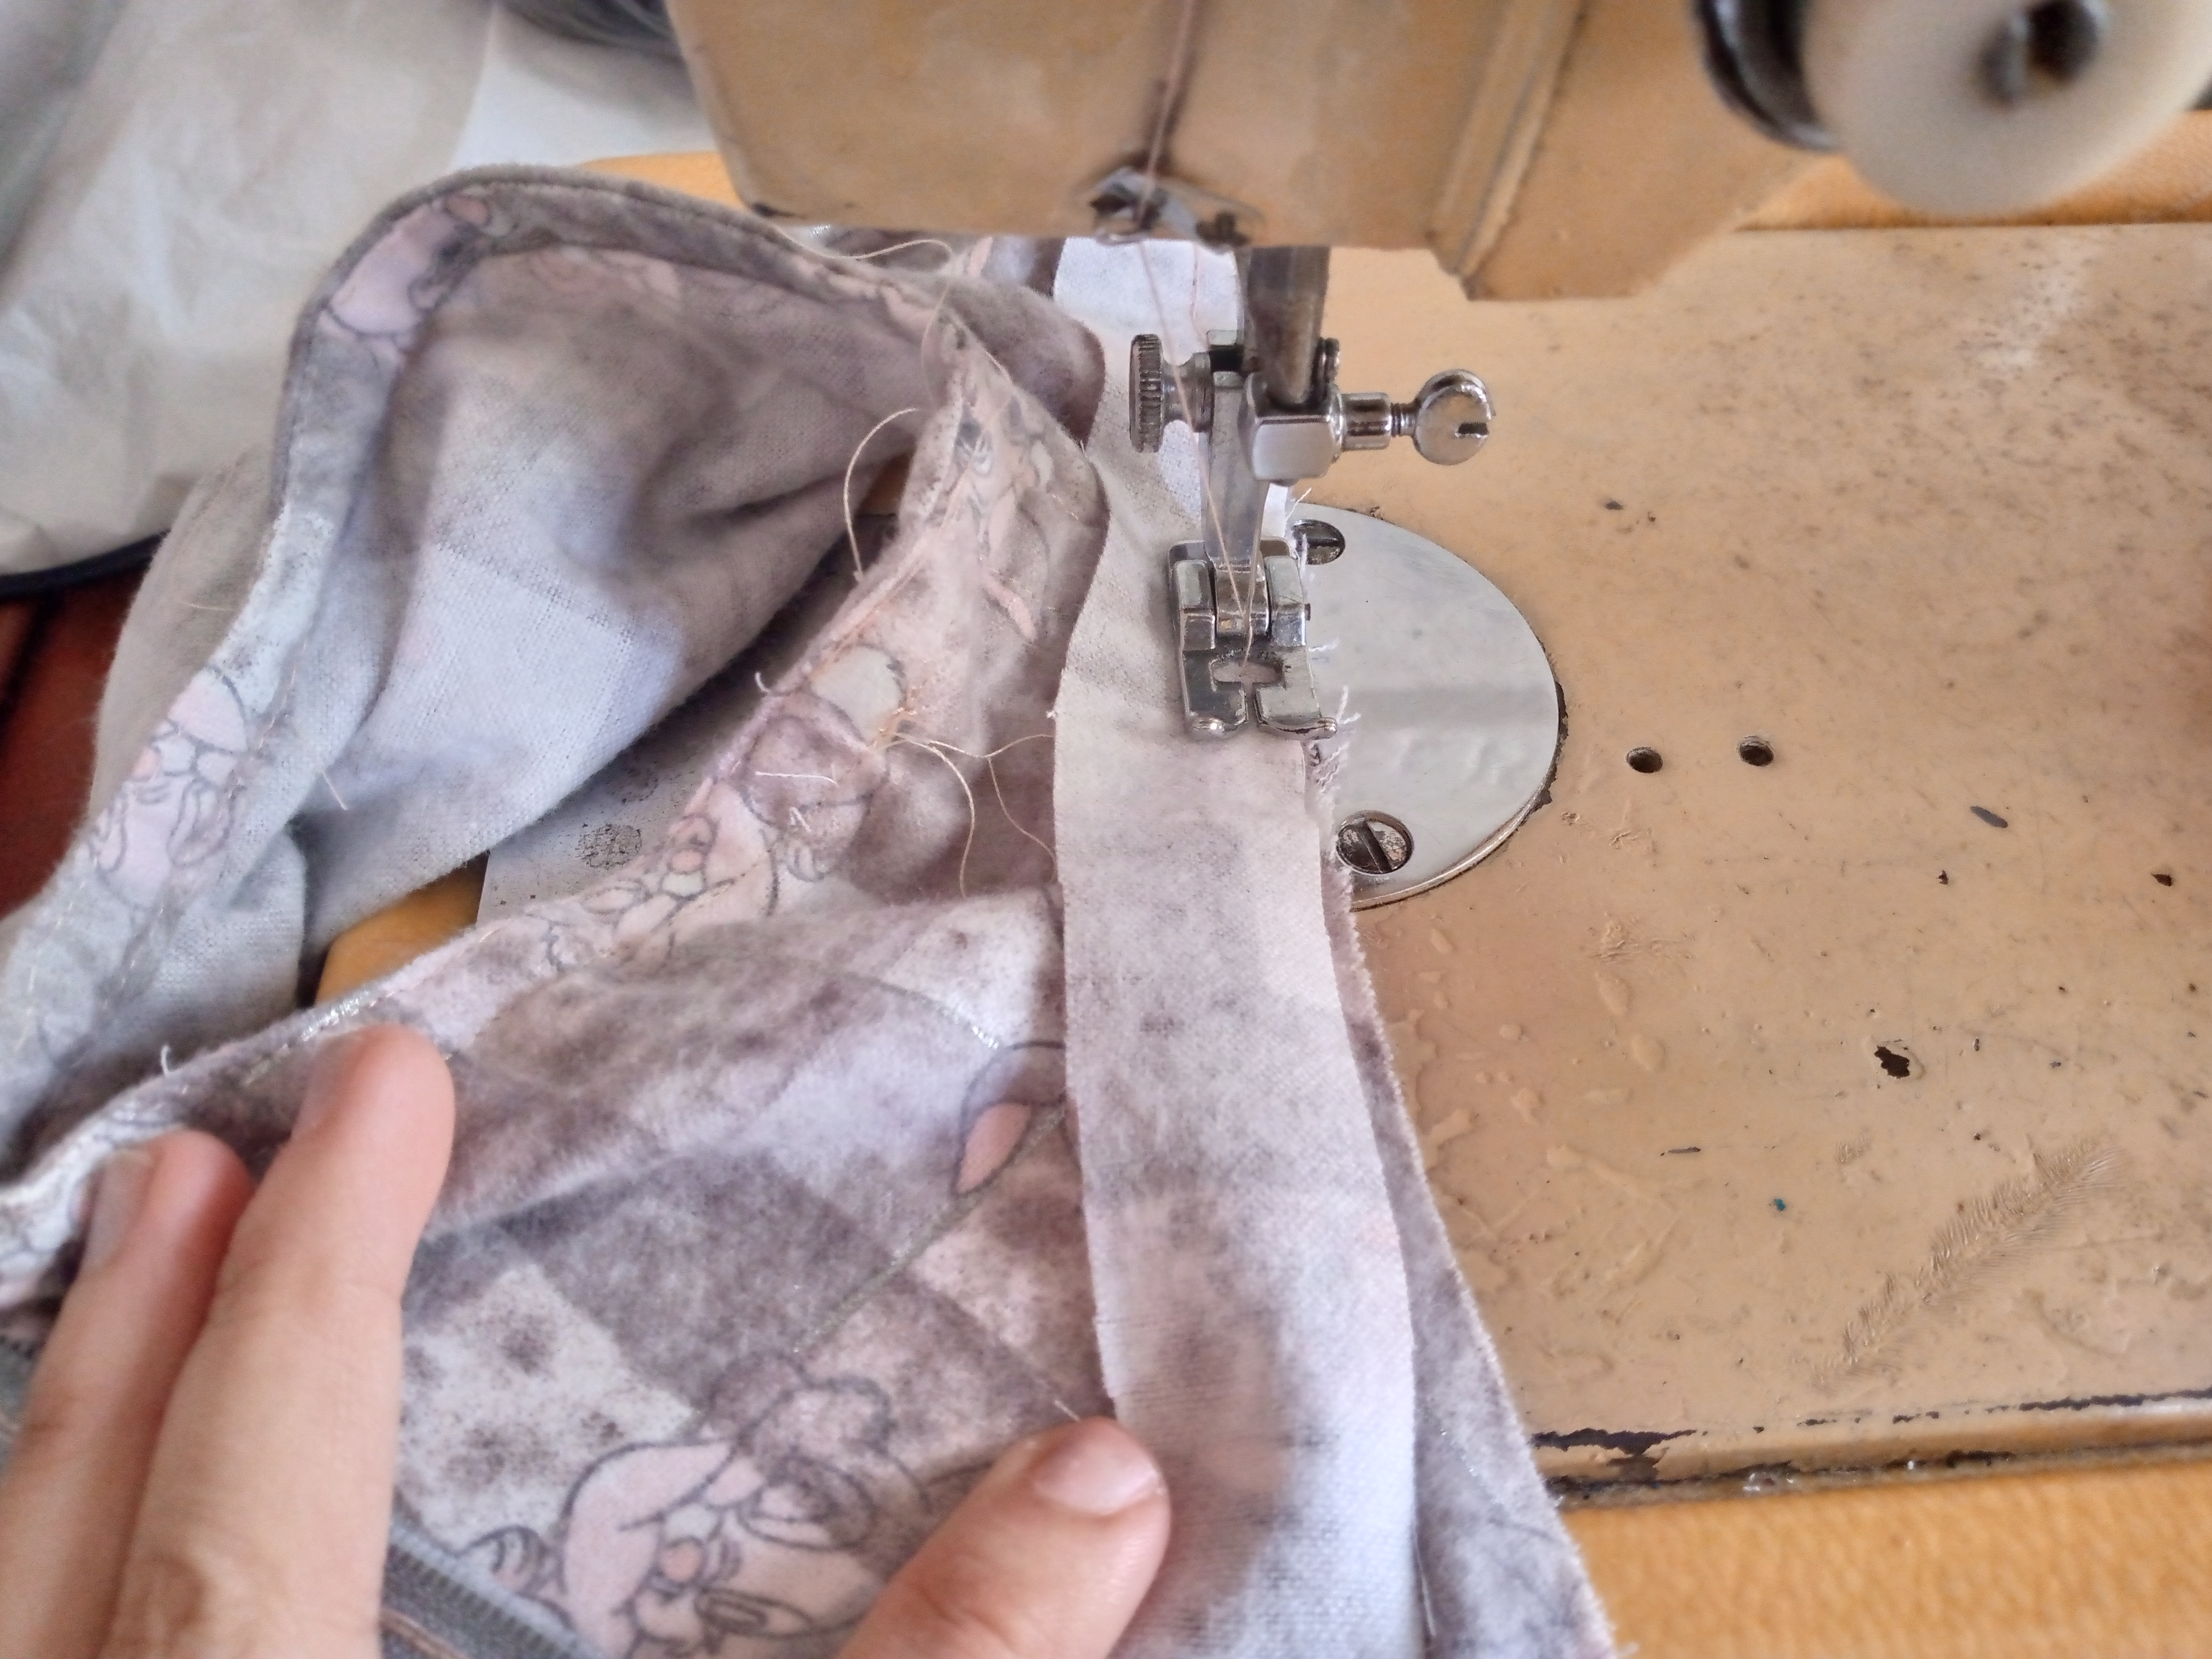
I proceed to finish sewing the bias tapes, such as the shoulders and sides, by overlocking them with a straight stitch, and we sew another bias tape inwards along the outline of our armhole, as well as the others, and again we overlock them on top so that the bias tape is on the inside and with double stitching on the sides, we mark the darts of the front dress, like the two back pieces. I placed this dart at approximately 6 cm and the back one at 8 cm.
.jpg)
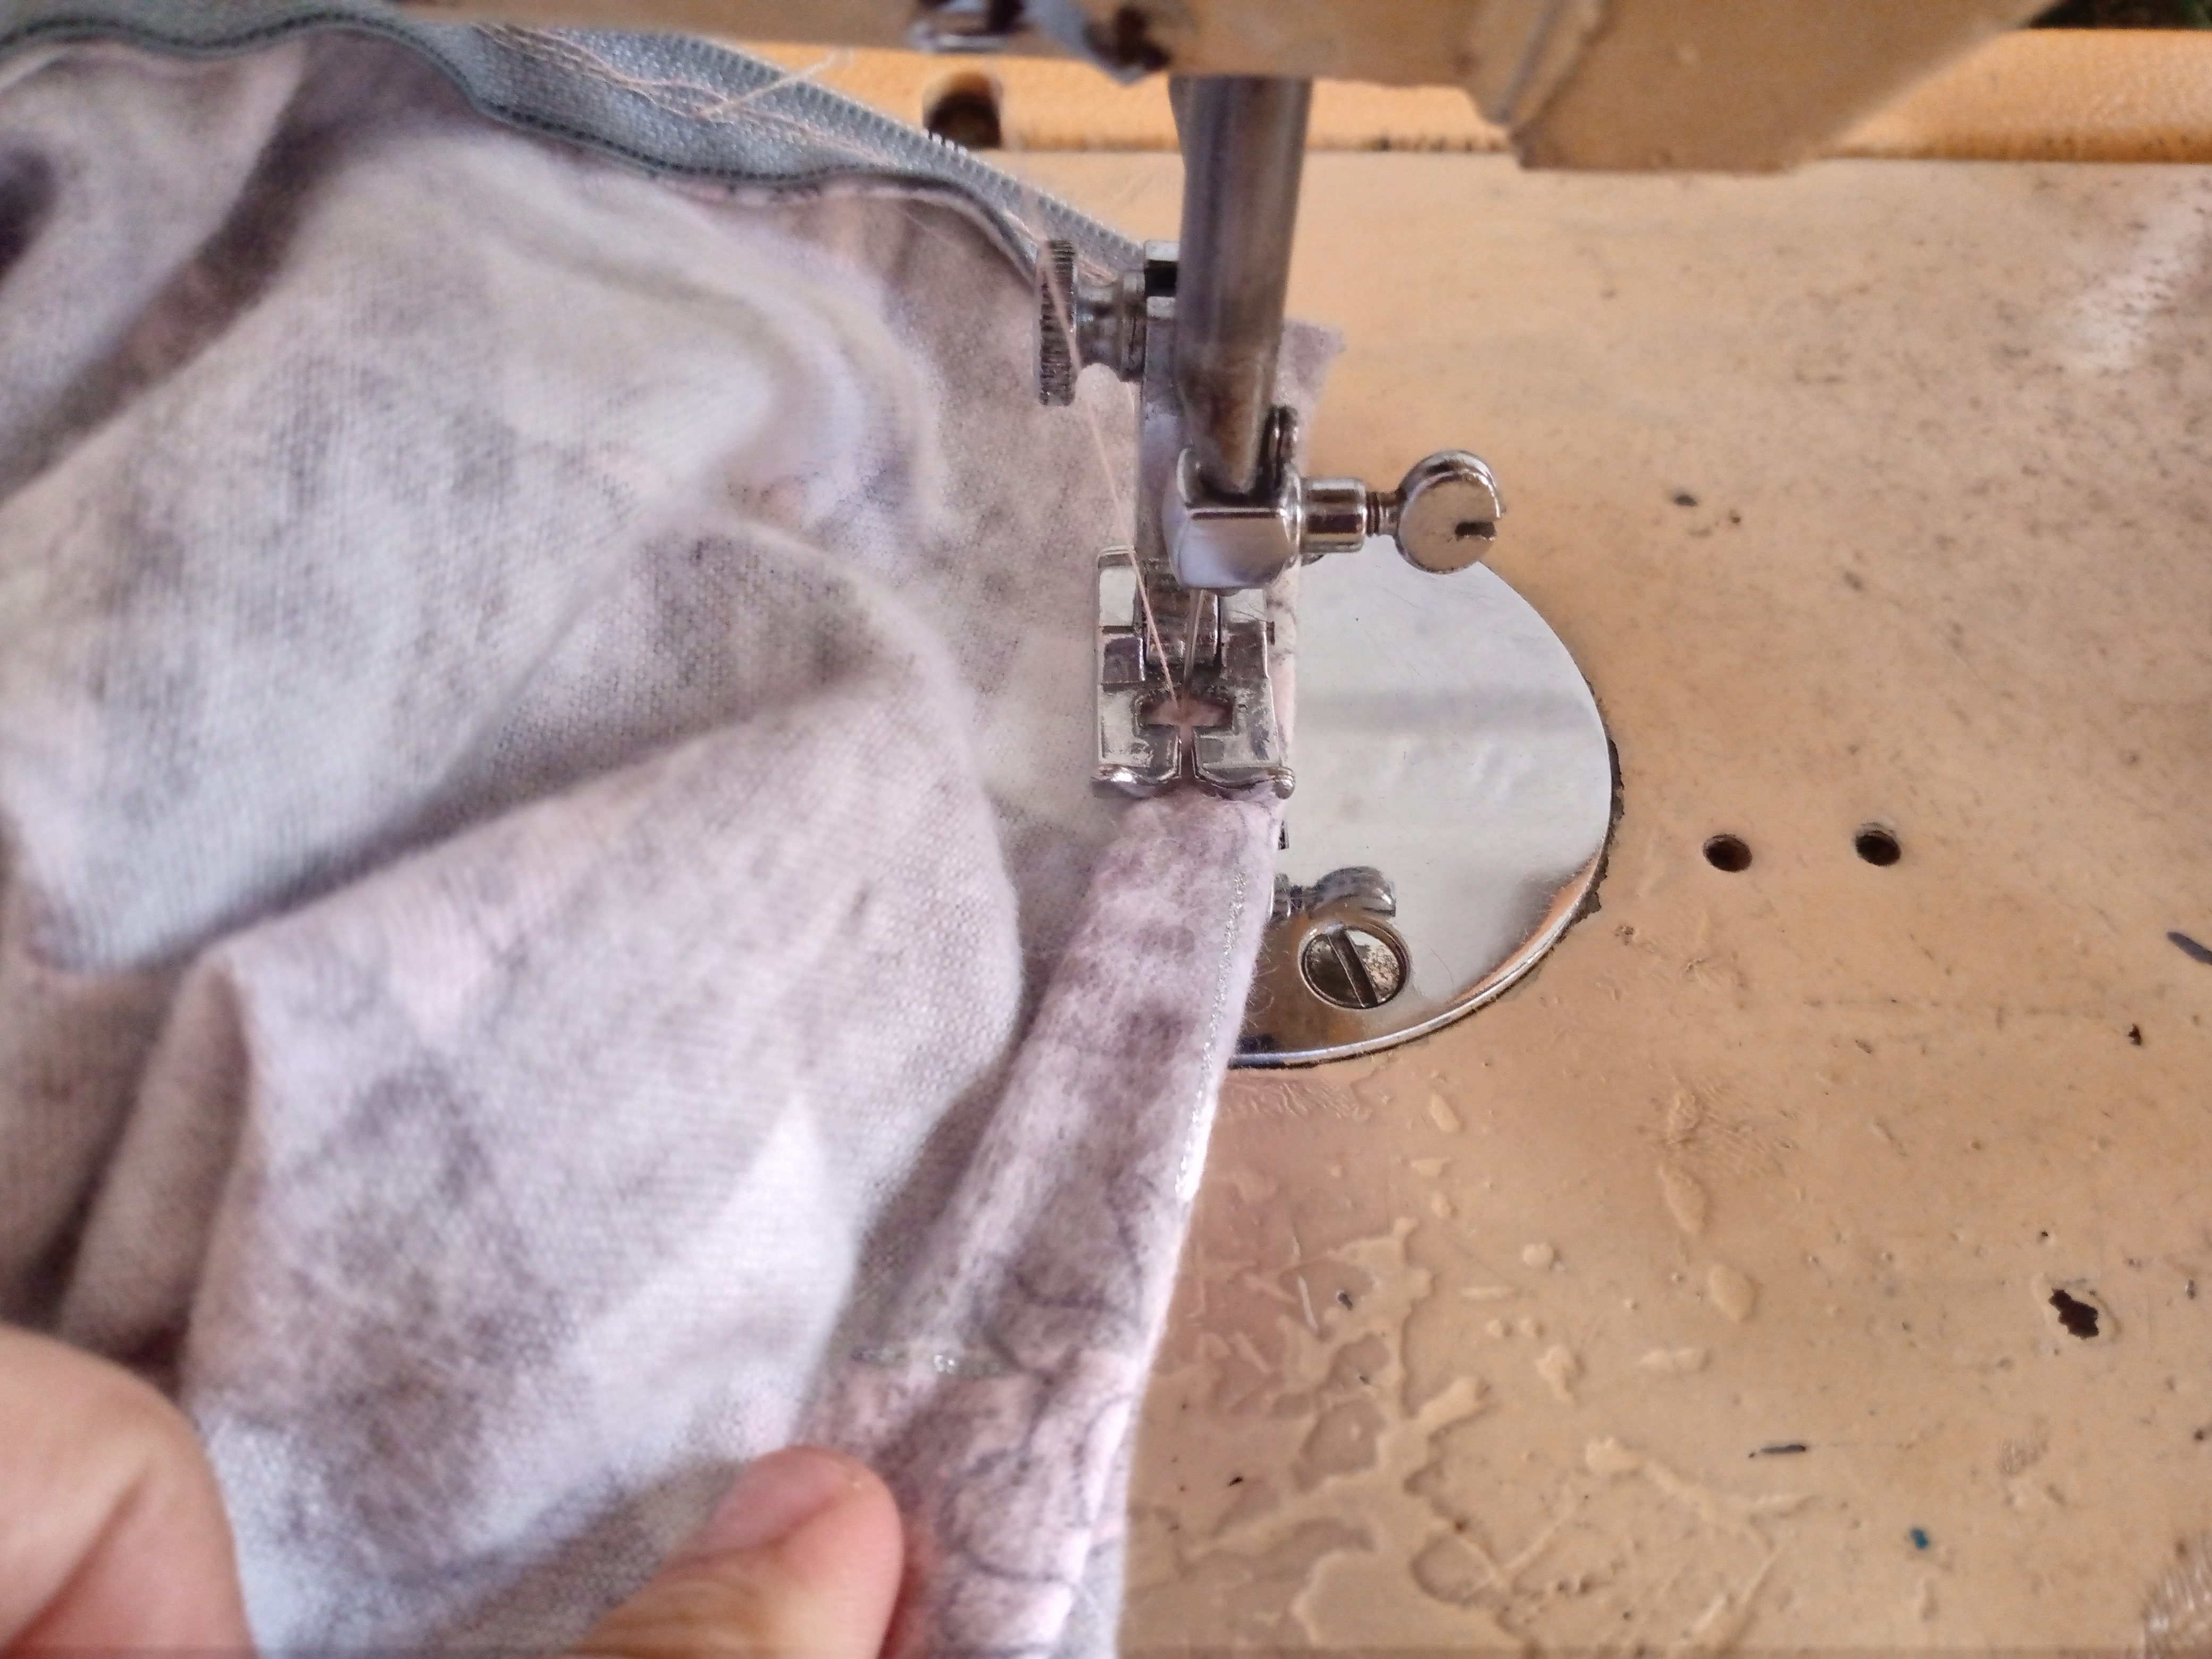
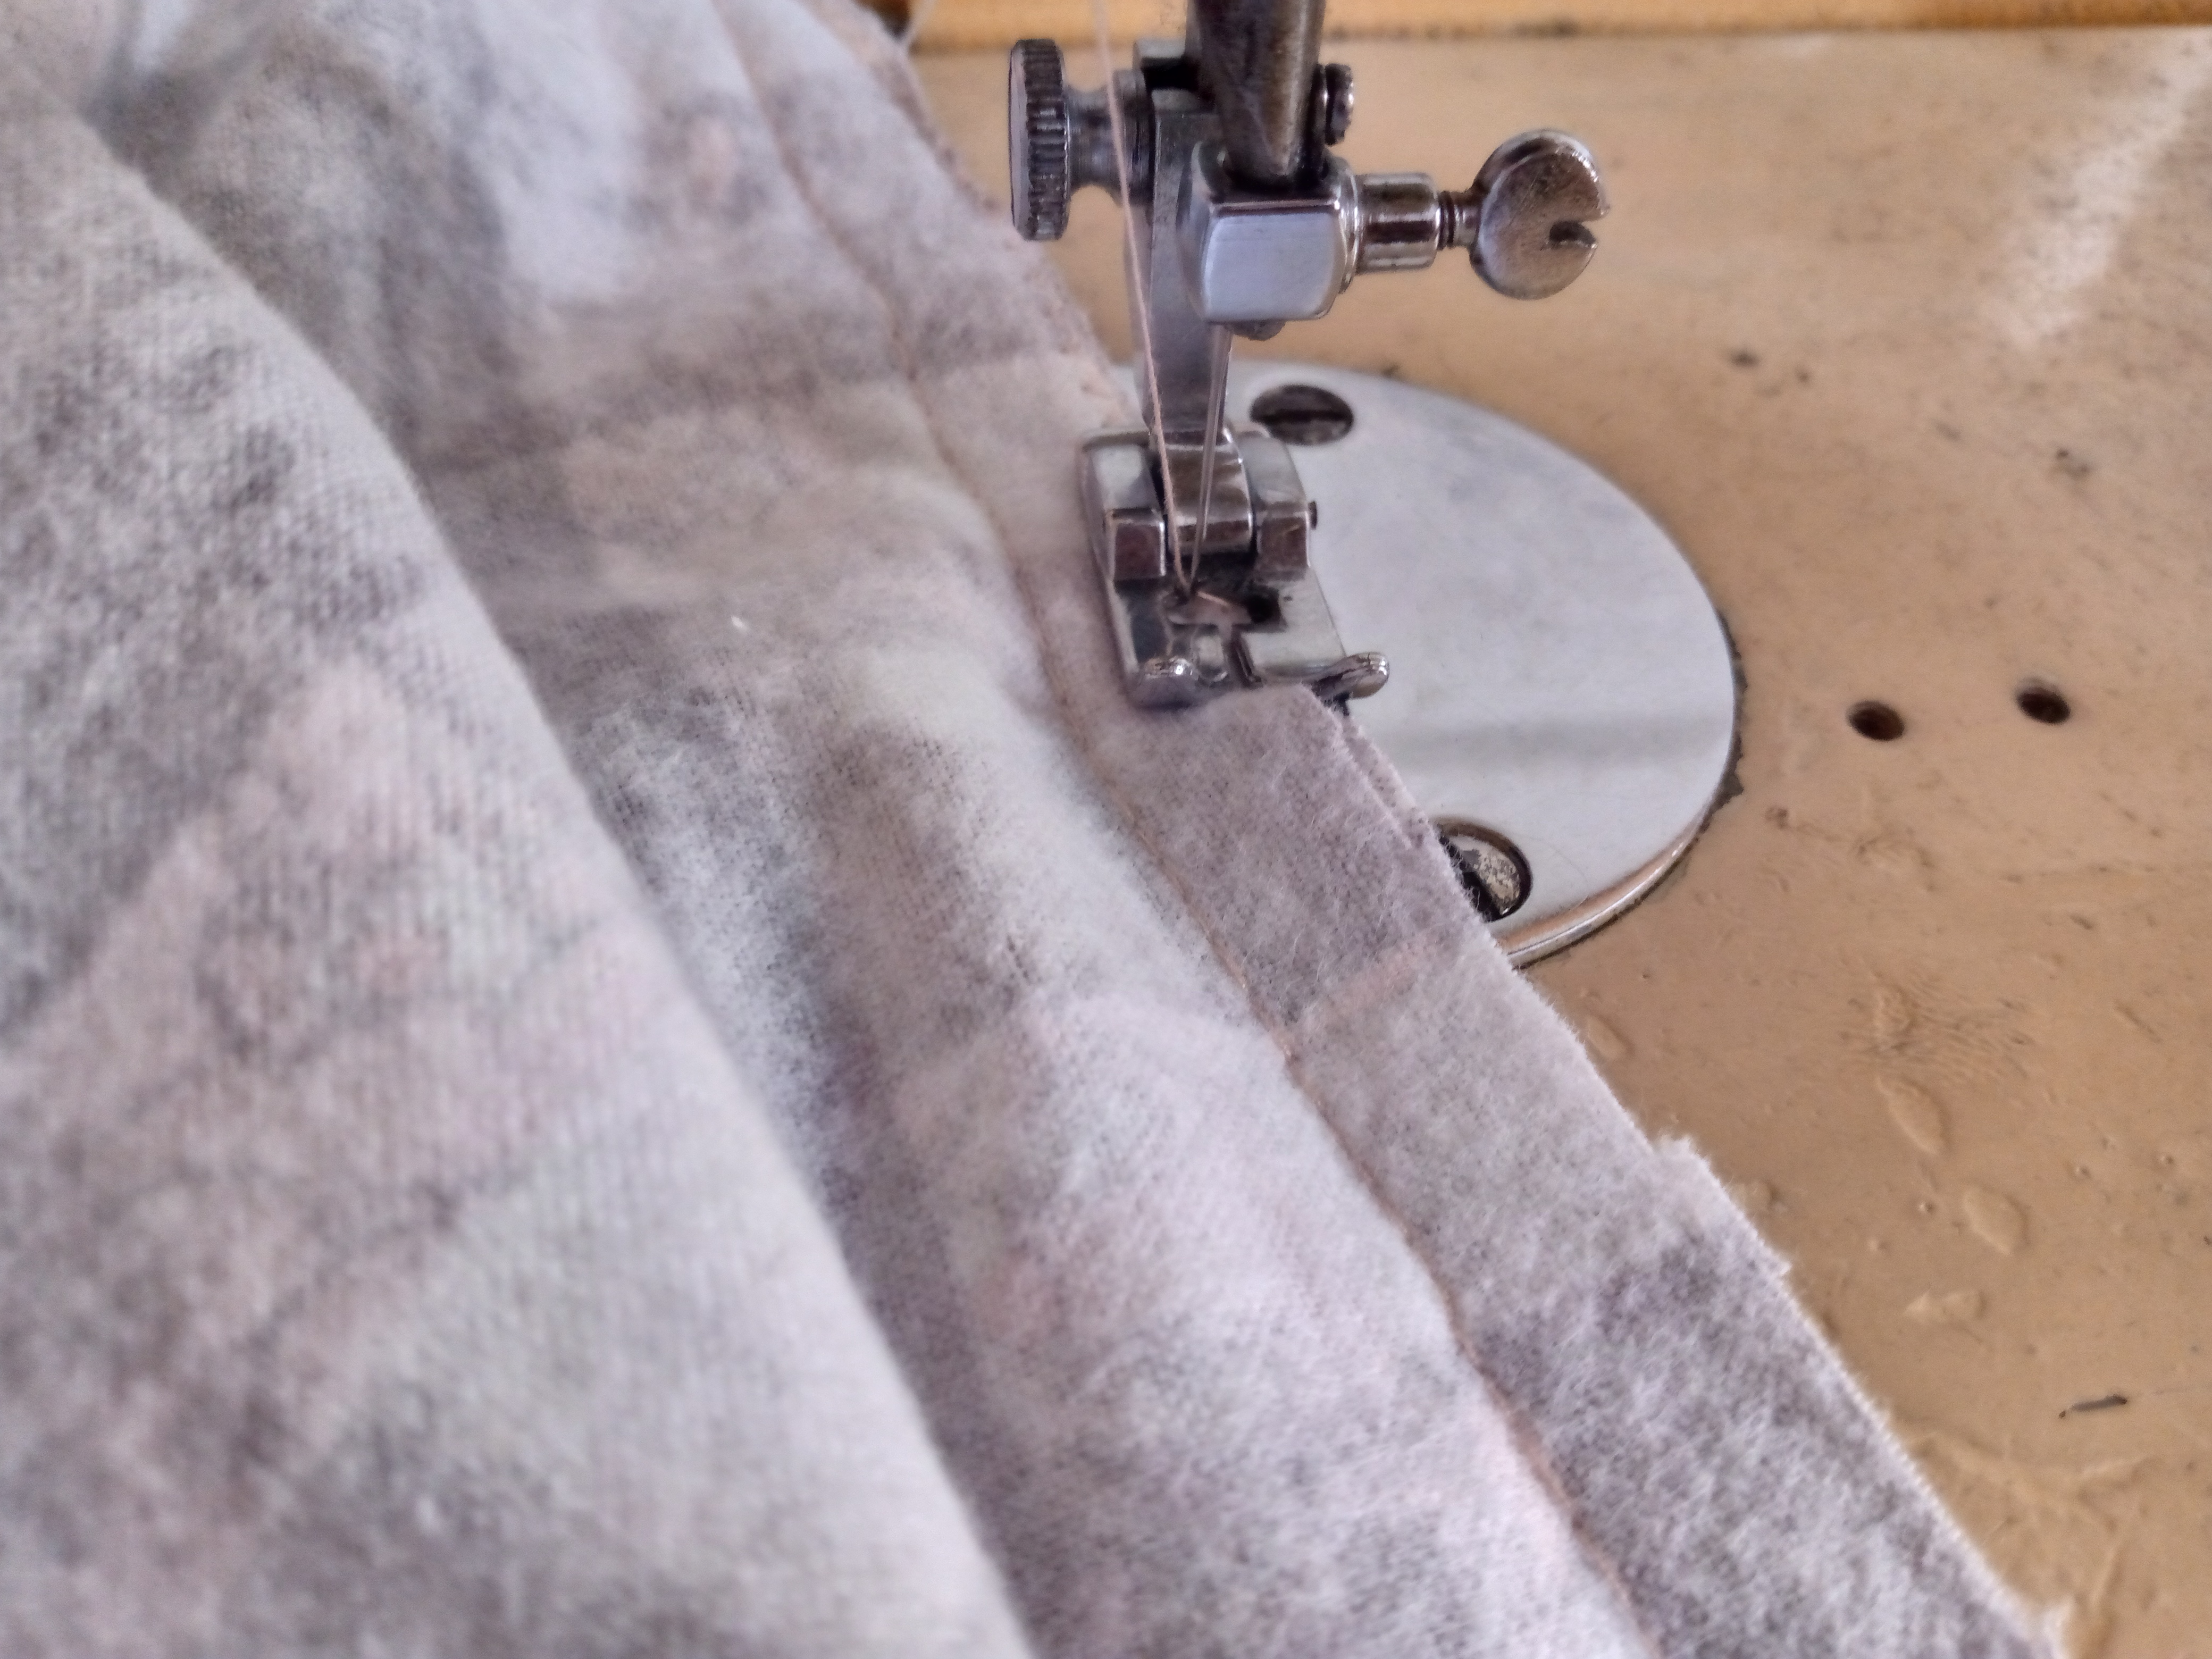
Paso 04
Step 04
It's time to sew the bottom piece and make some very small planks, then we will join the top piece of the dress to the bottom part and glue the zipper on one side of the right side then the left, we will sew the bias of the neck and we will overcast it on top.
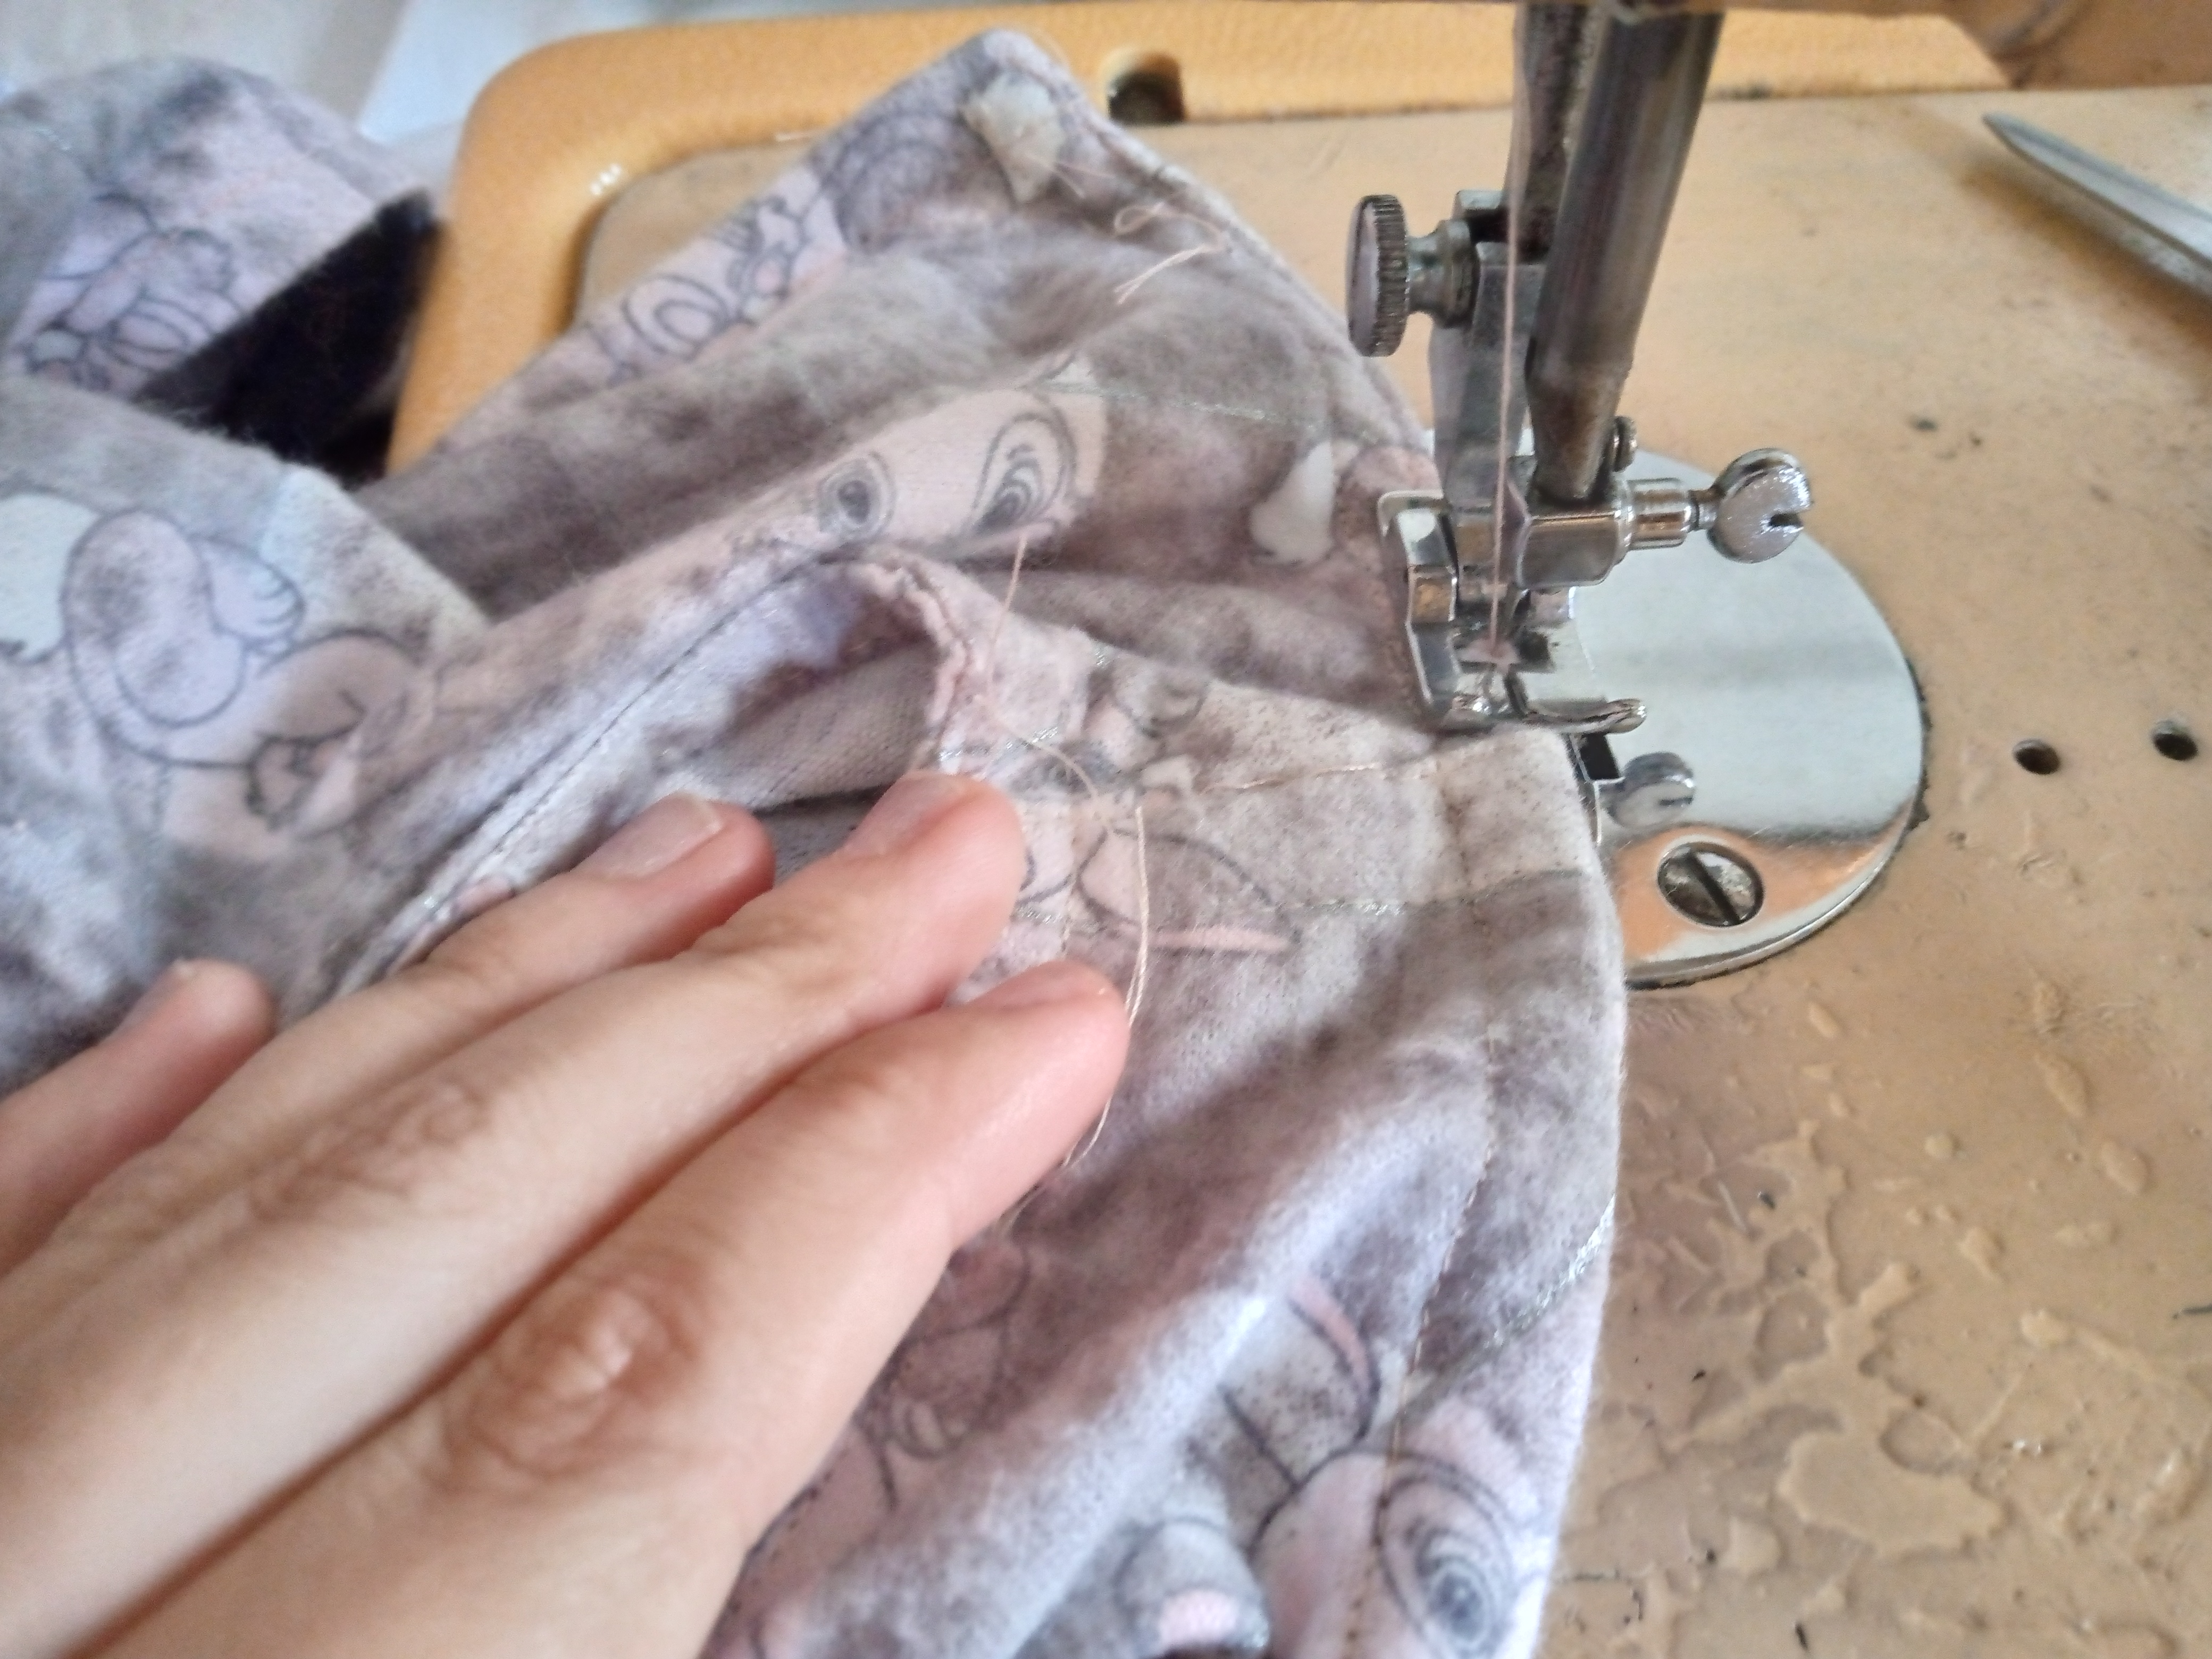
.jpg)
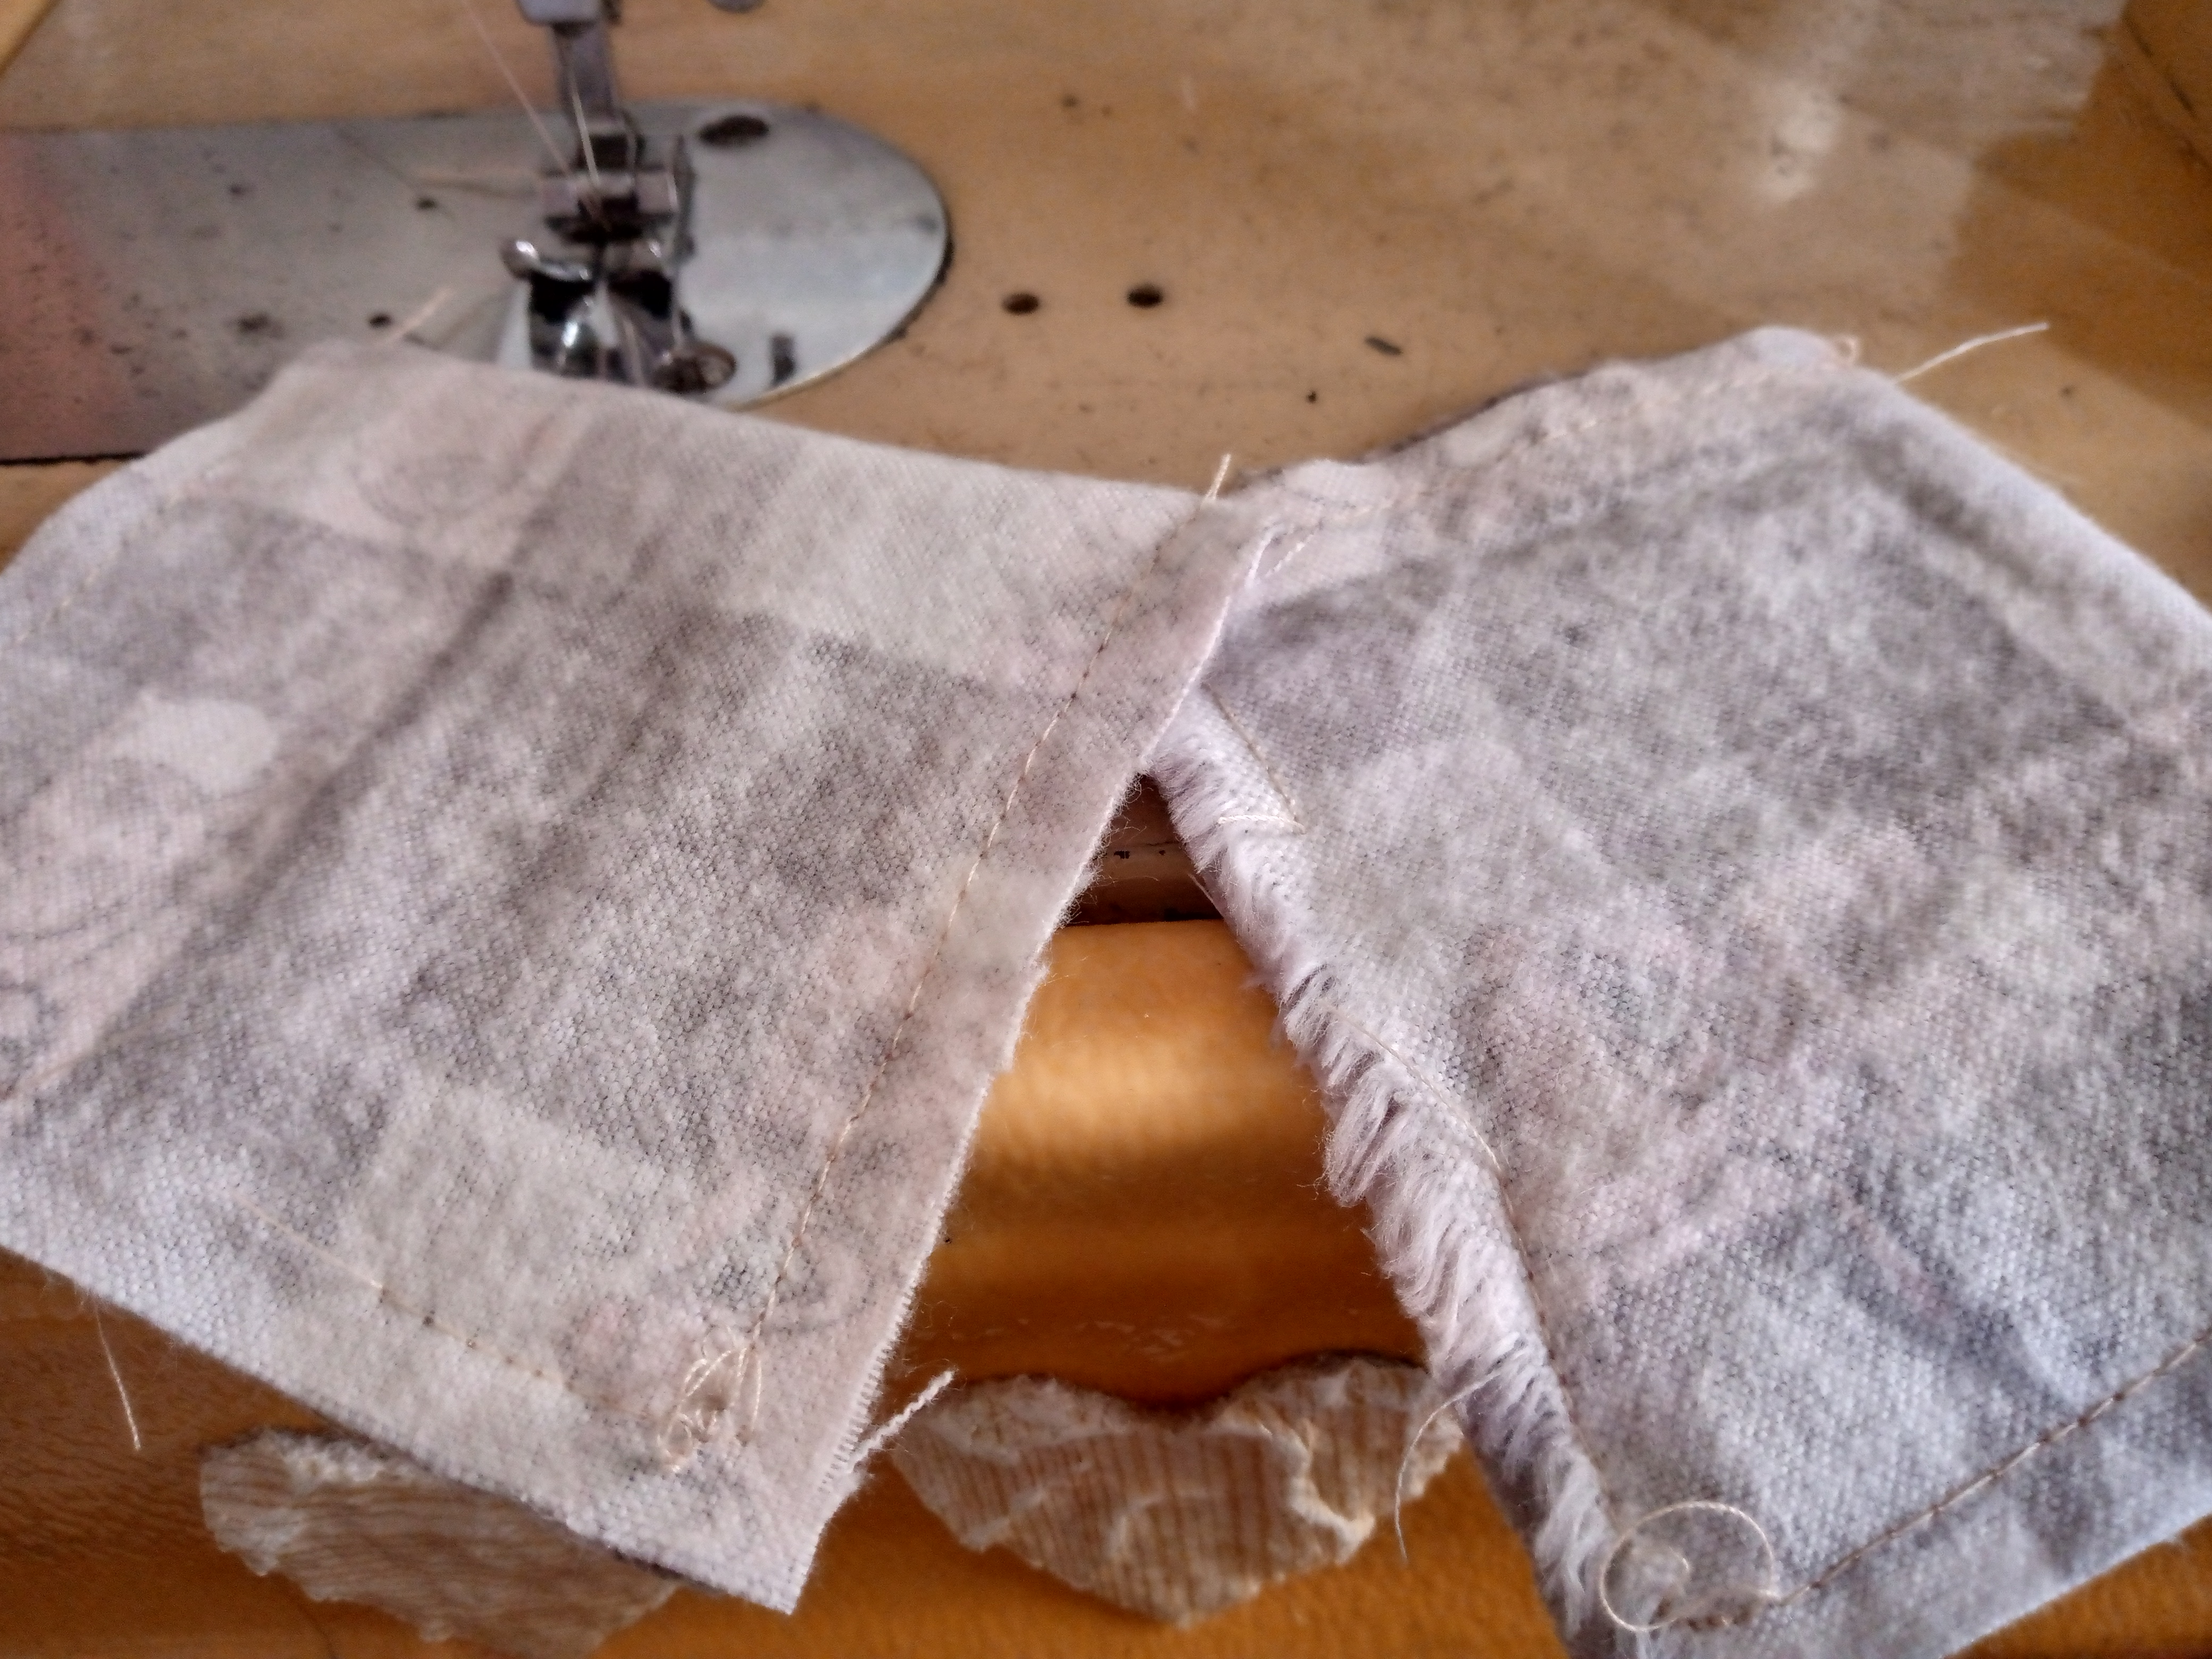
.jpg)
Paso 05
Step 05
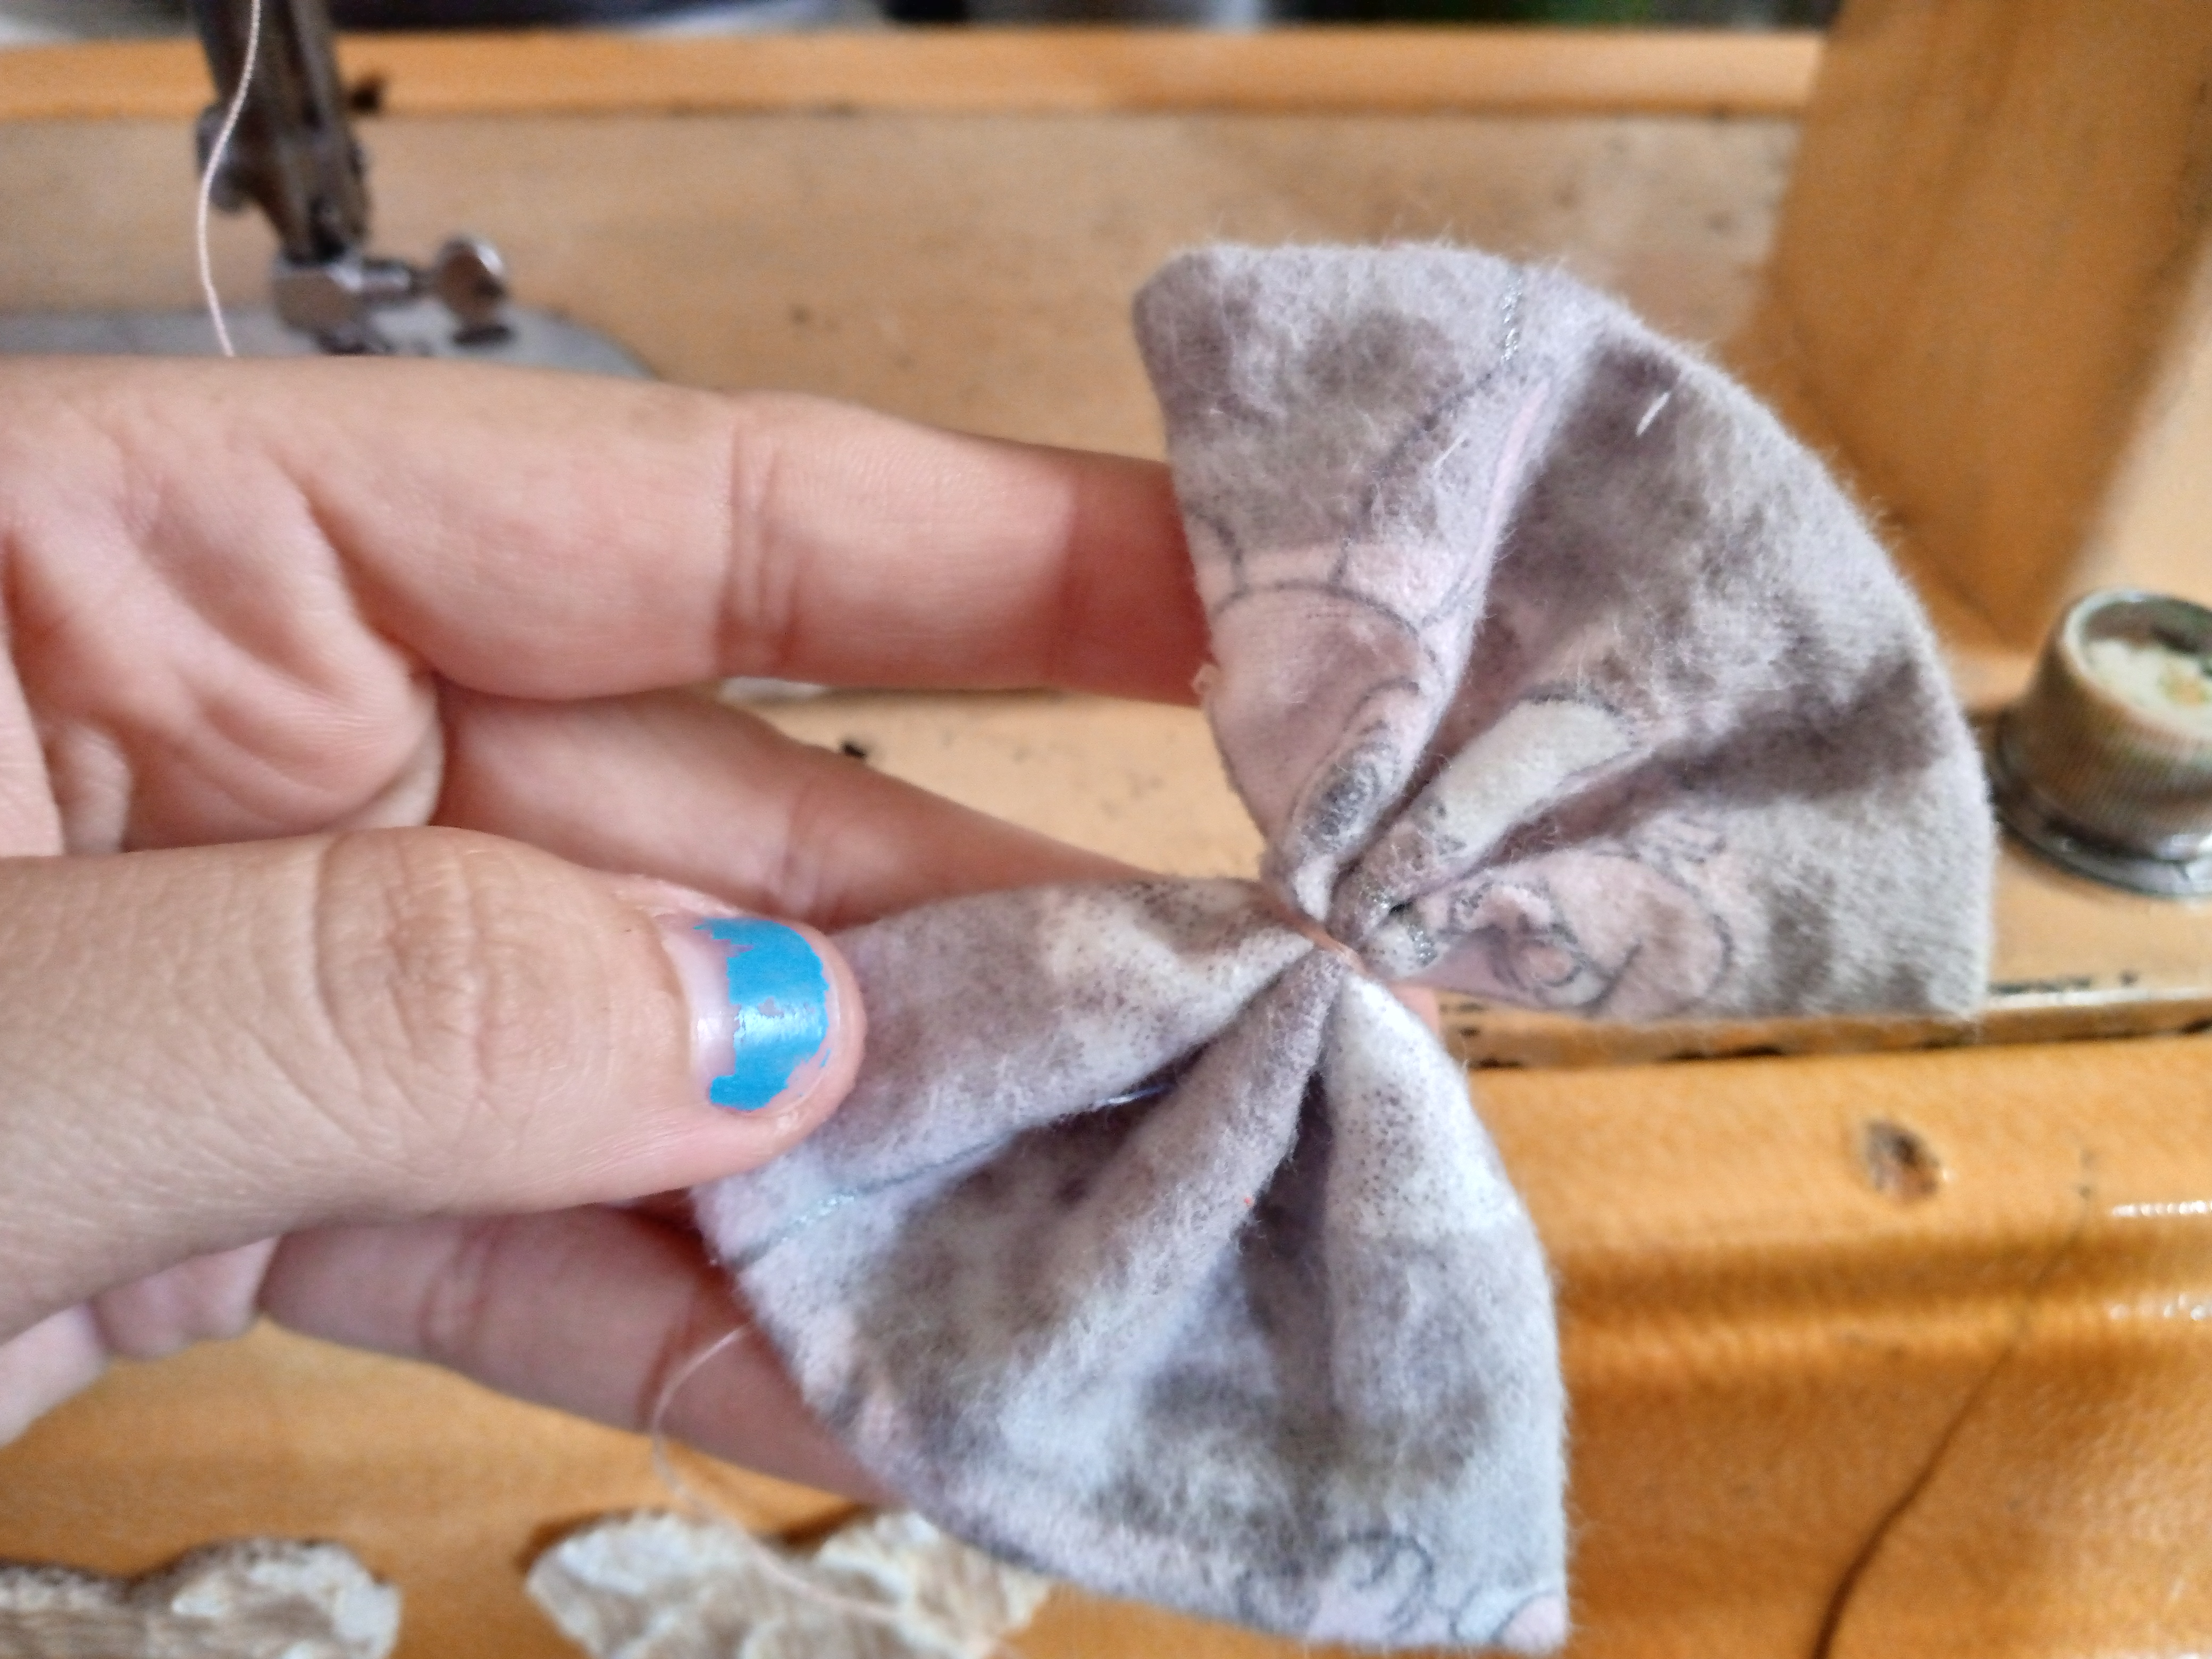
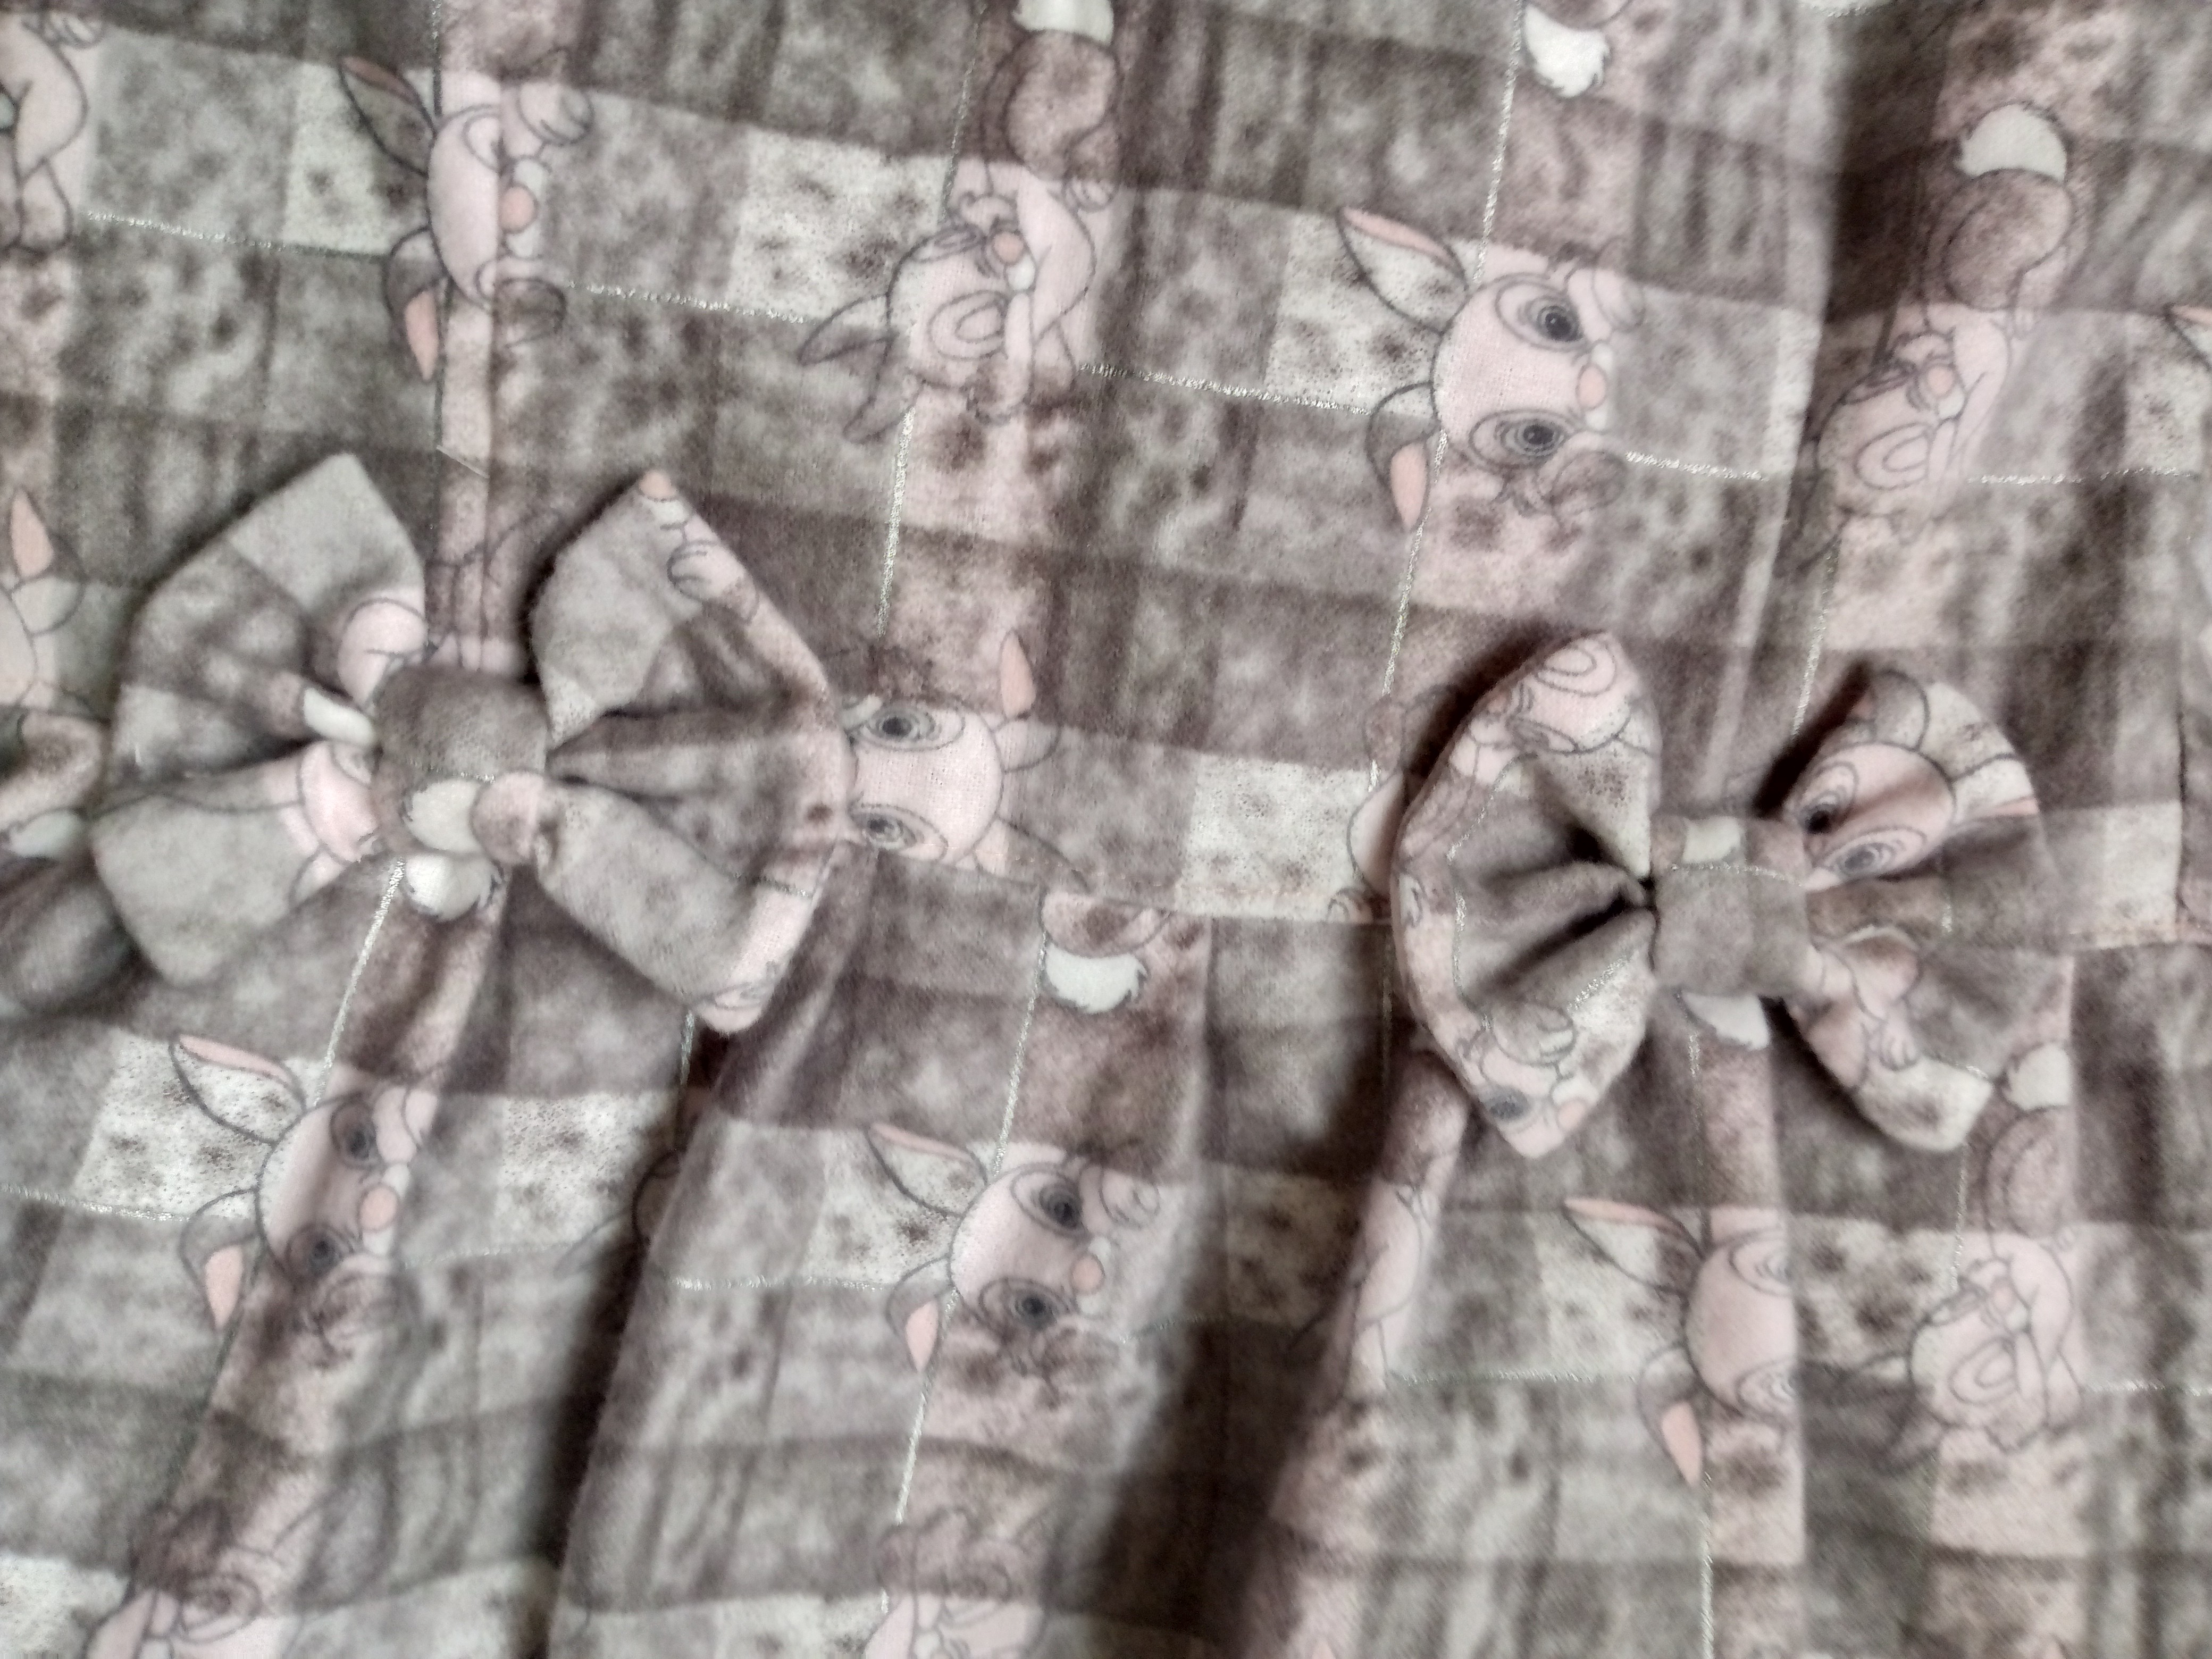
We finish off with a topstitch along the bias contour and a topstitch above the closure forming a view towards the right side, we sew the hem with a 2 cm hem and sew the bow pieces which are two squares of 6 x 6 cm wide and long and a bias to join them, I went on to assemble them and at once sew them in the entire middle of each dart at the front of the dress so it is finished.
.jpg)
Resultado:// Result:
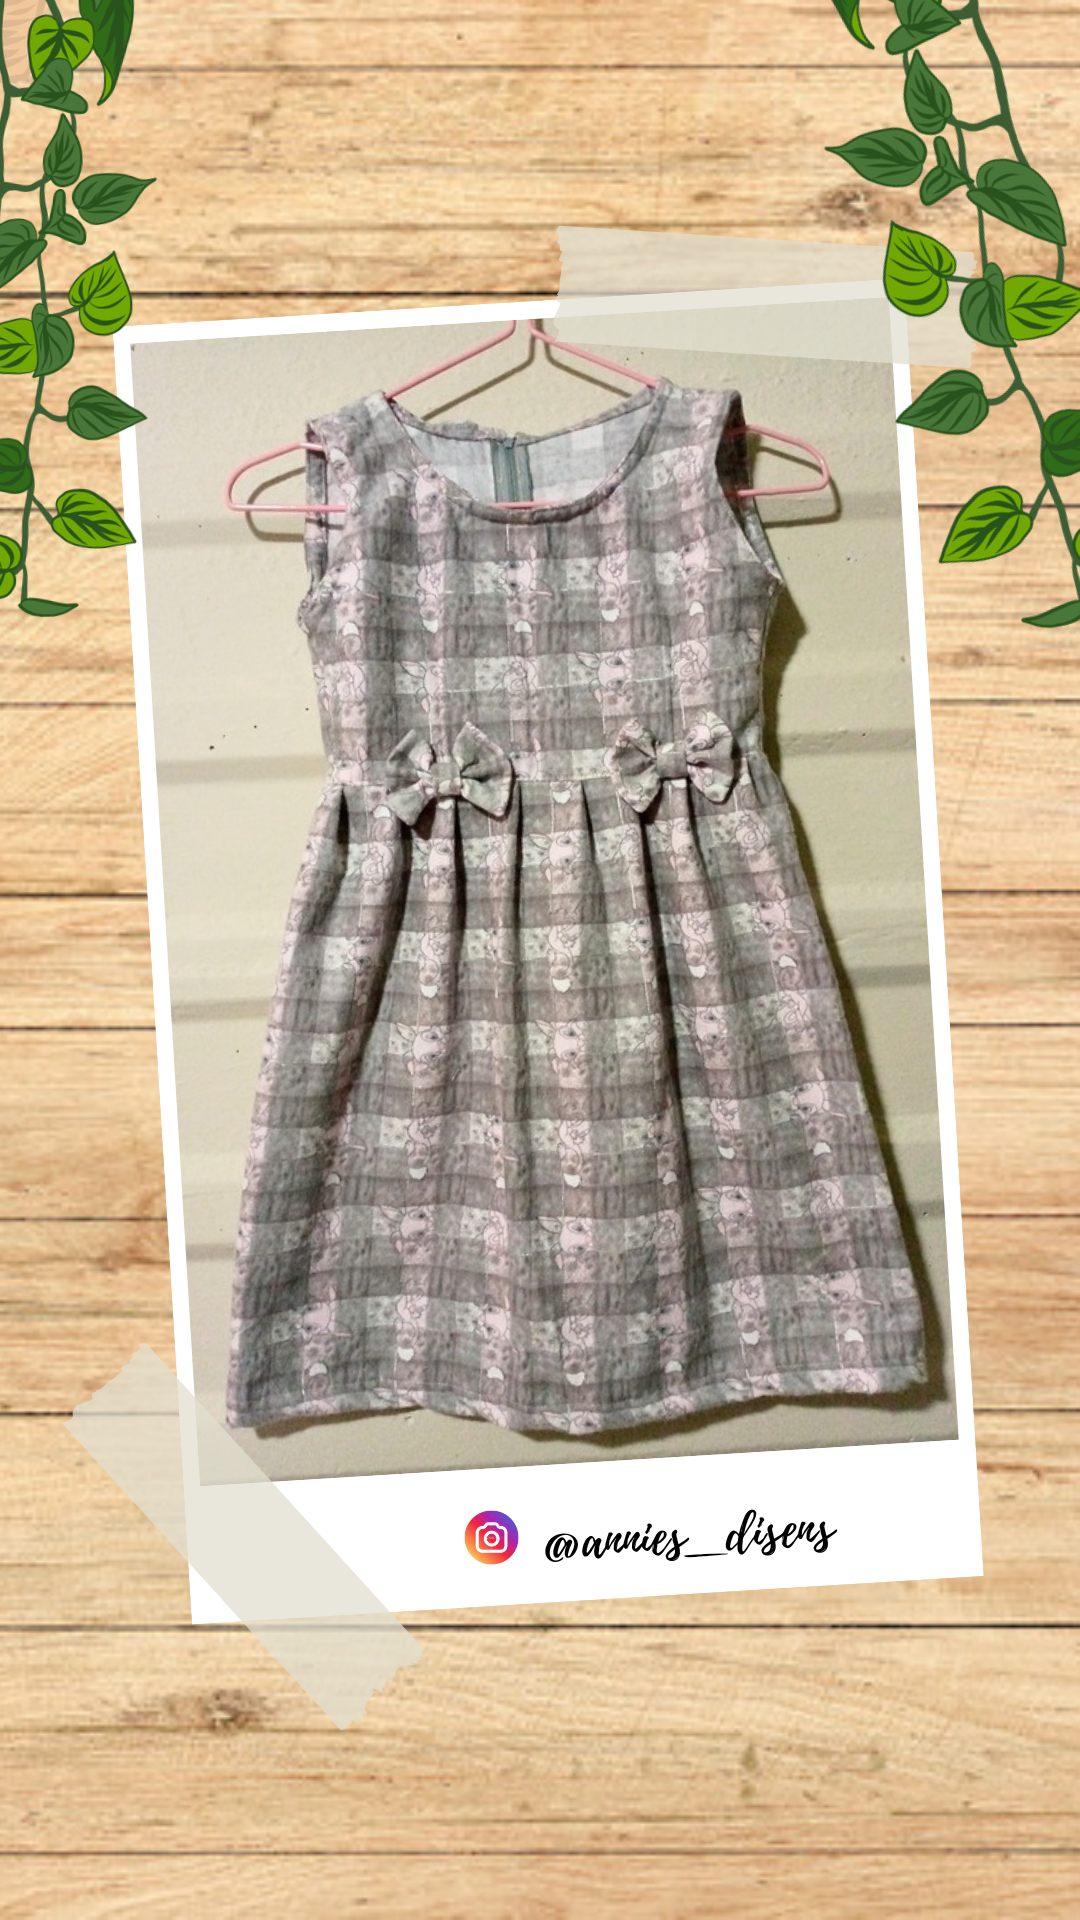
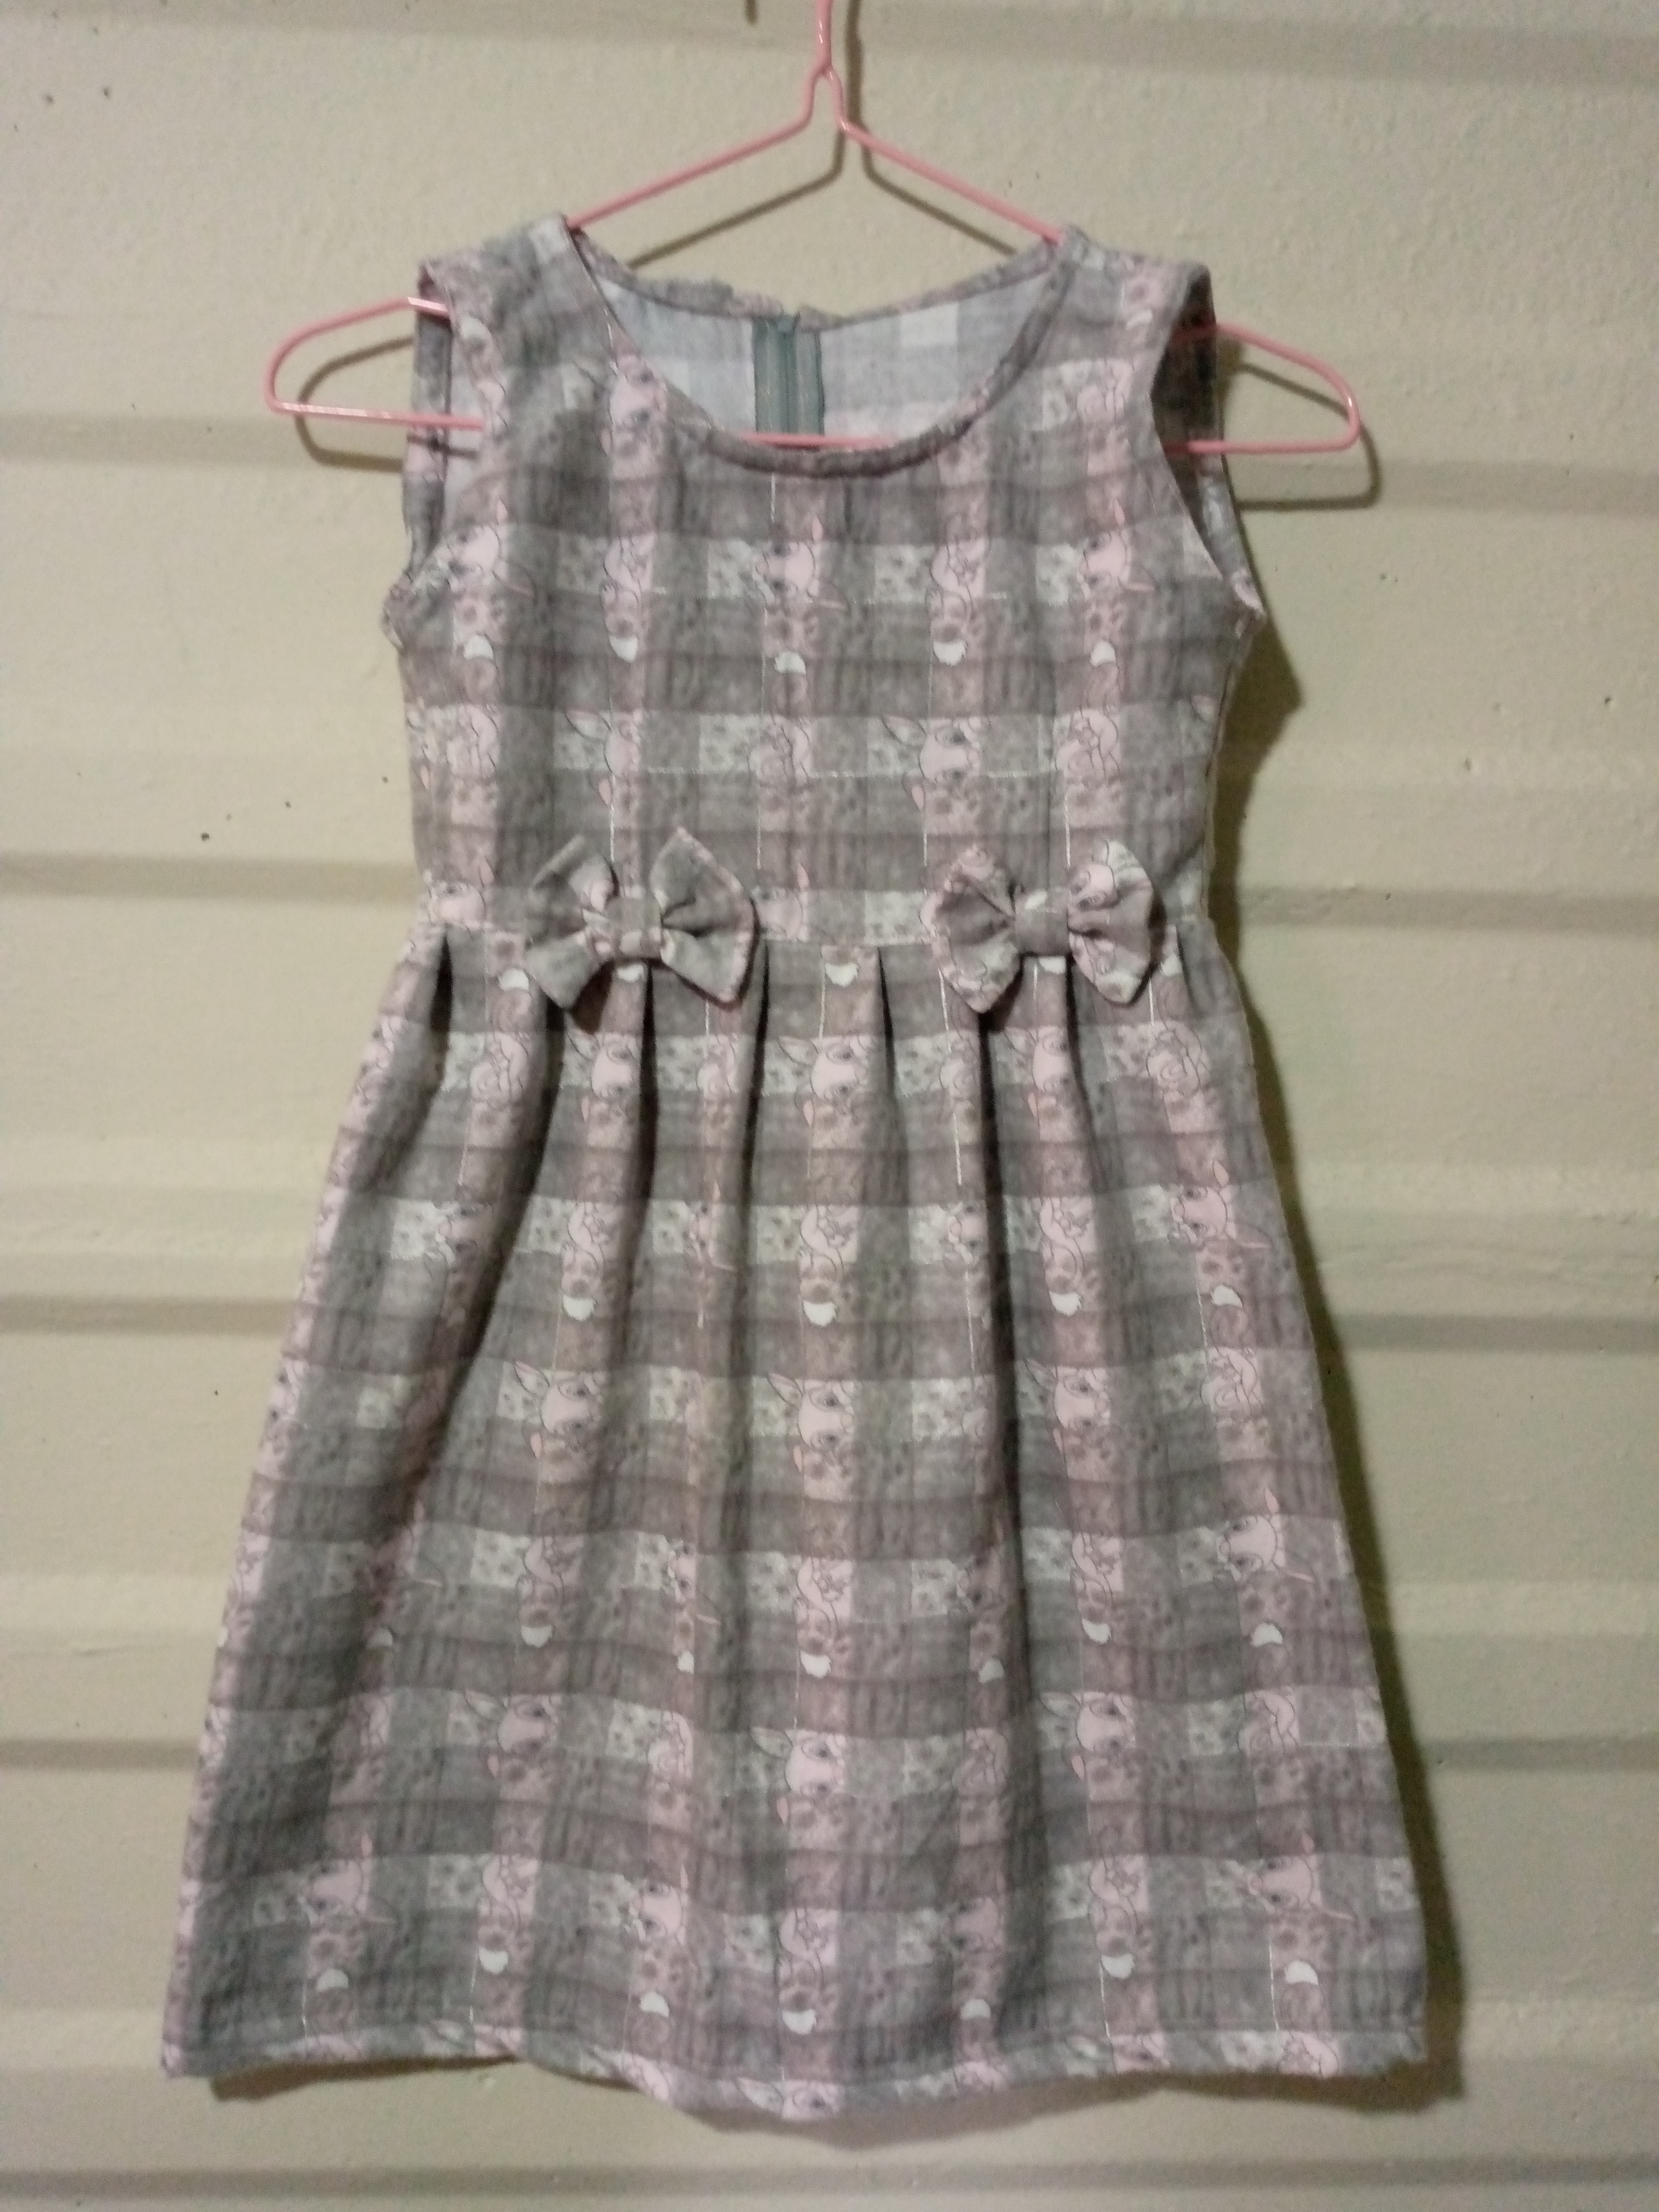
And well my dear friends, this is the final result of my simple yet elegant girls' dress. This type of fabric that I used to make it is called pajama fabric and it is very soft and does not stretch, perfect for girls and boys to wear in their clothes because it is a fabric that does not give heat and they can generally wear it during the day. I hope you liked it and tell me what you think and say you have made one like this🥰Until another next sewing tutorial.

.jpg)
Creating things with love 🌷❤️
🦋✨ All the images in this publication are my author ,📱taken with my TecnoSpark8C cell phone |📸Photos edited in PicsArt and Canva. Text translated in Google Translate.

The dress is so beautiful, the design, the fabric, and every little detail of this lovely dress is well balanced. Amazing job friend, well done.
Thanks for the support @diyhub 🥰
¡Enhorabuena!
✅ Has hecho un buen trabajo, por lo cual tu publicación ha sido valorada y ha recibido el apoyo de parte de CHESS BROTHERS ♔ 💪
♟ Te invitamos a usar nuestra etiqueta #chessbrothers y a que aprendas más sobre nosotros.
♟♟ También puedes contactarnos en nuestro servidor de Discord y promocionar allí tus publicaciones.
♟♟♟ Considera unirte a nuestro trail de curación para que trabajemos en equipo y recibas recompensas automáticamente.
♞♟ Echa un vistazo a nuestra cuenta @chessbrotherspro para que te informes sobre el proceso de curación llevado a diario por nuestro equipo.
🏅 Si quieres obtener ganancias con tu delegacion de HP y apoyar a nuestro proyecto, te invitamos a unirte al plan Master Investor. Aquí puedes aprender cómo hacerlo.
Cordialmente
El equipo de CHESS BROTHERS